Color Laser Engraving: All You Need to Know

It almost seems like magic, but it's not – laser engravers are indeed capable of engraving color. Read this article to find out how.
Laser engraving has become more affordable and accessible, making it a great option for those looking to get into the maker world or looking to expand their skillset.
Needless to say, there are alternatives for different budgets, and one of the starting points is the type of laser. There are three main types of laser engravers to choose from: Diode, CO2, and fiber. Diode lasers offer the most versatility and are the cheapest of the three; however, they will struggle to engrave certain materials such as glass, polycarbonate, or some metals, which the other two can excel at.
All laser types can engrave color directly, but will heavily depend on the laser type and material used, as this works by oxidizing the outside layer with varying intensities and not all lasers will achieve the same results.
In this article, we’ll look at how color engraving on metal works. We’ll do a deeper dive into the different types of lasers, go over a few noteworthy machines, and lastly, offer a few alternatives on how to get colorful results.
How It Works
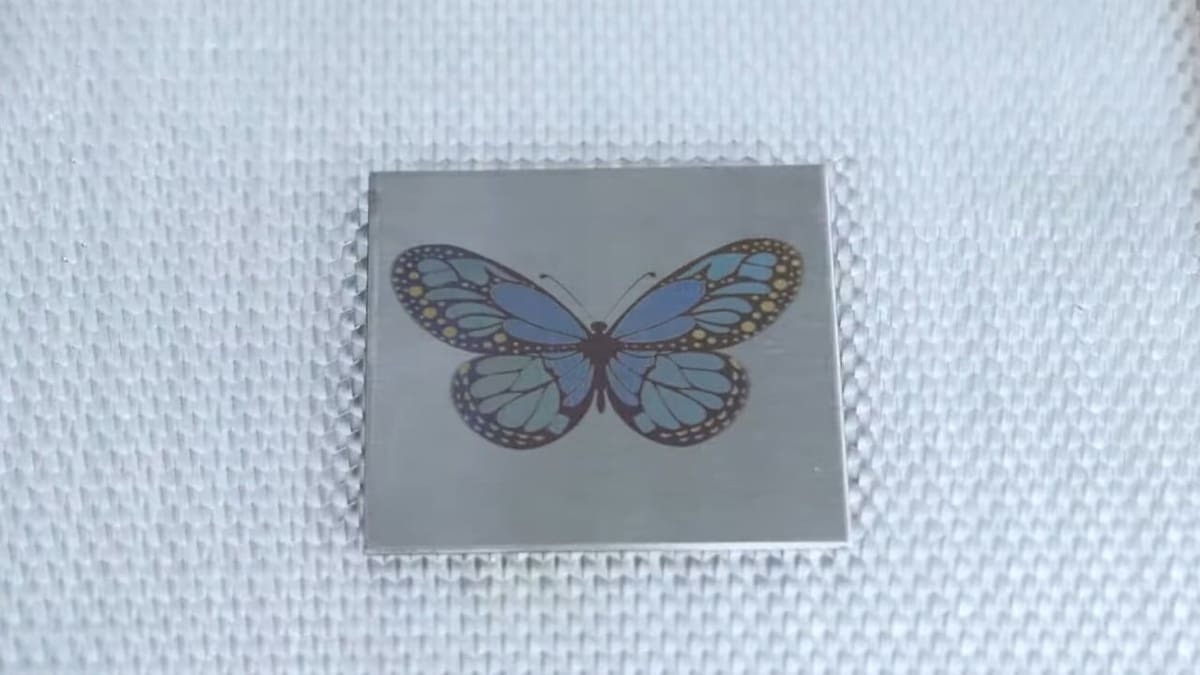
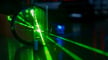
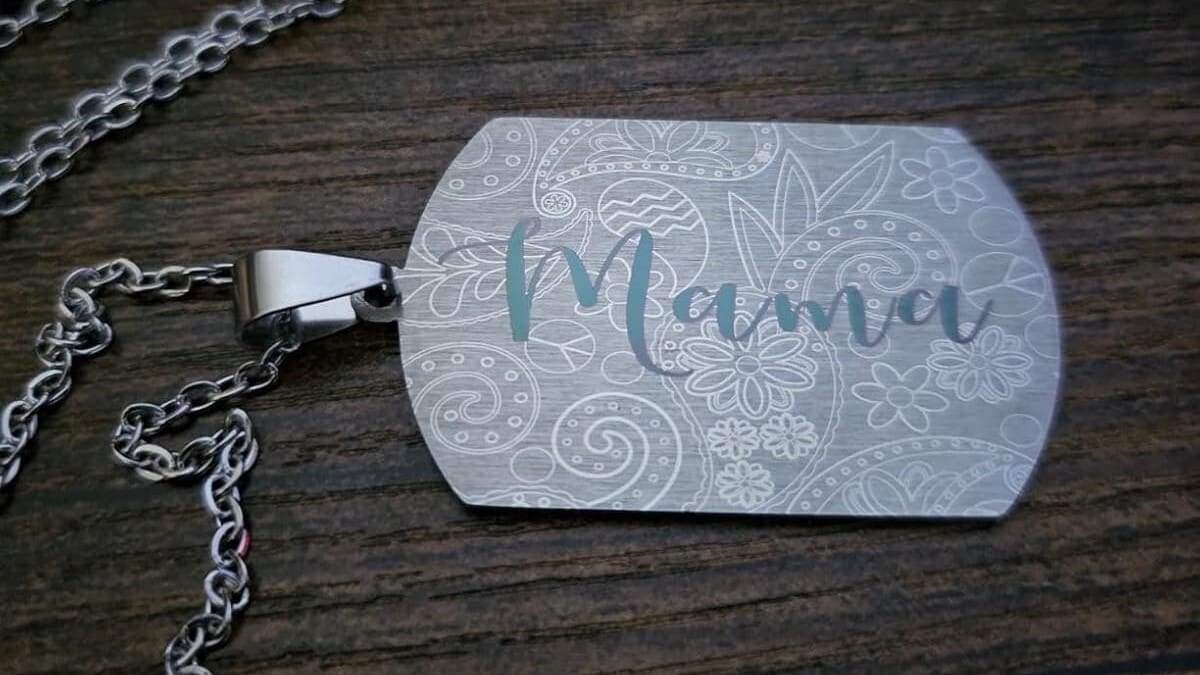
Color engraving, or more accurately termed “color etching“, is the process of engraving a piece of metal in such a way that the outside layer oxidizes to create a color effect.
We aren’t just talking about grays, white, or the typical golden shades – with color etching you can create a large range of hues for some incredible results. In order to make this happen, the laser beam has to oxidize the metal in a very precise way, and results can heavily vary, even when you’re using the same settings within the same piece!
This happens because color engraving can be a very delicate process and slight changes in temperature or even thickness within the same material will cause results to differ.
It’s important to highlight that this process will only work for certain metals, the two best being stainless steel and titanium. That said, you can still color engrave other similar materials, but you’ll need to use a different method, which we’ll also look at further in the article.
How to Do It
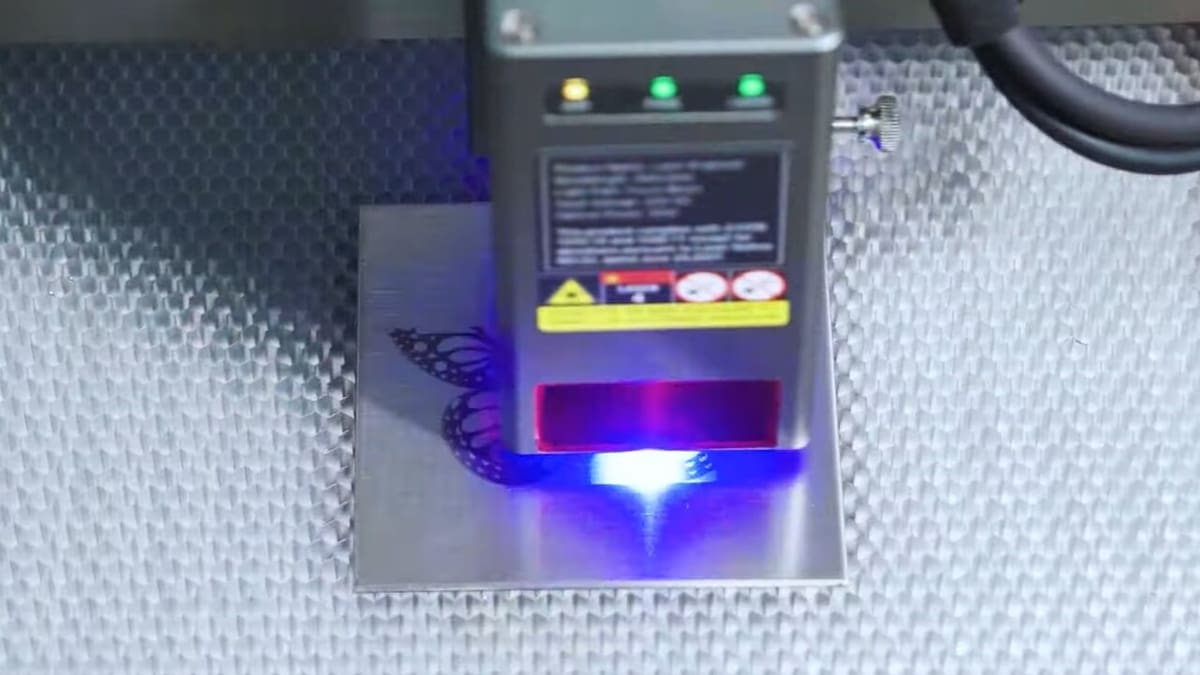
Having learned the very basics of the theory behind laser color engraving, it’s time we have a go at doing some testing ourselves.
Before we fire up our lasers, however, it’s important to know what we’re working with. As previously mentioned, different lasers and laser types will provide different results. A very brief overview is:
- Diode lasers: These are the most common type of laser engravers; they’re accessible in different shapes, brands, and prices, but they offer very limited color engraving capabilities.
- CO2 lasers: Similarly to diode lasers, it’s possible to etch color with this type of laser, but generally speaking they’re not designed for this purpose. They’re the middle-point in terms of pricing between diode and fiber lasers (although this will predictably depend on the quality and laser in particular).
- Fiber lasers: These are the most expensive out of the three. They offer the best results and are the most appropriate type of laser to carry out color etchings. Fiber lasers come in two variants, standard and MOPA, with the latter offering even more flexibility and better results.
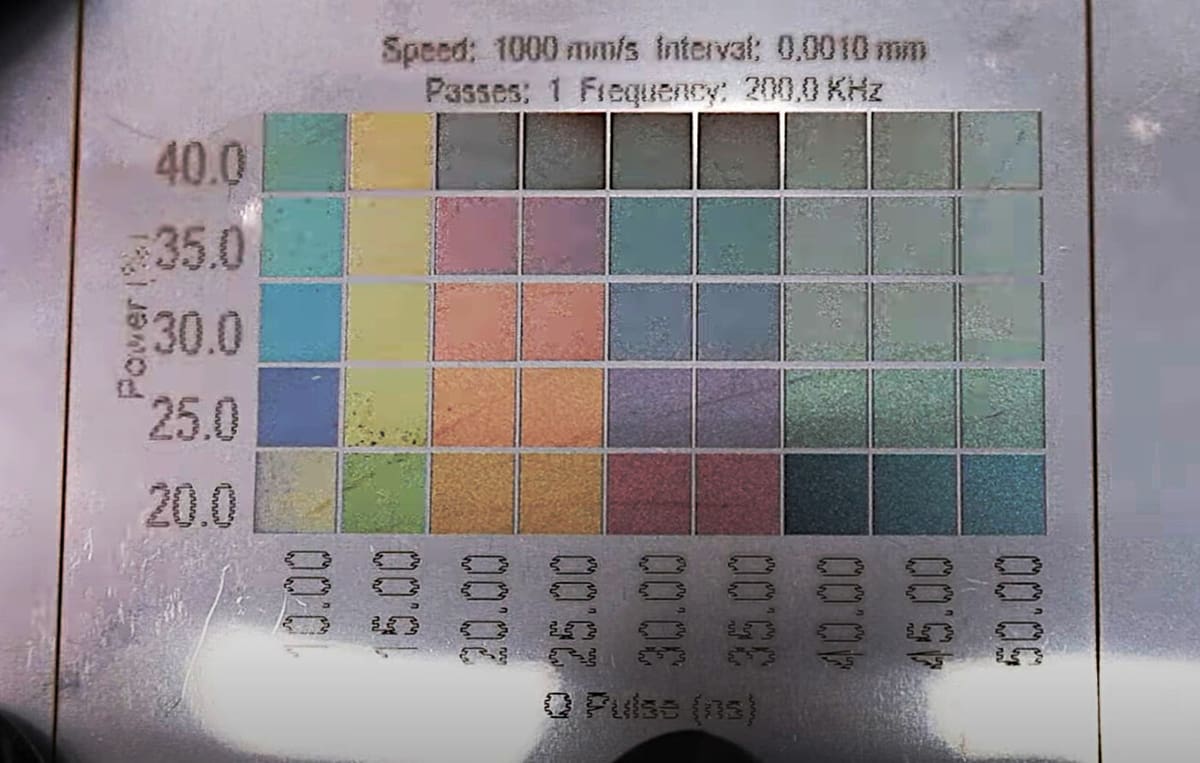
For CO2 and diode lasers, you’ll want to create a simple box array where each box will be engraved at different power and speed settings. Don’t expect to see results at the first try, but if done properly, you should eventually start to see certain colors appear on your test patterns. Be patient and make several tests.
For fiber lasers, you’ll want to do the same, but this time instead of just playing with speed and power, you’ll also want to tweak the pulse and frequency. That means you have more variables to play with, which might make it a more involved process, but you will get a much wider range of colors compared to the other lasers. When it comes to the variety of fiber lasers, standard ones won’t allow you to tweak pulse settings, only the frequency, whereas MOPA ones will give you more options to work with.
Keep in mind that the type of metal and piece used will yield different results. This can impact how easy or difficult it is to get colors, which is why you won’t necessarily see shades with the very first test.
As a final tip, we found that de-focusing the laser by a few millimeters will greatly help achieve better results. We won’t go into the physics behind this phenomenon, but it’s a good idea to try out if you’re struggling to get results.
Best Lasers for Color Engraving
It wouldn’t be very nice of us to forget to include a small list of lasers we recommend for this purpose. So, whether you already own a laser engraver or are looking into buying a new one to try out color engraving, here are some of our top picks.
Best Fiber Lasers for Color Engraving
Among the many options out there, the ComMarker B4, Gweike G2, and Laser Pecker LP4 are standouts.
Truth be told, you probably won’t find a huge difference from one brand to another, and the decision of which laser to go with will most likely end up depending on other factors such as availability, price, features, and what specific needs or goals you have.
However, you should find at least one of those three options to be available worldwide and are all well reviewed by fellow makers.
With the exception of the Laser Pecker LP4, which is a single model, both Commaker and Gweike offer a wide range of models to choose from. If your budget allows, we suggest going for the MOPA variants, but the more affordable 20-W should still be very capable.
Best Diode Laser for Color Engraving: Creality Falcon F2
While diode lasers don’t offer as much flexibility as fiber lasers for color engravings, Creality’s Falcon2 has become an accessible and popular alternative. In spite of it being a diode laser, it manages to provide some decent results compared to other lasers in its category.
Best Professional Alternative: OMTech Lasers
We’ve decided to include these on a separate list as they aren’t lasers meant for individual makers, but rather for businesses or professionals looking at industrial grade machines. They have a wide variety of lasers and laser types, and although we haven’t been able to test one (yet), we’re certain their quality won’t leave much to be desired.
Color Engraving Alternatives

Given that metal color engraving can be a very finicky process, requires expensive lasers for optimal results, and is only limited to a few metals, it’s not surprising to know that makers have found other ways of achieving similar results.
Color Filling
With color filling, you’ll apply a layer of masking tape to the piece, and then engrave it with the laser. This will cause the tape to burn off and create a mask around the part you want to add color to. Next, you can paint by hand the engraved part, be it with spray or watercolors, depending on the base material you’re engraving.
Once you’re done and it’s dry, remove the excess tape and you’ll have a similar result to color engraving, where the engraved areas will have color to them. While this method is faster and less involved than the next one, the paint is more likely to degrade over time.
You can find a thorough tutorial and explanation on YouTube, provided by Laser Everything.
Color Powder
This process is similar to color filling. However, you’ll be using a specialized colored powder that you apply to the already engraved surface. Then, you either re-engrave with the laser at low power to burn the powder into the material, or use a heat gun to melt it in place.
For more information regarding this process, YouTube maker Steve Makes Everything shows how to do it on wood.
Both options offer great results, and your choice will ultimately depend on your preference, skillset, and tools. We suggest sticking with color filling, as it can be done without having to purchase dedicated colored powder, which can be both more expensive and messier to work with.
License: The text of "Color Laser Engraving: All You Need to Know" by All3DP is licensed under a Creative Commons Attribution 4.0 International License.