
Ender 3 (V2/Pro) ABS Settings: 4 Easy Tips

Try ABS on your Ender 3 (V2/Pro)! Check out 4 easy tips to get your ABS settings right and your prints looking great!
Acrylonitrile butadiene styrene (ABS) is an industrial thermoplastic with applications in a wide variety of fields. If you know Lego bricks, you know ABS. Famous for its great impact resistance and toughness, ABS stands out among the many 3D printing materials.
Generally speaking, after PLA, ABS is the second most common hobbyist 3D printing material. Although it’s known for being a bit difficult to print, once perfected, it’s sure to give you some excellent results. ABS prints, when post-processed with acetone, have a smooth and glossy surface finish, making them aesthetically similar to injection molded parts.
If you’re looking to get printed ABS parts without going through the hassle of failed prints and tweaked settings, consider Craftcloud.
In this article, we’ll go over a few tips that’ll help you get those great ABS prints with your Ender 3. Because the Ender 3 comes in different variations, including the original, the Pro, and the V2, we’ll go into model-specific recommendations when necessary. Happy printing!
Tip #1: Fix the Fans
First, check to make sure that your mainboard electronics case fan is on by default. If it isn’t, read on to make it so!
The Problem
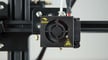
Although cooling the mainboard might not seem directly related to getting great ABS 3D prints, this is one of the very first problem areas that need to be addressed. If the mainboard overheats, it can fatally break, or it could worsen print quality because the electronics are less effective when hot. Some Ender 3s come with the mainboard fan wired so that it isn’t always on, and this is a major, yet easy-to-fix, problem.
In some Ender 3 wiring setups, the mainboard electronics fan is activated only when the part cooling fan is enabled. However, for printing ABS, the part cooling fan shouldn’t be activated, meaning the electronics fan will also be off, putting your motherboard at risk of overheating.
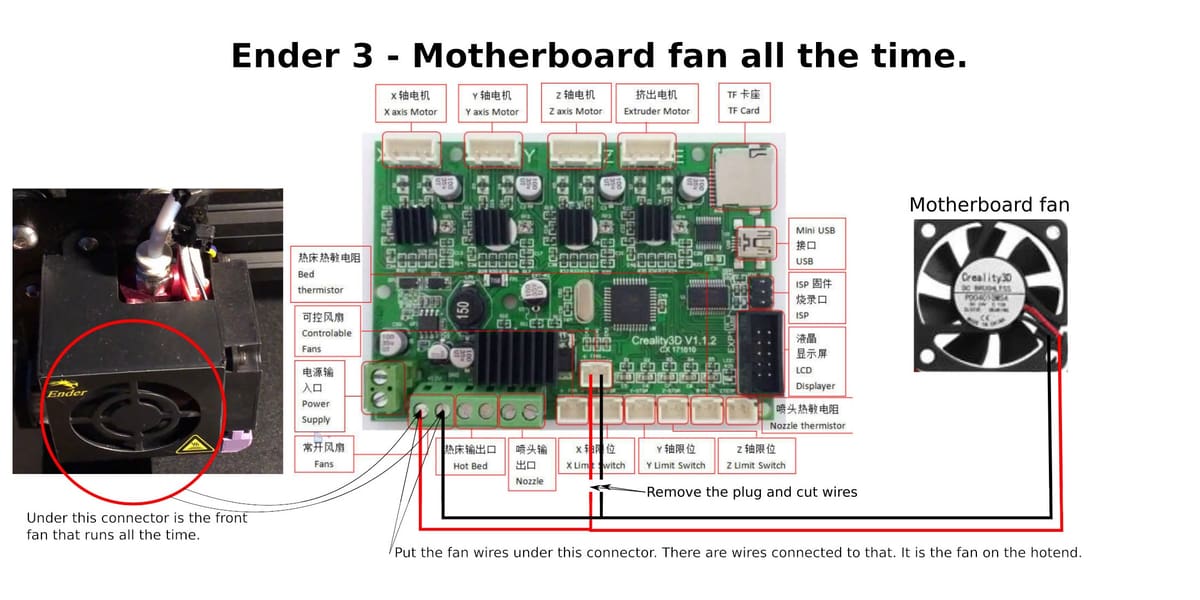
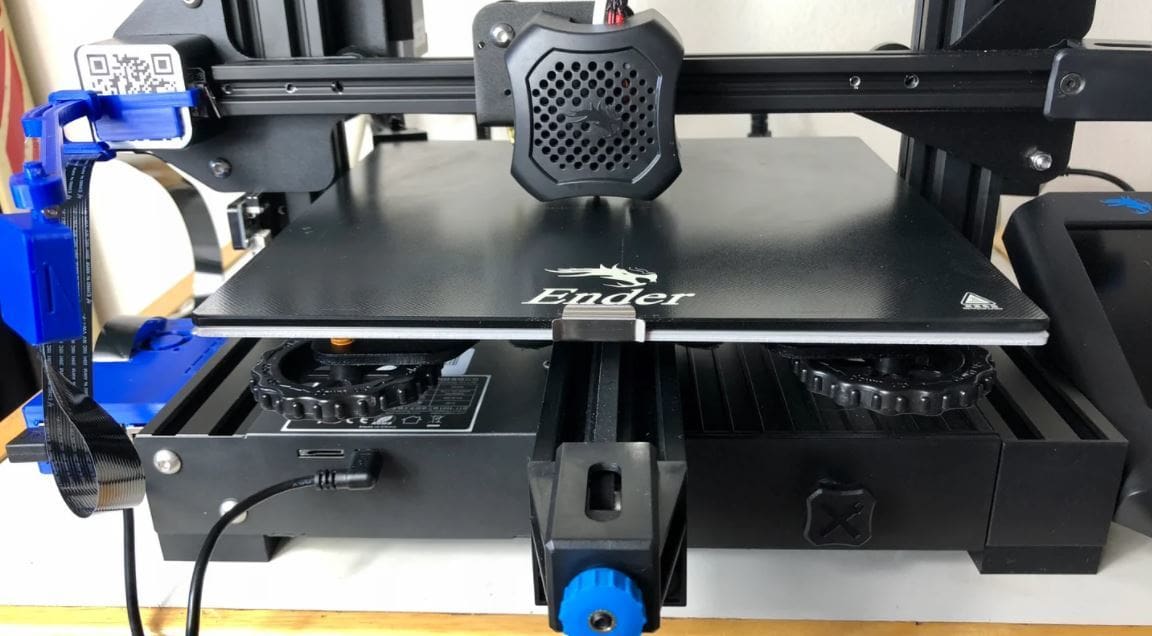
The Creality mainboards on all variations of the Ender 3 contain three fan ports: two of them are controllable, and one is the “always-on” fan. In the stock wiring, the part cooling fan and the mainboard fan are plugged into the controllable ports, while the hot end (heat break) fan is in the “always-on” port.
The Solution
The fix for this issue is simple: rewire the part cooling and hot end fans, as shown in the image above. Basically, you’re just switching the wiring for the hot end fan and the mainboard fan and disconnecting the part cooling fan. Once you do this, make sure to set the controllable fan speeds to 100% in your slicer because this will activate the hot end fan, which is necessary to prevent heat creep.
Tip #2: Get the Bed Right
Once your fans are only cooling when they should be, you should take a look at your build surface.
The Problem
All versions of the Ender 3, by default, come with a heated bed, which is essential for 3D printing with ABS. A heated bed helps with good first layer adhesion and keeps the ambient temperature toasty. This reduces the chances of warping when printing ABS parts.
Because the different versions of the Ender 3 have different bed-related specs, we’ll split up this section to go over the version-specific recommendations for the Pro and the V2.
The Solution: Ender 3
The stock Ender 3 comes with a Buildtak-like surface, which gets those first layers of ABS down very smoothly and firmly. There’s no need for any adhesives to be used, but you could also use PEI-coated sheets, which are known to give good surface adhesion.
In case you’re using Creality Glass or any other glass surface, glue or hairspray can help with bed adhesion. Likewise, you can use ABS glue to get that first layer adhered properly.
If you’ve tried everything and still aren’t getting those prints to stick, you may have a warped bed. It’s not something to worry about, though, because you can always switch to a glass bed or any other build surface. If you’re having to level your bed for every other print, consider upgrading the stock springs or getting an automatic bed-leveling sensor like a BLTouch.
The Solution: Ender 3 Pro
The Ender 3 Pro’s heated bed can reach 110 °C, making it perfect for printing ABS, as this is the sweet spot for ABS bed temperatures. While you can get away with using lower temperatures, it’s always good to know that your printer is capable of reaching 110 °C, in case bed adhesion becomes a problem.
While some users have successfully used a magnetic bed at ABS-level temperatures, it may be a safer bet to switch to an alternative, non-magnetic surface such as glass, as magnetic beds can come unstick at higher temperatures.
The Solution: Ender 3 V2
While all variations of the Ender 3 come with a heated bed, the original Ender 3 and the Ender 3 Pro’s heated beds are stated to go up to 110 °C, while the Ender 3 V2’s bed has a recommended maximum temperature of 100 °C.
That said, because of the tempered glass build plate, the aluminum underbelly, and the heating elements – the latter two of which are the same as those on the other Enders – the V2 should be perfectly capable of reaching and maintaining 110 °C. Several community members seem to confirm this, and we also tested it by setting a V2’s bed to 110 °C and monitoring the temperature over 30 minutes: Even without an enclosure, we saw no noticeable deviations.
Naturally, a number of factors could hinder a particular machine’s capability, from a cool surrounding environment to poor firmware settings. To stay on the safe side, consider using an enclosure, updating your firmware, and PID tuning the heated bed.
Tip #3: Perfect Your Slicer Settings
If you’re already printing with PLA, you’re halfway there. ABS prints in a similar way to PLA, and hence only some of the settings need to be changed.
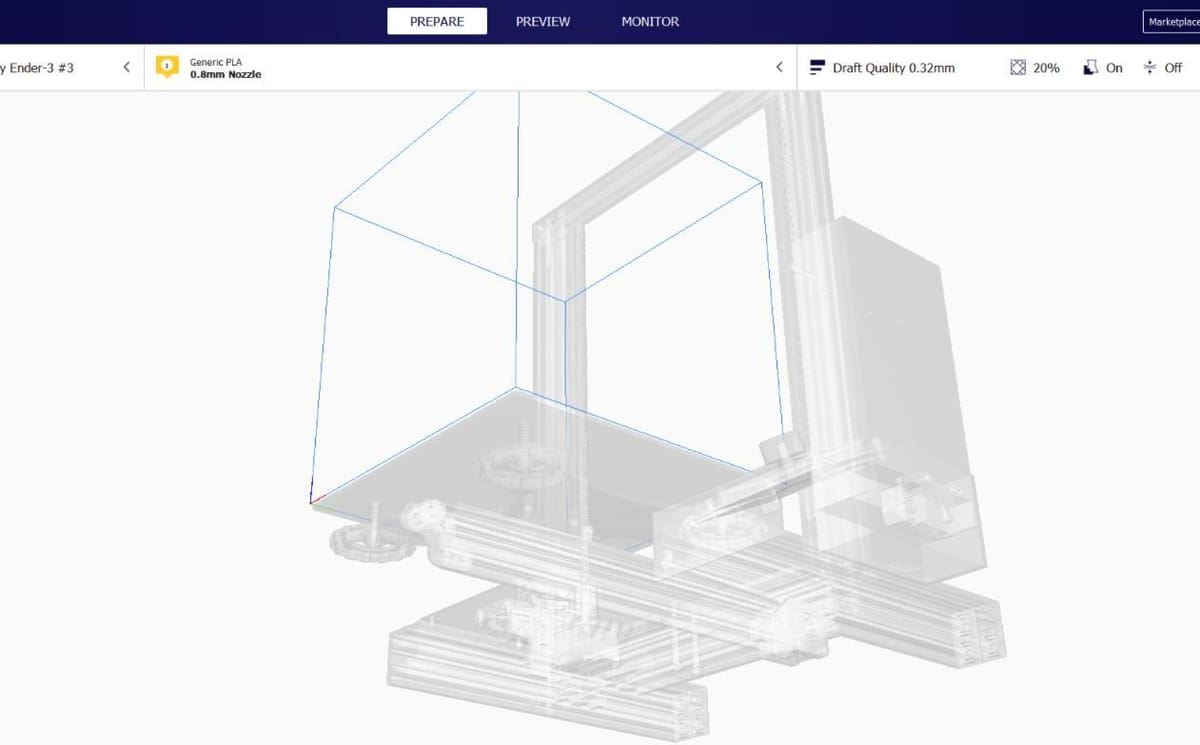
- Nozzle temperature: ABS material flows smoothly between 220 °C and 240 °C. To find the perfect temperature, you can start by printing some temperature towers.
- Bed temperature: A higher bed temperature allows the part to cool down gradually, reducing the chances of any defects. As a general rule of thumb, set your bed temperature between 100 °C and 110 °C.
- Part cooling fan: ABS tends to warp if cooled down quickly. For this reason, the part cooling fan near the hot end needs to be turned off. This allows the ABS to cool down gradually, reducing the chances of warping.
- Brim or raft: Using a brim or raft helps to mitigate the effects caused by thermal contraction. These additions will also ensure that your first layer sticks well to the bed surface.
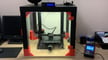
Tip #4: Add an Enclosure
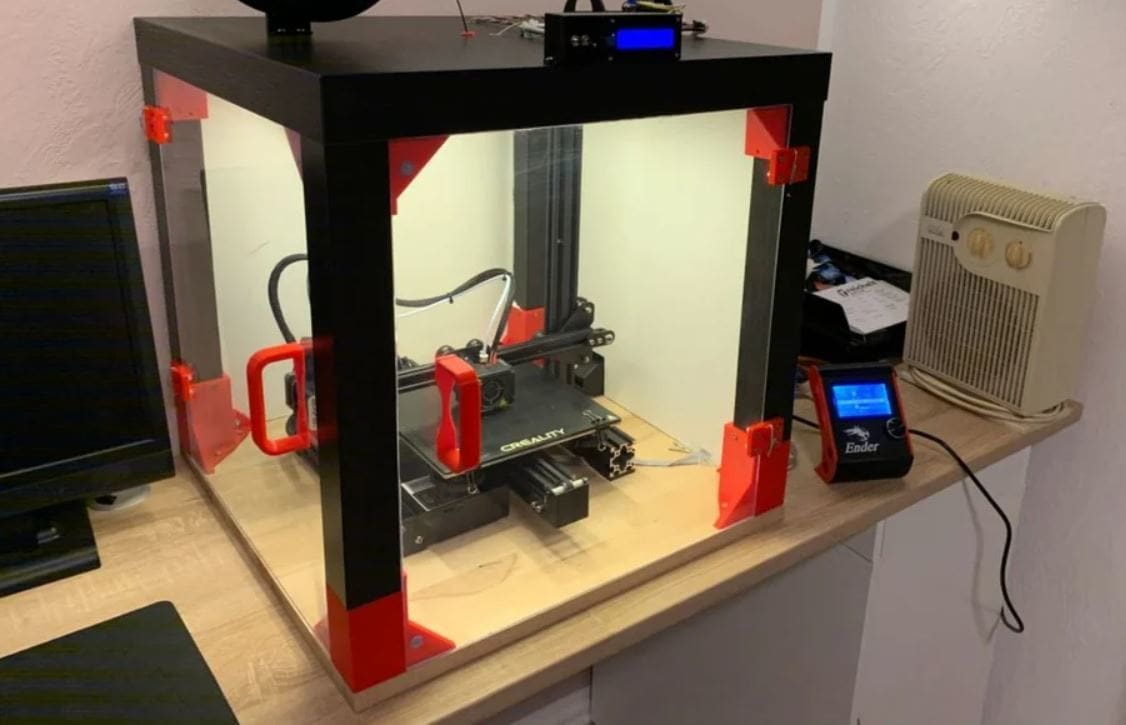
Lastly, you should have an enclosure for your Ender 3 (or at least a corner that’s less likely to be affected by a breeze) to print ABS reliably.
The Problem
All types of Ender 3s have an open frame, meaning prints are exposed to the elements. This isn’t ideal for a variety of reasons, as air drafts or overly curious house pets can cause any number of issues while printing is taking place.
But most importantly, an enclosure helps keep the ambient temperatures warm enough to prevent warping and layer splitting by reducing the effects of thermal contraction.
The Solution
An enclosure traps the heat that the bed produces and prevents exposure to any external factors. It’s strongly recommended to print ABS with an enclosure, plus it will minimize any noxious fumes.
The different variations of the Ender 3 have approximately the same build dimensions, so you shouldn’t need a version-specific enclosure. For making the enclosure, it can be as simple as a cardboard box, photo tent (not recommended, but certainly better than nothing), or even a DIY fully-framed enclosure. The point is to maintain a warm ambient temperature to let ABS cool down naturally.
License: The text of "Ender 3 (V2/Pro) ABS Settings: 4 Easy Tips" by All3DP is licensed under a Creative Commons Attribution 4.0 International License.