Creality K1 Extruder & Hot End: The Best Options

Looking to upgrade your Creality K1 extruder or hot end? Read everything you need to know about best options!
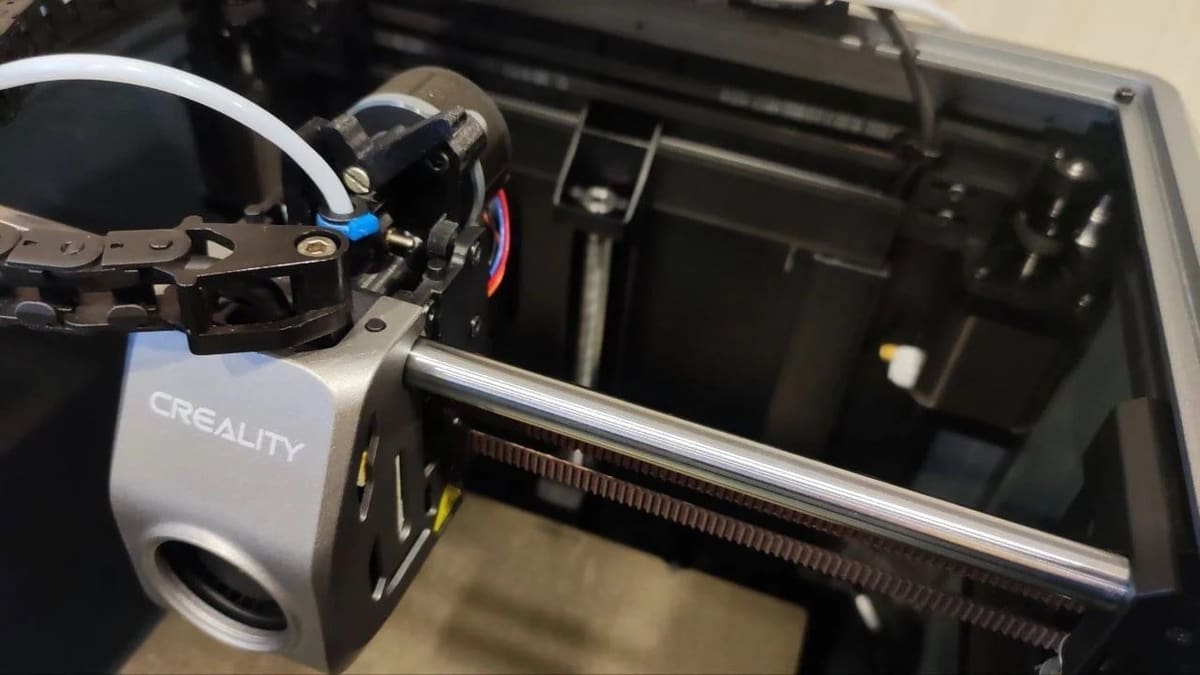
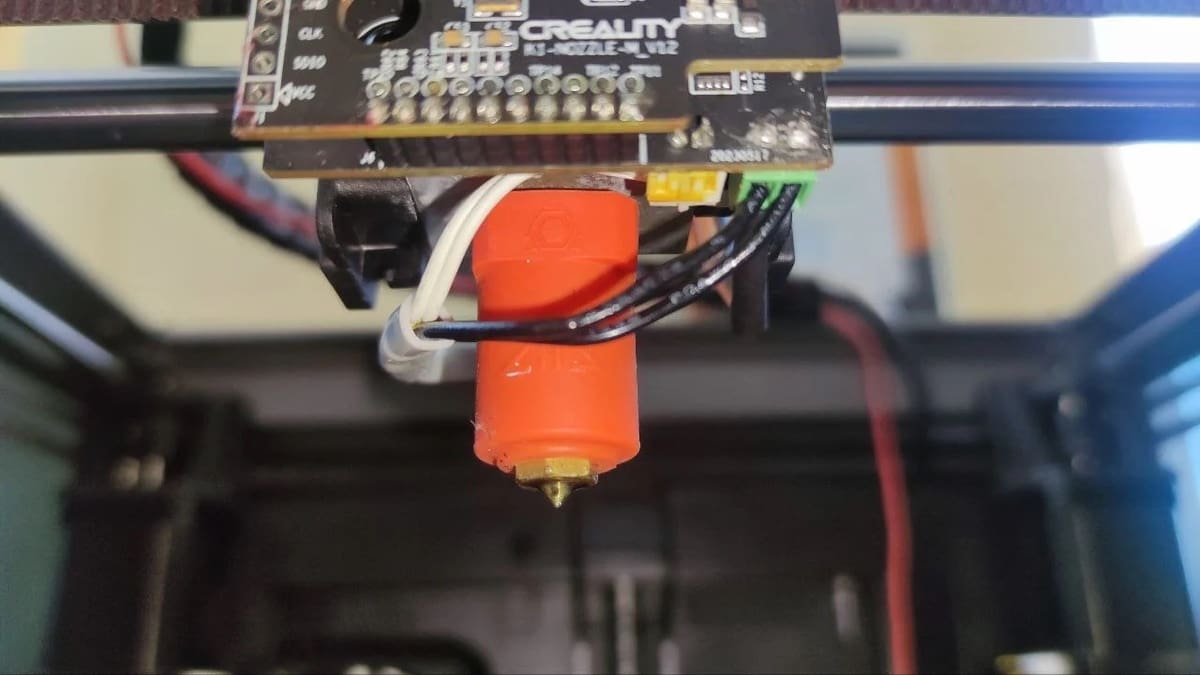
When Creality launched the K1 in 2023, it quickly captured the spotlight for its impressive speed and sleek, enclosed CoreXY design, securing its place as one of the most popular printers in the market. However, like many of Creality’s printers, the K1 leaves room for improvement, particularly when it comes to its stock extruder (or its hot end).
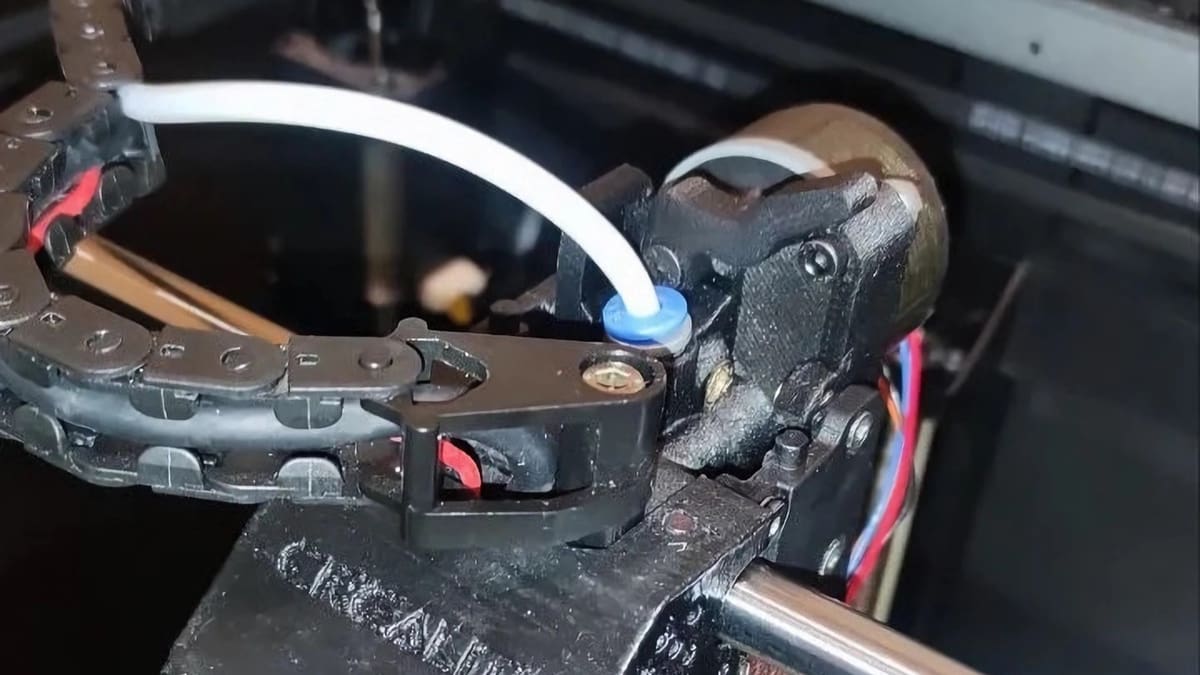
The initial version of the K1 came with a flawed extruder design, among other things, with the hot end being quite temperamental and finicky when it came to material choices. Some filaments would work just fine, while others failed miserably. Creality later fixed the design issues and started shipping the K1s with an updated hot end and extruder, but the printer still has usability-related issues. For example, the filament path isn’t well-planned for loading and unloading filament, and overall, it can be a clunky printing experience. Many users preferred upgrading to a different hot end or to a new extruder altogether.
Upgrading the extruder or just the hot end on your K1 opens up a world of possibilities, including improved print quality and faster speeds to better reliability and a much smoother user experience.
In this article, we’ll be exploring some of the best hot ends and extruders for the Creality K1, along with what to consider when making your selection. Without further ado, let’s get started!
Considerations
While choosing an extruder or hot end among the dozens of options available in the market can be hard, the following points can make it easier for you to decide. These are the same criteria we kept in mind while selecting our picks for this article.
Let’s take a closer look.
Extruder
- Material compatibility: Can the extruder handle a wide range of materials, including standard filaments like PLA, ABS, or more flexible materials like TPU? This determines how versatile the extruder is for different printing projects and purposes.
- Assembly: The next point concerns what materials the extruder is made of and its construction, which play a crucial role in the performance of the extruder.
- DIY extruders are almost always 3D printed. The advantage of 3D printed extruders is that they’re usually lightweight, but certainly not the best choice for longevity. Extruders with metal construction are more durable, but this comes at the cost of additional weight, which may not be favorable for printing fast. Accelerating and decelerating becomes slower due to the higher momentum.
- Typically extruders come with three kinds of drive gears that push the filament out, namely made of nylon, brass, and hardened steel, with nylon being the most common. Nylon and brass work fine, but they eventually wear out and need to be replaced. If you print a lot of abrasive materials, such as carbon fiber composites, it’s best to go with hardened steel, as it offers the best rigidity among all three.
- Lastly, the number of drive gears also matters. Single-drive gear-based extruders have been phasing out in the last few years, since they’re much more likely to slip on the filament and cause poor extrusion. Dual-drive gears are considered the standard now, since they grip onto the filament much better. Unless you have a very specific use case, dual drive is the way to go.
- Ease of maintenance: This point relates to how simple is it to disassemble, clean, and reassemble the extruder in case of clogging or other issues. An easy-to-maintain design makes the user experience significantly better, as you can spend less time keeping it clean and in working order.
Hot End
- Max temperature: The maximum temperature the hot end can reach determines which materials it can work with, such as high-temperature filaments like nylon or polycarbonate. In this list, all the hot ends are rated for 300 °C, which is sufficient for such materials.
- Construction: All-metal hot ends are better suited for high-temperature materials, as PTFE (which lines some hot ends) starts to degrade at 260 °C.
- Flow rate: The flow rate is the rate at which the hot end can extrude filament. Creality claims a maximum volumetric flow rate of 32 mm3/s for the stock hot end on K1; you generally don’t want to go below that if you want to stick to stock speeds. If you want to achieve a higher printing speed, you’ll want to look into more powerful hot ends. Note that these figures are applicable for 0.4-mm nozzles.
- Ease of nozzle change: If you experiment with different nozzle materials or sizes, it might be helpful to get a hot end that offers easy nozzle change. Generally, the process requires heating up the hot end and then unscrewing the nozzle with a wrench or ratchet and then screwing a new one in. This can get mildly annoying if you do it a couple times a day or week (for example, in a print farm). Some hot ends advertise easy cold nozzle change (no need to heat it up) or toolless nozzle change (no wrenches required). If the hot end doesn’t mention anything about easy nozzle change, it’s safe to assume you’ll need tools and a heated hot end.
- Compatibility: Some hot ends are designed specifically for K1, so you can just pop them in and they’ll be good to go without any further work. If it’s not a drop-in upgrade, you might need to do some small modifications, such as printing custom mounts or crimping some new cables.
- Nozzle compatibility: It’s also important to know what kind of nozzles the hot end is compatible with. Are proprietary nozzles the only option or is the hot end compatible with standard ones? For example, the E3D Revo hot end included is only compatible with proprietary nozzles, which are comparatively expensive. On the other hand, the CHCB-OT hot end accepts MK8 nozzles, which are widely available at accessible prices.
Micro Swiss FlowTech Hot End
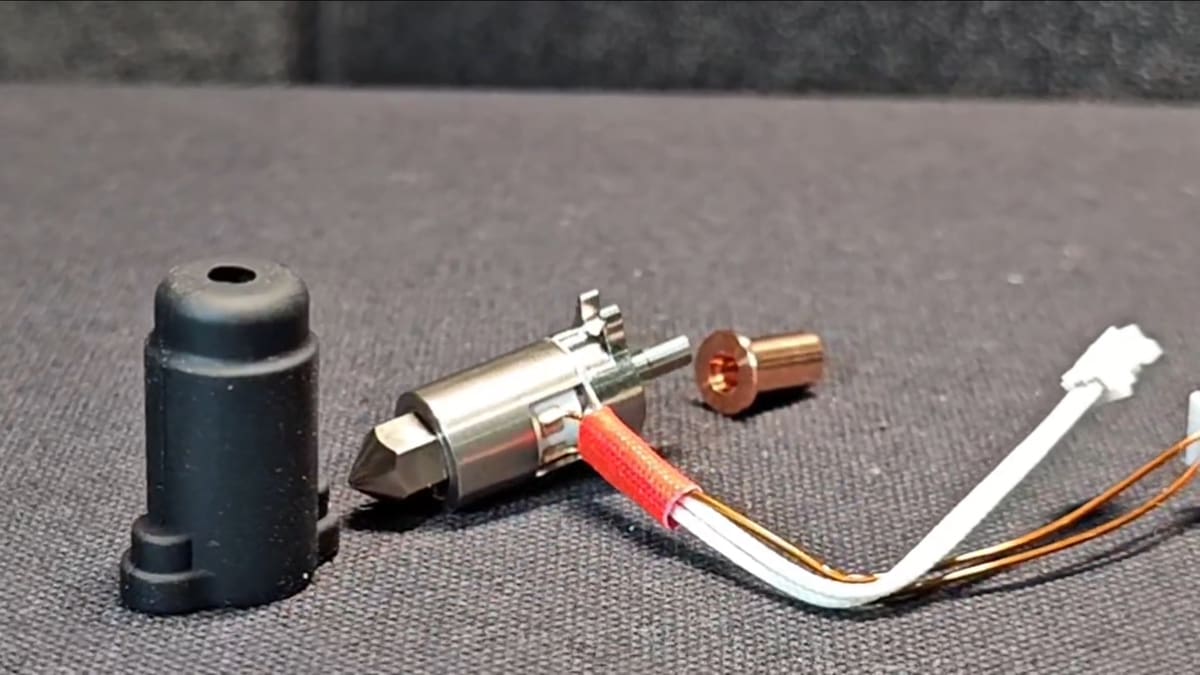
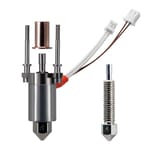
A common problem many hot ends face is that when the nozzle isn’t tightened properly, the molten filament often oozes out of the gap, causing messy leaks. The worst part is, if you start a print and walk away, it might turn into a huge blob and ruin the entire hot end. But you’re not going to have that problem with Micro Swiss’ FlowTech hot end.
The leak-proof design integrates the nozzle and thermal break into one assembly, so there’s no possibility of filament leakage. In addition, nozzle changes can be done without needing to heat things up. It also includes a ceramic heater, so is should heat up pretty quickly.
Unfortunately, the FlowTech hot end only supports the proprietary nozzles Micro Swiss sells for it. This might disappoint you if you like to experiment with your printer a lot – there are only two kinds of nozzles available: the stock nozzle and the CHT nozzle. However, the CHT nozzle reaches a pretty commendable flow rate. According to users, the stock nozzle can reach up to 29 mm3/s with Elegoo Rapid PLA+. The CHT option allows it to go as high as 48 mm3/s.
This is a great choice if experimenting isn’t your priority, you value being able to change nozzles easily, and you want to eliminate the risk of leakage. However, for fast printing (which requires a higher flow rate), the FlowTech wouldn’t be the most suitable option.
- Max. temperature: 300 °C
- Construction: All-metal design with a ceramic cylindrical heater and 28.6-mm melt zone
- Flow rate: 29 mm3/s with Elegoo Rapid PLA+ and stock nozzle
- Nozzle change: Easy and cold
- Compatibility: Drop-in upgrade for Creality K1, K1 MAX, and K1C; no firmware changes needed
- Nozzle type: Proprietary
E3D Revo

It’s safe to say that E3D Revo is one of the most popular hot ends on the market, simply because of how easy it is to change the nozzle. It requires no tools and can be done cold; you can unscrew the nozzle by hand as soon as the printer cools down following a print. Then, screw a new one in and you’re good to go. The ease of nozzle change comes in handy when you need to print in a variety of nozzle sizes on a regular basis.
It’s not a drop-in replacement for the Creality K1, but making it work isn’t that hard thanks to the easy-to-follow tutorial from Levkin3D.
It’s worth noting that this hot end only supports proprietary Revo nozzles, which can be expensive and may not really be the best for pushing high flow rates. However, with over 40 nozzle variants available from E3D, you certainly won’t be running low on options.
- Max. temperature: 300 °C
- Construction: All-metal with a circular heatsink that dissipates the heat better than conventional heatsinks
- Flow rate: 20-23 mm3/s (PETG with 0.4-mm and 0.6-mm nozzle, respectively) with the stock nozzle
- Nozzle change: Easy, cold, and toolless
- Compatibility: Not drop-in, requires slight modifications (mostly crimping new cables)
- Nozzle type: Proprietary Revo nozzles
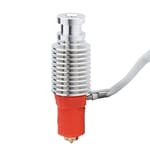
CHC Pro
The CHC Pro from Triangle Labs isn’t as well-known as the CHCB-OT, but it’s actually more powerful and arguably better in some aspects.
The CHC Pro features a 115-watt heater, which is twice as powerful than that of the K1’s stock hot end or the CHCB-OT. So it will heat up much faster and can hold higher heat more consistently while pushing lots of filament. However, you’ll need to replace the stock JST-XH connector of the hot end on the toolhead board with a screw connector, which involves soldering. If you’re still up for it, don’t despair – there’s a well-written guide for it on Reddit. The author reported a flow rate of 35 mm3/s of ABS-CF with a BMG extruder, which is higher than the stock option according to Creality.
The CHC Pro is also cheaper than the CHCB-OT. However, it only supports Volcano nozzles, so the nozzle choices won’t be as vast as what you would get with the CHCB-OT.
If you want a hot end that will heat up in no time before the print (those seconds can add up fast for small prints!) and don’t mind the mods needed to install this, we would definitely recommend the CHC Pro.
- Max. temperature: 300 °C
- Construction: All-metal hot end with a ceramic heating core
- Flow rate: 35 mm3/s
- Nozzle change: Requires heating up the nozzle, gripping the heat block, and then unscrewing the nozzle with a ratchet or wrench
- Compatibility: Not drop-in, requires some modifications
- Nozzle type: Volcano
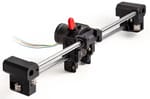
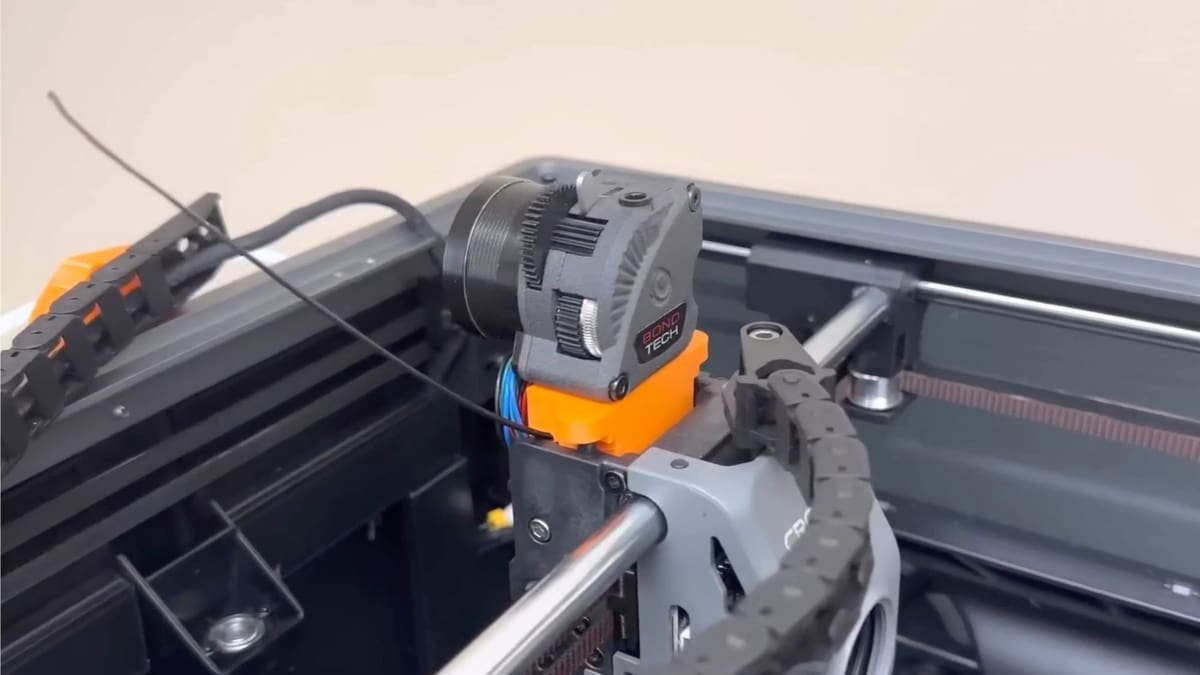
Bondtech LGX Lite Pro Upgrade Kit (Extruder)
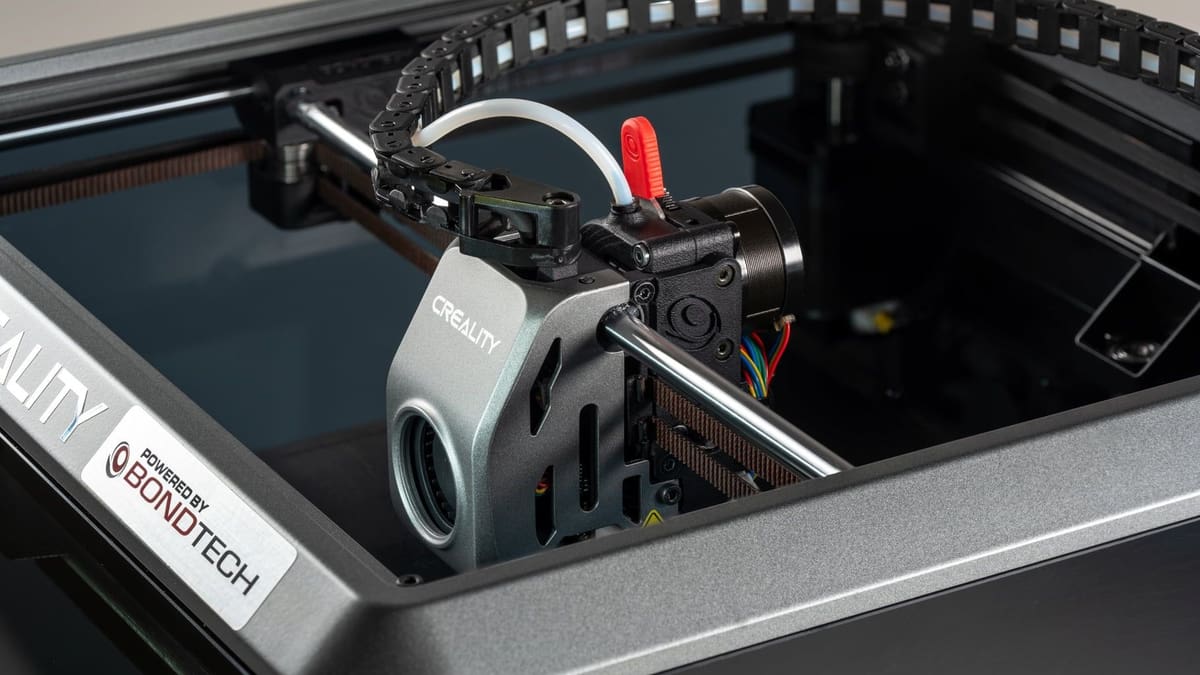
The Bondtech LGX Lite Pro Upgrade Kit essentially replaces the whole XY motion system with Bondtech’s own – and includes an LGX Lite Pro extruder. The LGX Lite Pro comes with some interesting features such as lightweight and a filament tension lever that allows user to select proper tension for the filament depending on its type (rigid, flexible, etc.). That said, the LGX Lite Pro extruder cannot be bought and installed separately; it comes as a package with the motion system.
We would only suggest this if your entire XY motion system needs to be replaced for some reason. The LGX Lite Pro is definitely a decent extruder, but it’s not simply worth the high price tag if your existing motion system is running fine.
- Material compatibility: PLA, ABS, TPU, and more
- Assembly: The design features an X-carriage, belt retainers, and two large drive wheels for additional grip on the filament, and more
- Maintenance: Difficult; disassembly is challenging due to its integration with the motion system
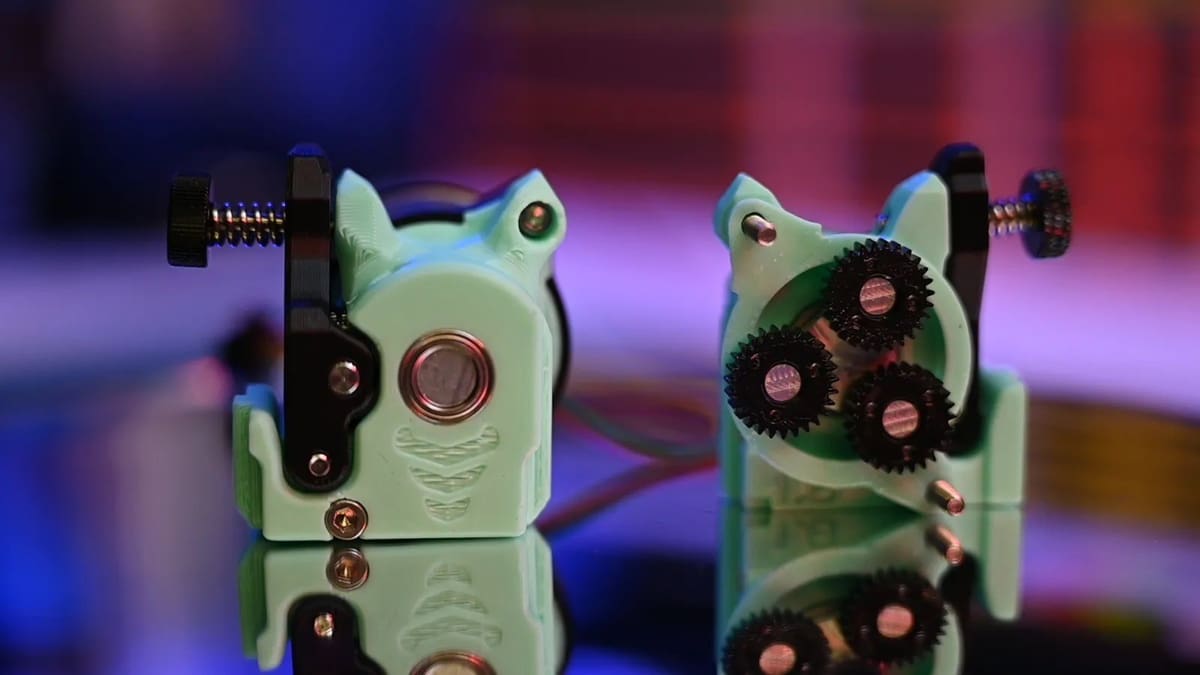
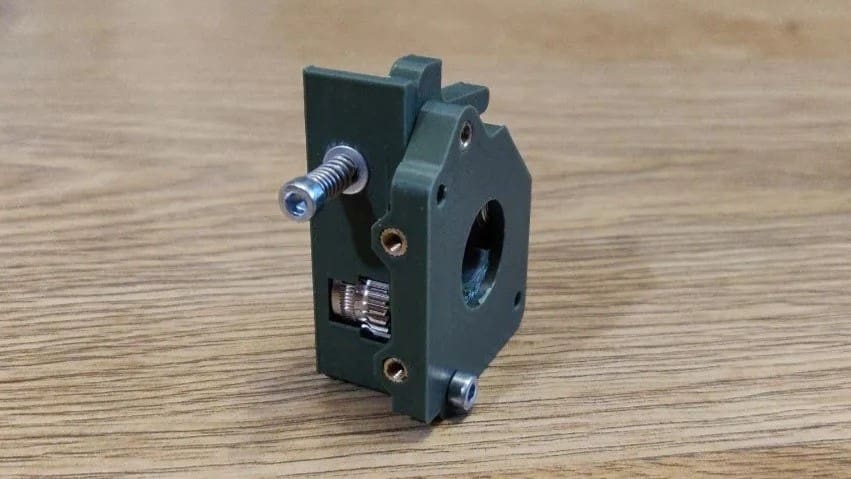
Bondtech LGX Lite V2 (Extruder)
Frankly speaking, the Bondtech LGX Lite V2 is a bit outdated in today’s market. When it first came out, it stood out from the rest with the larger drive gears, but it’s not really much of a novel feature anymore. And with the significantly harder disassembly process, it’s a harder sell.
What the LGX Lite excels at though, however, is handling TPU without any fuss. It’s also really easy to swap filament since all you need to do is unlatch a lever, pull the filament out, and close the latch again. No need to run the extruder backwards!
It’s not a bad choice at all, especially if you don’t want to assemble your own extruder and don’t mind the lower flow rate compared to the DIY extruders we’ll look at next. For printing slowly but reliably, the Bondtech LGX Lite will get the job done. Like the Sherpa Mini, which we’ll cover a bit further below, you’ll need to print the universal adapter to mount it. Note that disassembly requires dismounting from the carriage and plenty of time.
- Material compatibility: PLA, PETG, ABS, TPU; only 1.75-mm diameter filament
- Assembly: Has two large drive gears inside
- Maintenance: Difficult
D3vil Design Cyclops (Extruder)
The Cyclops extruder from D3vil Designs is a direct drop-in upgrade that’s arguably better than the stock extruder. It’s based on the Orbiter V2 and features a powerful LDO motor paired with large drive wheels that helps achieve higher filament grip. It supports retraction speeds up to 120 mm/s and acceleration up to 3,000 mm/s2, perfectly suited for those who want to push their K1 to its limits. The design also includes a direct filament path which makes it compatible with a wide range of filaments, from PLA to TPU.
You can buy the kit for it or build it yourself by sourcing the parts and printing the files available on Printables. There’s a useful video showing how to assemble the extruder. That said, some of the resellers also offer the option of putting the whole thing together for an extra fee, if you want to skip that particular challenge.
One caveat is that you’ll need to root your K1 and modify the firmware to install the extruder. Fortunately, it comes with a very well-documented manual and GitHub, so it should be an easy process, even for beginners. And if you come across any issues or questions, you can always join the Discord channel.
If you’re interested in printing fast with a lot of different materials, this would be a great choice.
- Material compatibility: PLA, PETG, ASA, ABS, TPU, and more
- Assembly: (Mostly) 3D printed construction
- Maintenance: Moderate
Sherpa Mini (Extruder)
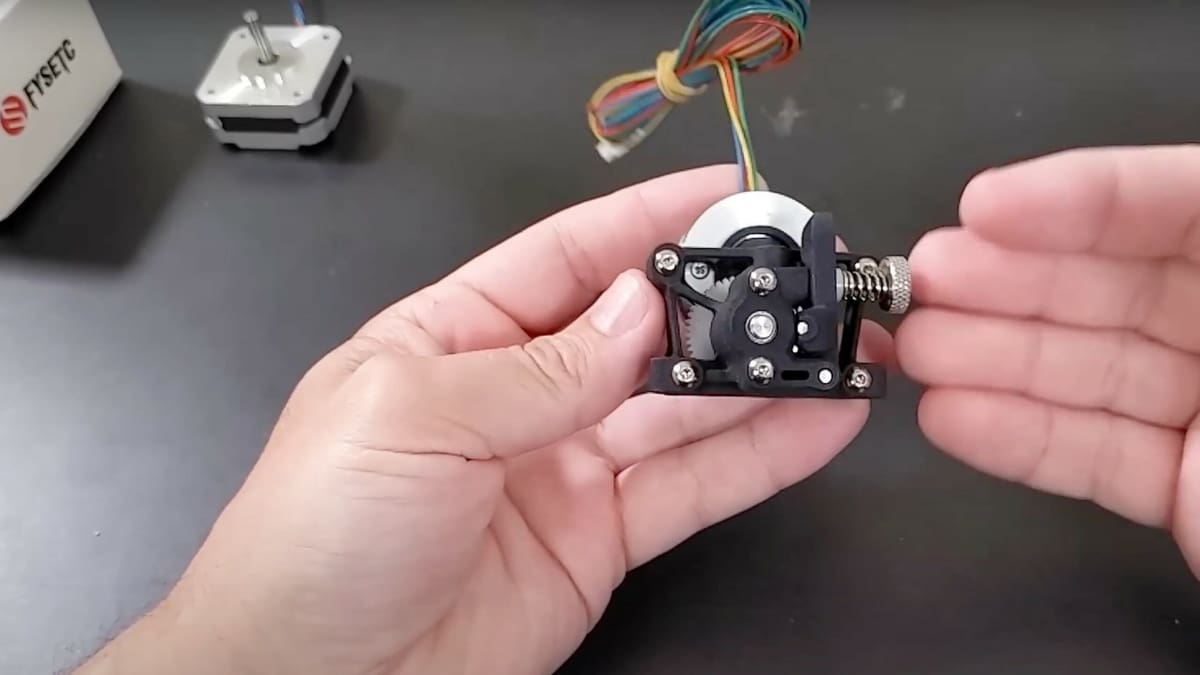
The Sherpa Mini is an open-source extruder that users originally needed to source the parts themselves for. However, with its growing popularity in the Voron community, a handful of manufacturers have also started offering pre-built versions. Triangle Lab sells an injection molded nylon version, and FYSETC offers an all-metal kit for extra rigidity.
The reason behind Sherpa Mini’s popularity is that it’s lightweight (unless you get the all-metal version), it’s very easy to disassemble for unclogging, and it offers great extrusion performance. It’s not a drop-in replacement, but all you’ll need to do is print an additional adapter, and you’ll be good to go. Like many other options, it uses the guts of a BMG extruder. Assembling and disassembling it doesn’t take more than a minute, so unclogging filament jams is a painless experience with the Sherpa Mini.
- Material compatibility: PLA, PETG, ABS, TPU, and more
- Assembly: Depending on which one you get, the construction can be 3D printed, injection molded, or machined out of metal
- Maintenance: Very easy
Artis3D Feeder Type MK V2 (Extruder)
This is a DIY extruder design, as in, you’ll need to source a set of BMG extruder gears and print the parts yourself to build it. According to users in the makes section, it’s 20-25% more powerful than the stock extruder and doesn’t face any heat creep issues with PLA or PETG.
However, it can’t print flexible materials like TPU. Another significant disadvantage is that it also reduces travel on the Y-axis by 19 mm.
Since the extruder needs to be self-sourced and the author doesn’t offer any step-by-step instructions, we would only recommend this extruder for makers who are comfortable with building without a guide. Disassembly is relatively easy, but the tension screw can’t be adjusted once installed and requires taking it off from the carriage.
- Material compatibility: PLA, PETG, ABS; not compatible with flexible filaments (like TPU)
- Assembly: 3D printed construction with BMG extruder’s gear set
- Maintenance: Moderate
Artis3D Feeder Type KK (Extruder)
The Type KK of Feeder is basically the same extruder as Type MK, but based on the parts of the K1’s extruder instead. So, if you have no use for the stock setup, the Feeder Type KK can be built out of that.
The rest of the features are fairly similar, but unlike the Type KK, this one doesn’t reduce travel on the Y-axis, which might be preferred by some users. It’s not known to face heat creep issues with PLA or PETG, but performance with TPU is unknown.
If you’re interested in building your own extruder and don’t mind dismantling the stock one, this would be a decent choice.
- Material compatibility: PLA, PETG; performance with TPU isn’t known yet
- Assembly: Uses the gears of stock extruder and 3D printed parts for construction
- Maintenance: Moderate
License: The text of "Creality K1 Extruder & Hot End: The Best Options" by All3DP is licensed under a Creative Commons Attribution 4.0 International License.
CERTAIN CONTENT THAT APPEARS ON THIS SITE COMES FROM AMAZON. THIS CONTENT IS PROVIDED ‘AS IS’ AND IS SUBJECT TO CHANGE OR REMOVAL AT ANY TIME.