Creality Hot Ends & Extruders: Buyer’s Guide

Creality has plenty of 3D printers and accessories, among them hot ends and extruders. Check out Creality hot end kits and similar goods!
Arguably one of the most crucial parts of any fused deposition modeling (FDM) printer is the hot end and extruder assembly. The job of virtually everything else that makes up the bulk of the machine is designed to keep them working at an optimum level or to complement them, the end-goal being to produce quality 3D printed items.
Creality printers are no different in this respect, and the company has a proven track record of producing quality FDM machines that do the job straight out of the box. They’re able to offer their 3D printers at affordable prices by generally using standard quality parts that carry a lower production cost.
So, with the hot end and extruder setup being such an important component, could their performance be improved by either upgrading to higher quality parts, or replacing the entire setup?
There are certainly options available, so in this article we aim to look at the various choices that Creality has to offer. With that in mind, all of the items we’ll be looking at are official Creality products, available from their online stores or from those authorized by them.
Coming up, we’ll present four upgrade options, and two full replacement kits. Before we look at these options, let’s specify a few things.


Considerations
When looking at replacement parts or upgrades for any machine, it’s worth taking into account a few aspects that might influence your decision to choose one option over another. With the Creality products we’re looking at, these may be:
- Necessity: The latest part may be what all the “cool kids” are getting, but you may want to decide if you really need an upgrade (adding more functionality, for example) or just a replacement due to wear and tear degrading the original performance (same model, same use).
- Installation: We’ll look at what the setup of the part looks like, whether you need any specialist skills or tools, and whether or not you need to update the firmware. These are things that you should consider before embarking on any kind of tinkering with the original factory version of your printer, depending on how comfortable you feel doing so.
- Ease of use: Once the part’s installed, it’s important to know how easy it’ll be to use and what difference it can make to your overall printing experience. The part itself may just be “plug and play” but it may also require a different approach to bed leveling, Z offset, and more. The question of firmware updates might also rear its head again.
We’ll also make a brief note regarding cost and what machines the part is compatible with. Now let’s check out what Creality’s got to offer.
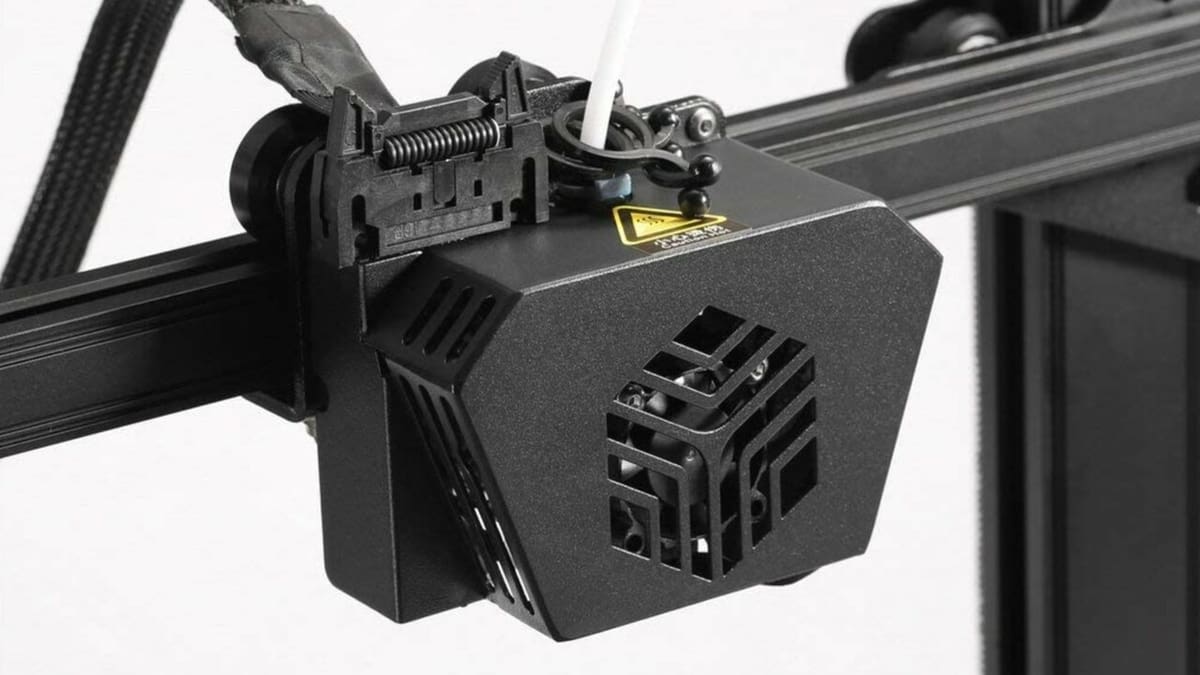
Sprite Extruder Pro Kit
Creality’s Sprite extruder offers operating temperatures of up to 300 °C, making it ideal for printing with difficult filament types such as PETG and carbon fiber. The Sprite was originally only available when purchasing the Ender 3 S1 range and the CR-10 Smart Pro, but Creality has now adapted it to make it compatible with the entire Ender 3 range.
The unit itself is very compact and encompasses a direct dual-gear extruder, motor, and the high temperature hot end all in one palm-sized module. There are also two cooling fans to ensure optimum performance, heat dissipation, and to avoid thermal runaway. The direct extrusion setup is designed to avoid potential blockages and under-extrusion issues. The only real downside to this is that if it does clog or seize up for some reason, the whole setup must be dismantled in order to gain access for a repair.
With everything it’s offering, it’s understandable that installation isn’t super easy. It requires a few basic tools, a good working knowledge of your printer, and knowing how to update firmware.
The higher temperature range is thanks to the Sprite having an all-metal heating block and a titanium heat break. This is a great upgrade, as it can open up more opportunities to print with different filaments that require higher temperatures, but you shouldn’t experience changes to the ease of printing. The one caveat with this is that you’ll need to invest in some hardened steel nozzles to cope with the higher temperatures and abrasive filaments.
It’s worth noting that there are two models of the Sprite Pro: one for the Ender 3 S1 range and CR-10 Smart Pro only and the other for Ender 3 (Pro/Max/V2). The price of the former is slightly lower at ∼$90. If you want to upgrade to the Sprite Pro, make sure you select the model that’s compatible with your Ender 3 model.
Also worth mentioning are the Water Cooling Heat Dissipation Kit and the CV-Laser Module 24V 1.6W, which are both additional attachments specifically compatible with the Sprite.
- Installation: Intermediate
- Compatibility: Ender 3/V2/Pro/Max/S1/S1 Pro/S1 Plus, CR-10 Smart Pro
- Price: ∼$110
Spider Hot End
The Spider high-temperature and high-speed hot end allows for temps up to 500 °C. This of course opens up a new level of 3D printing in terms of the types of filament that can be used on a standard desktop printer.
Working from the top down, the Bowden connector is more defined and durable and the aluminum alloy heat break and housing are quite well crafted. The heat block itself is a copper alloy, as is the nozzle. Although the nozzle boasts a hard wearing durability, again it could be worth investing in a small back-up supply just in case.
Installation is easy with just a few screws that fit to the mounting on the X-axis carriage. As with the Sprite, the actual operation isn’t much different but the use of different filaments will need more experience (and, depending on what you’re printing, maybe an enclosure would be warranted).
High temperature printing is one thing – but what about high speed? Well, with the Spider you can allegedly reach print speeds of 250 mm/s, which is lightning fast compared to a standard hot end. This again opens up opportunities to print high volumes in a short time space, which is ideal if you’re mass producing prints or have a deadline.
- Installation: Easy
- Compatibility: Ender 2/Pro, Ender 3/Pro/V2/S/Max, Ender 4, Ender 5/Pro/Plus, Ender 6, Ender 7, CR-10/V3/S/S4/S5/Mini, CR-20/Pro
- How much is it? ∼$50
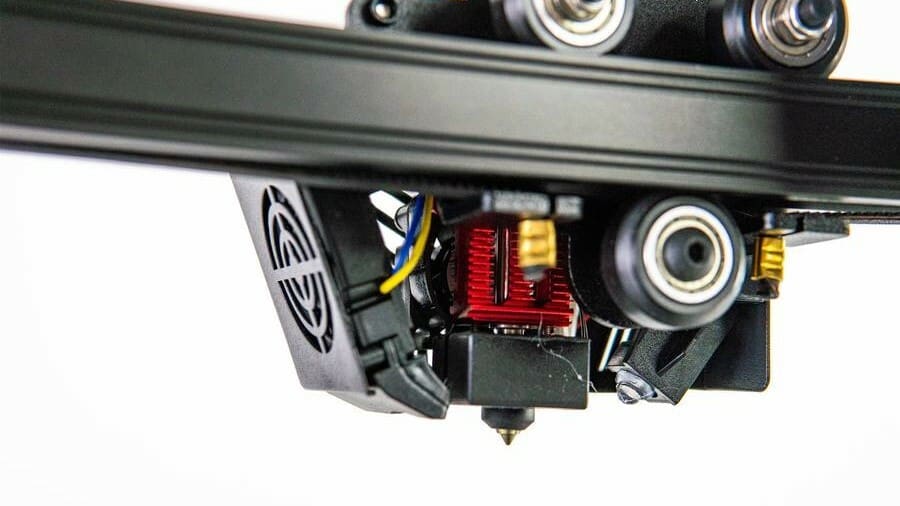
Ender 3 Direct Extrusion Kit
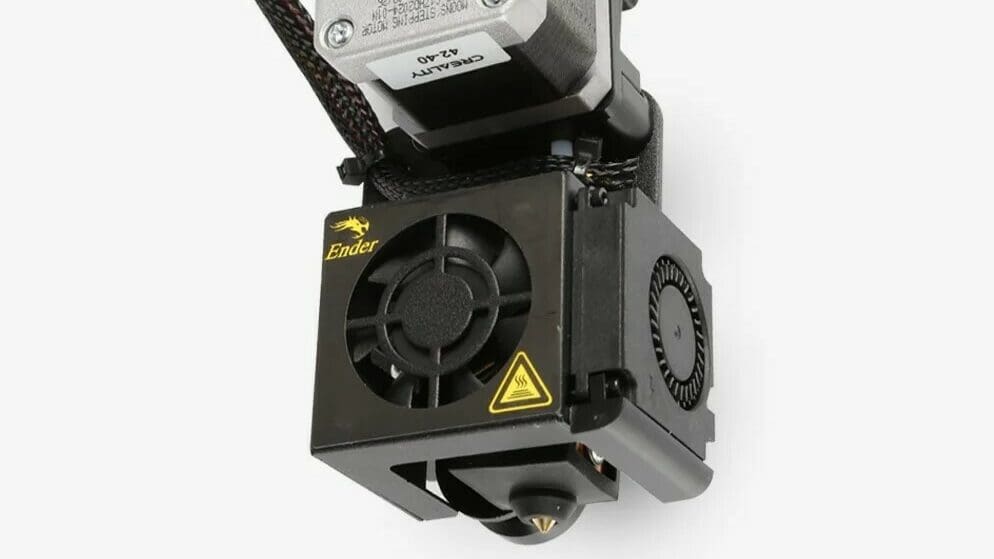
The Ender 3 Direct Extrusion Kit is, as the name suggests, specifically for the Ender 3 series and is designed to cut out the Bowden tube setup and therefore hopefully provide a better and more reliable extrusion process.
Although this is a direct extrusion setup, unlike the Sprite we’ve already looked at, the extrusion gear isn’t enclosed and is essentially the same as the standard, plastic one that comes with the Ender 3. The downside to this is that you can’t upgrade the extrusion gear to a metal one as the fixings are slightly different.
Installation is also not that easy as it requires dismantling of the printer and attachment to the mainboard, and the printer would need to be re-calibrated to allow for the change. Creality’s video tutorial can be pretty helpful.
The whole setup is quite weighty as the stepper motor and the hot end and fan cluster are all attached to a single plate that runs long the X-axis on three wheels. This adds quite a bit of stress to the X-axis that in turn puts strain on the Z-axis motor. One way to alleviate this is to invest in a dual drive Z-axis kit but that obviously involves more money and work.
If it’s set up correctly, this upgrade can add some improvement to the printing process as it can alleviate clogging and other issues in the long run. However, if you also want to benefit from the higher range of printing temperatures, then you may be better served investing a bit more and opting for the Sprite.
- Installation: Intermediate/expert
- Compatibility: Ender 3/Pro/V2/Max/V2 Neo
- How much is it? ∼$40
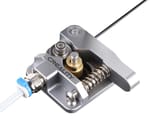
Metal Extruder Kit (Red or Gray)
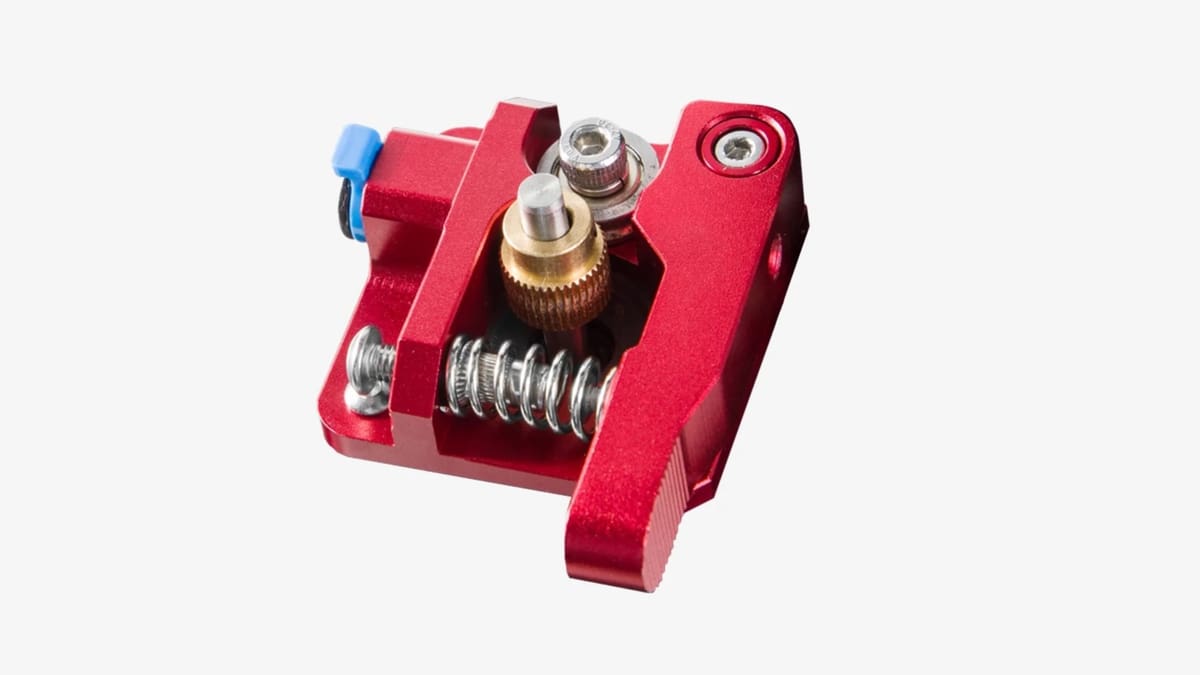
Every Creality Ender printer (with the exception of the S1, V2 Neo, Neo, and Neo Max) comes with a plastic extruder that inevitably cracks after extended use. The most common place for such a crack is in the lever arm, as this is where most stress is placed.
These extruder kits are therefore a basic upgrade to a more durable, all-metal option, and given its affordable price and lasting characteristics, it should be a no-brainer.
Installation is easy, with it being a case of removing a few screws with the tools provided and reversing the process to replace with the new. You can check out Chep’s YouTube video showing how to install the metal extruder kit on the Ender 3 V2 for a clear idea of how easy it really is.
The choice of color simply comes down to aesthetics and has nothing to do with performance, although there is a slight difference in the price.
- Installation: Easy
- Compatibility: Ender 3/Pro/V2/S/Max, CR-10/10S
- How much is it? ∼$11 for red, ∼$12 for gray

Heating Block Kit
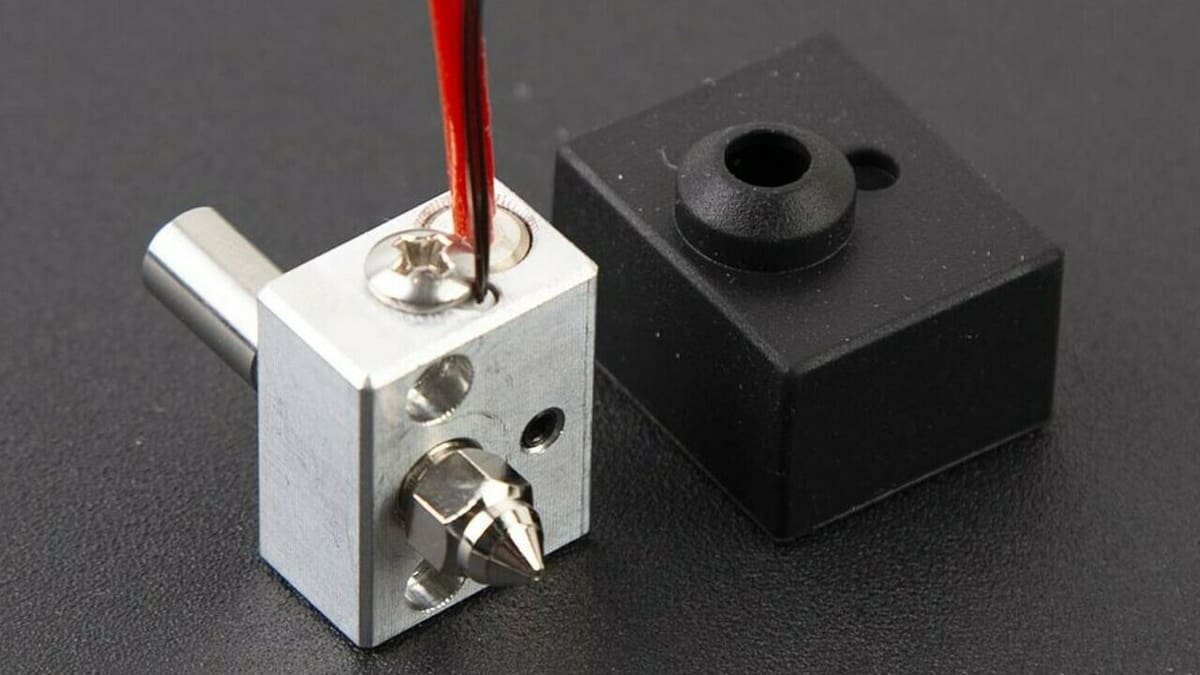
While we’re on the subject of high temperature printing and hot ends, it’s worth taking a look at the high temperature heating block kit, which is available primarily for the Ender 3 S1.
This is a direct part replacement for the Sprite extruder, but in order to install it you’ll need to dismantle nearly the whole setup and feed the wires through to the mainboard as required. The heating block is also compatible with the Sermoon V1 and V1 Pro, which are enclosed machines – meaning that more work will be required for proper installation on these devices.
For reference, you can check out Creality’s After-sale video on how to replace the nozzle for the Sermoon V1’s extruder.
The set up has a titanium alloy throat tube that supports the high temperature printing up to 300 °C, and it’s worth noting that this alloy can reduce the heat conduction upward.
- Installation: Intermediate/expert
- Compatibility: Ender 3 S1, Sermoon V1/Pro
- How much is it? ∼$26
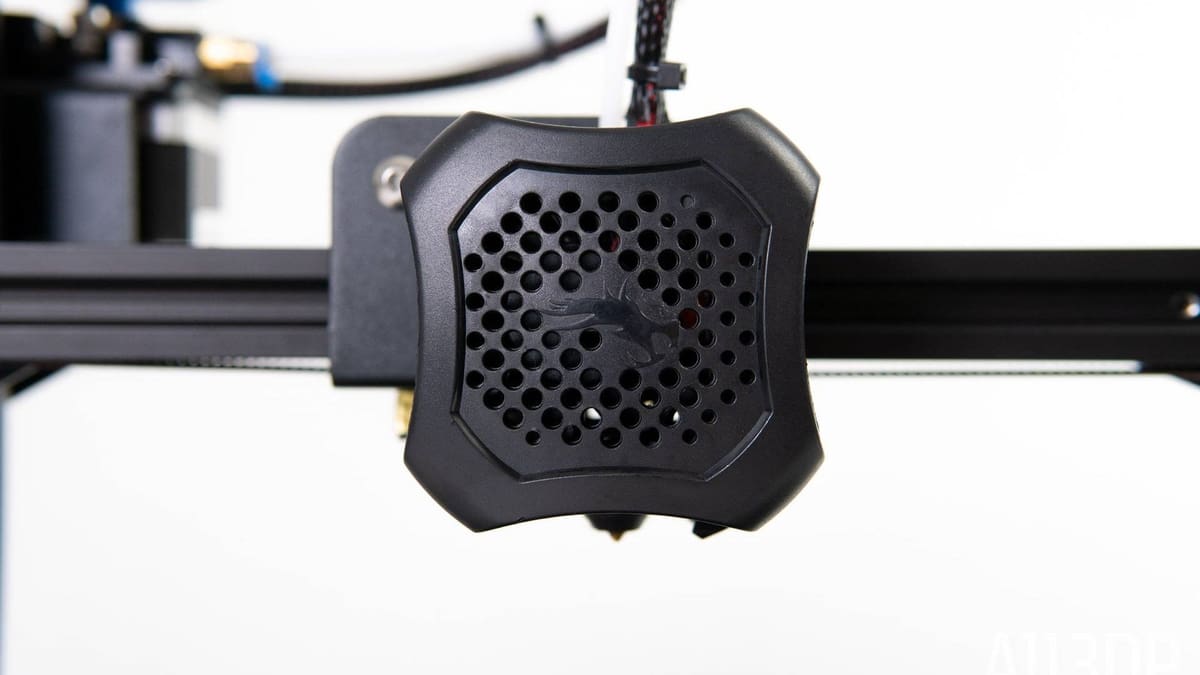
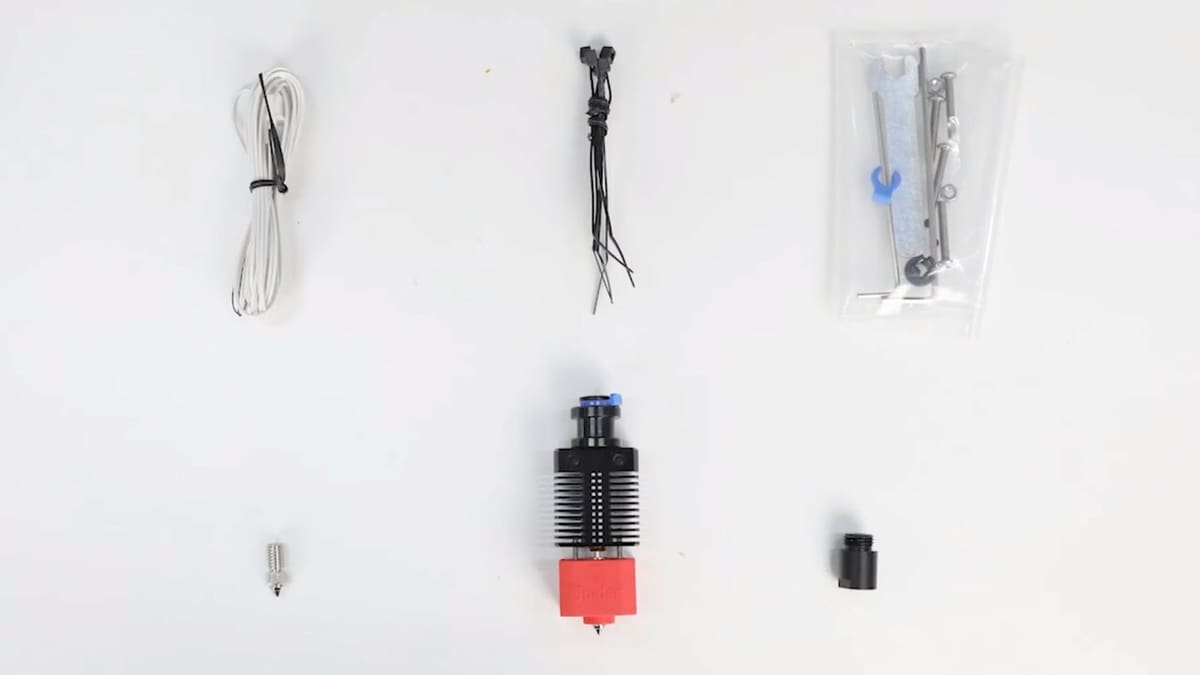
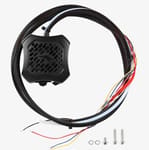
Ender 3/V2 Hot End Kits
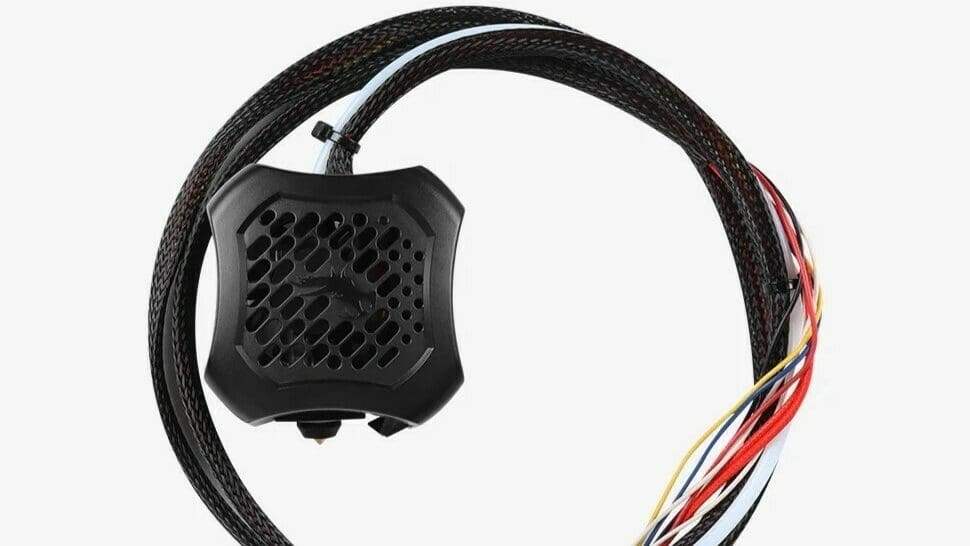
We’re now moving into the realm of a full replacement rather than upgrade.
These two kits are a complete replacement hot end with all the cables included. The only difference between them is the cover on the V2 version, which will only fit that machine.
A replacement rather than any sort of upgrade is really only necessary if the original part is faulty or showing signs of wear and tear. You won’t be adding any functionality but rather just maintaining its normal use.
One of the most common elements of the setup to break is the thermistor, followed by the fans. While these can be replaced fairly easily, it does involve some maneuvering of the wiring setup and connection to the main board.
Fitting of this kit will need much of the same “fiddling” but the process is fairly straightforward; swap the connections and add the new ones in the correct place. This does involve quite a lot of work and dismantling of the printer, but you shouldn’t need to update the firmware.
- Installation: Intermediate
- Compatibility: Ender 2 Pro, Ender 3/Pro/S; an Ender 3 V2 version is specific to that machine
- How much is it? Standard is ∼$24.99; V2 is ∼$27
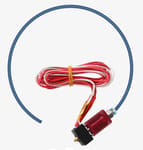
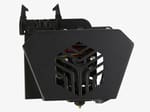
CR-6 SE Hot End Kit
Again, another full replacement for the original without a functionality upgrade.
As with the Ender 3 replacement kit, it’s really only necessary to replace it if it’s faulty or worn. Unlike the Ender 3 and V2 versions, the hot end kit for the CR-6 SE doesn’t actually include any of the wiring – which could be a downside but potentially makes for an easier installation as it should be a case of just remove and replace.
The design is efficient and looks good but obviously this is aimed at looking exactly like the one you are removing and replacing.
Because it’s a replacement and not an upgrade, the same materials should be printed and its highest temperature (260 °C) won’t differ upon substitution.
- Installation: Easy
- Compatibility: CR-6 SE
- How much is it? ∼$46
License: The text of "Creality Hot Ends & Extruders: Buyer’s Guide" by All3DP is licensed under a Creative Commons Attribution 4.0 International License.
CERTAIN CONTENT THAT APPEARS ON THIS SITE COMES FROM AMAZON. THIS CONTENT IS PROVIDED ‘AS IS’ AND IS SUBJECT TO CHANGE OR REMOVAL AT ANY TIME.