Creality K1 Multicolor Print: How to Create Yours

While we wait for Creality's own AMS, check out this quick Creality K1 multicolor print strategy for creating beautiful, colorful prints!
The Creality K1 is Creality’s flagship machine, together with its bigger sister, the K1 Max. Designed to be plug-and-play, these printers offer some interesting features that make them suitable even for beginners, all at a moderate price.
These devices include a whole slew of bells and whistles, such as automatic bed leveling and Z offset calibration, vibration compensation, and pre-made profiles for a wide variety of materials, making your life much easier.
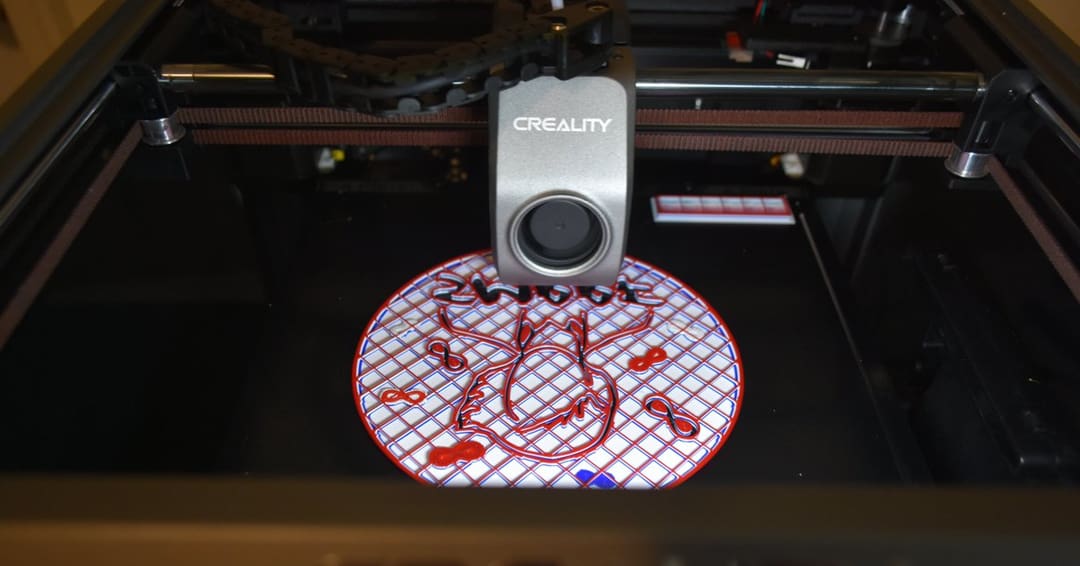
If you’ve printed with a K1, you know how cool it is to watch the printhead moving so fast, but perhaps you’re looking to add an extra pop of color to your prints. If that’s the case, this is the right guide for you because we’ll talk about multicolor printing on the K1.
Usually, when you think about multicolor prints you imagine a multicolor unit or a multi-extruder setup. Although these are valid solutions, we’re going to cover a method that doesn’t require any extra equipment and won’t cost a dime. Let’s get right into it!
Compatibility
Before we get into creating multicolor printing with the Creality K1, there are a few things to keep in mind. While how much time and patience you have to babysit your print will play a big role in how many color changes you can incorporate, there are also a few machine-related considerations that will affect the materials and models that we can successfully print in multiple colors.
Printing
There are some limitations to what this machine can do given we’re working with one extruder and don’t have the help of special equipment like an AMS. This method works best for swapping filaments between discrete layers, not in the middle of a layer. This means you won’t be able to use multiple colors in a single layer.
Also important to know is that the hot end temperature and other print settings will remain the same for the whole printing session, so we’re aiming for multicolor prints rather than multi-material. Pick one type of filament, like PLA, and stick to it for the entire print, only swapping to a different color choice.
Material
Speaking of material choice, you can create multicolor prints using just about any material you’d use for a single filament print. The K1 is equipped with a powerful heater cartridge that allows the hot end to reach up to 300 °C, making it compatible with common materials such as PLA, PETG, and TPU, but we can also use tougher filaments, like PA, ABS, and ASA. Printing these high-temperature materials is made possible by the machine’s enclosure, which traps heat and prevents uneven cooling that can cause warping.
Composite filaments, like carbon fiber or wood PLA, can be a bit trickier. Not only should you be sure that the print settings are suitable for all of your chosen filaments, but you’ll also have to ensure the nozzle is compatible with all materials.
The greater the difference between two filaments, the more likely the interface will be a weak spot susceptible to delamination and part failure. While some have figured out a way to improve the interfacial compatibility between two different filament materials, it’s best to stick to a single material.
Model
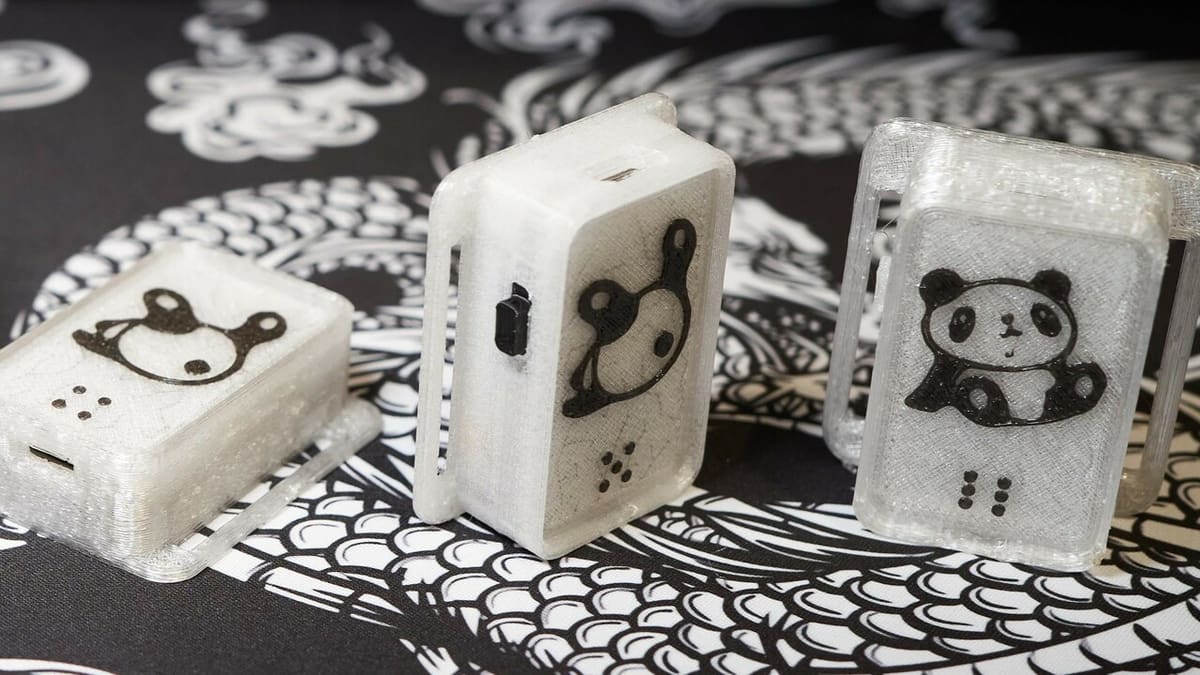
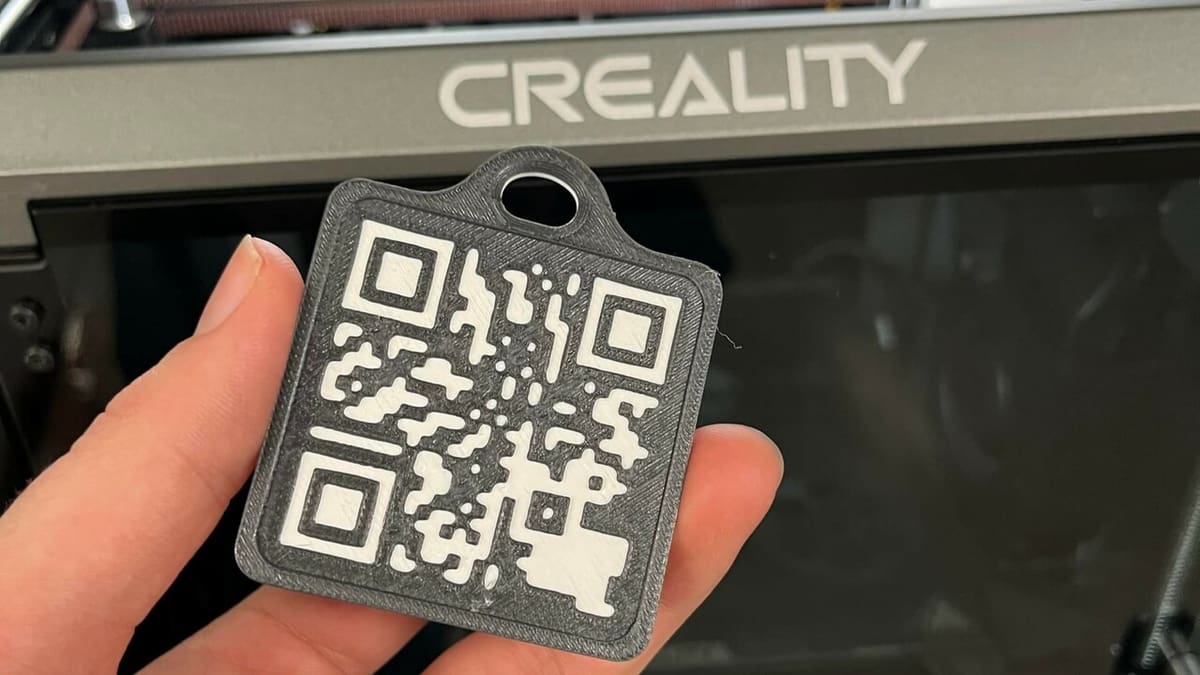
Since we can’t change colors in the middle of a layer, only between different layers, look for models that would benefit from stacking colors on top of each other. Designs with lettering or logos, such as keychains and signs, are particularly suitable for this kind of procedure, although we can also add some fun to decorative pieces, for example.
Now that we know what filaments and models we can use, let’s start talking about the process of printing with multiple colors on our K1.
Pause at Layer Height
Let’s get into the meat of the guide. We’ll be using Creality Print as the slicer since it’s the dedicated software for this device. The procedure will be generally the same with other programs, however some slicers, such as Cura, have built-in options for adding custom G-code commands, making the process simpler.
Slicing & Finding the Right Layer
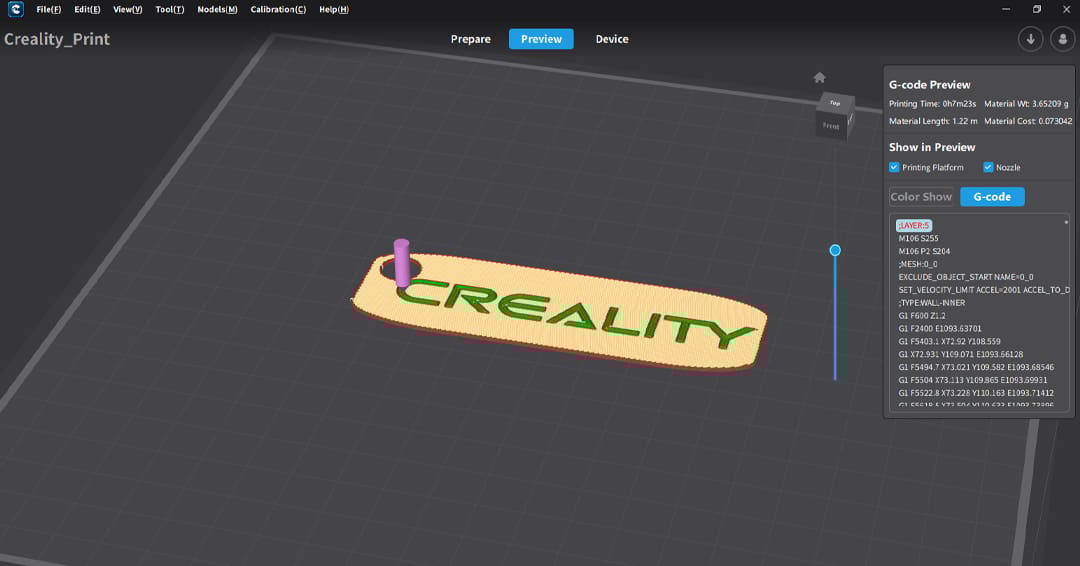
- Slice the model in Creality Print like you normally would. There’s no particular setting to change during this phase, so use the settings that you need for the model. Once slicing is complete, you’ll be taken to the “Preview” tab.
- Drag the vertical slider at the right side of the Preview tab to look for the layer at which you want to start printing with the second filament color.
- Write down this layer number as you’ll need to find it later in the G-code. If you’d like to change the color multiple times, find and log the other layer numbers as well.
Export & Add the Pause
- Export the G-code and save it to your computer using the “Export to Local” button.
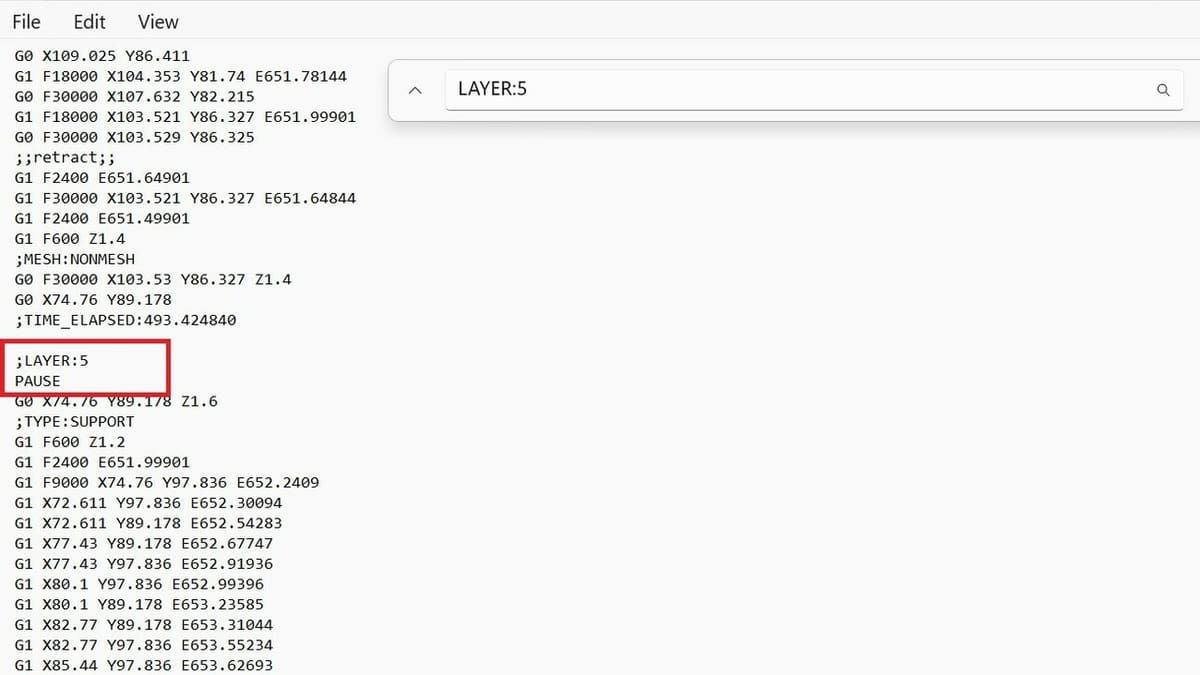
- Locate the G-code file in your explorer then right-click on it and select “Open with > Notepad”.
- Press “Ctrl + F” to open the search bar and write “LAYER:X” where X is the layer number you wrote down earlier. For example, if you want to change the filament at the 87th layer, find “LAYER:87”.
- Directly under the “LAYER:X” line, add “PAUSE”. This piece of code will recall the Klipper macro to pause filament extrusion.
- Repeat this for all the filament changes that you need, then save the file.
Import & Start the File
- Open Creality Print, go to the “Device” tab and locate your printer.
- Click on “Details” and then “Import”.
- Left-click on the file and select either “Start printing” or “Print with calibration” if you prefer to have a fresh bed mesh.
And we’re done… almost.
Change Filament

Once you’ve sent the file to the machine and started the print, the machine will automatically pause at the established layers. When pausing, the printhead will move to the left and cool to 140 °C. In this way, it will consume less energy while it waits, but it’ll be ready to heat up quickly when needed. That’s the moment to change the filament.
- On the K1 touchscreen, click on the “Prepare” tab (the second icon on the left column) then move to the “Extrude/Retract” options. Unload the filament by first clicking on the “Retract” button.
- When the 3D printer has finished the unloading process, unlock the extruder and pull out the remaining filament in the PTFE tube.
- Load the new filament into the PTFE tube. You can help your machine by cutting the end of the filament at a 45° angle and inserting it until it reaches the extruder gears.
- Lock the extruder to engage the gears again, then press the “Extrude” command on the touchscreen. The extruder will heat back up and purge some filament.
- Once the procedure is complete, return to “Home” on the touchscreen (first icon of the left column).
- Click on the Play/Stop icon, then select “Resume” to restart printing. The hot end will return to the printing temperature and resume printing where it left off.
Tips & Tricks
Although this process is relatively straightforward, there are a few tips and tricks that you can use to increase the success rate. Let’s talk about them:
- Purge well: The first problem that may present is color bleeding. If you want to have a sharp contrast between the two filaments, you should purge the filament well when changing it. Repeating the “Extrude” process twice after the filament change should be enough to eliminate traces of the previous filament and avoid bleeding.
- Clean the nozzle: Once you’ve finished purging the filament, make sure to grab some tweezers to eliminate any extruded filament on the nozzle. This will prevent artifacts on the print, such as strings of material at the seam. You can even use a brush to gently scrub the nozzle.
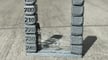
- Calibrate the printer: A problem you may run into when changing color is layer shifting, caused by the extruder not returning to exactly where it left off before the pause. There are various reasons this could be happening. During the pause, be sure to avoid hitting the bed, the toolhead, or the machine in general. You can also check for loose belts, as this is a common reason for layer shifting. Finally, enabling the Z Hop will significantly decrease the chances of layer shifting, although it will add some time to the print.
Alternatives: Multicolor Units
Even though there are some rumors about a multicolor unit designed by Creality, at the moment there aren’t official solutions provided by the company. There are, however, some third-party devices that you can consider to create more complex multicolor prints with your K1.
- 3DChamaleon: The 3DChamaleon is a four-color printing system compatible with just about any printer, including the Creality K1 and K1 Max. It’s been on the market for a few years now and is on the third iteration of the design with a fourth version coming soon. This multicolor unit uses a separate “brain” so you won’t need almost any modification to your K1 to make it work. The 3D Chamaleon reads the G-code you send to your machine and automatically switches the filament.
- Mosaic Palette: The Mosaic Palette is another popular add-on multicolor system designed to be compatible with any machine. This device works by splicing multiple filaments together into a single, multicolor strand according to the G-code file. By doing so, it avoids time-consuming filament swaps in the middle of a print. The Palette Pro 3 can work with up to eight different filament colors.
License: The text of "Creality K1 Multicolor Print: How to Create Yours" by All3DP is licensed under a Creative Commons Attribution 4.0 International License.