Creality Laser Engravers Are Worth It – That’s What Makers Say

Creality is well known for its 3D printers, but they also produce laser engravers. Read on to learn all about Creality laser engravers!
Affordable laser engravers and cutters have truly made a difference in the DIY community. Increased access to laser engraving has led to a proliferation of artwork, projects, and customized products.
Creality, which revolutionized the 3D printing world with their affordable Ender 3, entered the laser engraving field in 2021. Since then, several machines and modules have been launched. They continue to develop and refine their series of standalone laser engravers, while also introducing accessories that extend the safety and functionality of their engravers.
It’s not hard to find positive reviews of Creality’s laser engravers. The machines are often recommended for beginners, but the company’s latest releases are definitely targeted to prosumers and experienced professionals. The big question, though, is whether it’s worth buying one of their laser engravers?
To help you answer that question, we’ve pored over Creality’s assortment of engravers and accessories, maker reviews, and customer feedback. In this article, we highlight the products that stand out the most and give you the pros and cons for each.
At a Glance
Falcon 5W
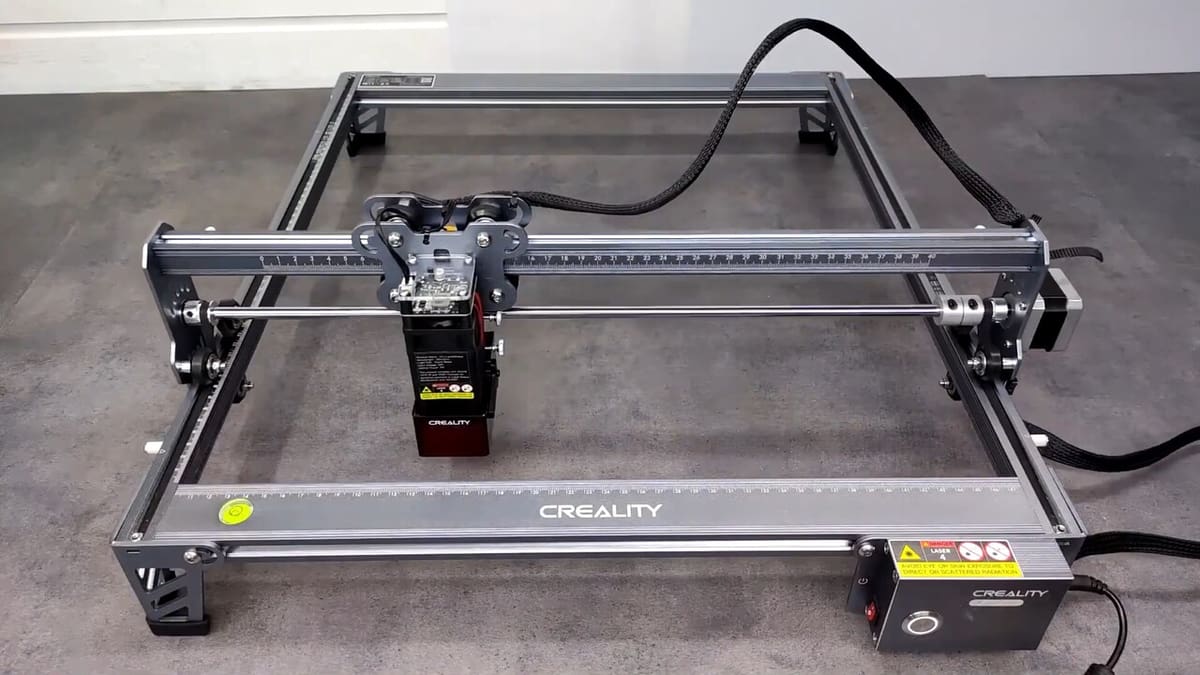
The Falcon 5W is a low-power laser engraver with a good cost-benefit ratio, especially for beginners looking to explore laser engraving and those working on less demanding projects. Even though it’s a lower-powered machine compared to the others in the series, it’s possible to engrave and cut with 0.1-mm precision on different materials in a large 400 x 415 mm work area.
The engraver comes outfitted with an SD card reader for offline operation, an automatic shutdown sensor in case of tipping over, and a small filter for smoke and dust. Unfortunately, this version lacks an emergency stop button or safety switch.
The machine has been praised for the ease of assembly and use, as well as the possibility of offline operation without a computer. The laser spot size of 0.6 mm favors good resolution for engraving compatible materials as well as cutting wood. You can expect good results, as you can see in this video from the YouTuber Kukomio.
Compatible materials include paper, wood, bamboo, leather, textile, acrylic, coated metal, plastic, among others. However, there are cutting limitations with this engraver. Given the low laser power, multiple passes will be needed for some materials. For this reason, some makers don’t recommend the 5W Falcon for high-volume production.
Some of these limitations can be resolved with the 10W version of the Falcon, which is often recommended for more demanding engraving tasks. It can even mark metals. Whether you go for the 5W or the 10W Falcon, these machines are a great way to get into laser engraving without breaking the bank.
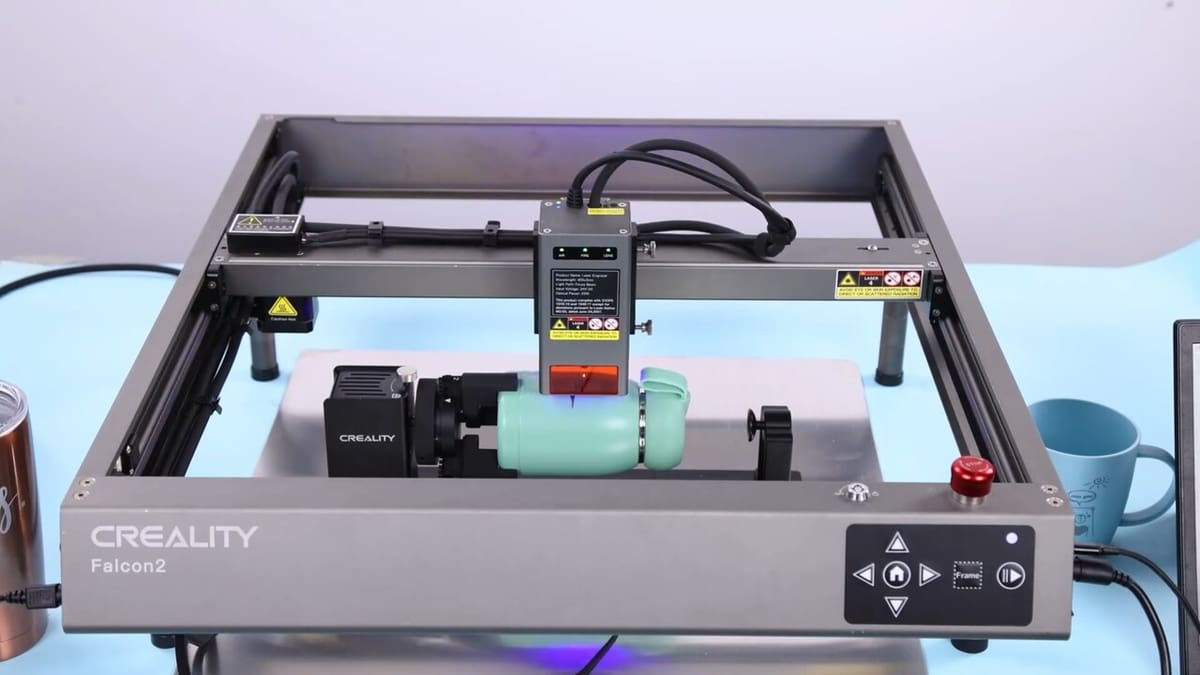
Falcon2 22W
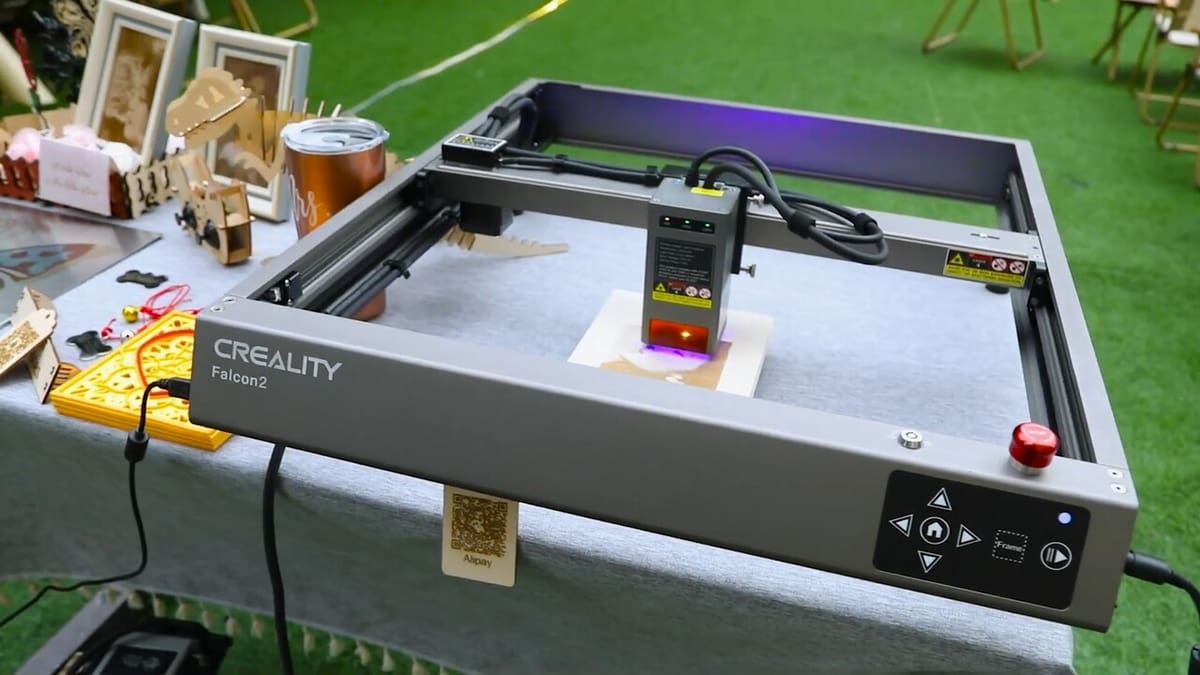
The Falcon2 attracted a lot of attention by introducing the ability to “engrave” metal in color with a diode laser, but Creality has packed quite a few quality-of-life features into this engraver. For example, its safety mechanisms are more robust and include an emergency stop button and flame monitoring, amoing other protections. A front panel with buttons offers the ability to position of the laser head as well as other simple functions, making operation practical and quick.
The second generation Falcon also promises faster engraving, and thanks to Air Assist, improved results. Air Assist is basically a stream of compressed air from the laser head that dissipates heat and blows away debris from the work piece’s surface. This improves the quality of the engraving and decreases the likelihood of fire.
Of its many strengths, the most obvious is the significant increase in laser power. Makers have shown how the machine is capable of cutting 22 mm of wood in one go. The increased power also expands the range of materials that can be marked, engraved, or cut, and makers are certainly trying them all.
Working with metal has yielded mixed results. The Falcon2 can certainly mark metal – as seen in Alan Reiner’s video – and cut very very thin sheets. Thicker sheets can be problematic and leave uneven edges. Although you’ll find images and videos that show a true rainbow of colors on metal, it’s tricky to achieve in practice. It’s definitely possible, but several other factors need to be considered, such as the type of metal and power/speed ratio, for example.
The Falcon2 series includes models in 22W and 40W versions. You can also buy the 40W module separately if desired, but you’ll need the Falcon2 frame to install it.
In summary, this machine surprises with additional layers of safety and advanced features that make a difference in your laser engraving work.
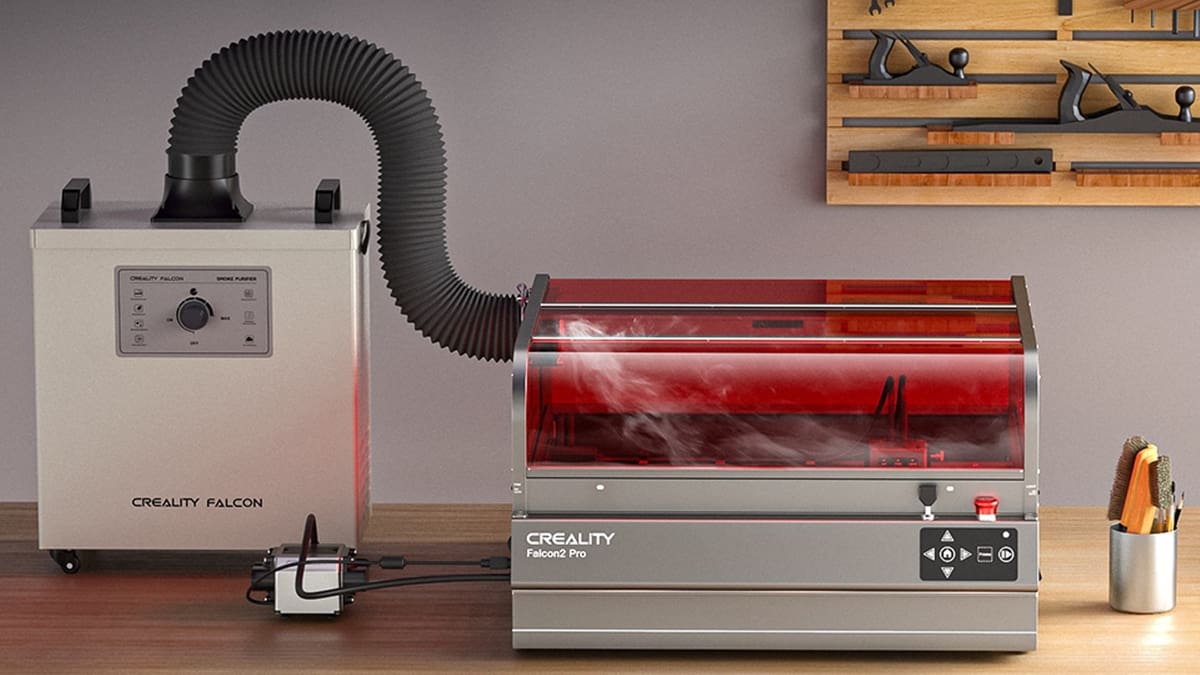
Falcon2 Pro 60W
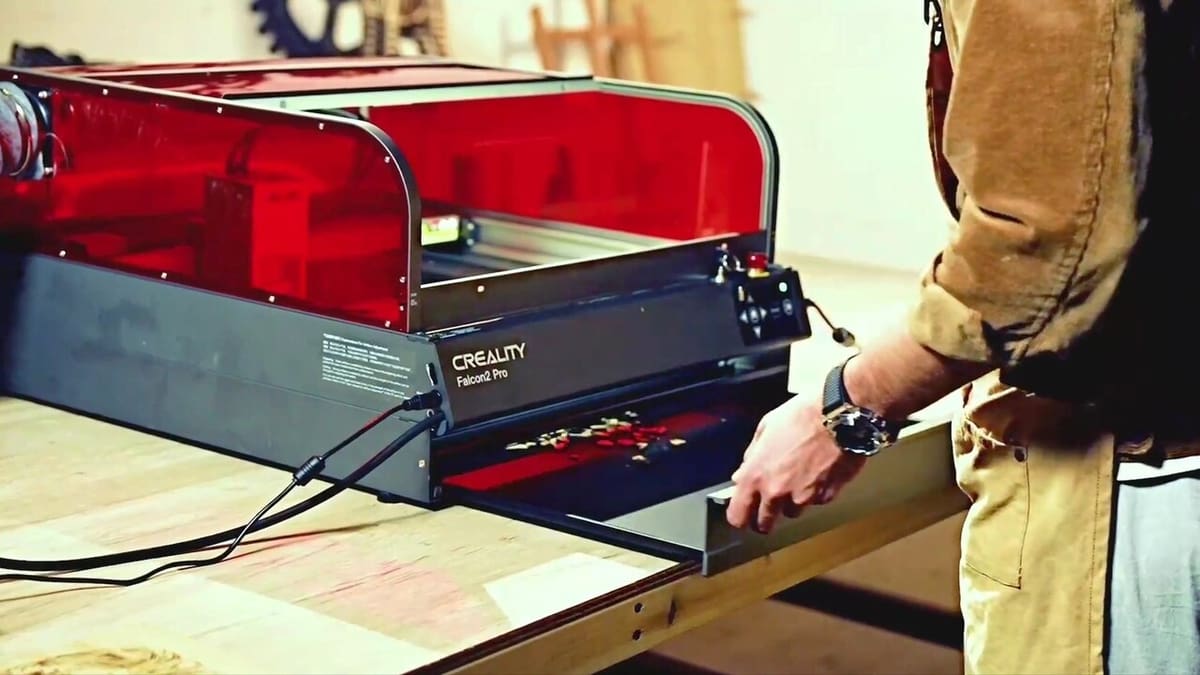
The Falcon2 Pro 60W is Creality’s most powerful and complete model to date. In addition to preserving many of the features of previous versions, it brings highly praised new features such as internal lighting, a built-in camera, an enclosure with built-in exhaust fan, a bottom tray for cutting waste and dust, among others.
Obviously, what draws the most attention is this model’s laser power. The laser head comes outfitted with a button to select between three operating modes: Powerful (60W), Normal (40W), and Precise (22W). The higher laser power, however, can be both an advantage and a disadvantage. In the case of diode lasers, the higher the laser power, the larger the spot size of the laser beam. While the higher power allows for easier cutting work and higher engraving speed, it reduces the resolution that can be achieved due to the spot size.
For this reason, this model comes with an additional free module with 1.6W power for more refined engraving work. The YouTube channel Steve Makes Everything shows the difference with engraving samples made with 40W laser power and 1.6W.
In terms of the laser engraver’s other features, makers appreciate the ability to remove the lower tray as well as the fact that it doesn’t prevent the use of other accessories, such as the Rotary Roller and Risers.
A wide range of materials can be cut and engraved with the Falcon2 Pro. When it comes to metal, makers have done some interesting tests. The YouTubers Bexhill West and Steve Makes Everything tried to cut 0.6-mm stainless steel but didn’t achieve clean cuts. That being said, the sheets exceed Creality’s advertised claim that the 60W model can cut 0.2-mm stainless steel in one pass. Certainly, there are limitations given the engraver’s diode laser, but there’s still a lot this maschine can do with metal.
The Falcon2 Pro is also available in 22W and 40W versions. Only the 40W and 60W models come with the additional 1.6W module. Moreover, the laser power of the 40W model can be adjusted down to 22W with the click of a button on the laser head.
Laser Modules for 3D Printers
Now that we’ve seen the best desktop laser alternatives of the moment, it’s worth taking a closer look at where it all began, right alongside 3D printing! Creality sells laser modules that replace the printhead, turning your 3D printer into a laser engraver.
There are a couple of advantages to this approach. By adding functionality to your 3D printer, you don’t have to invest in a separate desktop laser engraver. This also saves space, as you can use a machine that’s already in your workshop – which may be sitting idle.
At the time of writing, two types of laser modules are available: the CV Laser Module and another that’s simply called “Creality Laser Module”. They look very similar and can be easily confused, but they’re quite distinct. The latter is available in different laser powers, has an independent controller box, and is compatible with more Creality printers. We’ll discuss both in more detail below.
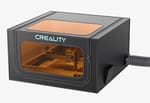
CV Laser Module 24V 1.6W
This is the entry-level laser for Creality printers and although it may seem simple, it’s very powerful in the right hands. As we saw above, the less powerful diode lasers are capable of delivering higher resolution engraving. If you already have a compatible printer, this option can save you a lot of money, since you’ll only need to install one module. It’s the simplest and cheapest option for you to do your first projects and gain experience.
You can do almost everything with this laser module that you could do with a desktop laser engraver but with a smaller work area and less power. The engraving quality will be excellent on common materials like cardboard, wood, bamboo, leather, and fabric. However, making cuts through dense and hard materials like MDF or acrylic isn’t this module’s strong point.
Currently, this module is only available with a 1.6W laser power, comes without the control box, and is compatible with only the Ender-3 S1 and S1 Pro. To operate, it needs to be connected directly to the printer’s motherboard.
Along with replacing the printhead, you’ll also need to update the firmware for the screen and motherboard. It seems like a simple installation for more experienced users. However, for those who do not have much knowledge, it can be a bit confusing to find the right file to download or to configure the laser module and operate it. If you have any difficulties, be sure to check out the installation video from the manufacturer.
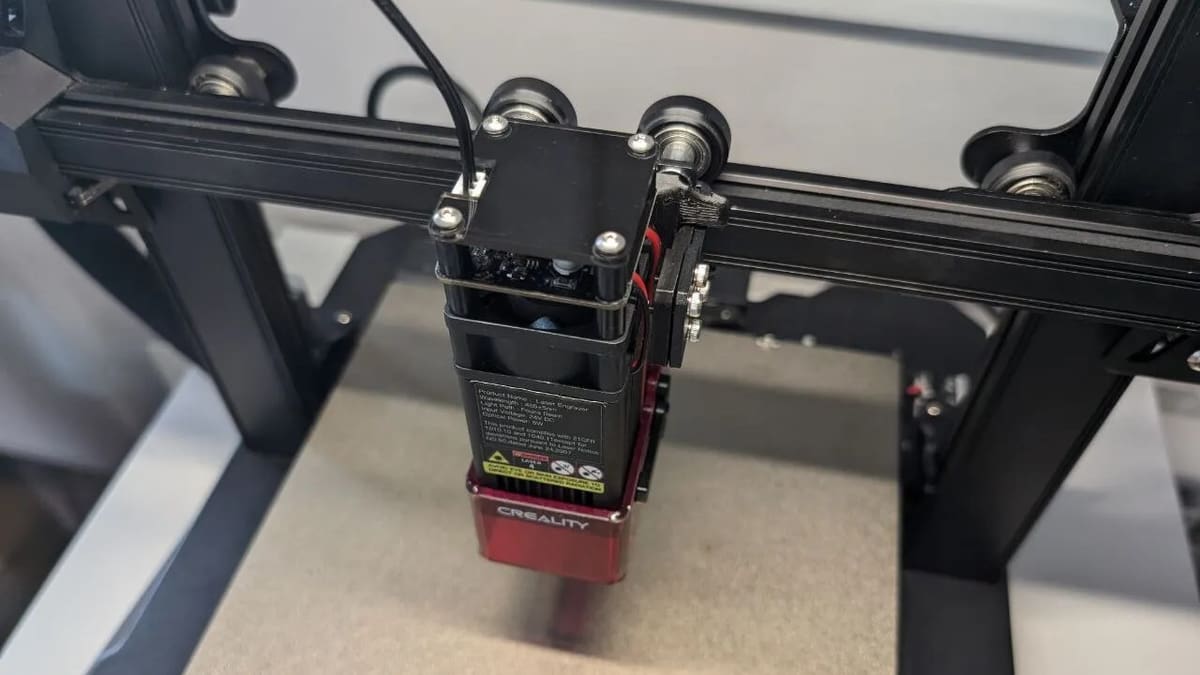
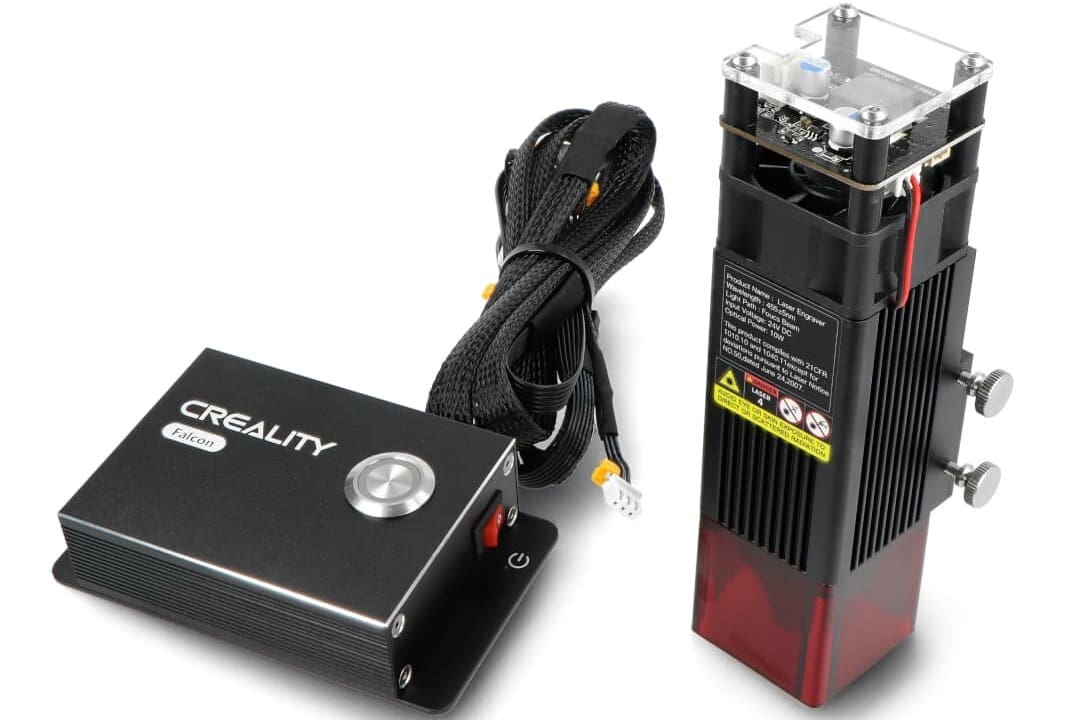
Creality Laser Module 10W
The cutting and engraving capabilities of this module are equivalent to the 10W Falcon desktop engraver with the exception of the work area, which is limited by the size of each printer. Some users report positive experiences with the module, but there’s also some criticism regarding the assembly and installation. You’ll definitely want to check out Creality’s installation video for guidance.
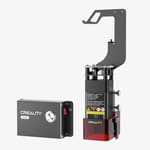
One point of confusion is the mounting bracket. It’s designed to clip onto the printhead; the extruder or hot end doesn’t need to be removed at all. A number of hands-on reviewers – the YouTubers My Tech Fun and Jat Workshop and Design – mention possible modifications or custom designs to make the mount more stable and permanent. Whether you use the bracket as designed or create a custom mount, it’s important that the module is properly and securely mounted, otherwise you’re likely to get serious errors in your laser engraving.
Another important consideration is the need for an additional layer of protection for the print bed. Creality’s installation video shows the use of an aluminum plate to cover the print bed, and the workpiece to be cut or engraved is placed on top of the plate. If you go this route, it’s worth checking out Creality’s Honeycomb Workbench, which we’ll discuss in the next section.
Besides the 10W version, the Creality Laser Module is also available in 1.6W and 5W laser powers.
Accessories
Now that we know the best Creality laser options, let’s also take a look at some important accessories.
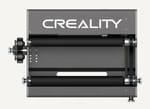
Rotary
With a rotary attachment, you can further expand the possibilities of your laser engraver. Creality’s Rotary Roller allows you to engrave circular and cylindrical objects with a diameter between 5 and 120 mm (about 0.2 to 4.7 inches), including cans, bottles, glasses, and the like. The roller is compatible with all of the standalone Falcon series engravers, although you’ll likely need risers to achieve the proper height for engraving. You can grab this accessory for about $100 at Creality.
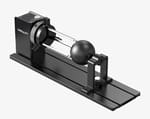
For $50 more, you can upgrade to the Rotary Kit Pro. Creality promises higher precision in terms of control, and the design includes adjustable jaws that accommodate all types of shapes. With the pro kit, you can engrave objects up to 230 mm (about 9 inches) in length, and the range of compatible diameters is wider than the roller: between 1 and 130 mm (approximately 0.04 to 5 inches).
Enclosure
Laser engraving comes with a lot of safety risks, including fire, toxic fumes, accumulation of dust and debris, and possible damage to one’s vision. These are all reasons to consider purchasing an enclosure. They’re made of fireproof materials and have windows that protect you from the laser’s light.
Creality sells a base enclosure model (about $60) as well as a Pro version (about $90). The latter is slightly larger, has a straightforward design, and comes with a higher power ventilation fan.
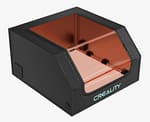
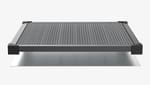
Honeycomb Workbench
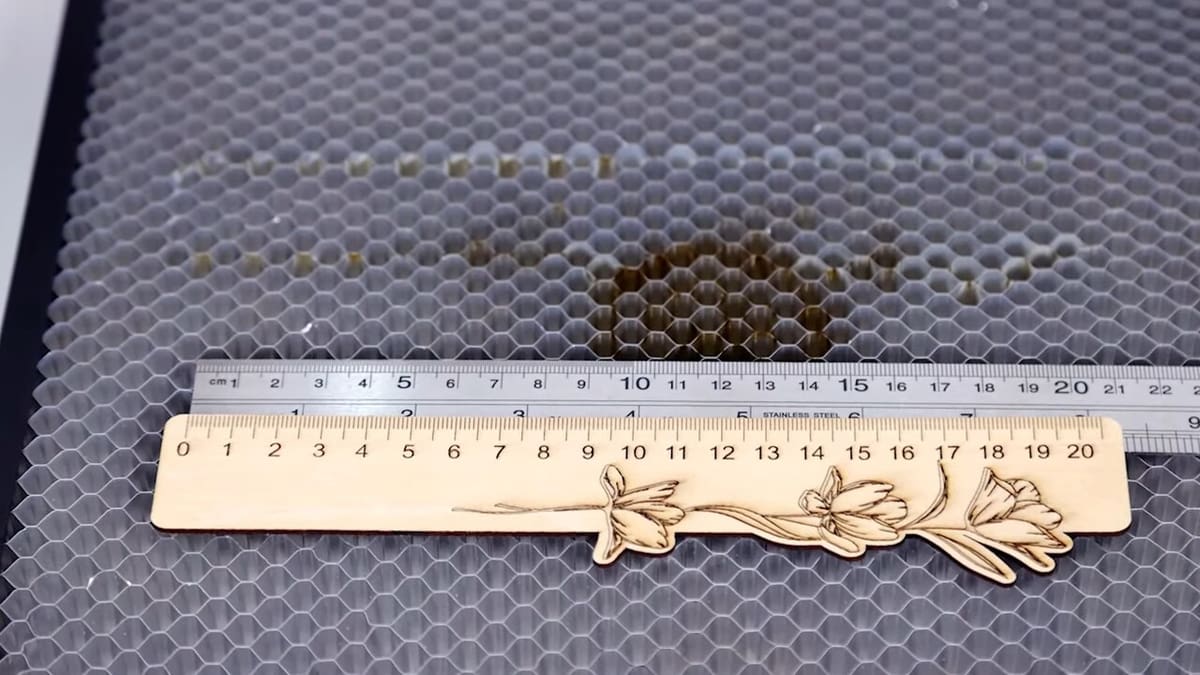
It would be a good idea to invest in a suitable surface on which objects can be engraved. Besides protecting the furniture underneath, Creality says the Honeycomb Workbench “contributes to faster heat dissipation and smoke exhaustion, (preventing) fires and yellowing of works.” It also facilitates the airflow of the Air Assist, prevent parts from moving during engraving, and allows you to better hold some parts with magnets.
Creality sells this accessory in two sizes: 235 x 235 mm for about $23 and 500 x 500 mm costing around $90.
Safety Considerations
Before getting started on your new laser engraving adventure, it’s worth remembering that it’s essential to keep safety precautions in mind when handling lasers.
- Wear safety glasses: Although the laser’s light is very beautiful and mesmerizing, you should never look at it, directly or indirectly. The light can permanently damage your eyesight. For open desktop engravers that don’t have protection (i.e., the Falcon and Falcon2) and the laser modules for 3D printers, the use of safety glasses is vital. So, make sure to have glasses to protect everyone who’ll use the engraver, and keep your pets clear of the room while the machine is in operation.
- Ensure proper ventilation: The fumes released during the engraving process can be hazardous to your health. Therefore, it’s highly recommended to put your laser engraver in a well-ventilated place, protected from children and animals. An enclosure with an exhaust fan and tube directing fumes outdoors would be great. Alternatively, you could invest in a smoke purifier.
- Know your materials: Some materials are just too dangerous to be laser cut or engraved. Besides toxic fumes, they can also release chemicals that will damage your laser engraver. Polycarbonate, PVC, and vinyl are examples of materials to avoid. Check out OMTech’s article on laser safety for a list of more dangerous materials.
- Keep an eye on the engraver: Never leave your engraver unattended while it’s in operation. Although the newer versions like the Falcon2 Pro are packed with safety features, keep in mind that a fire can quickly get out of control. This is especially important with older Falcon versions because they don’t have an emergency stop button.
- Clean your space: Avoid leaving flammable materials and aerosol cans near the laser engraver. The high temperatures of the laser can easily cause an explosion, and reflective surfaces on or around the machine can direct the laser toward these materials if they’re nearby.
License: The text of "Creality Laser Engravers Are Worth It – That’s What Makers Say" by All3DP is licensed under a Creative Commons Attribution 4.0 International License.
CERTAIN CONTENT THAT APPEARS ON THIS SITE COMES FROM AMAZON. THIS CONTENT IS PROVIDED ‘AS IS’ AND IS SUBJECT TO CHANGE OR REMOVAL AT ANY TIME.