How to Split a Model in Cura – Simply Explained

Did you know that you can split an STL file in Cura? Split models easily with this tutorial, which includes two methods. Read on for more!
UltiMaker’s Cura is a popular, free slicing program backed by a large community of users. Cura contains many useful features for 3D printing novices and advanced users alike, including the ability to split 3D models into individual parts. While it’s not specifically intended to be used as an STL editor, there are a couple of ways you can use Cura to perform basic splits of models for 3D printing.
Before we go any further, we should explain what we mean by “split”. Splitting can refer to separating a multi-part model into different, distinct parts, or cutting off a portion of a single model to create two separate parts.
There are a few reasons why you may want to split a 3D model into parts. Maybe it’s too big for the build plate or you want to edit part of the model without affecting the rest. Or, perhaps, you want to print certain parts in different colors and you don’t have a multicolor setup. Whatever the case, knowing how to split a model in Cura is a useful skill to add to your 3D printing toolkit.
In this article, we’ll walk you through two types of splits that can be done within Cura. The first method we’re going to cover involves using a plug-in called Mesh Tools. The second method is known as “cutting off the bottom”, and can be used when the model you want to print is too large for your print area. Both of these methods are free and easy to do.
Let’s get started!
Splitting an STL with Mesh Tools
Sometimes you’ll find the perfect STL and download it, only to realize the designer saved multiple parts as a single STL file. If you don’t want to print everything in the file, Mesh Tools is a great plug-in for Cura that will save you time and filament. It allows you to separate the different elements into distinct objects you can manipulate individually for printing.
Before you can use Mesh Tools, you’ll need to install it in Cura. Here’s how to do it:
- Open Cura and click Marketplace in the top right-hand corner. Search for the Mesh Tools plug-in.
- Find the latest version, which is 3.7.2 at time of writing, and install it.
- Close and reopen Cura. Now you’re ready to start using Mesh Tools!
Using the plug-in is simple. Here’s how the process works in Cura:
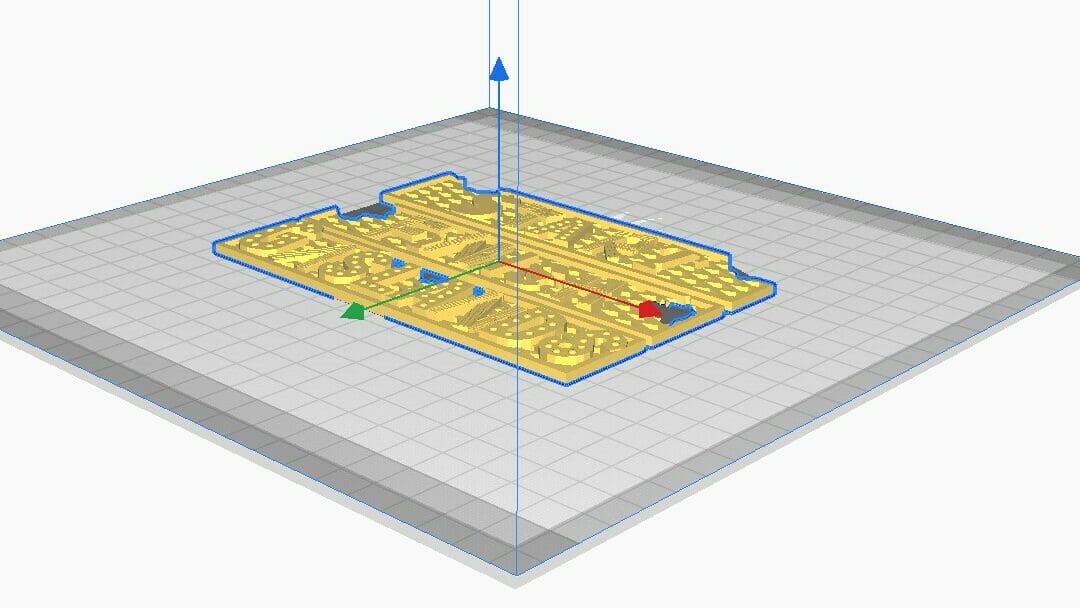
- Import the STL you want to split. As an example, we’ll split this STL, which contains three different signs for a tabletop game.
- Right-click the object and select Mesh Tools, which should be the first option. Select “Split the model into parts”.
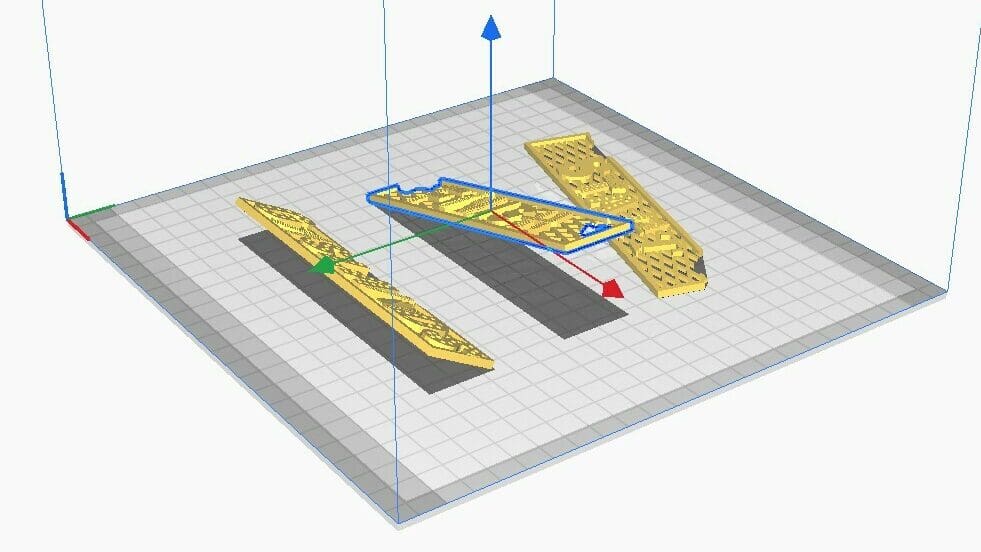
- You should then see a notification that the STL has been split into three parts. Now you can adjust, delete, and duplicate the components individually.
- When you’re ready, slice and export the file like you would with any other STL. That’s it!
It’s worth noting that Mesh Tools can’t break STLs into sub-meshes. If you select one of the signs and run these steps again, you’ll receive an error message in Cura and nothing will happen.
Cutting Off The Bottom
If you want to print an object that’s too large for your print area, you can use the “cutting off the bottom” method to quickly manipulate the object inside Cura. You don’t even need to install any plug-ins to do it.
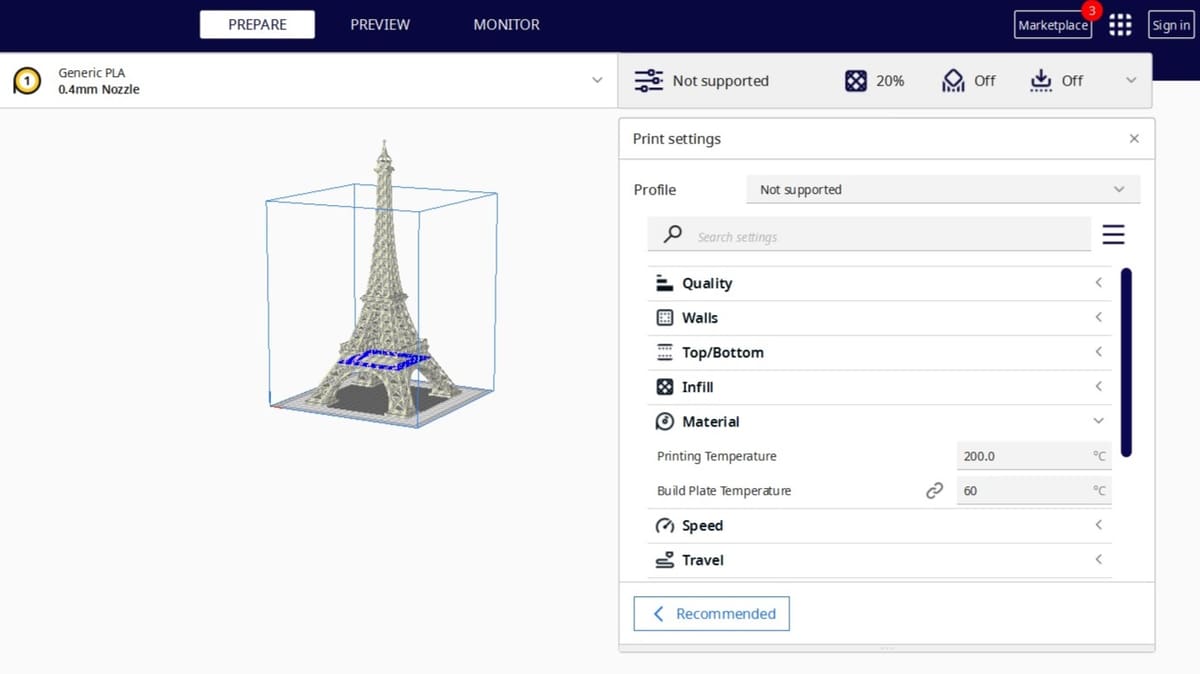
We’ll walk you through the process, using this Eiffel Tower model as an example. Be sure to have a calculator handy.
Now, let’s dive in!
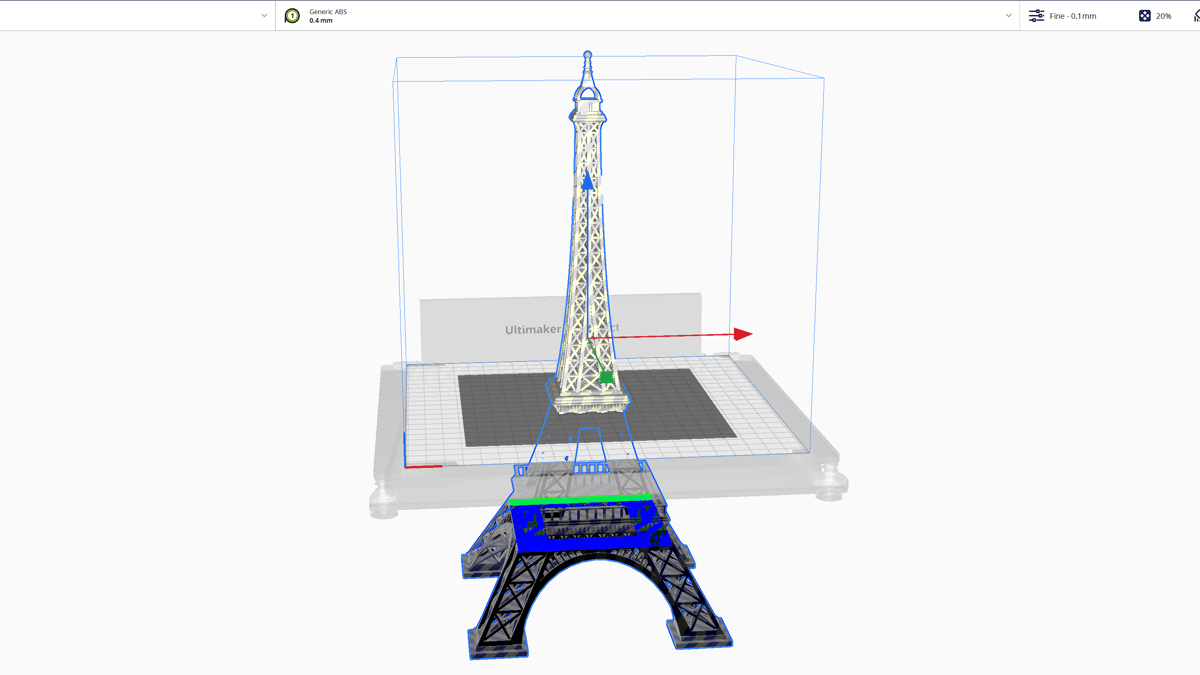
If you want to print this Eiffel Tower, but find that it’s too tall for your printer, don’t fret! You can cut it into two parts without scaling it down by using the cutting off the bottom method.
You can split the model into two parts and print them separately with these simple steps:
- Import your STL. Using the move and rotate tools, orient the model so it fits on the build plate and is only too large on the Z-axis.
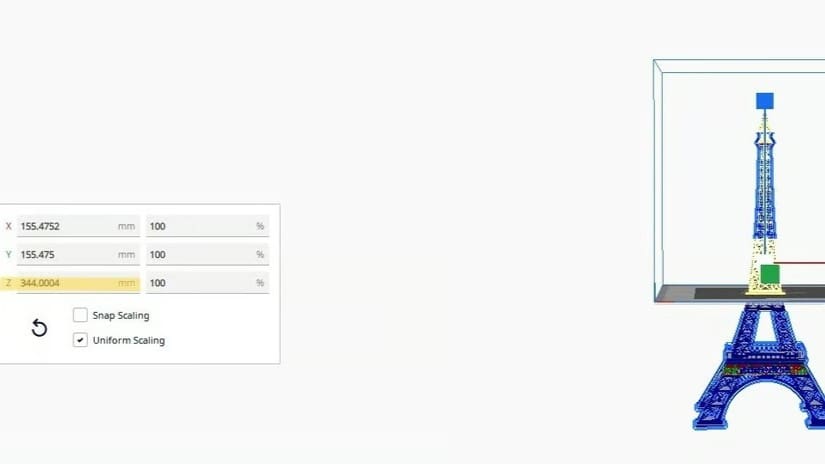
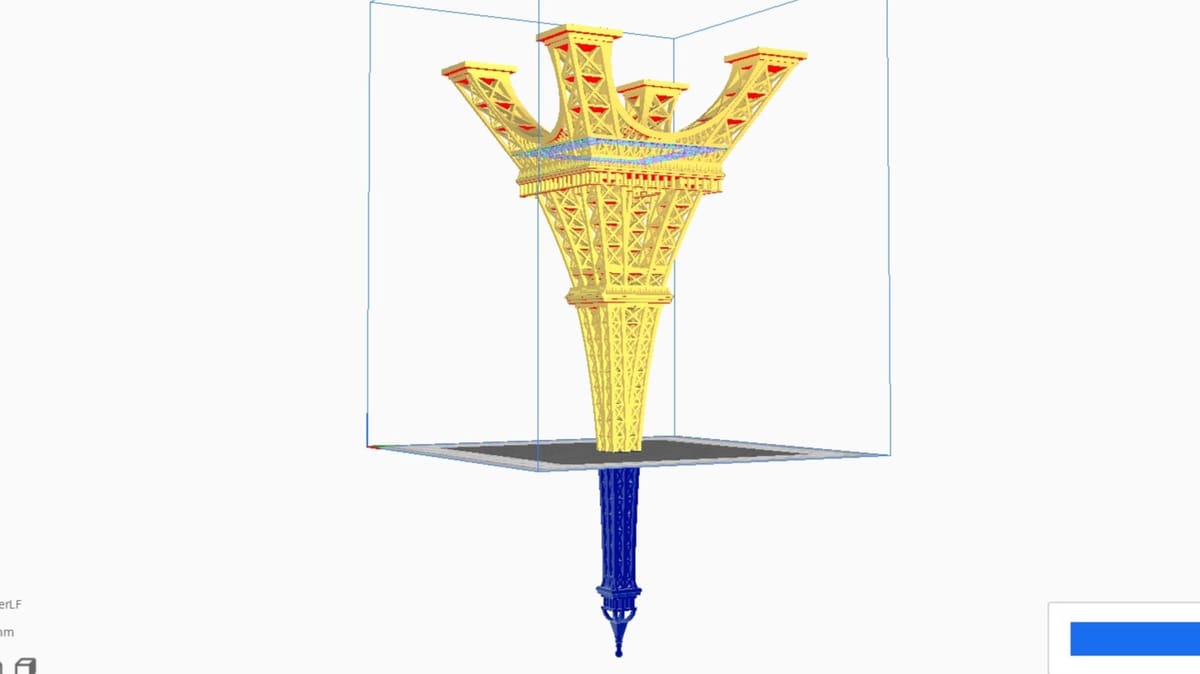
- Under the Scale tab, make a note of the height of your object. Then, using the blue arrow tool, drag the model down through the bottom of the build plate until the model is lower than the 3D printer’s vertical limit.
In this example, you can see that we went lower than necessary because this split point will give us two large, smooth surfaces, which will make assembling the two parts easier.
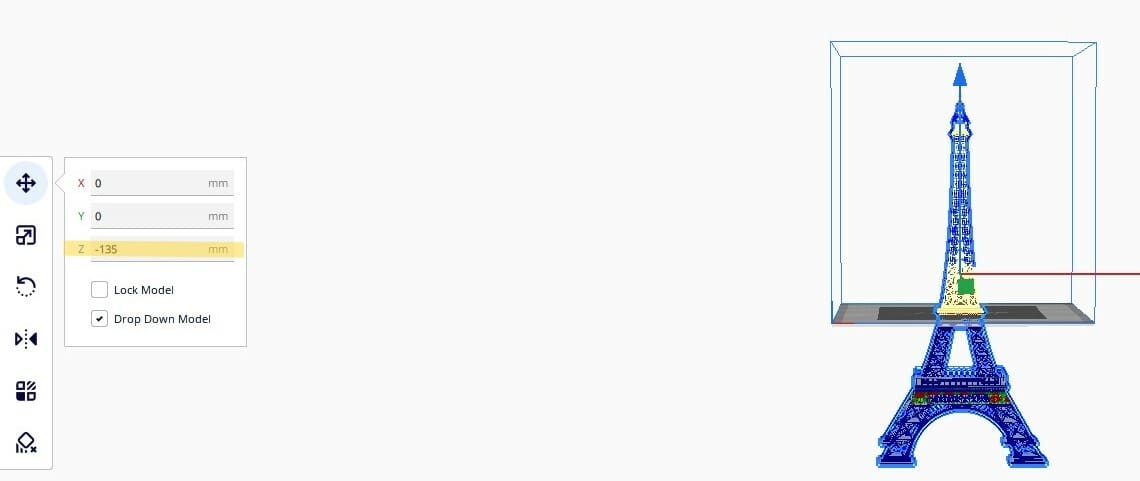
- Under the Move tab, make a note of the Z-axis value. It will be a negative number.
- Slice and save your model as you normally would. Then, return to the Prepare tab and rotate the model 180 degrees vertically using the Rotate tool.
You can see that the model rotated around its center point, not around the split point. This is why we noted those numbers earlier.
- Subtract the Z value (in step three) from the total height (in step two). In the example case, the value would be:
344.0002 – 135 = 209.0002
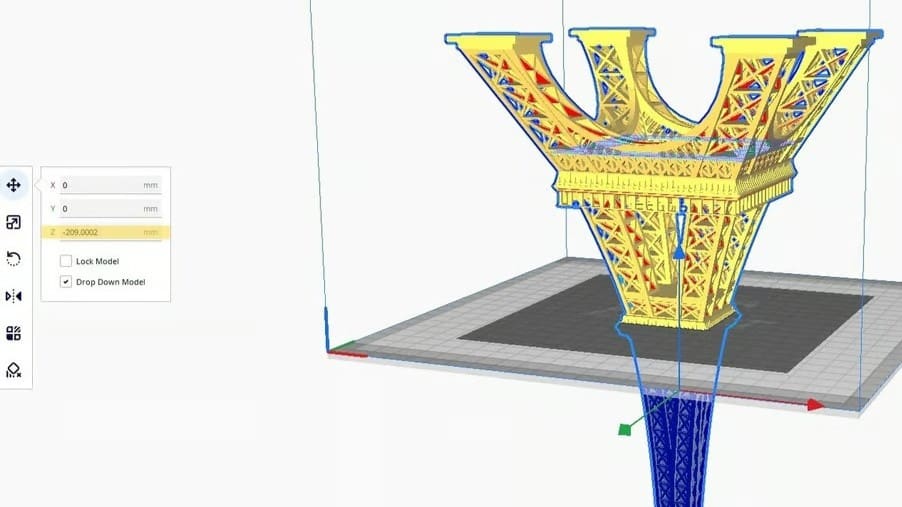
- Under the Move tab, change the Z-axis value to the number you calculated in step five. Enter it as a negative number. This will put the split point back on the print bed.
- Slice your second model and save it with a different name.
That’s it! You’ll now have two files ready to 3D print that should line up perfectly when they’re done.
Considerations
There are a few things to consider when using this method. Cura wasn’t designed to be an STL editor, and technically, we’re not actually splitting the model with this method. This means you’re limited in terms of how you can orient the model. Depending on what you’re trying to print, this may be a problem.
When you’re using this method, the bottom half of the model will always print upside down. While this won’t matter for some models, you may run into trouble with others. For example, printing the bottom half of a vase upside down means longer print times. You’ll also need to use more material from printing supports.
Before using this method, consider the following points:
- Select a split point that will give you enough surface area to work with when it’s time to connect the two parts and glue them together.
- Orient the model in a way that will still print well after it’s rotated 180 degrees.
- Choose a split point that gives both parts enough surface area to adhere to the build plate.
- Some orientations will require more support material than others.
License: The text of "How to Split a Model in Cura – Simply Explained" by All3DP is licensed under a Creative Commons Attribution 4.0 International License.