Cura: Z Offset – Simply Explained

Z offset control can be useful in a number of ways, including printing on top of an object. Learn how to adjust Cura's Z offset setting!
When 3D printing, the first layer needs to be error-free to obtain a quality print. Among other considerations, the nozzle must be the correct distance from the print bed to work. Luckily, adjusting the Z offset can help with this.
The value set for the Z offset reflects how high the nozzle should be when the Z-axis limit switch is triggered. A Z offset value can also be adjusted if the printer uses an auto-leveling switch. It’s important to keep in mind that Z offset is set for each individual print you’re slicing.
This is very helpful in a couple of different scenarios, one of which is printing on an upgraded bed (like tempered glass) that might be a different height from your usual surface. Another example is when you’re working with a new material that expands or retracts more upon extrusion.
Additionally, recent updates to Cura have improved the ease and precision of adjusting the Z offset, making it more intuitive for users to fine-tune their settings. Enhanced support for various materials and bed types ensures that users can achieve optimal first layer adhesion and print quality with minimal hassle.
Let’s take a look at how to set up and use Cura for Z offset adjustment!

Downloading the Plug-in
Before you can adjust the Z offset in Cura, you need to download and install the corresponding plug-in. This plug-in isn’t included by default in the slicer, but it can be easily added through the UltiMaker Marketplace. Here are the steps to download and install this important tool:
- Open Cura.
- Click on the “Marketplace” button in the top right corner of the UI.
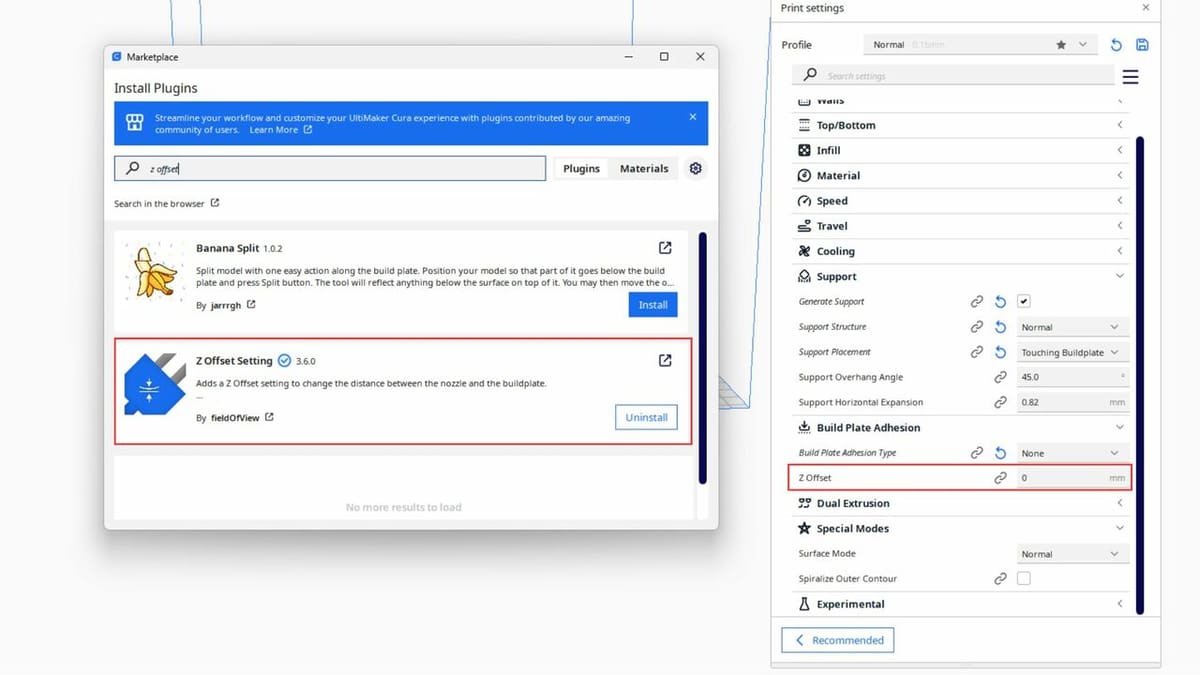
- Scroll through the options or use the search bar to locate the “Z Offset Setting” plug-in.
- Click on the plug-in and then on the “Install” button. Follow any prompts to complete the installation.
- Restart Cura to enable the plug-in.
- Upon restarting, the Z offset setting will be available. You can find it in the “Build Plate Adhesion” section.
- To avoid searching for the Z offset setting each time, you can customize its visibility. Go to “Settings > Configure setting visibility”, and enable “Z Offset” to make it a readily accessible setting.
If your printer is running Klipper, you could alternatively add the Klipper Settings plug-in (following the same steps as above). This option also includes Z offset subsettings.
When to Use It
Z offset processing refers to the adjustment of the vertical distance between the 3D printer’s nozzle and the print bed. This is important because it ensures that the nozzle is at the correct height to lay down the first layer of filament properly.
When to Use It
You’ll find Z offset processing especially handy in a few key situations. As mentioned, one common instance is when you switch the print bed surface, like changing to a tempered glass bed that might be a different height than the default one. Adjusting the Z offset compensates for this change and ensures your first layer sticks well.
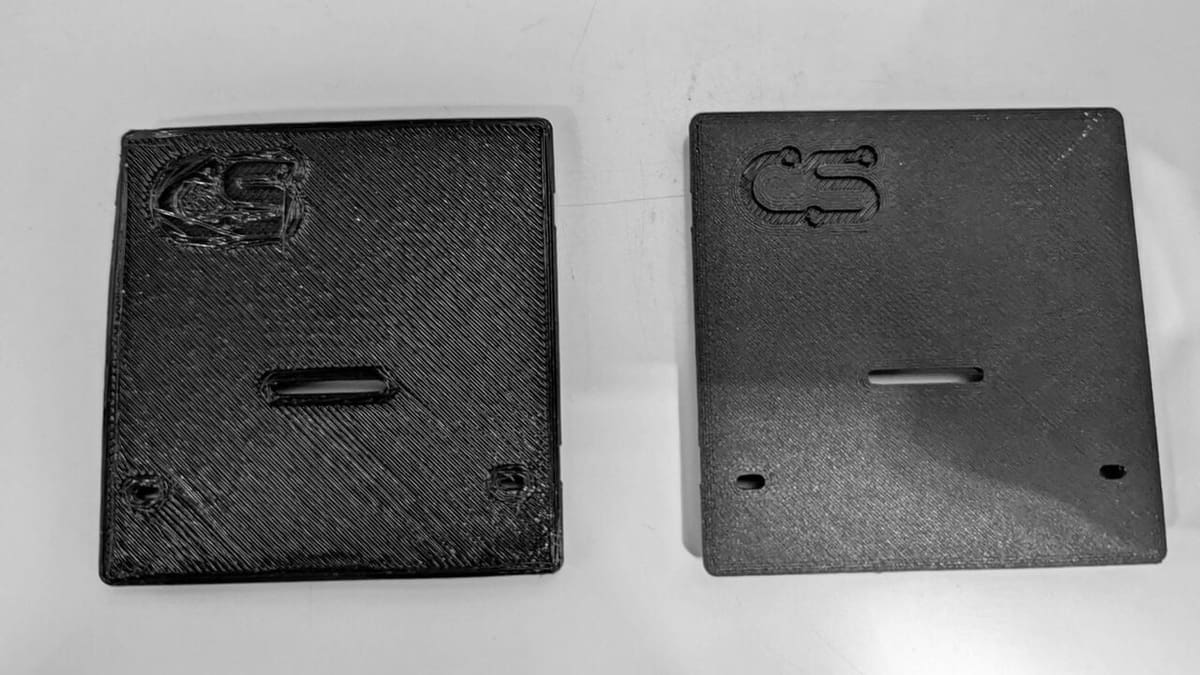
It’s also useful when working with different materials that expand or shrink more during printing; fine-tuning the Z offset can improve your print quality with these materials. Plus, if you’re printing on top of an existing object or you’ve paused a print to add in a magnet, for example, adjusting the Z offset helps place layers precisely without affecting the base print.
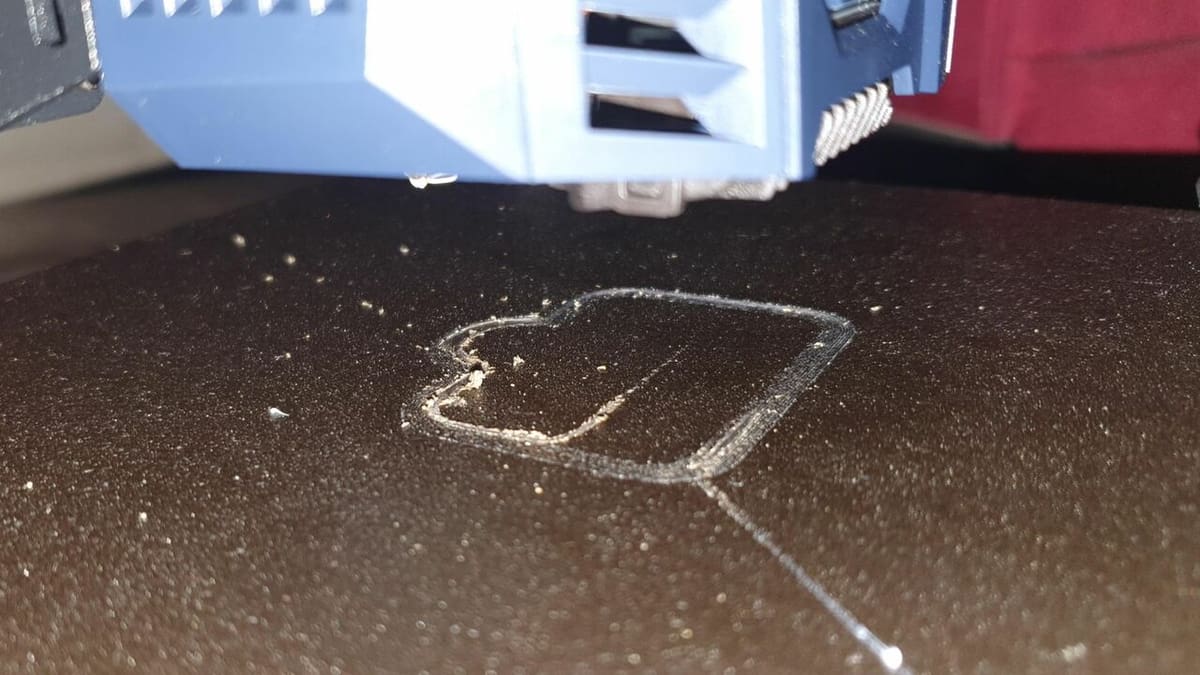
There can also be clear visual cues from prints, such as how the first layer looks. If it’s not sticking well to the bed, your Z offset might be too high and needs a slight decrease. On the other hand, if the filament is overly flattened or the nozzle is scraping the bed, the Z offset could be too low, requiring a slight increase.
Switching between different bed surfaces or materials often means recalibrating the Z offset to account for variations in bed height and material expansion. Regular checks and adjustments to the Z offset are recommended whenever you notice issues with first layer adhesion, especially when changing print settings or materials.
Positive vs. Negative Offset
A positive Z offset increases the distance between the nozzle and the bed, which is handy when the nozzle is too close and squishing the filament too much. This adjustment can prevent the nozzle from scraping against the bed, something that’s especially useful with thicker bed surfaces, like a glass bed.
On the other hand, a negative Z offset decreases the distance, which is necessary when the nozzle is too far away, leading to poor first layer adhesion. Signs that you might need a negative offset include the filament not sticking properly or the first layer looking too loose.
How to Use It
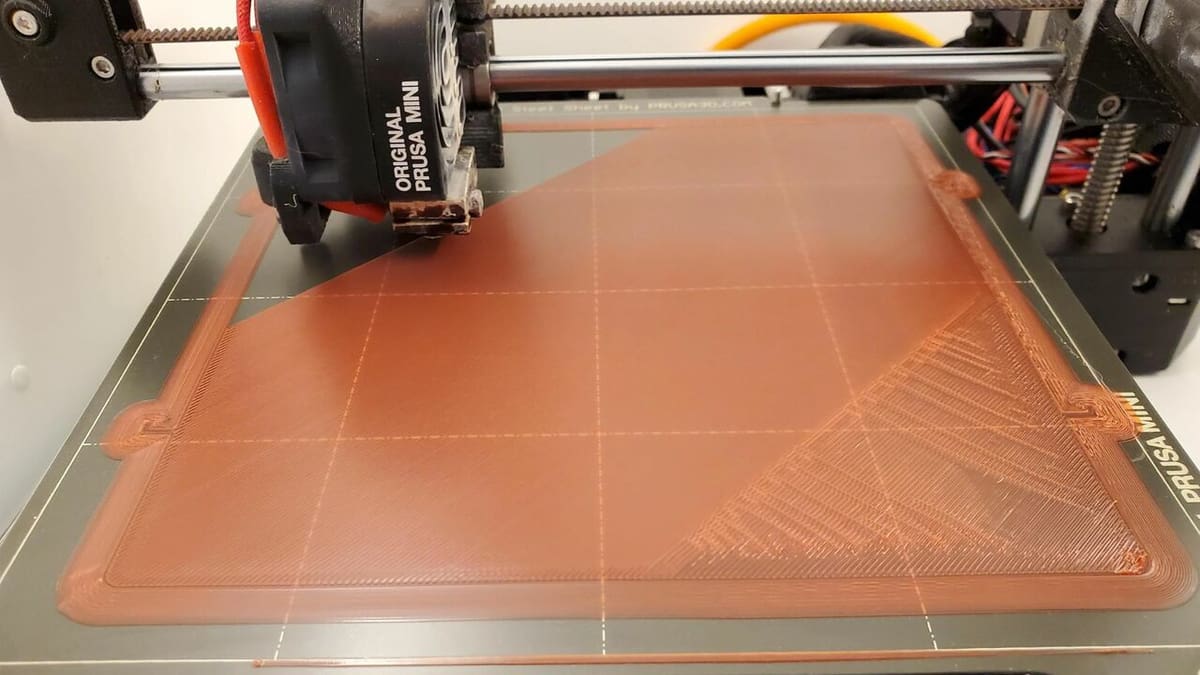
As mentioned, getting the Z offset right is essential to make sure your 3D prints stick well to the print bed and to have a smooth first layer.
How to Determine the Offset Value
To adjust the Z offset in Cura, a manual step – the paper test – comes in handy before changing the value in the slicer:
- Move the nozzle to the center of the bed and place a piece of standard paper between the nozzle and the bed.
- Lower the nozzle, using the printer’s UI, until it grips the paper slightly. The paper should offer a bit of resistance when you move it. Record the value from the UI.
- Repeat the process in different parts of the bed, to confirm whether it’s leveled (i.e. the same value in the different spots) or if an average value needs to be calculated.
- Start Cura.
- Find the Z offset plug-in under the “Build Plate Adhesion” section of the settings.
- Use the value determined by the paper test to set the Z offset.
- Perform a test print to ensure the first layer sticks well and looks smooth. This helps you see if any further adjustments are needed.
Extensive Z Offset Processing
In addition to the Z offset adjustment, Cura also offers an “Extensive Z Offset Processing” setting. This advanced setting allows for more detailed control and is particularly useful in complex printing scenarios, as it affects the G-code for the whole print. Use this setting when you need to make fine adjustments to the Z offset for specific parts of your print, when working with challenging materials that require precise calibration, or if the firmware of choice presents occasional challenges.
License: The text of "Cura: Z Offset – Simply Explained" by All3DP is licensed under a Creative Commons Attribution 4.0 International License.