6 Easy G-code Examples to Begin With

Looking for G-code examples to learn the basics of programming? Check out this compilation of easy-to-understand G-code examples.
G-code makes your 3D printer go ’round. Literally. It is the control language of choice for most computer numerical control (CNC) machinery, such as a lathe, mill, drill, or 3D printer.
The job of G-code-generating software is to turn a file created by a CAD (computer-aided design) program into G-code, which manages the motion of the device that is doing the making or modifying. In the world of 3D printing, the slicer takes the object and turns it into a G-code file that will build up your print layer by layer.
But what if you want to do something different that the slicing software didn’t do? Like change the filament color in the middle of a print, change the temperature of the hot end, change the amount of filament extruded, or park the hot end at the end of a print (or at any other time such as a power outage)?
If you want these features, you must add them either by placing the control commands in the appropriate places in the slicing software (more on this later) or by adding them yourself in the correct place (hint: those last 4 words mean everything)! In this article will show you how to do both.
Foreword
Before you get started on one of these G-code examples, you may want to familiarize yourself with all the different 3D printer G-code commands. We’ll give you a quick overview here, but this would help you with understanding all the G-code examples you see here.
Regardless, in this article, we’ll show you some G-code examples to put a smile on your face, springs on your feet, and prints in your display case.
Warning! G-code and M-code flavors vary from printer to printer. It’s like speaking a dialect of a language — some words mean something completely different in the dialect and you can get in a lot of trouble if you use the wrong one. Same goes here. These follow the RepRap dialect, but make no assumptions and tread lightly. Try out these code snippets judiciously a bit at a time.
Where in the Slicer Do I Put G-code?
The easier way to modify your G-code is to do so through the slicer. There are some obvious places where you can “tell” your slicer to insert additional G-code all by itself:
- Tool Changes. Switching from one hot end or extruder to another is called a tool change. When you do this, the commands that originally went to the first extruder now go to the other. This is most useful for changing the filament to another color or a dissolvable material for non-structural supports.
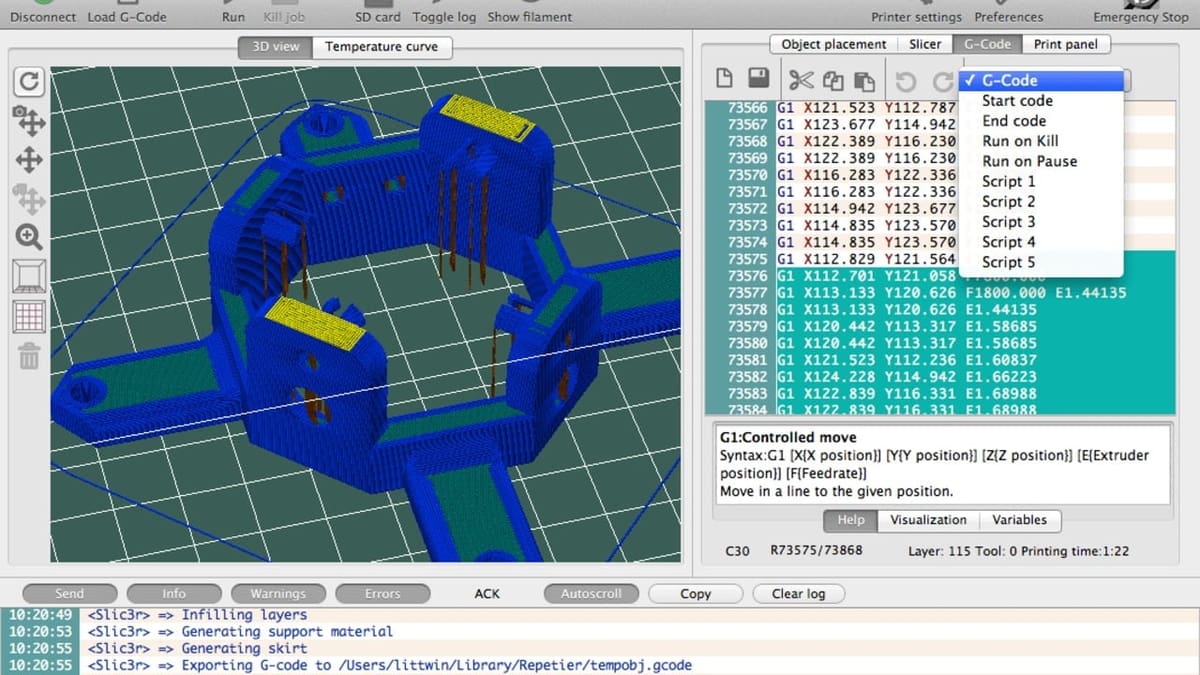
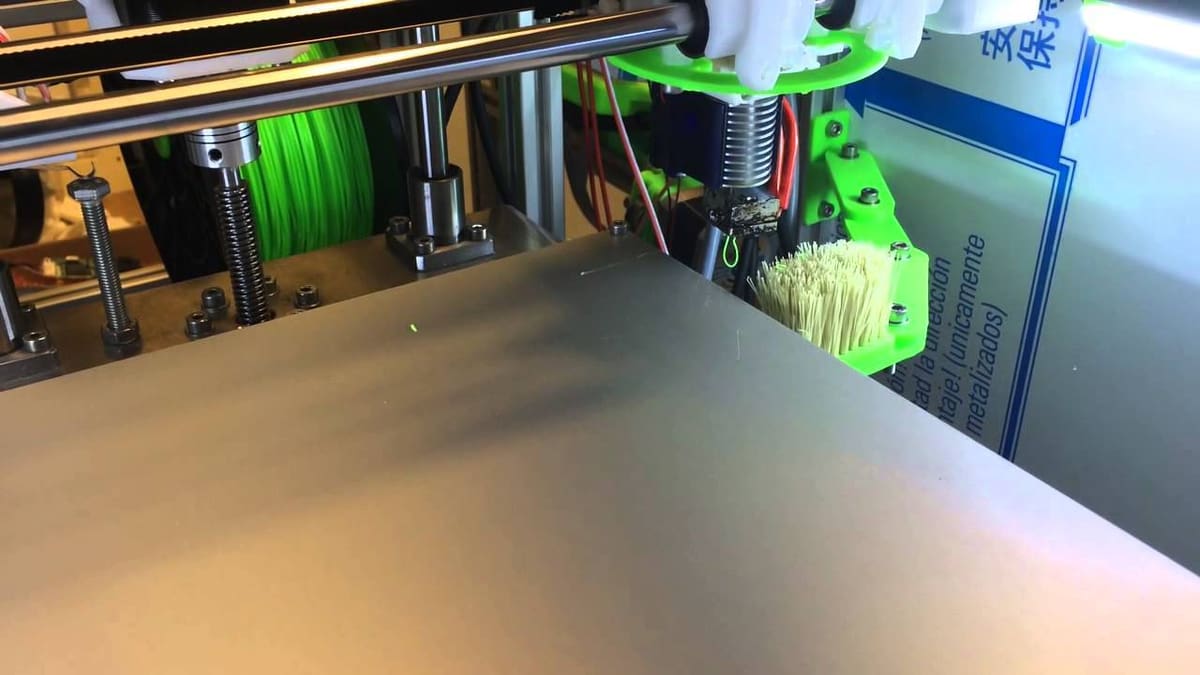
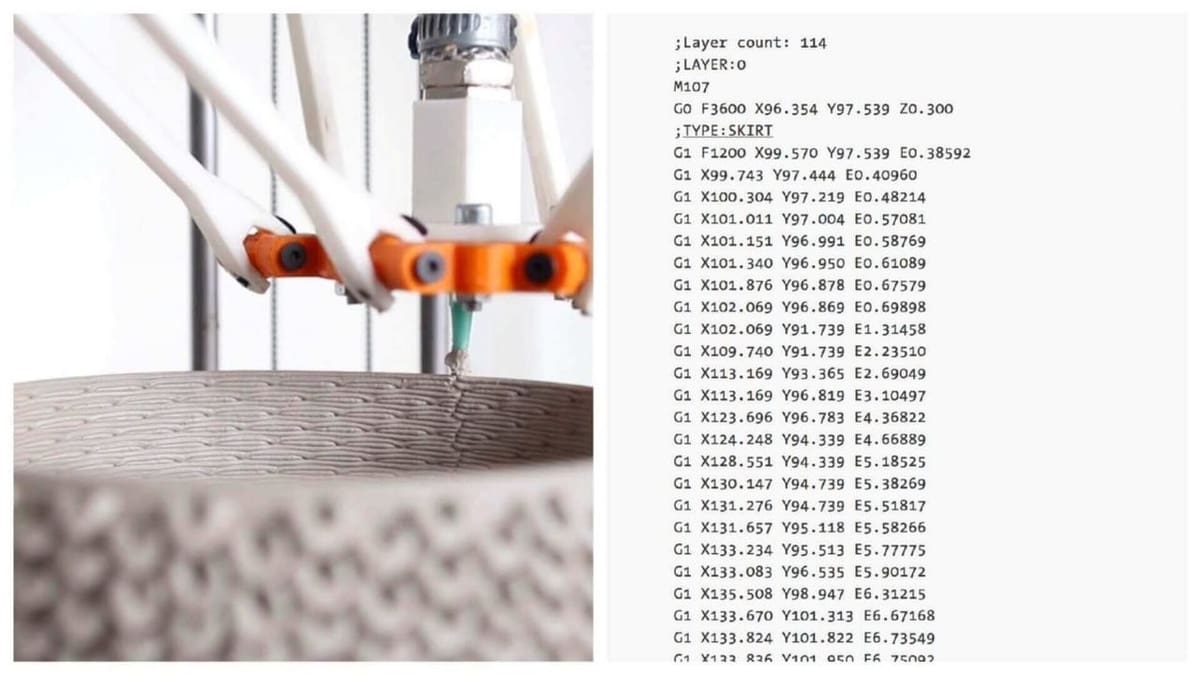
- Layer Changes. When your 3D printer moves up to the next layer, this can be a great time to make a change. This can be for changing the filament or temperature (see picture).
- Between Objects. If we are printing several objects on a single bed, you might want to clean off the hot end between objects to get rid of any stray filament. Some slicers allow you to insert G-code when you switch from one object to another, so you could clean off the hot end, change color, or perform other tasks during this transition.
- At the Start and End of a Print. Typically, we want to warm up the hot end and home our printer before we start printing. We want to turn off the hot end and perhaps the bed heaters at the end of a print. Most slicing programs provide a place to add code to implement these operations if they are not already present.
Let’s look at examples of actual functioning G-code for each of these situations.
Note: In the following, the emboldened print is the actual G-code. What follows the semicolon “;” is just a comment explaining what the step does and is not sent to the printer.
Tool Change: Changing Filament by Hand
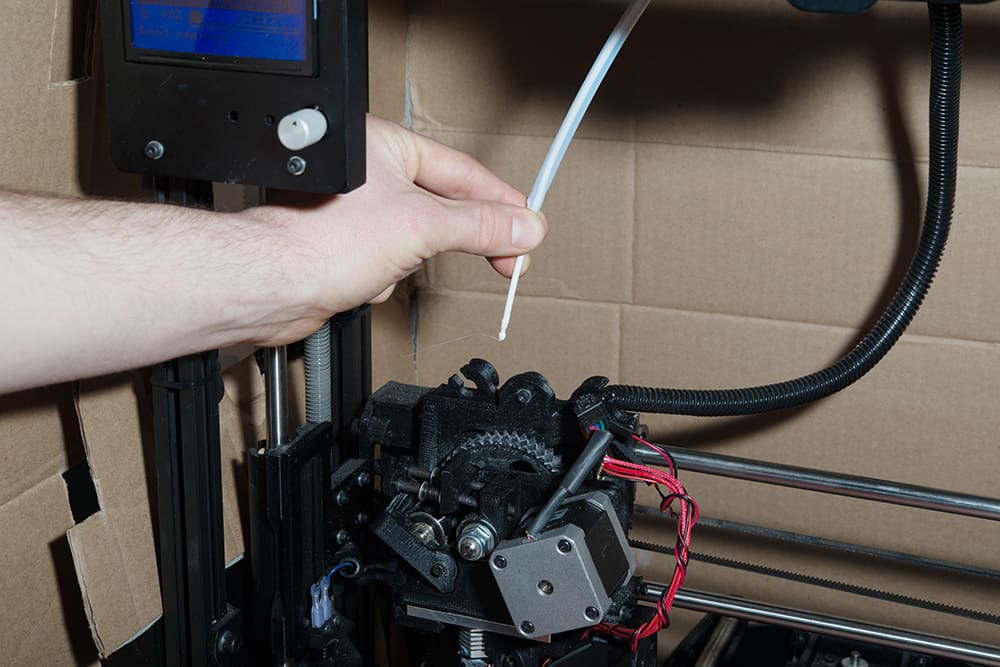
This is an example of code that could be placed where you want a filament change on a single hot end. This code moves the hot end up and out of the way, ejects the current filament, waits for you to signal it to continue, returns to where it started, and then continues with the print.
- G91 ; Sets relative positioning so you can move the head and return it to where it started
- G1 Z10 F1000 ; Lift the nozzle 10 mm at 1,000 mm/min
- G1 X100 Y100 F3000 ; From where you are now, move right 100 mm and up 100 mm
- G1 E-100 F1000 ; Spit out the current filament
- M0 ; Pause and wait for user input — here is where you manually change the filament
- G1 E20 F10 ; Prime the hot end with 20 mm new filament — you might want more
- G1 X-100 Y-100 F3000 ; Go back to where you began
- G1 Z-10 F1000 ; Drop the hot end to where you started
- G90 ; Set back to absolute positioning
Tool Change: Single Hot End, Multiple Filaments
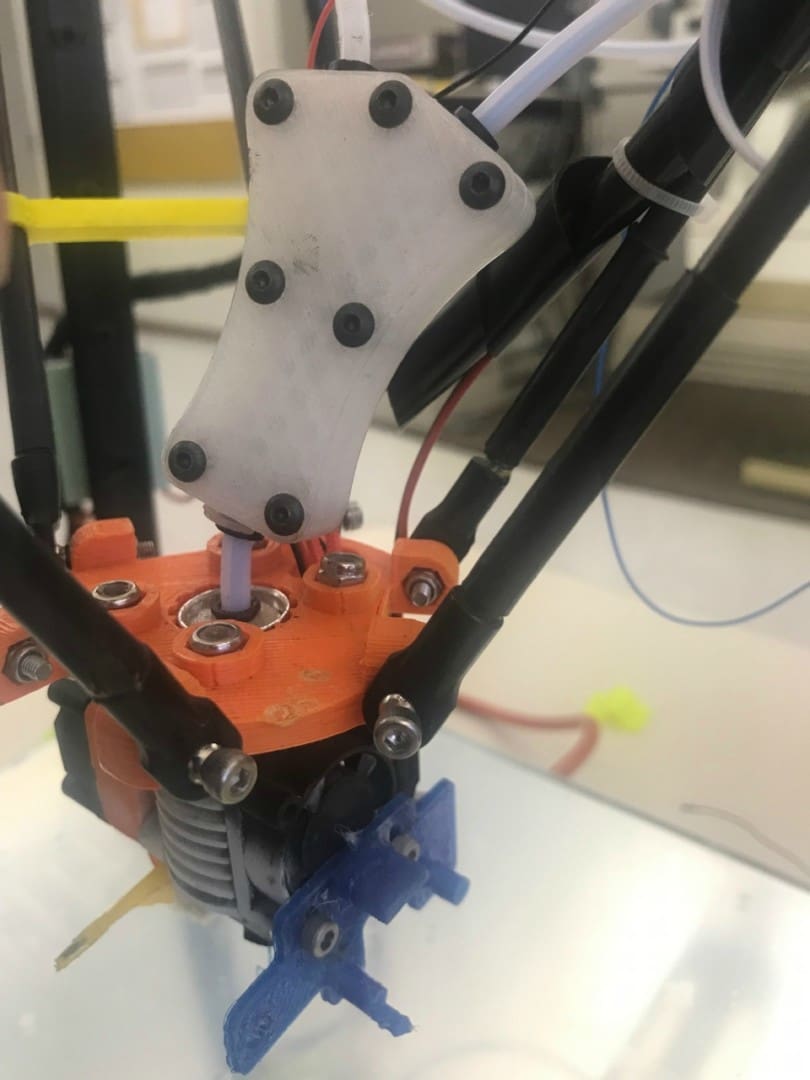
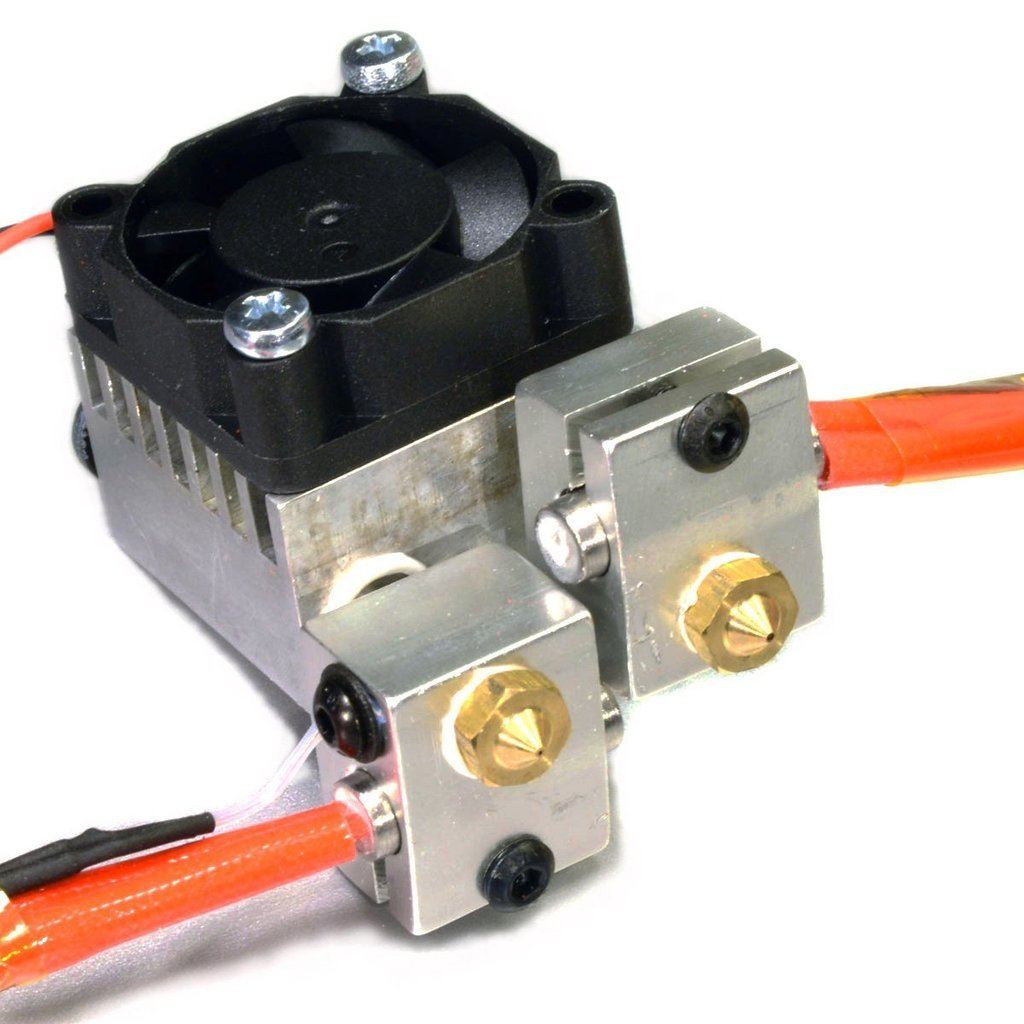
Several manufacturers make adapters to allow one hot end to feed more than one filament. A good example of this is the DisTech Automation Prometheus, a dual Bowden extruder system. In this case, one filament is withdrawn past the Y in the adapter, which clears the path for the second filament. This only works for Bowden extruders, but it is an elegant method to change filaments automatically without worrying about multiple hot ends. An example of code to handle this is shown below:
- G91 ; Relative positioning to get ready to retract old filament
- G1 E18 F540 ; 9 mm/s purge is very important to clear melted plastic out of the hot end
- G1 E-20 F3000 ; 50 mm/s retract to back the filament well up into the cool part of the hot end
- G4 P2500 ; 2.5 s cooling period
- G1 E-110 F3000 ; 50 mm/s long retract to clear the Y — total 130 mm withdrawn
- ; Tool change occurs here
- G91 ; relative positioning
- G1 E70 F3000 ; 70 mm/s feed of 70 mm of filament
- G1 E50 F1500 ; 25 mm/s feed of another 50 mm of filament
- G1 E5 F300 ; 5 mm/s feed — adjust this number (E) until the filament starts to ooze out — 125 mm so far
Tool Change: Dual Hot Ends on a Single Carriage
The other option for changing the filament is if you have two hot ends for each filament. There are a couple mechanisms that do this. Here we give you an example for using dual hot ends on a single carriage. The G-code will shut down or back the filament out of one hot end and fire up the other hot end. To keep the unused hot end from dripping filament onto the print, it’s a good idea to just turn down the heat too (to about 80 °C for PLA, for example). To fire up the unused hot end, simply raise its temperature, prime it, and start printing. No purging is necessary. Here is an example of a script that does that:
- M207 S4 F2400 Z0.1 ; Set G10 retract length to 4 mm, retract at 2400 steps/second, and raise up 0.1 mm
- ; Print code follows
- G10 ; Retract filament according to M207
- M109 S80 ; Set the current hot end (T0) to 80 °C and wait for it to get there
- T1 ; Change the tool from T0 to T1 – now all commands will go to the other extrusion system and hot end
- M109 S200 ; Warm up the current hot end (T1) and wait for it to get to temp
When changing hot ends, it may also be useful to move the hot end someplace where filament ooze will not impinge on your print.
Layer Change: Cleaning the Hot End
To clean off the hot end between layers, you can add code to do that. The best place to do this is at a layer change, since the print will momentarily be stalled anyways. You can find a layer change easily in G-code, because it’s where the Z-axis moves up the height of a layer. You can clean the hot end several ways, here we will present two options.
Option 1: Purge the hot end between layers.
- G92 E0 ; Reset the filament length
- G1 Yxx F500.0 ; Move towards the top to get out of print volume
- G1 X60.0 E9 F500.0 ; Start purge by extruding 9 mm of filament over 60 mm of X travel
- G1 X100 E12.5 F500.0 ; Finish purge with 12.5 mm of filament over 100 mm
- G92 E0 ; Reset the filament length again
- G1 Y-xx F500.0 ; Return to the print
“xx” represents the distance away from the print that you want to move. You could also move in the X-axis as well, but remember to put the hot end back where it started after the purge.
Option 2: If you have a brush or Scotch Brite pad at a known location on your printer, you can go to that spot and move the hot end back and forth over the cleaning device several times (assume the brush is located at X150 Y150 and the best cleaning height is 5 mm).
- [a layer just finished]
- G1 X150 Y20 Z5 F5000 ; Go to the brush in absolute coordinates
- G91 ; Relative movement of hot end
- G1 X10 ; Back
- G1 X-10 ; And forth
- G1 X10 ; Back again
- G1 X-10.000 ; Return back where you started
- G1 X5 Y5 ; Move into the middle of the brush or pad
- G1 Y-10 ; Now brush down
- G1 Y10 ; And up
- G1 Y-10 ; And down
- G1 X-5 Y+5 ; Return to middle of the brush or pad
- ;;G28 ; Home all axes IF and ONLY IF you do this at the start of the print only
- G90 ; Set positioning back to absolute
Note that there is a Z-axis change and all movements are relative once you have moved to the location of the cleaner.
Between Objects
If you print a plate of objects one at a time, you might want to clean the off hot end or change the filament between the objects. During this transition is a great place to put code.
Current versions of Marlin have a single G-code command to initiate a hot-end cleaning process – G12. It is followed by four possible parameters:
- Pattern (P): Dictates the pattern style – P0 for stroke, P1 for zigzag, and P2 for circular
- Radius (R): Sets the radius of the cleaning circle (if used)
- Count (S): Determines the number of pattern repetitions
- Count (T): Determines the number of triangles in the zigzag pattern (if used)
For example:
- G12 ; Alone uses the default stroke pattern in Marlin settings
- G12 P2 S2 R15 ; Moves in a circle of 15 mm radius, twice
More information about this command is available on the Marlin website.
At the Start & End of a Print
Different 3D printers require different starting sequences to initialize themselves and prepare for the print. Here is an annotated example for a delta-style 3D printer produced by Slic3r:
- G21 ; Set units to millimeters
- M104 S225 T1 ; Set temperature (note tool selection)
- G28 ; Home all axes
- G1 Z5 F5000 ; Lift nozzle
- M109 S225 T1 ; Wait for temperature to be reached (note tool selection)
- G90 ; Use absolute coordinates
- G92 E0 ; Zero the extruder
- M82 ; Use absolute distances for extrusion
- T1 ; Use this tool
- G92 E0 ; Zero the extruder
- M204 S9000 ; Set the acceleration for printing and traveling – Slic3r produces this
- G1 F9000.000 E-5.00000 ; Back out 5 mm of filament
- G1 Z0.600 F12000.000 ; Move, quickly, to the height of the first layer
- G92 E0 ; Re-zero the extruder
If you have auto-leveling capability or a bed probe, you can insert the G29 code at the beginning to perform the bed leveling process. This code should be placed after the M104, M109 sequence and the bed should be at temperature first. Heating the hot end and the bed changes their dimensions slightly and can make the difference between a successful first layer and either a scratched bed or spaghetti when the print starts. There are several flavors of G29 depending on the firmware of your printer and, if you decide to use this code, it’s important to know how G29 is implemented in your firmware. Make sure you home the printer using G28 before leveling the bed.
When the print is finished, it’s useful to turn off the bed and hot end as a precaution. That code is:
- M104 S0 ; Turn off temperature — set temperature of hot end to zero
- M140 S0 ; Set the bed temperature to zero
- M190 R40 ; Wait for the bed temperature to cool to 40 °C — disables all commands while waiting
- M84 ; Disable motors
Use the M190 and M109 commands with caution as they block all communication with your printer while the printer is waiting for the temperature to reach the set point.
Finally
The G-code examples in this article just scratch the surface of what is possible with G-code modifications that you make yourself. Literally anything you can do with your printer is a function of the G-code that the printer is sent. A slicer routine can determine what to send, but so can you. As with all complicated things, start slowly. We hope this article is the start of a long and happy relationship with G-code.
Want more? Check out these related articles:
- 3D Printer G-code Commands – Programming Tutorial
- G-code Simulator/Viewer – Best Tools to Simulate 3D Printing
- STL to G-code – How to Convert STL Files to G-code
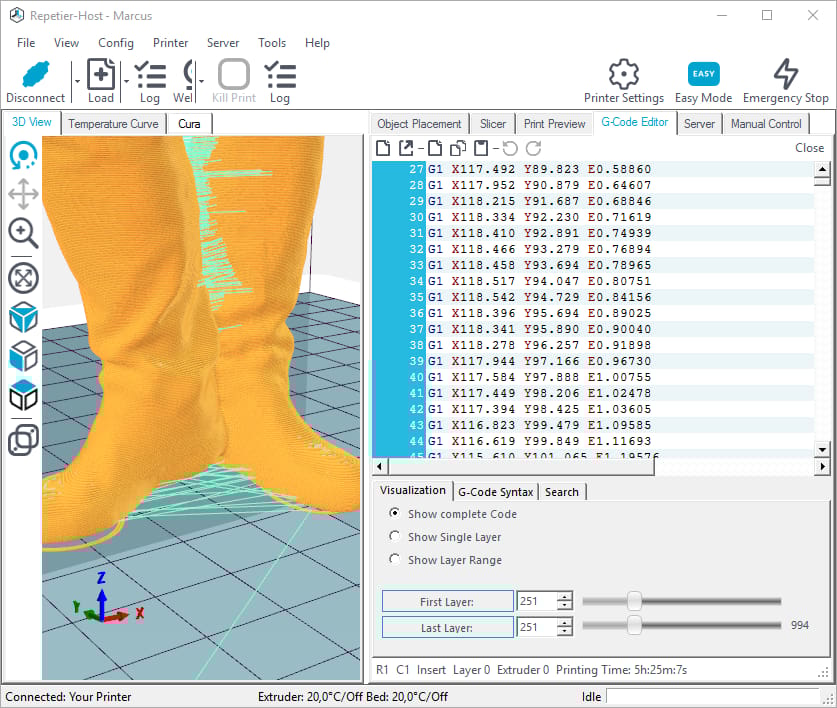
Feature image source: Repetier
License: The text of "6 Easy G-code Examples to Begin With" by All3DP is licensed under a Creative Commons Attribution 4.0 International License.