The Elegoo Neptune 3 and 3 Pro are relatively new 3D printers that have a whole lot to offer. Equipped with auto-leveling, a filament runout sensor, and an affordable price, there isn’t much more you could ask for.
Even though the machines generally print great right out of the box, the inner tinkerer in you is likely already thinking of ways to make it better! Lucky for you, we’ve already compiled a list of the best upgrades for your Neptune 3D printer.
In this article, we’ll be taking a dive into some awesome upgrades that’ll take your Elegoo Neptune 3 or 3 Pro to near perfection!
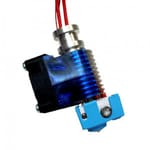
E3D All-Metal Hotend
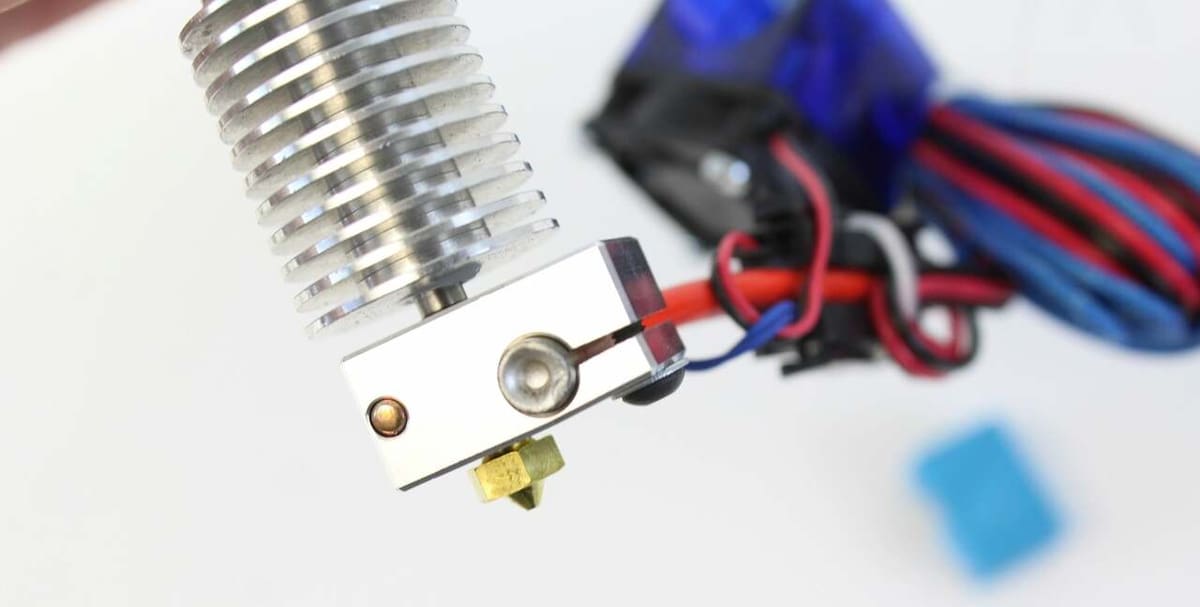
In every 3D printing hobbyist’s career, they get to the point where regular PLA and ABS just get too boring, and they want to move into more exotic filaments such as polycarbonate or POM. Materials such as these print at temperatures upwards of 250 °C, and the stock hot ends on the Neptune 3 and 3 Pro have a hard time getting into that range.
E3D makes an excellent hot end called the V6 that features an all-metal design, which will help you get up to temperatures that can print those exotic materials with ease.
- What does it improve? Increases maximum nozzle temperature
- What does it cost? ~$70
Capricorn Tube
For those with a Bowden extruder on the Neptune 3, this upgrade is for you! The stock PTFE tube can wear down over time or be unreliable. A great upgrade that solves both of those issues is Capricorn tubing, whose main purpose is to deliver a more reliable printing experience.
The difference between normal PTFE tubing and Capricorn tubing is that the latter has a constant inner diameter, which reduces the chances of filament creating friction against the uneven walls of the tubing. If there’s resistance when trying to feed filament through the PTFE tube on your machine, it’s time to replace it.
Capricorn tubing also has higher temperature tolerance, which means you can safely print materials that melt at higher temperatures, such as nylon or carbon fiber composite filaments.
- What does it improve? Reduces the chance of jams
- What does it cost? ~$20

POM Nut Replacement
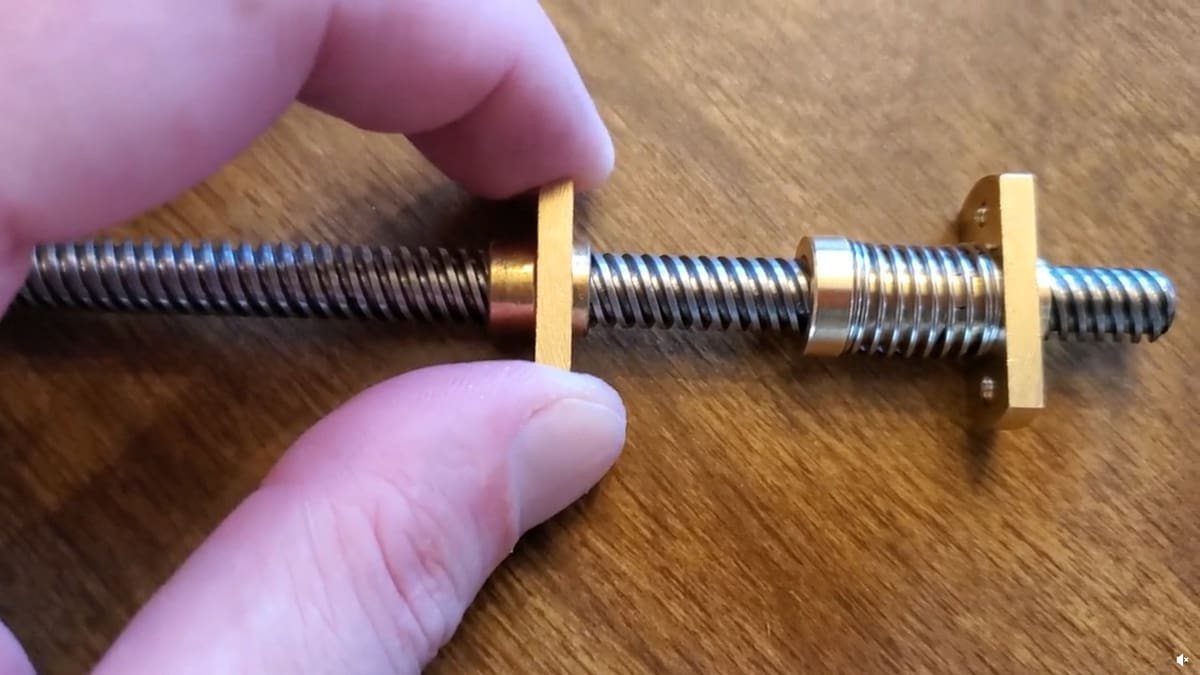
POM nuts, or anti-backlash nuts, have become a popular upgrade recently, and for good reason! They’re installed onto the Z-carriage to replace the traditional brass nuts that come standard with the printer. The upgrade can reduce the friction coefficient between the Z-screw and the Z-axis, which can reduce vibrations and improve print quality.
Additionally, the low friction will lead to less maintenance over time. If you’re looking to take this upgrade to the next level, you can also purchase a TC lead screw for the Z-axis, which will decrease friction even more. Keep in mind that installing this upgrade will require you to remove your Z-screw.
- What does it improve? Smoother Z-axis motion due to reduced friction
- What does it cost? ~$8
- Who designed it? Various retailers
- Where to find it? Amazon
Insulated Bed
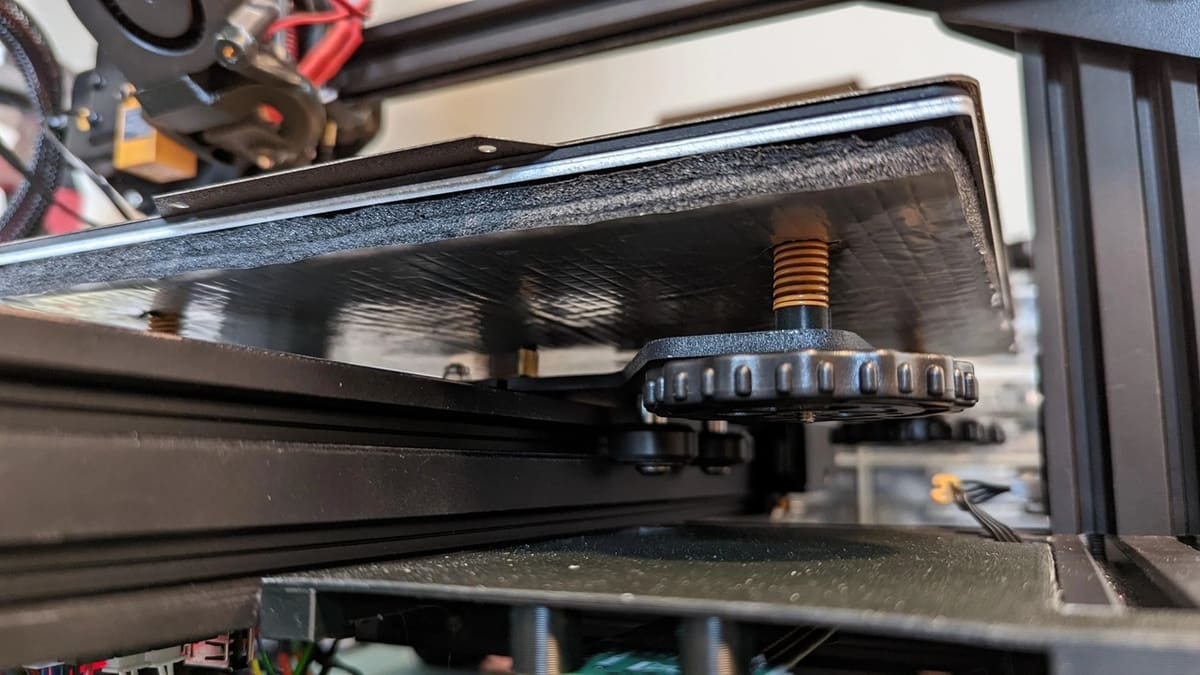
When thinking of upgrades for the Elegoo Neptune 3 and 3 Pro, an insulated bed may not be the first thing that comes to mind. However, having an insulated bed will reduce heat loss to the environment. This will not only draw less power but also allow for your build plate to heat up faster.
To install the insulated sheet, you’ll need to remove the print bed along with the screws that hold it in place. Then, secure the sheet between the aluminum bed and the bed bracket.
- What does it improve? Reduces heat loss and allows bed to heat quicker
- What does it cost? ~$10
- Who designed it? Various retailers
- Where to find it? Amazon
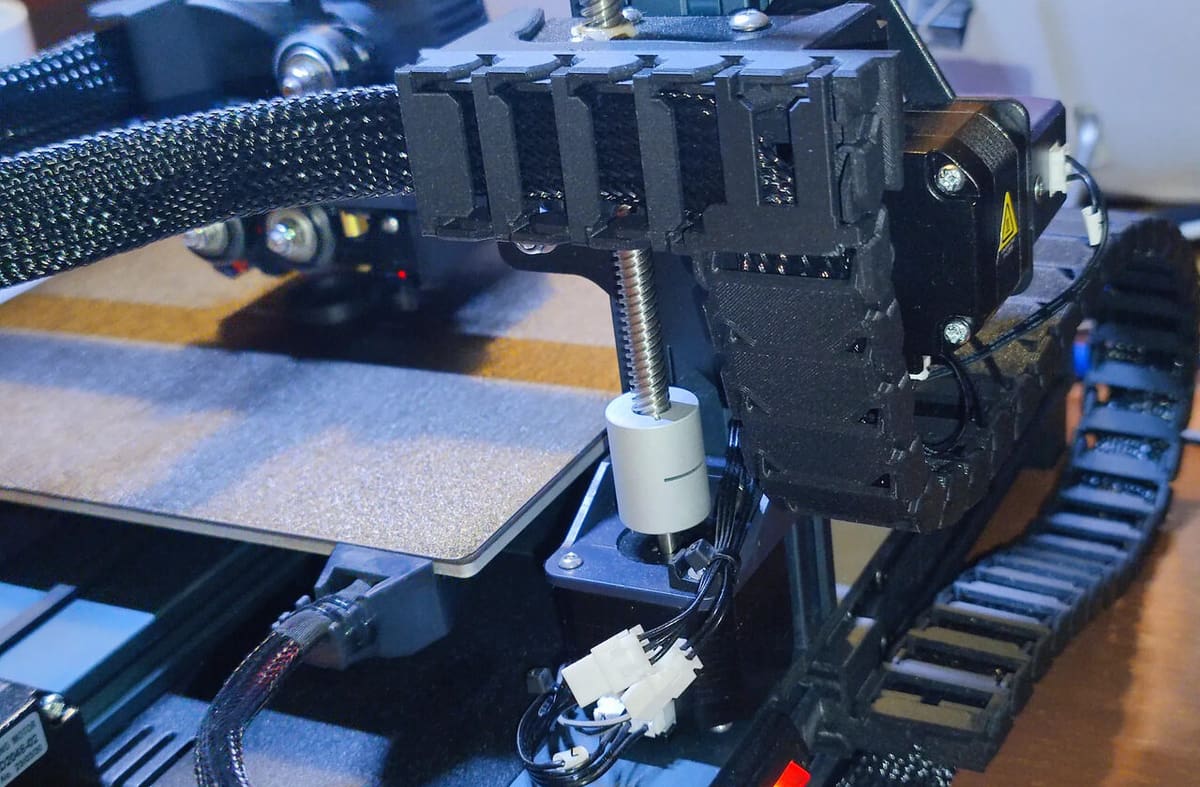
Tool Holder

Having a set of tools handy near your 3D printing setup is absolutely crucial! It’s no wonder why almost every printer on the market ships with a set of Allen keys and pliers.
However, it can be easy to lose some of these tools over time, so having them all in one place is not a bad idea. This tool holder mounts right onto your Z-carraige so all your tools are just within an arm’s reach.
- What does it improve? Hold tools within easy reach
- What does it cost? Filament costs
- Who designed it? Simin03
- Where to find it? Printables
Swiveling Filament Guide
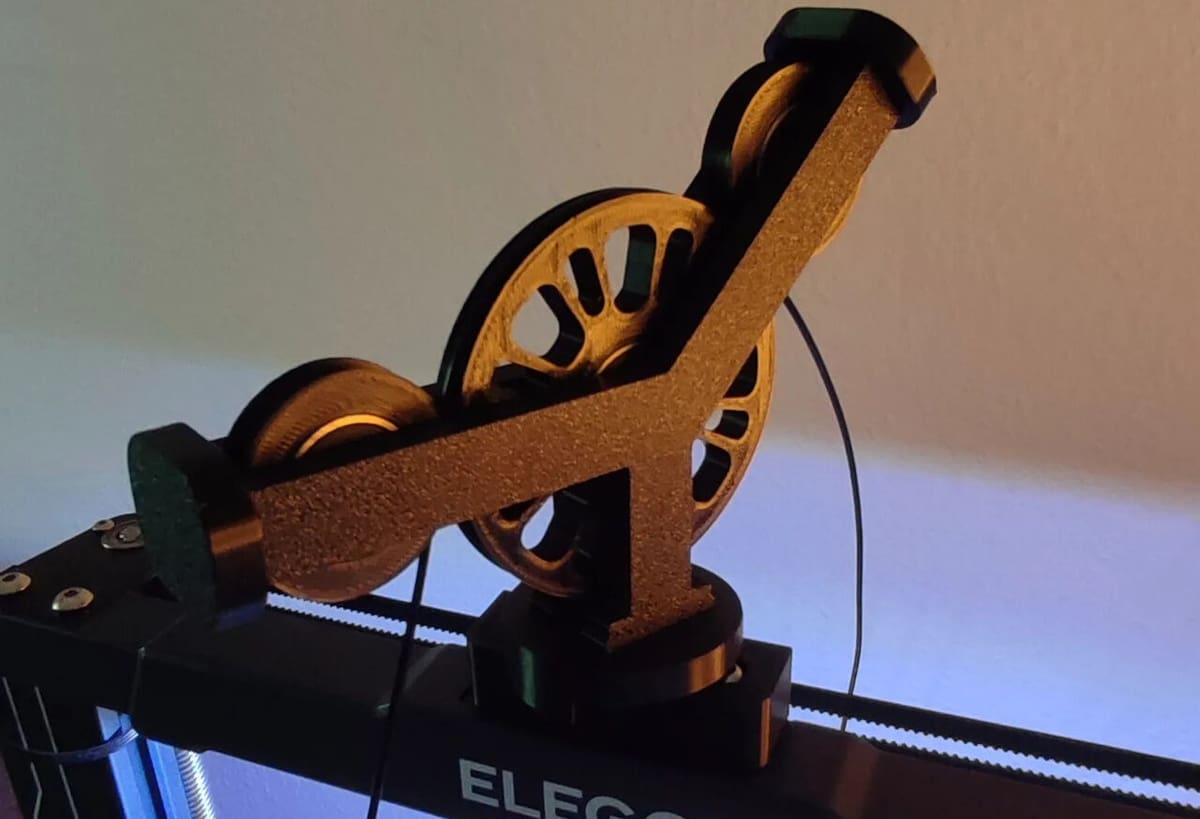
For those with a Neptune 3 Pro, the direct extruder is already a great upgrade compared to the traditional Bowden extruder. However, it also means that you must ensure a smooth filament feed to prevent extrusion issues.
Elegoo has tried to ensure this by mounting the filament spool holder across the top frame of the printer. Aside from being bulky, this setup makes it a hassle to store filament in dry boxes in between prints. To get around this, you can print yourself a swiveling filament guide to mount on the top of your Neptune 3 Pro.
This design can help feed the filament from your storage containers nearby to the printhead without worrying about tangles or unnecessary tension. In addition to 3D printed parts, you’ll need a few ball bearings to get this piece running smoothly.
- What does it improve? Eliminate spool storage on top of printer frame
- What does it cost? ~$5
- Who designed it? ChrisEnders
- Where to find it? Printables
Cable Chain
Cables carry the lifeblood of a 3D printer, so it’s only fair to protect them! They can also be an annoying issue if they get caught on the edge of the build plate during a print. A cable chain is a great way to safely group all the cables together and add a stylish flair to your Neptune 3 or Neptune 3 Pro.
Overall, the users who printed this model were very pleased with the outcome. However, one user reported the clips for the chains were loose for Neptune 3 Pro models, so they have kindly uploaded a remix with their slightly adjusted model. Choose whichever best fits your device!
- What does it improve? Cable management
- What does it cost? Filament costs
- Who designed it? Simin03
- Where to find it? Printables

Storage Drawer
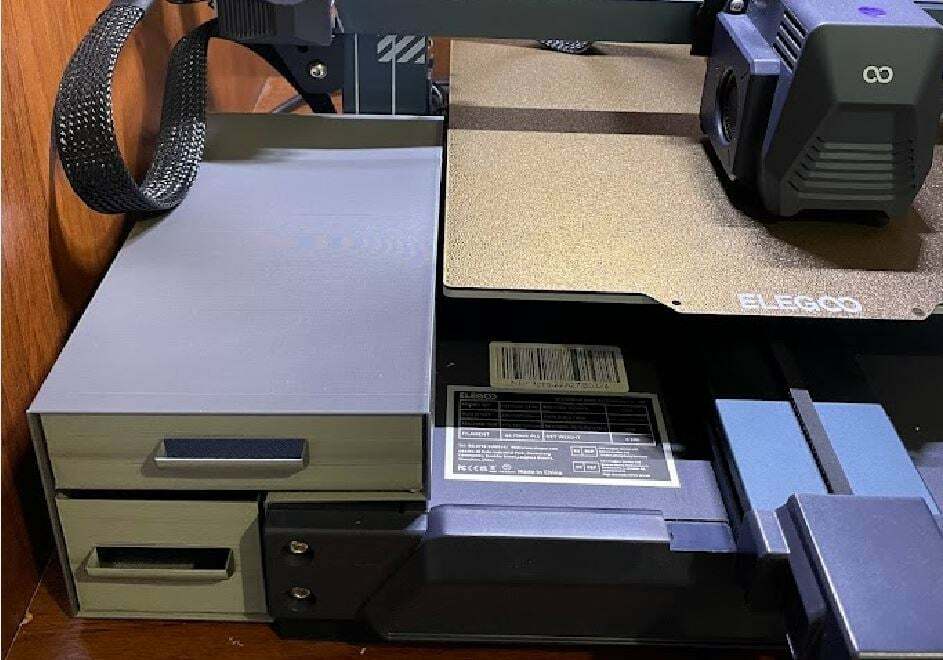
The truth is, you can never really have enough storage! When it comes to 3D printing, there are so many small parts and tools that can become easily lost, like SD cards, mini wrenches, and nozzle cleaners. The list goes on.
This drawer takes advantage of the left side of the Neptune, giving you two extra storage drawers for organization without a massive footprint. If you’re looking to save material on this print, the creator offers a vase mode file as well as a regular one.
- What does it improve? Storage for various items such as tools or SD cards
- What does it cost? Filament costs
- Who designed it? SDio
- Where to find it? Thingiverse
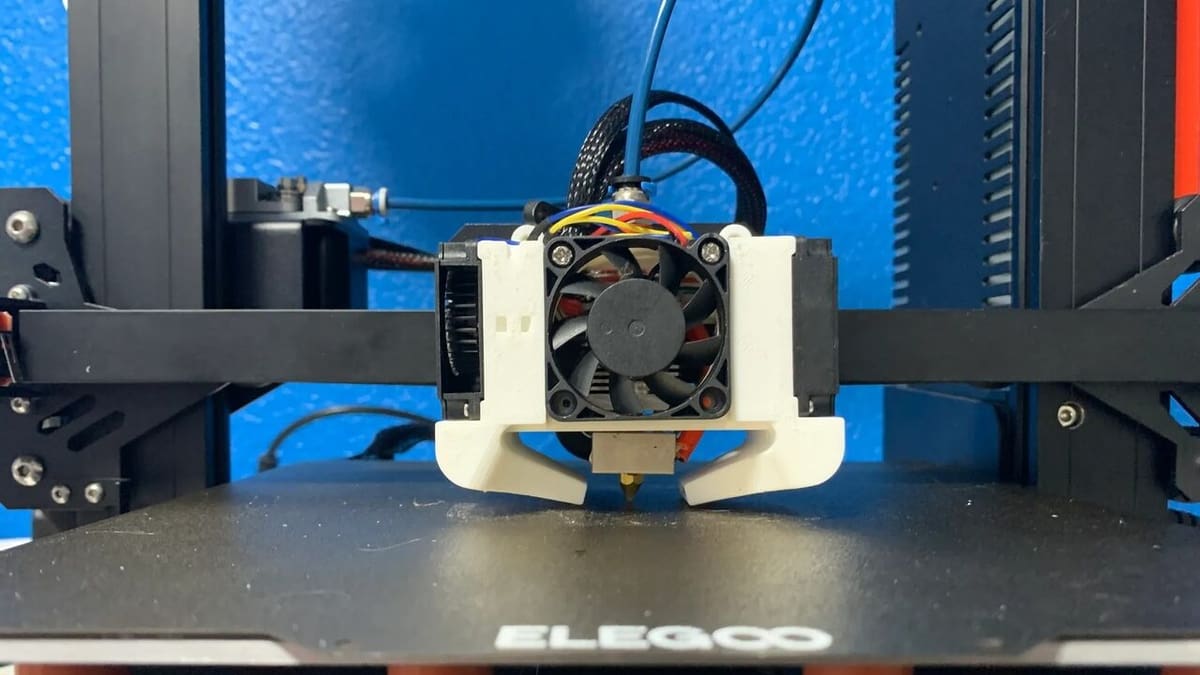
Cooling Upgrade
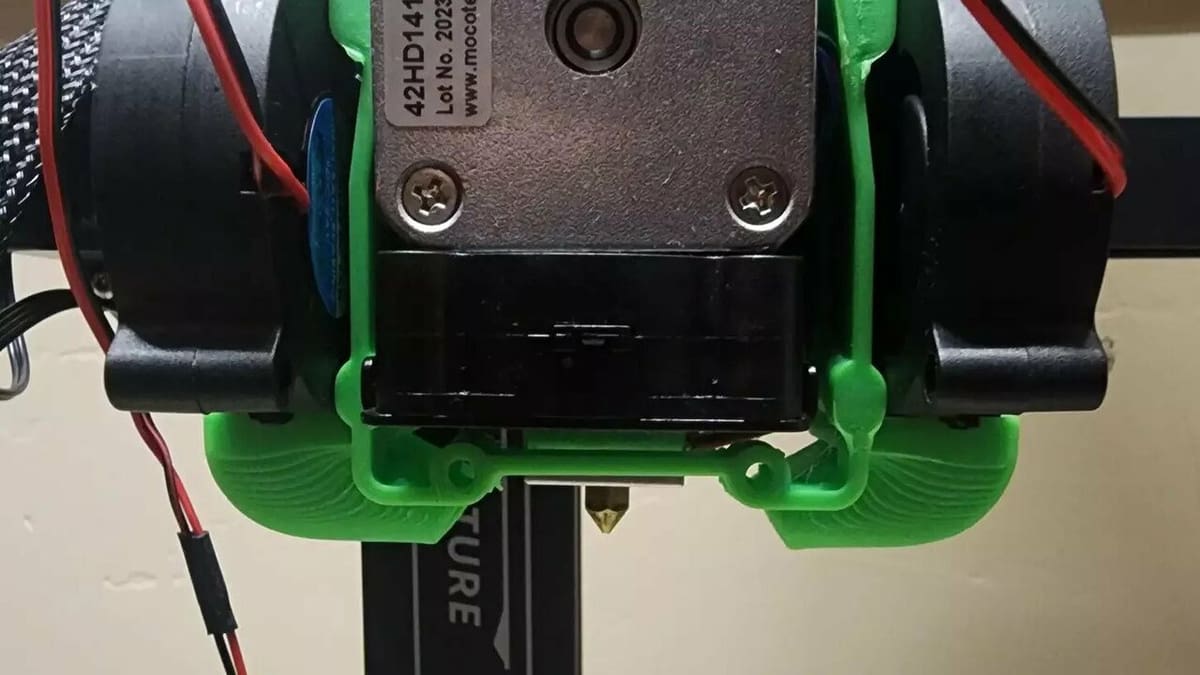
Cooling is a pretty important aspect of 3D printing and is even more critical when using larger nozzles. If you’re planning to or already using nozzles bigger than 0.4 mm, some extra cooling will help you achieve the quality you’re going for!
This partially printable cooling upgrade utilizes two powerful fans along with a modified duct for the best airflow. Precisely directed airflow will help layers cool faster so you can print quicker. And not to mention, this upgrade will also help make your Neptune quieter.
- What does it improve? Quieter, more powerful fans that increase airflow
- What does it cost? ~$50
- Who designed it? KittyBeans66
- Where to find it? Printables
Enclosure
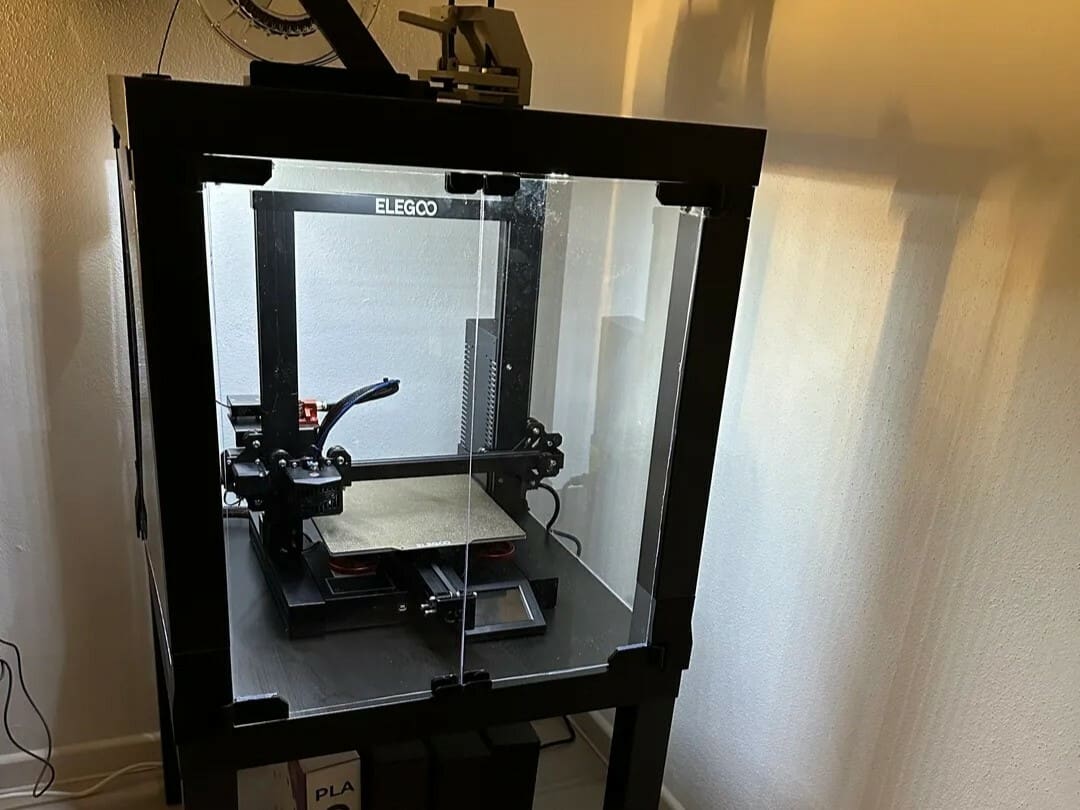
Printing with certain materials, such as ABS, requires elevated ambient temperatures to prevent issues like warping and layer delamination. Moreover, printing releases fumes during the process, which may be in your best interest to avoid as much as possible. The best way to combat these issues is to use a printer enclosure.
There are dozens of enclosure designs out there, including the popular and inexpensive Ikea Lack table modification. In addition to the table (or two) and some acrylic panels, all you need to print are the connecting pieces and the slots for the panels.
The creator of this enclosure made it specifically for the Neptune 2 and 3, and there’s a slightly larger remix to accommodate the Neptune 3 Pro. There’s detailed documentation provided on Printables that outlines how to put the enclosure together.
Keep in mind you’ll need a variety of tools, such as a screwdriver, drill, and screws. The creator printed the plastic parts in PETG between 15% and 40% infill.
- What does it improve? Traps heat around the printer, prevents fumes from escaping
- What does it cost? ~$80
- Who designed it? EDnation
- Where to find it? Printables
License: The text of "The Best Elegoo Neptune 3 (Pro) Upgrades" by All3DP is licensed under a Creative Commons Attribution 4.0 International License.
CERTAIN CONTENT THAT APPEARS ON THIS SITE COMES FROM AMAZON. THIS CONTENT IS PROVIDED ‘AS IS’ AND IS SUBJECT TO CHANGE OR REMOVAL AT ANY TIME.