The Best Ender 3 (V2/Pro) Dual Extruder Upgrades

Though very popular, the Creality Ender 3s can only do so much. Read on to learn about Ender 3 (V2/Pro) dual extruder upgrade options!
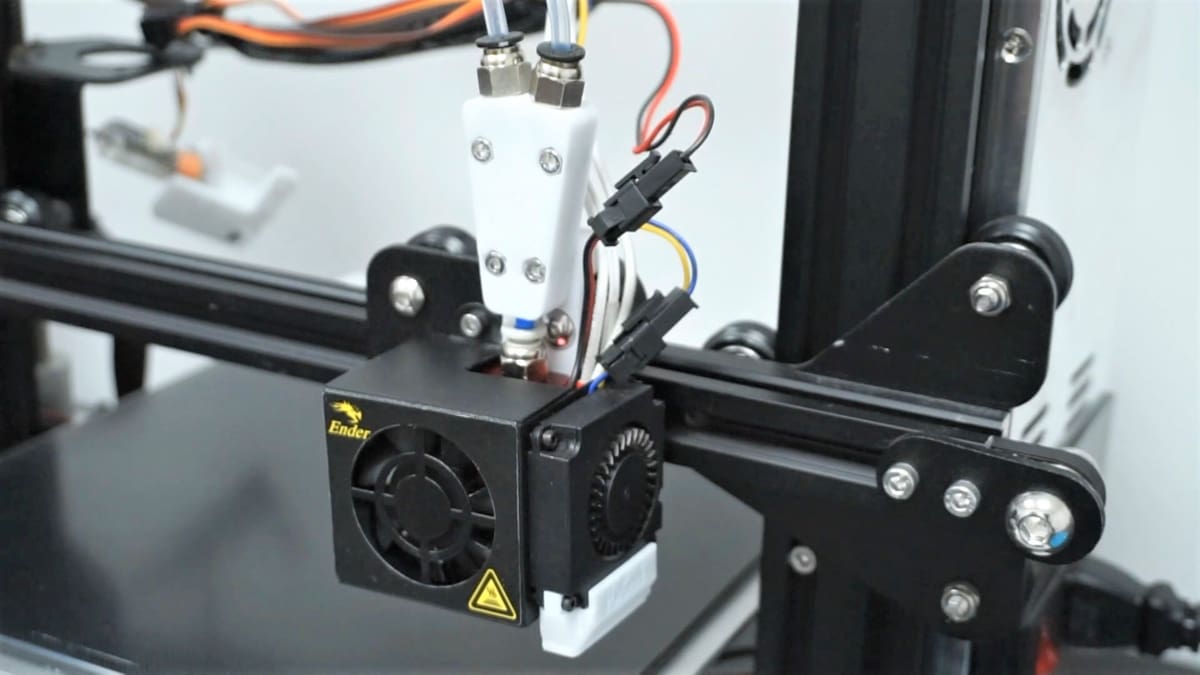
One of the most popular upgrade questions surrounding the Ender 3 – and the subsequent Pro and V2 models – is, “Can I make it a dual extruder printer?”
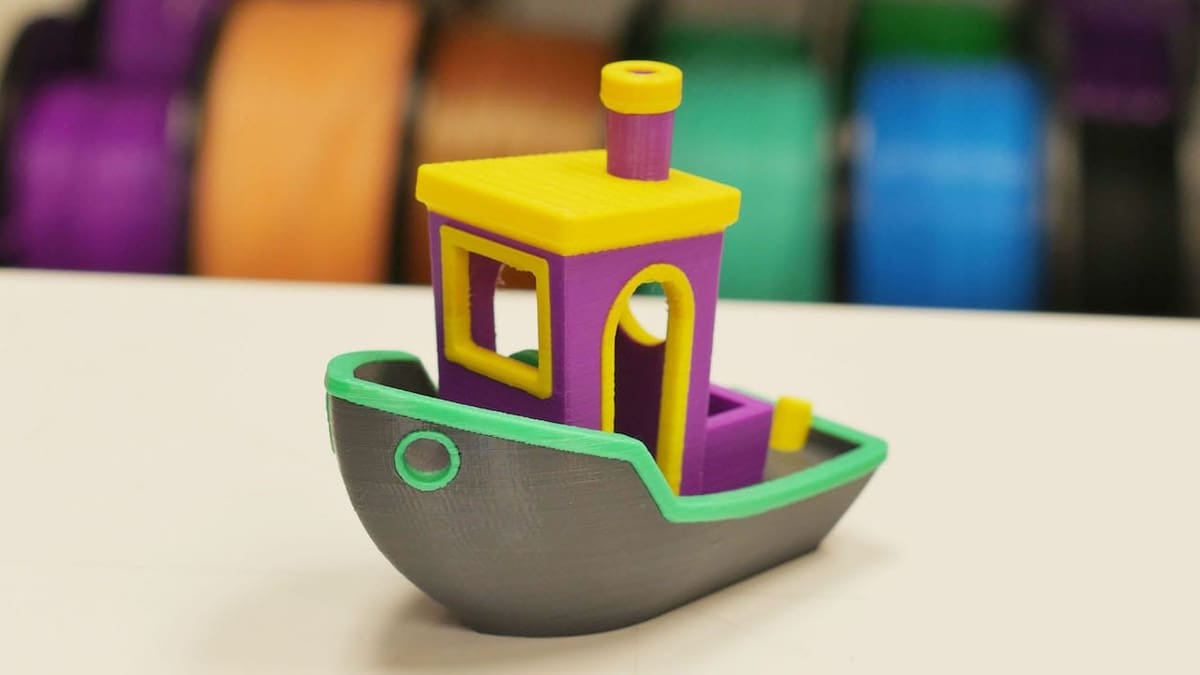
For those of you who don’t know exactly what it is or what it’s used for, dual extrusion allows for the use of multiple filaments within a single print. One of the main benefits of using dual extrusion is the ability to print with multiple materials. For instance, using a soluble support material makes model cleanup faster and easier.
So, is it possible to add this ability to the Ender 3s’ existing lists of advantages? The answer is yes, but only if you’re willing to do a bit of work. For example, it’s important to note that most dual extrusion upgrades to an Ender 3, Pro, or V2 will require a new control board, as the stock models don’t have dual extrusion capabilities. (The exception to this is the 3D Chameleon extruders, which just need a switch added to your existing setup.)
Along those same lines, the limitation of hardware is a key factor to consider when presenting options. Many of the following options are either still in the R&D phase or are open source and created by hobbyists.
With that said, let’s dive a little deeper into what dual extrusion means and then take a look at what options exist for the Ender 3s!
Alternatives
While the Ender 3s aren’t equipped for dual extrusion by default, that’s not to say that people haven’t come up with their own solutions. Being an Ender 3 owner means that you’re a part of a huge innovative community that’s constantly pushing to make new modifications that help everyone. That’s just part of what makes this family of printers so amazing.
With more time and as technology develops, dual extrusion kits for the Ender 3 printers may become more common. For now, there’s one commercial option (the 3D Chameleon, discussed below), but apart from that, you’ll have to leave it to the non-professionals.
One more-achievable upgrade for Ender 3s is multicolor or multi-material printing. This is different from dual extrusion because only one nozzle is used, and filament is simply switched mid-print. This means you might even be able to use the hot end already installed on your Ender 3!
One downside to multicolor printing is that there’s more plastic waste, as you have to clear out (or “purge”) the nozzle after each material change. Also, you can only use very similar materials during one print, due to differences in temperature and cooling requirements.
In the following sections, you’ll see a few different methods for making dual extrusion or multicolor printing a reality on your Ender 3. Some of the methods below are professional “ready-to-run” systems that have been tested. Others are made by hobbyists, but that doesn’t mean that they won’t work! In fact, they might even be a better fit for you!
DIY Chimera Project
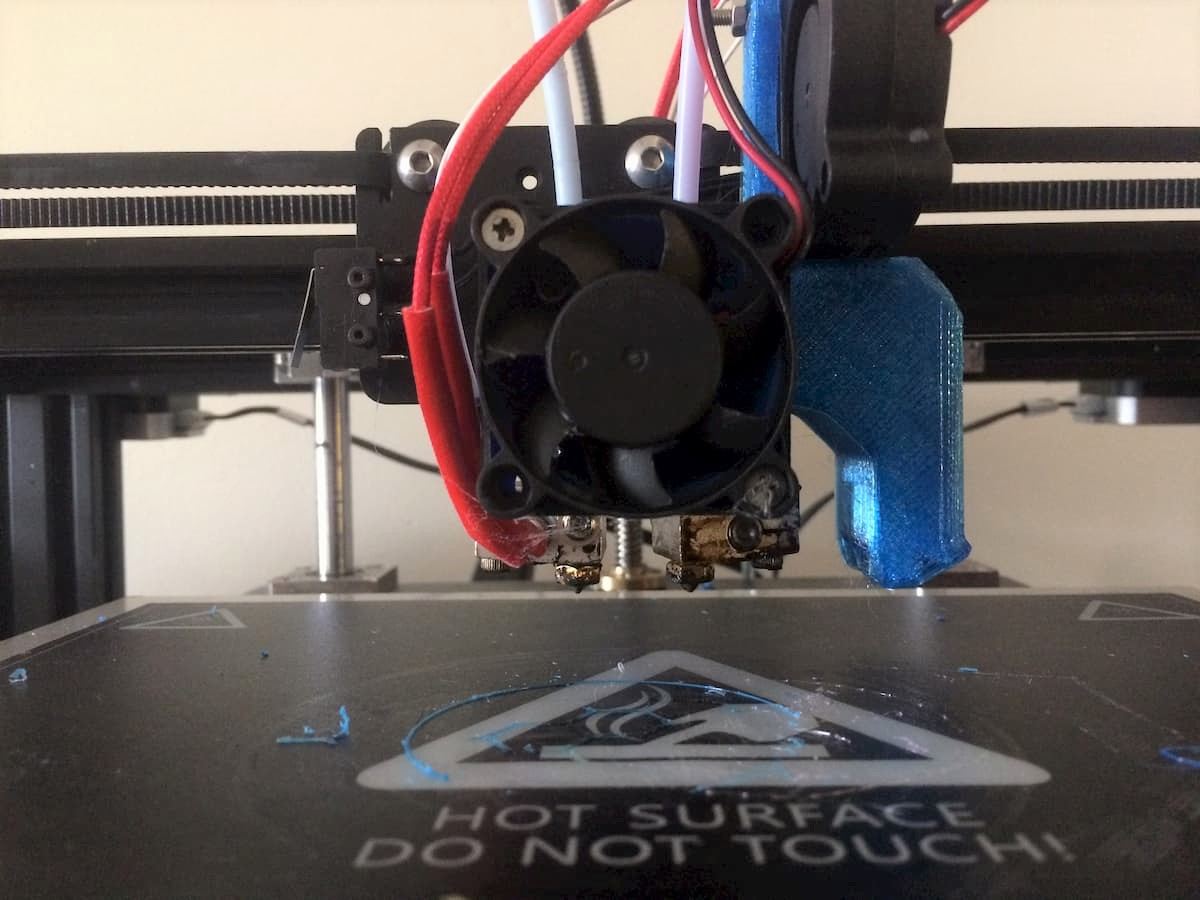
One of the few designs that will allow for true dual extrusion on the Ender 3s is the DIY solution by Jonathan Holman.
This idea combines 3D printed parts and the commercially-available E3D Chimera hot end to make a functional dual extrusion system.
While it was designed for an Ender 4, it should function on whichever Ender 3 you have, since the X gantry is essentially the same.
DIY Multi-Material
If you’re into making your own solutions, this is definitely for you. YouTuber Martin Zeman has designed a system to turn Ender 3 printers into functioning multi-material printers.
Combining 3D printed parts and a few commercially-available items, Martin Zeman walks you through how to set up this system. The idea is to combine two Bowden tubes into one, then simply retract the filament that’s not in use. Of course, it’s open to modification and will most likely work even if you have slightly different parts. The only thing left to do is plan a weekend to make it a reality!
Cyclops Hot End
Ender 3 user Shaun Forgacs has created an upgrade that allows multicolor printing on an Ender 3 with a few commercially-available and 3D printed parts.
This system uses an E3D Cyclops hot end that can mix two filaments in addition to basic multi-material printing. It should also be interchangeable with a Chimera dual-nozzle hot end (which has the same form factor as the Cyclops) for true dual extrusion, but this hasn’t been tested as far as we know.
If you’re up for a challenge, dive into this well-documented upgrade and see what the possibilities are!
Three-Into-One Hot End
Though it’s based on the same principles as the other modifications, this project is slightly different.
Deriving some parts from other makers in the open-source community, Kenneth Shotswell put together a functional system that produces multicolor parts. Using a three-into-one hot end and a custom mount and cooling system, it allows Ender 3 printers to print (or mix) three separate colors in a single print!
While this version may be slightly more involved, it isn’t any less fun.
3D Chameleon

The 3D Chameleon is a multilateral hot end configuration kit, similar to a three-in-one hot end, but it can handle up to four different filaments. 3D Chameleon is a fairly new (2018) company dedicated to providing an inexpensive way for users to upgrade to multi-material 3D printing. This company currently offers two products, a two-color-changer kit, and a four-color-changer kit, both of which are universal and can work with basically any open-source FDM 3D printer, including the Ender 3 models.
The 3D Chameleon Universal 2 and 4 Color Changer Kits aren’t too complicated to install. However, they do involve some new extruders, 3D printed parts, and 3D Chameleon’s custom injection-molded hot end entry mechanism.
Surprisingly, despite introducing new extruder motors, the only electronics components needed come in the kit, which is around $100 for the dual-color version and $200 for the four-color kit. Instead of a new mainboard with additional stepper motor drivers, the setup involves a switch, so the kits can work on any FDM 3D printer mainboard.
For assembly instructions, you can check out the video series by Chris Riley, who covers both the two- and four-color setups. Overall, the 3D Chameleon is a great way to upgrade your Ender 3 to multi-material printing without spending too much money or making any significant modifications.
Manual Change
If you’ve only got about 10 minutes to spare, you might want to give this solution a shot.
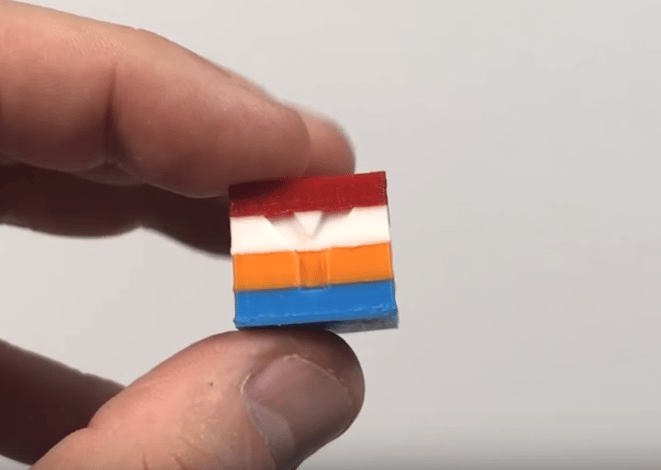
The simplest of all, this style of multicolor printing on any model of Ender 3 is a breeze. As explained by YouTuber Chep, changing a few settings in Cura and a little bit of patience can lead to amazing results.
Through this tutorial, you’re shown how to pause your Ender 3 at a specific height, switch the filament, then continue printing right on top of your previous layer.
There are so many ways for you to take this idea and expand on it. You’ll have fun seeing how far you can push the limits!
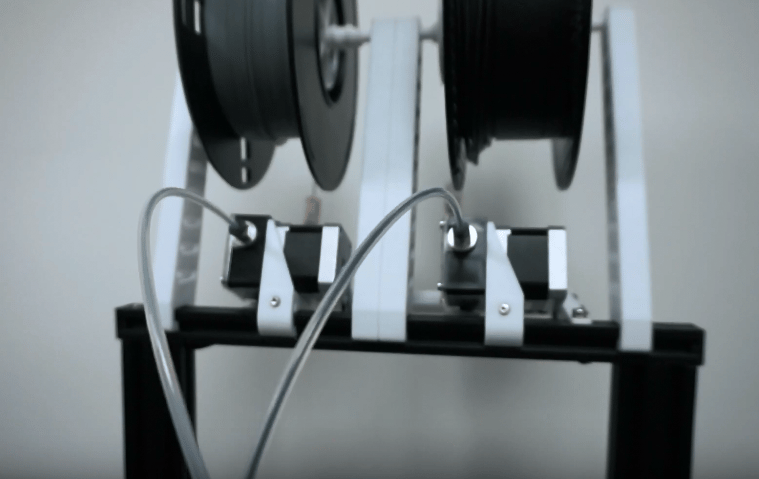
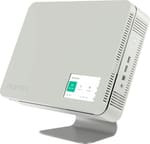
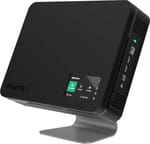
Mosaic Palette 3 & Pro
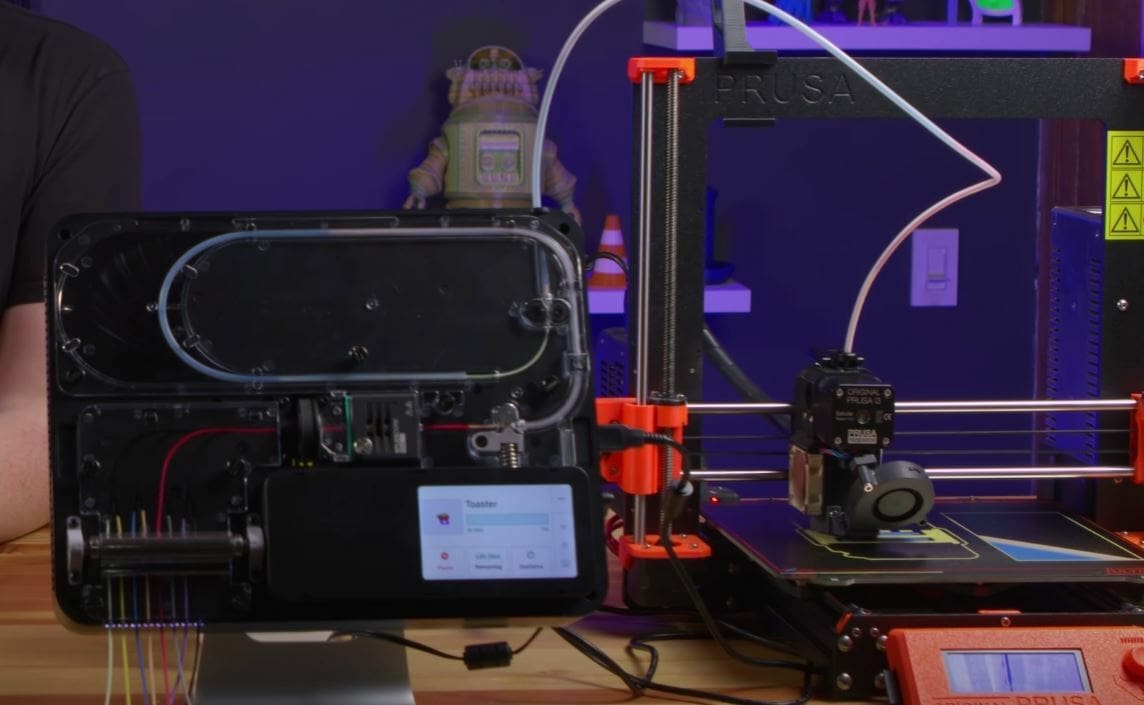
Finally, Mosaic Manufacturing is a developer of unique 3D printing solutions, and the Palette 3 and Palette 3 Pro are Mosaic’s latest release of their flagship Palette multi-material printing system. The Palette 3 allows your Ender 3 to print with up to four filaments at once, and the Pro version supports up to eight filaments.
The Palette 3 and 3 Pro work by slicing the multi-color model and determining how long of a strand of each inserted filament is needed to achieve the desired color scheme (or material composition). The device then continuously splices and fuses the inserted filaments to form a long, multi-material filament strand that’s custom-made for a specific print job. There are numerous YouTube videos out there detailing this process, both for the Palette 3 and the 2 Pro.
The Palette 3 and 3 Pro can also work with flexible and rigid materials simultaneously, a capability the Palette 2S and 2 Pro lacked. Other enhancements on the Palette 3 and 3 Pro from the previous versions include longer lifetimes for the devices’ components and increased reliability due to lower tolerances in the splicing mechanism.
The advantage of the Palette is that you don’t need to modify your printer, as it’s a plug-and-play solution for all your color printing needs. It’s not as cheap ($599-$799) as other options we’ve covered, but it’s an easy and reliable option. There’s even an onboard touchscreen display that makes the device easy to work with.
License: The text of "The Best Ender 3 (V2/Pro) Dual Extruder Upgrades" by All3DP is licensed under a Creative Commons Attribution 4.0 International License.
CERTAIN CONTENT THAT APPEARS ON THIS SITE COMES FROM AMAZON. THIS CONTENT IS PROVIDED ‘AS IS’ AND IS SUBJECT TO CHANGE OR REMOVAL AT ANY TIME.