Ender 3 (V2/Pro) & Linear Rails: All You Need to Know

If you're tired of rough motion on your Ender 3 (V2/Pro), linear rails provide super-smooth motion for different axes. Read on to learn more!
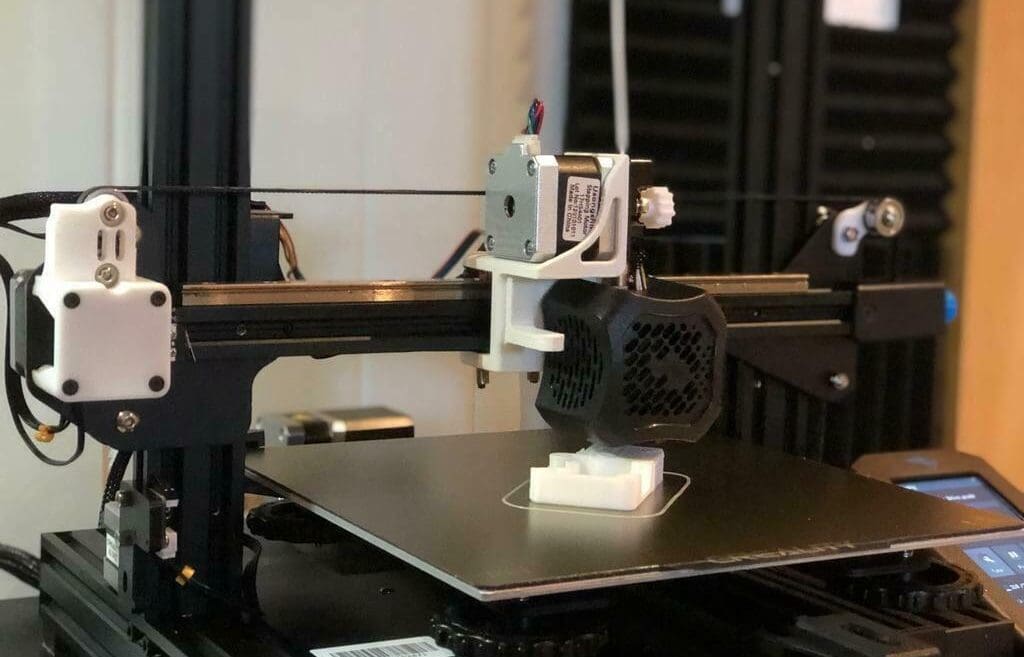
The Creality Ender 3 is one of the most popular budget printers for hobbyists and enthusiasts. The original Ender 3’s success inspired Creality to continue the Ender series, releasing the Ender 3 Pro and the Ender 3 V2. All versions of the Ender 3 are open-source, which has been a major contributor to their success because it makes the machine very easy to modify and upgrade.
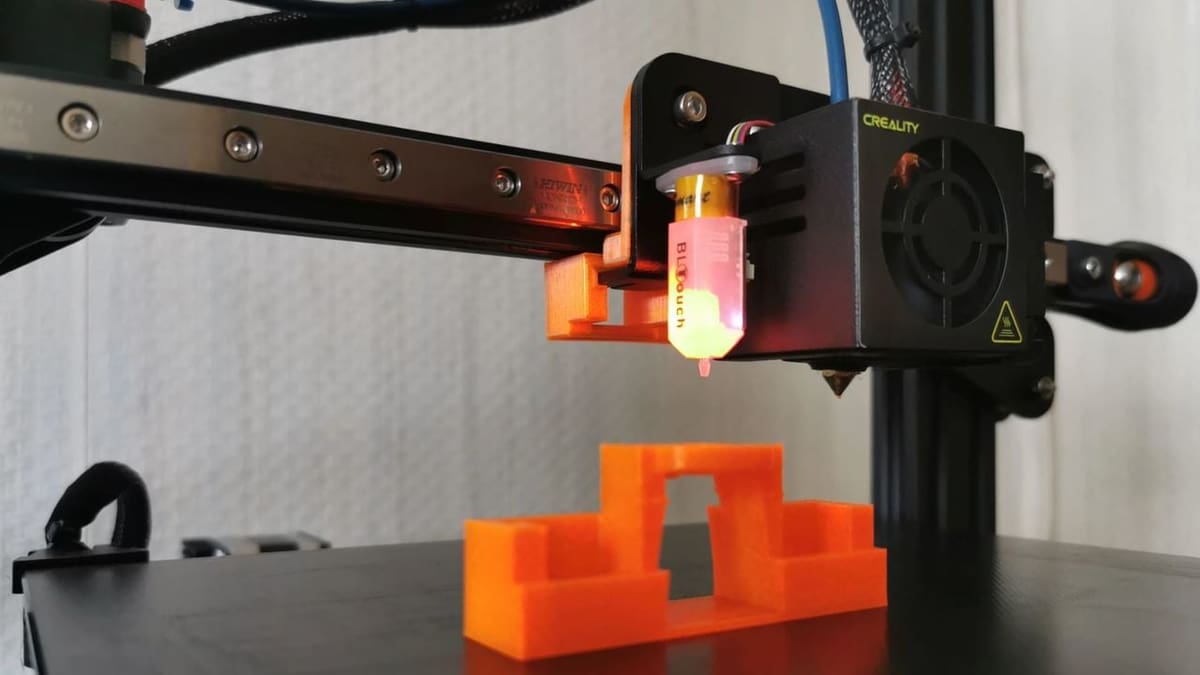
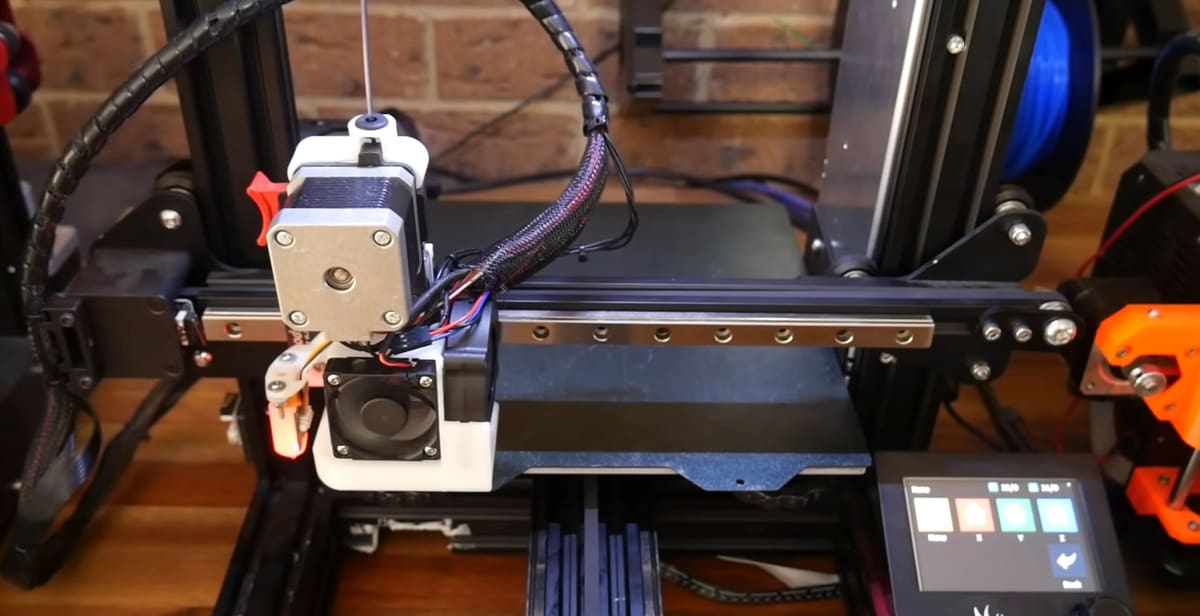
The Ender 3s all use aluminum V-slot extrusions with roller bearing brackets for movement on the three axes of motion (X, Y, and Z). With roller bearings, you have to adjust the tightness of the bearing and clean them because they can loosen over time, and dirt and grime can pile up inside the bearings. Luckily, there’s a solution to this problem!
In this article, we’ll go over what linear rails are, how they work, and the upgrade options for the Ender 3, Pro, and V2, before diving into what you’ll need and some installation steps.

Linear Rails
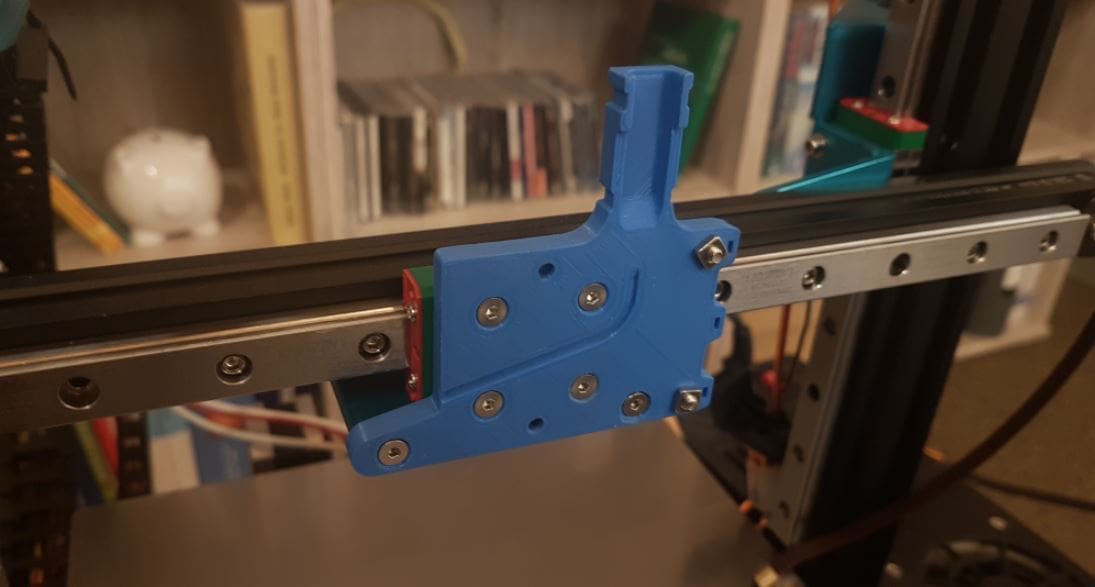
Linear rails can be considered a step up from roller bearings, as they’re a higher-end alternative motion system. This motion technique incorporates a stiff metal base and an attached carriage, which encases many small roller balls. The roller balls provide less friction in the carriage’s motion compared to large roller bearings.
You may want to upgrade to linear rails because they allow for super-smooth motion and more precise movement along the axis on which they’re mounted. As such, linear rails can improve print quality through greater precision and prevent Z-axis banding in prints (if you add linear rails to the Z-axis). They also can reduce backlash and ringing, which can improve the quality of prints.
While linear rails provide many advantages, they can cost a pretty penny, typically pricing around $30 per rail. Higher-quality rails can go for around $90 apiece, and cheaper rails can go for slightly about $20 per rail. Regardless of price or quality, you have to be careful with linear rails and make sure that the carriage doesn’t fall off the rail.
The Upgrade
It’s important to remember that the Ender 3s, like most FDM printers, have three axes of motion: the X-, Y-, and Z-axes. Below, we’ve listed the locations of each axis in relation to parts of the printer:
- X-axis: Responsible for moving the printhead left and right (when viewing the printer from the front)
- Y-axis: Parallel to the motion of the print bed (or its direction of motion)
- Z-axis: Parallel to the height of the printer and the Z-axis lead screw
You can add linear rails to all three if you want, but typically people only install them on one or two axes. You only need one linear rail for each axis, but it’s definitely possible (and beneficial) to add more.
Linear rails are easily attachable to most 3D printers, and mounting holes can be found on many linear rails. You can use the holes to attach the rails by the V-slot extrusions that the Ender 3s have. For attaching carriages, you can 3D print or purchase mounts and adapters, too.
While most people use metal linear rails, you can also use 3D printed linear rails like this popular set on Thingiverse. You can also 3D print custom carriages; however, like all things 3D printed, the functionality of the parts depends on how well you print them.
Now let’s move on to gathering your materials!
What You'll Need
Before getting to the installation, let’s go over what you’ll need for the upgrade. We recommend using a linear rail upgrade kit meant for your version of the Ender 3, as this ensures compatibility between parts. Below, we’ve listed the basic necessities for this upgrade:
- Linear rails for your desired axis, including a carriage
- A mount for the gantry or printhead, depending on the axis (your kit may include this)
- Some hardware (if your kit doesn’t include it)
Because there are many options for adding linear rails to your Ender 3, we’ll be going over the general process, rather than the exact steps. If you want a more detailed guide, you can find many great options on YouTube, including tutorials by Teaching Tech, BV3D: Bryan Vines, and 3Drcnc.
Finally, we can get started!
Installation
Before embarking on this upgrade, keep in mind a few slight differences between the various Ender 3 models. Notably, the hot end adapter mount should be different for the Ender 3 V2 compared to the original and Pro versions because its hot end shroud is different. Also, the print bed adapter mount should be different for the Ender 3 Pro because it has a 4040 extrusion for the print bed instead of a 4020 extrusion.
Below are the general steps for installing linear rails on your Ender 3, Pro, or V2:
- Remove the axis carriage or printhead of the axis of motion where you plan to install linear rails.
- Detach any belts or lead screws from the desired axis.
- With the linear rail and carriage together, place T-nuts on the mounting holes of the linear rail.
- Slide the linear rail into the aluminum extrusion on the desired axis.
- Make sure that the linear rail is aligned correctly (perfectly straight), and then tighten the screws to securely mount the rail to the extrusion.
- Attach the adapter mounting plate that fits the linear rail carriage and the Ender 3’s Z-axis carriage, print bed, or hot end.
- Add the axis carriage or printhead to the mounting plate on the linear rail carriage.
- Reattach any belts or lead screws.
- Slide any endstops to the correct offset distance to account for any dimensional differences.
That’s it! You’ve now successfully installed linear rails on your Ender 3.
Once you’re done, you should recalibrate your Ender 3, relevel your bed, and retest travel speeds because you may now be able to print faster.
License: The text of "Ender 3 (V2/Pro) & Linear Rails: All You Need to Know" by All3DP is licensed under a Creative Commons Attribution 4.0 International License.