Ender 3 (Pro) Belt Tensioner: How to Install It & Use it

Tightening belts by hand can be a pain, even on great printers like the Ender 3s. Belt tensioners make it easy; read on to learn more!
Tension Intervention
If you have an Ender 3 or Ender 3 Pro, then you’re probably familiar with the belts that the printhead and print bed are attached to, which allow them to move along their respective axes (X and Y). Belts are a super easy and efficient way to move parts from one point to another along an axis, but they can also cause problems if they’re too tight or too loose.
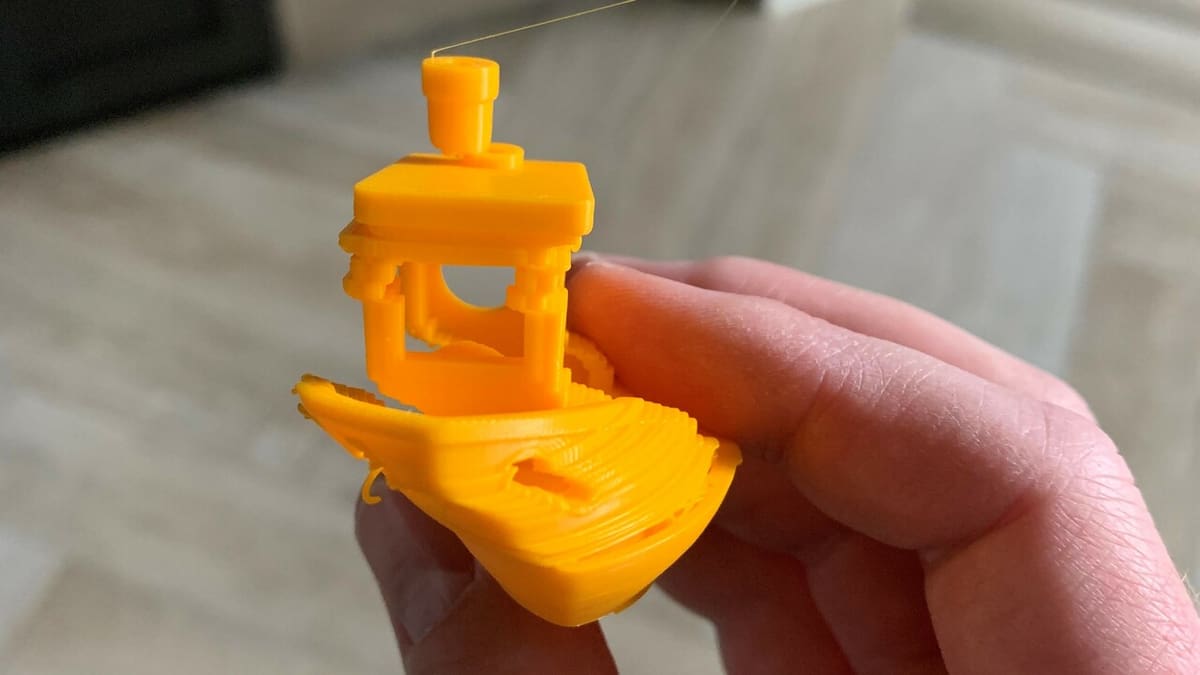
Usually, it’s the latter option that people notice, as loose belts can cause visible print quality issues like ringing, layer shifting, poor dimensional accuracy, and misshapen parts. On the other hand, if the belt is tightened too far, it will degrade more quickly and cause the carriages to have a rougher motion. Luckily, the solution to these problems isn’t complicated! You just need to adjust the belt tension by repositioning the pulley on the relevant axis.
However, doing this on your Ender 3 or Pro can be more complicated than necessary because, unlike the newer Ender 3 V2, the earlier Ender 3s don’t come with pre-installed adjustable belt tensioners. Instead, Creality uses fixed belt pulleys that sit at the end of the X- and Y-axes and can’t be easily moved. To adjust the tension, you have to loosen the pulley structure, adjust it backward or forward (which requires some force), and then re-secure the pulley structure.
Luckily, the Ender 3 maker community, Creality, and other companies have designed adjustable belt tensioners that allow you to change the belt tension on an axis simply by rotating a knob. In this article, we’ll be going over how to upgrade your Ender 3 or Pro with an adjustable belt tensioner, discussing what you need, how to install one, how to use it. Enjoy!
What Are They?
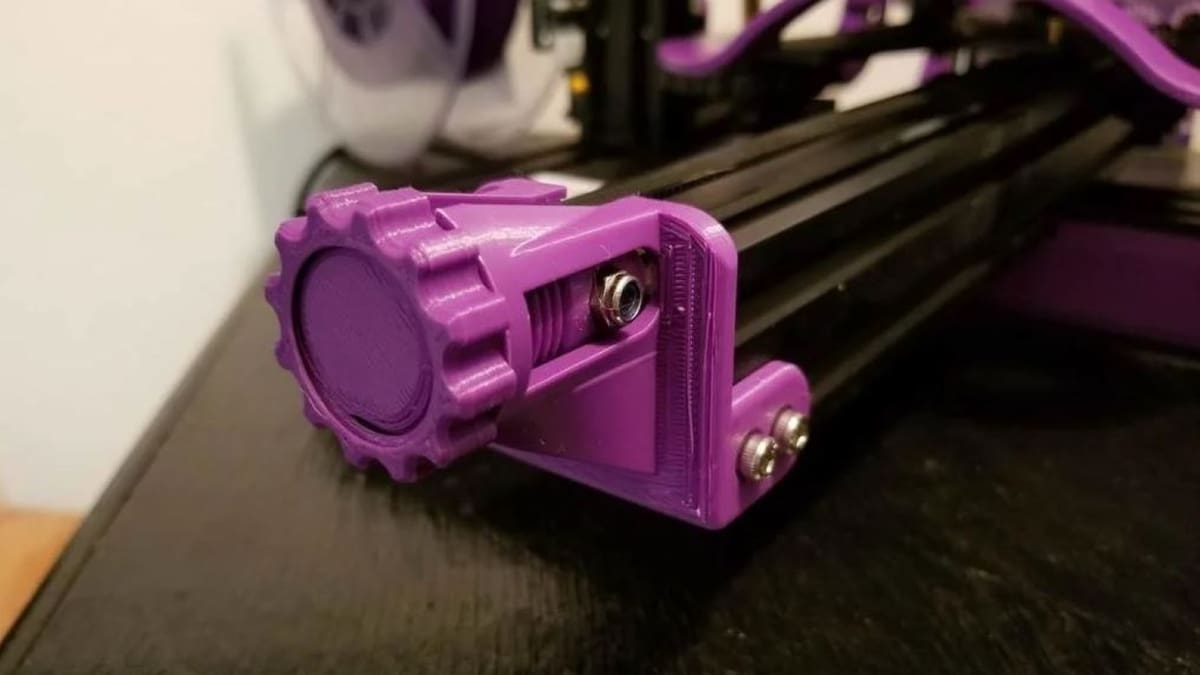
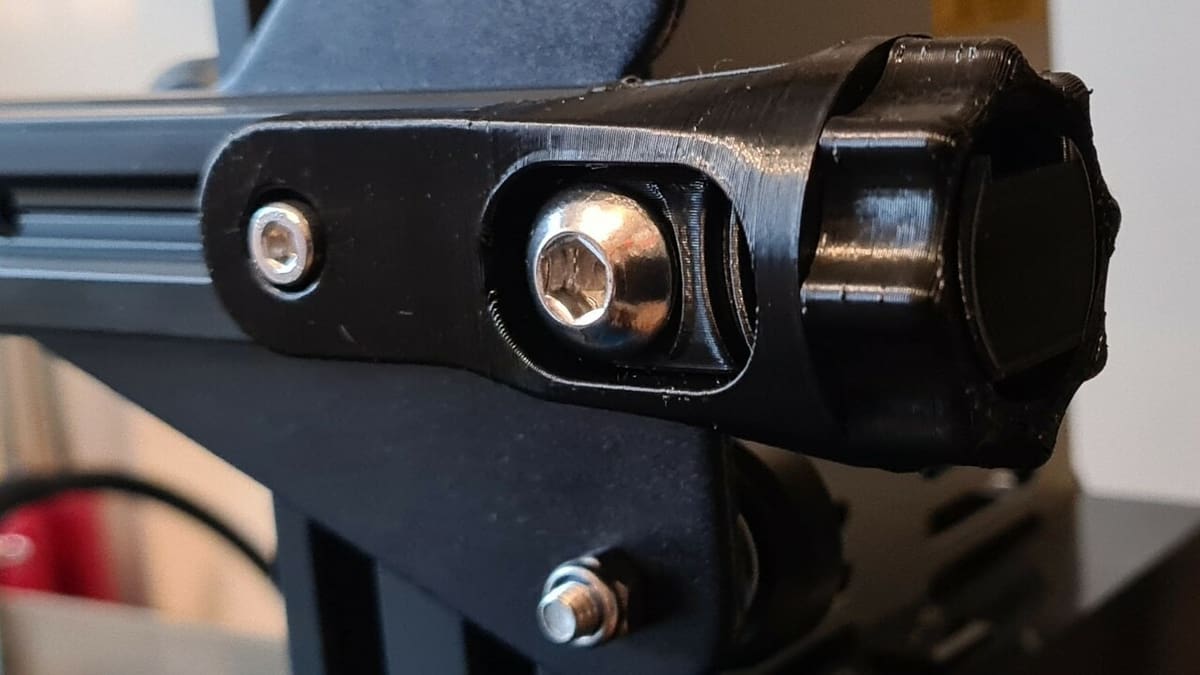
Belt tensioners are an effective way to adjust a belt’s tension without having to manually reposition the idler pulley on an axis. For the Ender 3 and Pro, belt tensioners usually comprise a frame, a knob, an idler pulley, and a screw. The idler pulley is connected to the screw, the screw passes through the frame, and the knob twists onto the screw.
When a belt is looped around the pulleys at both ends of the axis, you can rotate the knob to move the idler pulley back and forth, which will tighten or loosen the belt accordingly. As the pulley moves away from the axis, the belt should tighten, while moving it closer to the axis should allow some slack.
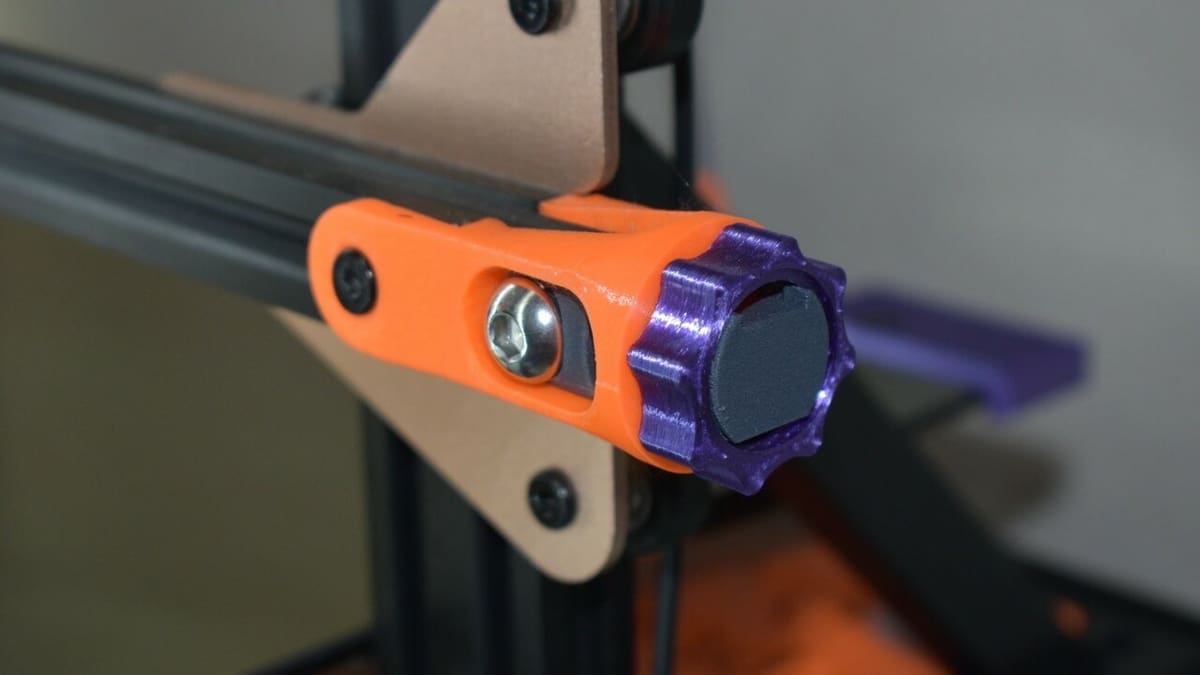
The tensioner is generally attached to the printer’s frame (an aluminum extrusion for the Ender 3) with a few screws. You usually control the tension from the opposite end of the axis to the stepper motor.
So, now that you know what a belt tensioner is and how it works, let’s get to the options for the Ender 3 and Pro!
Options
The Ender 3 and Ender 3 Pro are very similar, and a belt tensioner for the X-axis will work on both printers. However, because the Pro version has a 4040 extrusion for this axis, while the original Ender 3 uses a 2040 extrusion, the Y-axis tensioner for these two machines varies.
Belt tensioners aren’t too expensive if you choose to buy them, costing only around $10-$15 per piece. Purchasable belt tensioners are usually made of metal and will be more durable, but 3D printing one is a lot cheaper.
Here are some good options:
Purchasable
Printable
It’s important to note that if you’re going to print a belt tensioner for your Ender 3 or Pro, you should use print settings that’ll produce a strong, durable part. Remember that a lot of the belt’s tension will be reliant on the belt tensioner’s structural integrity and stiffness, so you wouldn’t want it to break mid-print!
Installation & Use
Installing a belt tensioner, whether for the X- or Y-axis on an Ender 3 or Ender 3 Pro, is basically the same process. Really, the only difference is where the tensioner will be positioned, but the overall steps are the same. Follow the instructions below to properly install a belt tensioner on your Ender 3 or Pro:
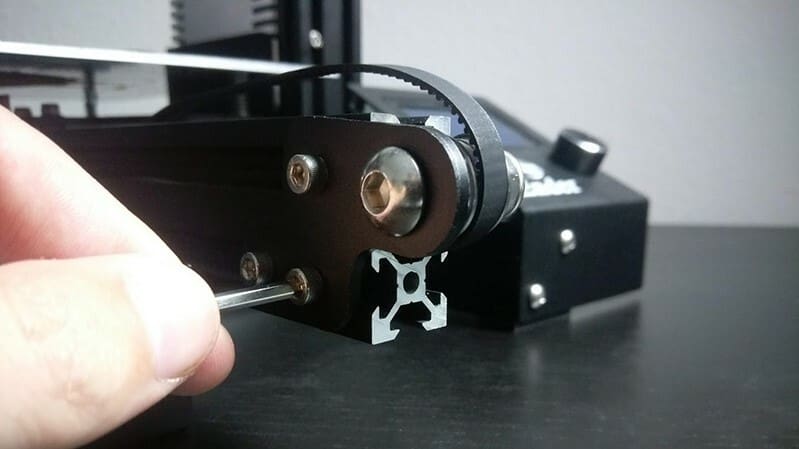
- Use an appropriately-sized Allen key to remove the current belt pulley on the side of the axis that you plan to install the belt tensioner. This should be at the opposite end of the axis to the stepper motor that pulls the belt.
- Take the now-loose belt and loop it around your new belt tensioner’s pulley wheel.
- Loosen the adjustable knob on the belt tensioner as much as you can without causing it to fall off. This will make the installation process less physically stressful on the parts, as the belt doesn’t need to be tight when adding the upgrade.
- Place the belt tensioner on the end of the axis and make sure that it’s properly aligned. If the tensioner is for the Y-axis, make sure the tensioner is oriented so the pulley wheel is at the same height as before (matching the motor-side pulley height). If the tensioner is for the X-axis, make sure that the longer side of the tensioner’s frame goes in the front of the X-axis extrusion (facing you).
- Move the motor-side pulley with your hand and make sure the tensioner’s pulley (with the belt around it) isn’t stuck.
- Use the same Allen key and the original screws (or new ones if your belt tensioner came with its own) to secure the new tensioner on the axis. When securing it, the tensioner doesn’t need to be super pulled-back because it’s adjustable. However, you might want to pull it back slightly to provide at least a small amount of initial tension before you use the adjustable knob.
- Rotate the adjustable knob on the belt tensioner to tighten the belt. You want the belt tight enough so that when you move the carriage across its axis, the motion is smooth but not wobbly. If the carriage wobbles, you should tighten the belt; if the motion is too hard or rough where you feel every bump along the axis, you should slightly loosen the belts.
And that’s it! You’ve successfully installed an adjustable belt tensioner to your Ender 3 or Ender 3 Pro. Next time the belt feels a little loose, tightening will be a breeze!
Lead image source: JesseBuck via Thingiverse
License: The text of "Ender 3 (Pro) Belt Tensioner: How to Install It & Use it" by All3DP is licensed under a Creative Commons Attribution 4.0 International License.