Ender 3 S1 vs Ender 3 V2: The Differences

Choosing between Creality's Ender 3 S1 vs the Ender 3 V2? Read all about their differences and similarities here.
As one of the most popular entry-level FDM printer series, the Ender 3 line by Creality has continued to expand, with the Ender 3 V2 and the Ender 3 S1 being some of the more recent additions. While any new printer options are a welcome addition to the market, the naming conventions and differences can quickly become confusing. What features do these models bring to the table?
For starters, it’s evident that both machines are a step up from the original Ender 3. In fact, many features on the V2 and the S1 are both thought to be direct responses to customer wishes. The Ender 3 printers are hugely popular among those who like to tinker and expand their printer’s capabilities. It’s also an appealing line for those who wish to get started in 3D printing and want a simple machine that they can immediately rely on.
In this piece, we’ll take a close look at these two models, their differences, where they fit into the Ender family, and what the various options can do for you. Whether you’re choosing between the V2 or the S1 or simply want a more in-depth understanding, read on!
At a Glance
Features
A table by the numbers is great for raw data, but we’ve got to go farther than that.
In the following, we’ll dive into specific aspects of each printer. There are many similarities, of course, but there are also some interesting differences…
Background & Basics
The Ender 3 is one of the most well-known names when it comes to the consumer 3D printer space. Even within this space, the Ender series contains several flavors of FDM printers, from standard beginner machines to larger, more robust, and more precise machines suited for advanced users. Price points vary from under $150 for the base Ender 2 to nearly $600 for the large-format version of the Ender 5.
Both the V2 and the S1 are situated firmly in the middle of the Ender field. Direct evolutions of the original Ender 3, each have features that consumers previously requested or printed themselves as add-ons to prior versions.
Creality released the V2 in April 2020 as part of the company’s 6th-anniversary celebration. Although the roll-out was a bit muted by the pandemic, the V2 was heralded as a stellar move forward for the line two years after the original Ender 3’s release. The S1 followed in February of 2022, adding several new features.
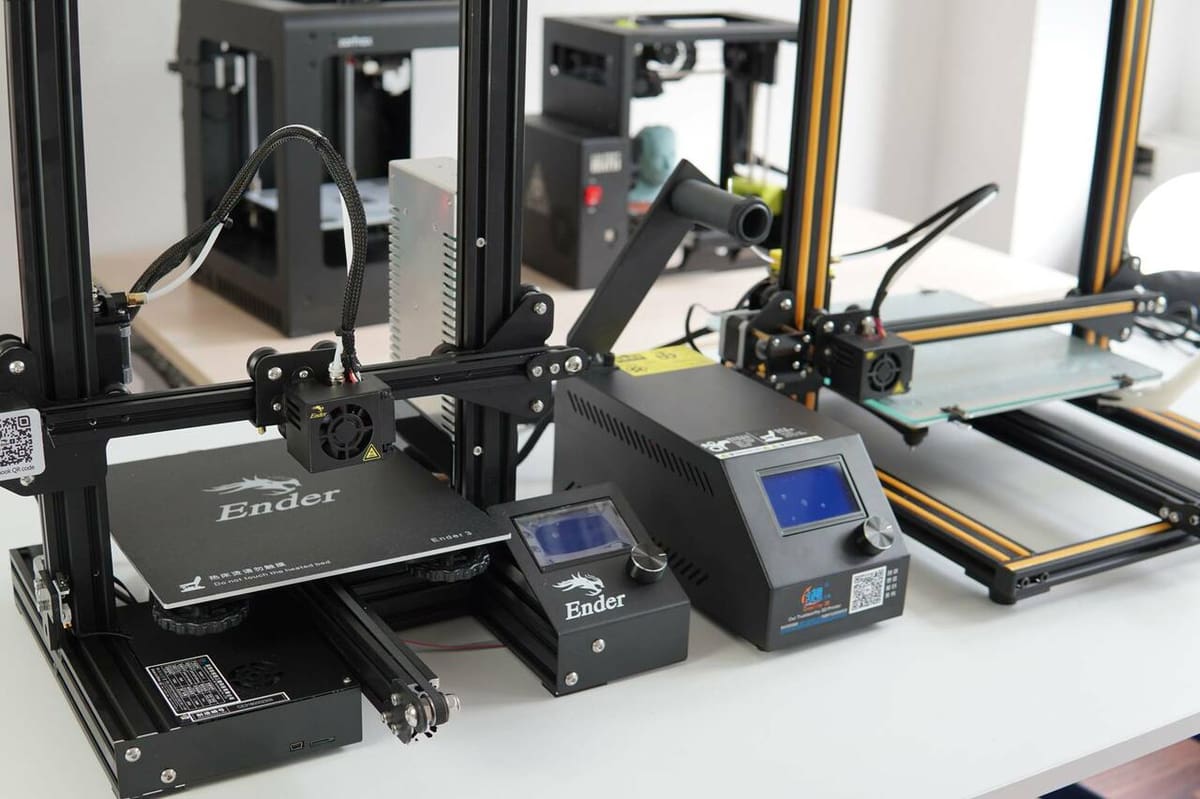
One of the biggest strengths of this particular printer line is the large community of users. Support, ideas, and troubleshooting are easy to come by as the user base has a well-developed network stretching across many platforms. With so much choice and support, the main conundrum is choosing the right Ender 3 for your needs!

Design
Unboxing the two printers, the first thing one notices is the difference in assembly. Simply put, the S1 is put together faster, as it’s mostly pre-assembled, with Creality boasting a “six-step assembly” process. While the V2’s assembly holds no surprises, it is more of a standard kit build, which can take considerably longer. This can be frustrating for those who want a more “ready-to-go” product or aren’t 100% confident in their building abilities.
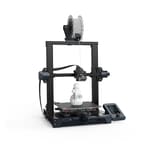
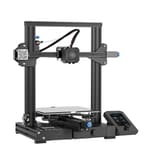
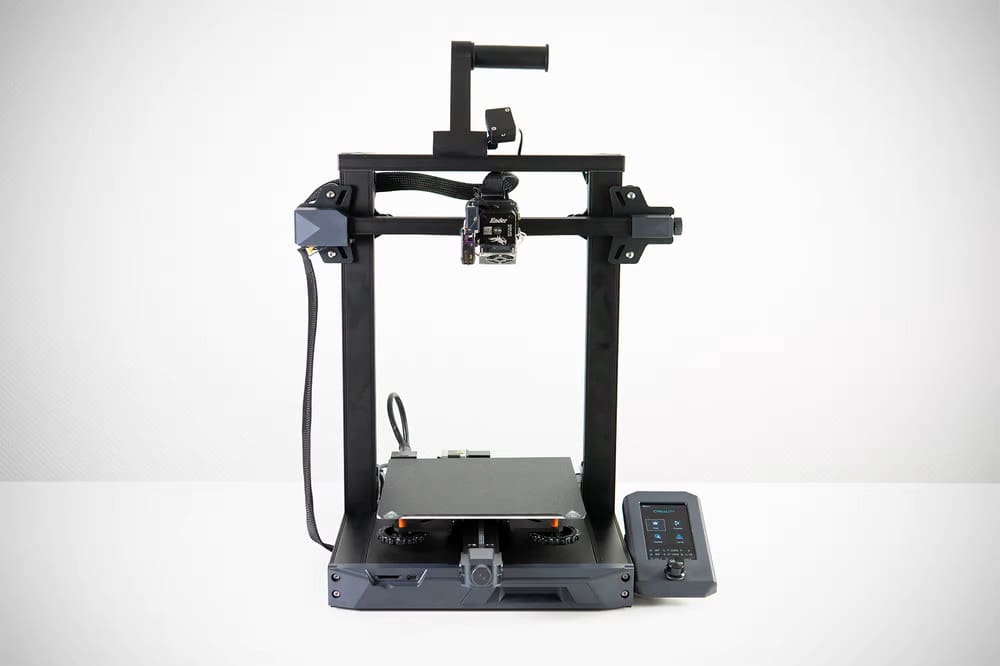
Once assembled, the two machines are strikingly similar in looks. The frames and base are oriented the same way, and both have their filament holders placed on top, albeit in slightly different configurations. A good number of the parts are even the same, which is great for maintenance purposes, even if it doesn’t help distinguish the printers apart by looks alone.
While it’s obvious that the two machines are cousins, small visual differences do jump out. For example, the S1 places its filament sensor above the frame with the filament holder, while the V2 does not. This is largely due to the difference in their extruder systems (more on that later).
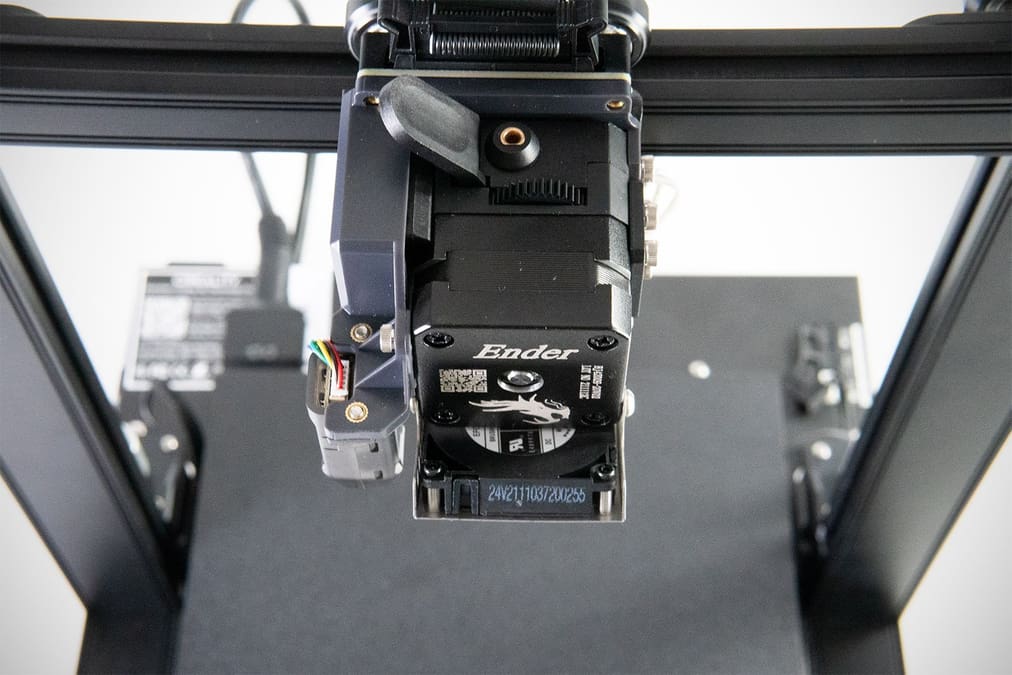
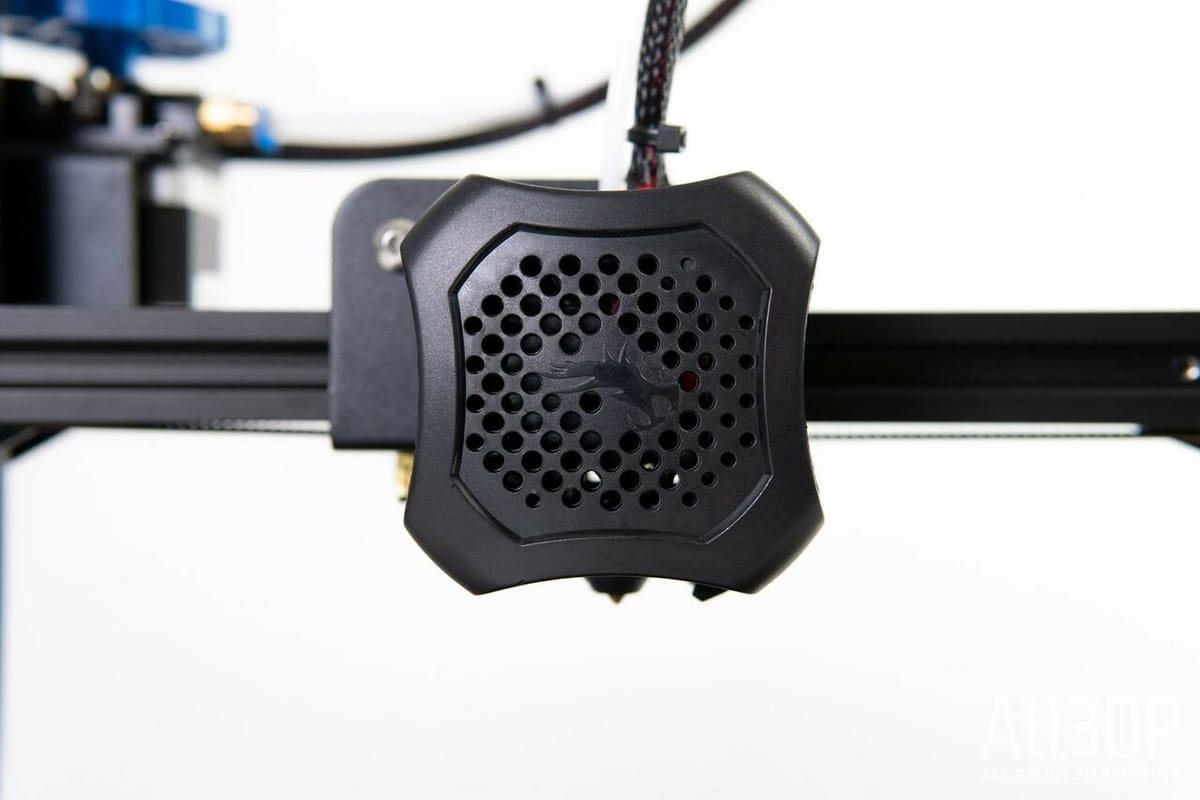
A closer inspection reveals a sleeker and more polished appearance with the S1. The lower housing and parts of the frame are enclosed in custom black and gray plastic. The result is a less “naked” machine, with no large QR codes being visible, for example. Further, thanks to the direct extruder, there’s no tubing. The wiring is tucked neatly away in mesh sleeves and clipped down to hide the mess.
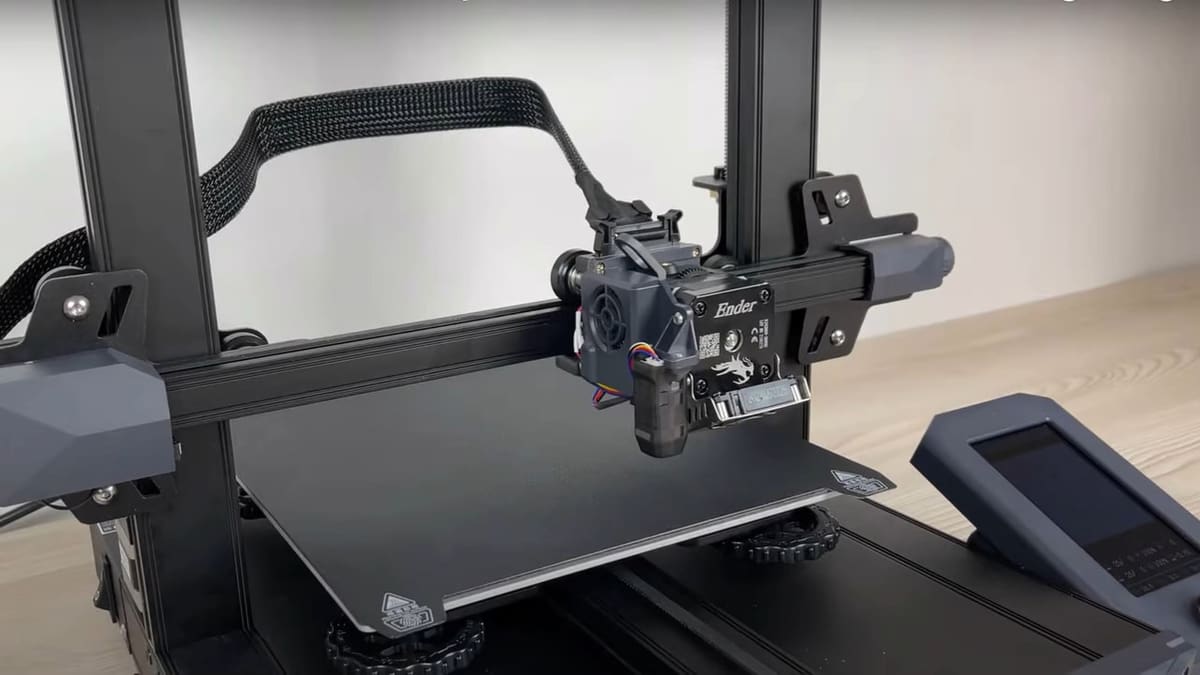
Another major difference is the addition of a second Z-axis screw on the S1. While the single screw on the V2 is more than enough to get the job done, the dual Z-axis gives the S1 additional gantry support, resulting in smoother prints.
Build Volume
The competition for build volume goes ever so slightly to the S1, with its 220 x 220 x 270 mm compared to the V2’s 220 x 220 x 250 mm. That extra 20 mm on the S1 results in a more than 10% increase in height for your builds. Most prints won’t benefit from this added height, but for the taller ones, it may mean the difference between a multi-part print or a single, larger piece completed all at once.
Meanwhile, neither printer offers any more build plate area than the original Ender 3. Indeed, most in the Ender 3 series offer the same width and length.
With printers constantly offering larger build plates, some may feel that the Ender 3 specs aren’t as impressive as they once were. For example, the Anycubic Vyper is comparable to the S1 but offers a bit more space at 245 x 245 x 260 mm. Nevertheless, the V2 and the S1 offer a decent amount of space and sit comfortably in the middle of the FDM printer pack
Build Plate
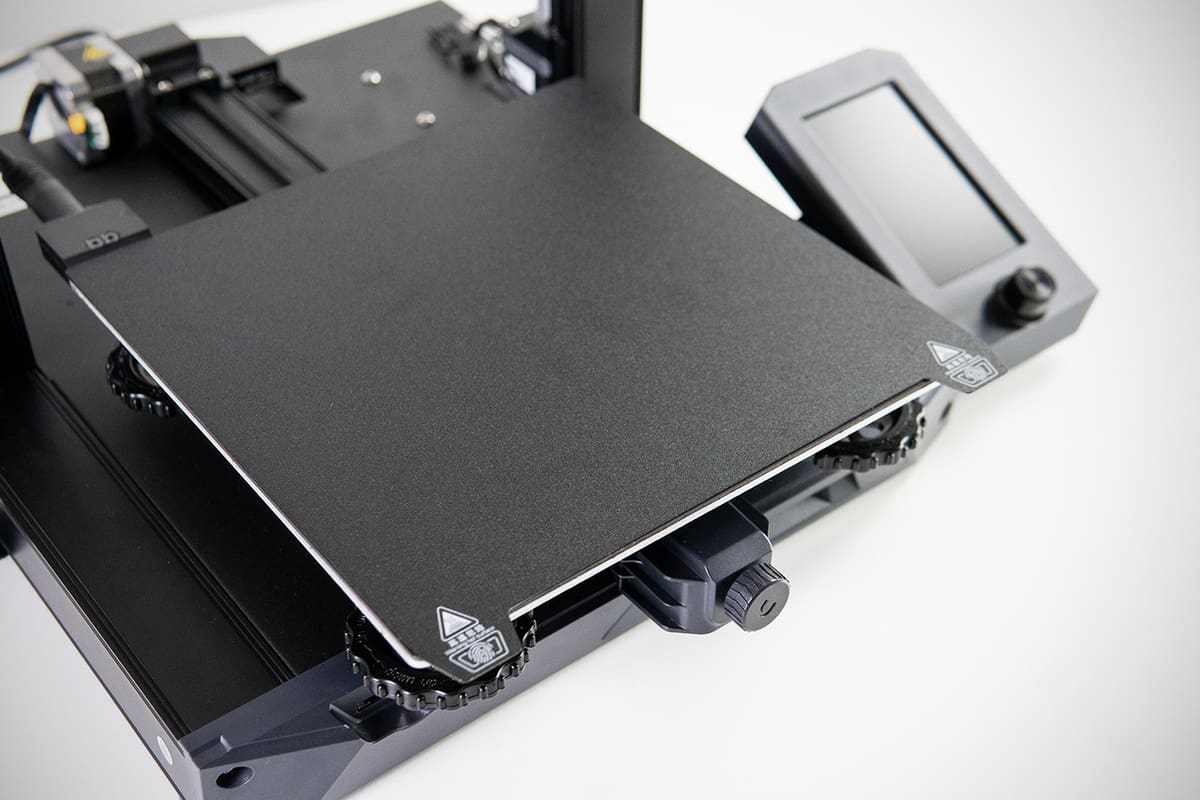
A notable difference between the V2 and the S1 lies in the different materials that make up their build plates. The V2 has what many consider to be an upgrade, with a tempered glass bed coated in what Creality calls “carborundum” (silicon carbide). In contrast, the S1 returns to the tried and tested magnetic spring steel printing sheet similar to many other printers.
The glass print surface is in general one that makers either love or hate. Many see it as the ideal surface for its flatness and ease of leveling. A magnetic bed, meanwhile, is more prone to deformation and waviness.
For many users, this will be a matter of taste, as most materials can be printed on both. Glass tends to heat more evenly and retain that heat better, but it can also be a challenge to work with. Some materials, for example, have altered first-layer adhesion. Some have found difficulty when getting large PLA or PETG prints to release. (Tape, hairspray, and glue sticks are common adhesive aids that are used to overcome such issues.) A magnetic spring bed, on the other hand, can be easily removed and flexed to release finished works.
While both can be damaged and do wear out, glass tends to last longer with repeated use.

UI
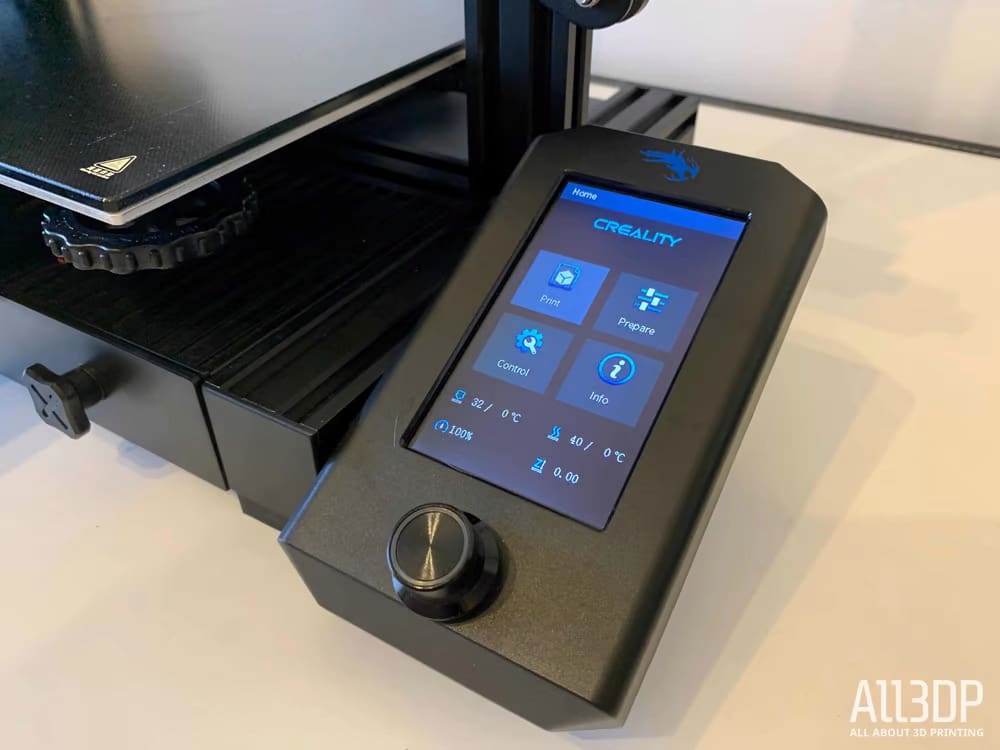
There isn’t much to say about the 4.3-inch screen, which is on both the V2 and the S1. The color screen resides on the right side of both printers and is navigated using a rotary knob. While it’s detachable, this offers no real advantage. In summary, if you’re looking for differences between the two printer models, you won’t find them here.
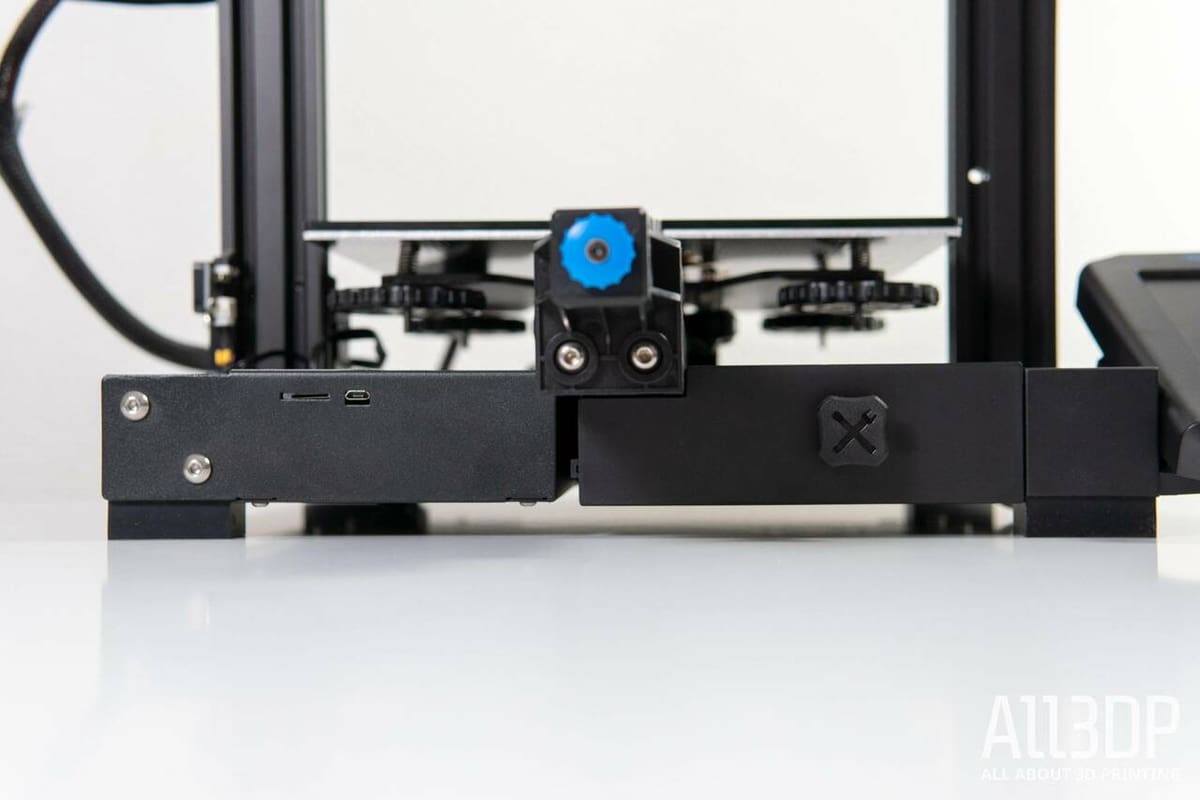
Where the S1 sets itself apart is with the full-size SD card slot and the USB-C connection. It’s nice to see the more modern and user-friendly options. Some feel that the larger SD card form factor makes it easier to keep track of the cards themselves. But fans of the smaller microSD don’t mind, as most mircoSD-to-SD card adapters will work.
For reference, the V2 has a microSD card slot and a regular micro-USB connection.
Extrusion
At the heart of each of these printers is the extruder, and here, the V2 and the S1 couldn’t be more different. The V2 utilizes the familiar Bowden extruder system just as all previous Ender 3 models do. Its legacy is how frustrated users get when trying to load a new spool of filament. On the other hand, a Bowden setup is said to generate fewer vibrations.
It’s on the S1 that things take an exciting turn. That’s because the S1 features a Creality-developed “Sprite” direct extruder. It features dual gears, at a 3.5:1 ratio, and weighs only 210 grams. This is a huge advantage for many materials, especially flexibles. Users also report that the extruder is very easy to load and unload.

Software
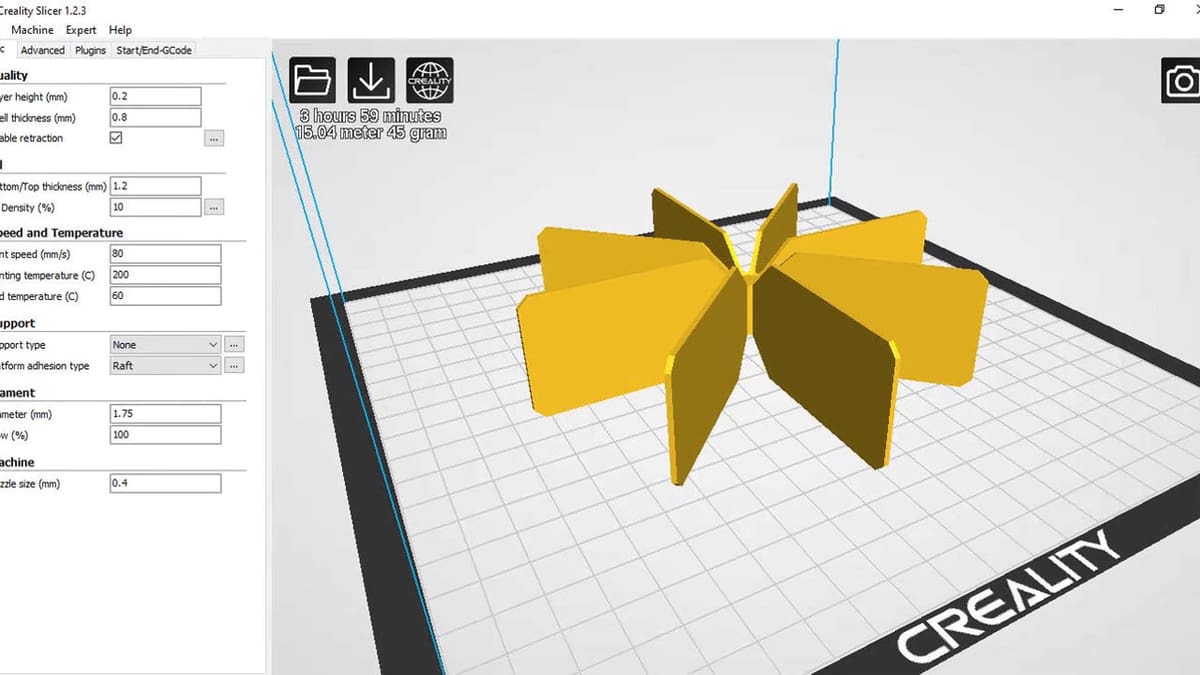
Again, the déjà vu creeps in when discussing the software these machines can utilize. As with most Creality printers, the V2 and the S1 are shipped with Creality Slicer, which is really a skinned version of Cura. While this slicer is the easiest route and will come with all the profiles you need ready to use, nothing prevents you from using the regular and more powerful Cura or PrusaSlicer.
The takeaway here is that these printers both demonstrate a great ability to work with a wide variety of software.

Bed Leveling
Another area in which the S1 excels is bed leveling. While both the V2 and the S1 can be manually leveled, the S1 comes with Creality’s CR-Touch pre-installed and configured.
Attached to the printhead assembly, the CR Touch is an auto-bed leveling (ABL) sensor. It’s used to probe the bed and make micro-adjustments to always keep the printhead at an equal distance from the print bed. It doesn’t level your bed so much as ensure that the printhead lays down a good first layer.

Price
The price gap between the V2 at $250 and the S1 at $380 may not seem that big at first. However, once you consider that $130 is effectively half the cost of the V2, the picture becomes a little different. We’ve seen that there are a number of differences between the two models, but it doesn’t quite tell the full price story.
There are a number of sub-$200 printers on the market as well as many models that hover around the $500 mark. With that in mind, the V2 and the S1 fit neatly into the middle ground of what’s accessible to many consumers, and that without having to sacrifice quality for cost. Indeed, the add-ons and features we’ve looked at don’t balloon the cost and do provide a number of usability enhancements.
Directly comparing the two printers, the price difference between them seem to mostly come from the S1’s dual Z-axis, ABL sensor, and upgraded extruder.
Prices at the Creality store have stayed steady for a while but are set as the “Sale” price with the actual MSRP $20-30 higher. Amazon usually has stock available at nearly the same prices. The V2 is often easier to find at discounted prices at sites such as Newegg and even Walmart. Sales and coupons can easily push the V2 to under $200.
Verdict
So, which is the right printer for you? Are the upgrades worth the cost, or would you rather make the upgrades yourself? That really depends on what you want to get out of it.
Besides the dual Z-axis, we’ve noted that the primary differences are the slightly increased build height, the build plate material, the ABL sensor, and the extruder. These are all modifications that can be done by even a novice tinker – that is, if you want to immediately begin modding your printer. Meanwhile, gaining the full-size SD card and the USB-C connectivity would be a bit more difficult. And it would be hard to justify purchasing these items separately if you wanted to have them to begin with. The S1 is also much faster to assemble, scoring points for its convenience and ready-to-use time.
In the end, the Ender 3 V2 is a great entry-level machine that comes with some cool features for its price point, such as a glass bed. Yet, if you want the benefits of direct extrusion, ABL, and better connectivity features, then the Ender 3 S1 may be your best bet. Both machines deliver respectably good prints and can work for both beginners as well as more experienced makers.
License: The text of "Ender 3 S1 vs Ender 3 V2: The Differences" by All3DP is licensed under a Creative Commons Attribution 4.0 International License.
CERTAIN CONTENT THAT APPEARS ON THIS SITE COMES FROM AMAZON. THIS CONTENT IS PROVIDED ‘AS IS’ AND IS SUBJECT TO CHANGE OR REMOVAL AT ANY TIME.