Filament Welding: How to Join Your 3D Printer Filament

Filament welding sounds like a major task, but it doesn't have to be. Read on for some ways you can splice spools yourself.
We live in an age where the availability of raw materials may be plentiful, but we’re still mindful of wasting those materials. The world of fused deposition modeling (FDM) 3D printing isn’t immune to the concerns of waste and making the most of its own raw material: filament.
Have you ever neared the end of a roll of filament and just changed it for a new one before starting the next print? Or maybe you’ve pondered whether you could use multiple colors in your creations without having to change spools mid-print. Filament welding may be your answer.
The basic premise of filament welding is to join two different pieces of filament together to make one longer piece. This can be done with any of the most commonly used filament types (PLA, ABS, TPU, or PETG), but for the purposes of this discussion, we’ll be looking at techniques for welding PLA. The techniques described would be the same for each type, only varying in the required temperature to melt the filament. Orbi-Tech has a thorough guide on materials, devices, and temperatures.
So, how do we go about welding two pieces of filament together? Before we look at the different methods, we’ll go over a few things that are worth keeping in mind.
Considerations
If there really are no end of spool ideas that you want to give a go, you should keep a few things in mind about the processes we’ll be going over.
While different terms may be used for the different procedures, the gist of it is that you’re heating the material to a determined temperature, then the two parts are welded together. The difference might rely on whether only one filament is heated, what the heating source is, and how easy it is to get the results you’re looking for.
If you’re using PTFE tubing (which can come in handy to avoid the filament from deforming or merging with bumps), be very careful about the heating assistant, the temperature, and fumes. A well-ventilated workspace, as well as accessories and precautions to avoid getting burned and inhaling harmful fumes, are of the utmost importance. For any DIY tutorials, be sure to check the comments and more recent suggestions from makers to ensure safety.
There shouldn’t be any significant strength issues with the filament once it’s welded – after all, it’s a minimal part when compared to the size of the print. However, you’ll want to make sure that the filament remains perfectly shaped so that it doesn’t block or stop at the hot end (hence, the aforementioned PTFE tubing).
With that out of the way, let’s take a look at a few purchasable and DIY solutions to weld filament.
Purpose-Built Tools
By “purpose-built”, we mean a tool that has been specifically designed and manufactured to act as a filament welder. These can generally be purchased online, or there are printable versions available that may save you a bit of money but will take time to make.
There are three main types of purpose-built tools that are commonly used and are in the “economy” price range: splicers, joiners, and fusing blocks. Then, there are electrically powered filament connectors that fall into the more expensive range of tools available. All essentially do the same thing, but let’s look at each one in a bit more detail.
Fusing Block
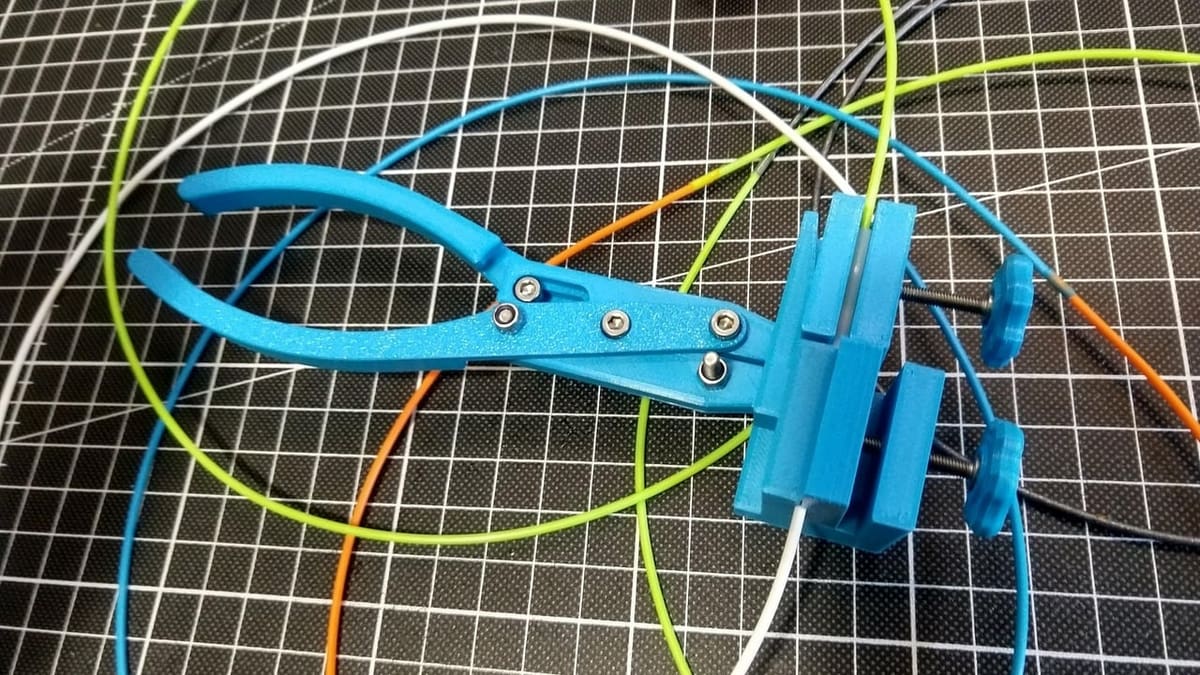
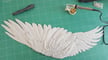
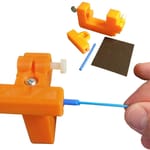
This method of filament welding requires the use of the tool itself and also an external convective heat source, such as a lighter or match. This may seem similar to some of the DIY methods we’ll look at, but unlike other methods, this involves heating only one of the filament ends.
The fusing tool itself acts as a vice or clamp to hold a length of PTFE tubing, through which one of your filament ends is fed. Heat is applied to the exposed end, which is then immediately pulled back into the tube to meet the other filament end. They’ll then hopefully fuse within the insulated environment of the PTFE tube.
This isn’t the most reliable method and takes a bit of practice to perfect, but it does the job. It’s also worth noting that the tool we’ve linked below itself is 3D printed, so something similar could be reproduced on your own machine rather than purchased. For example, this 3D printable welder from maker zielandy is a good option. You can also find a slightly more involved option from Michael Graham. Regardless of the option you choose, you’ll need a few other components in addition to the 3D printed parts.
Splicer or Joiner
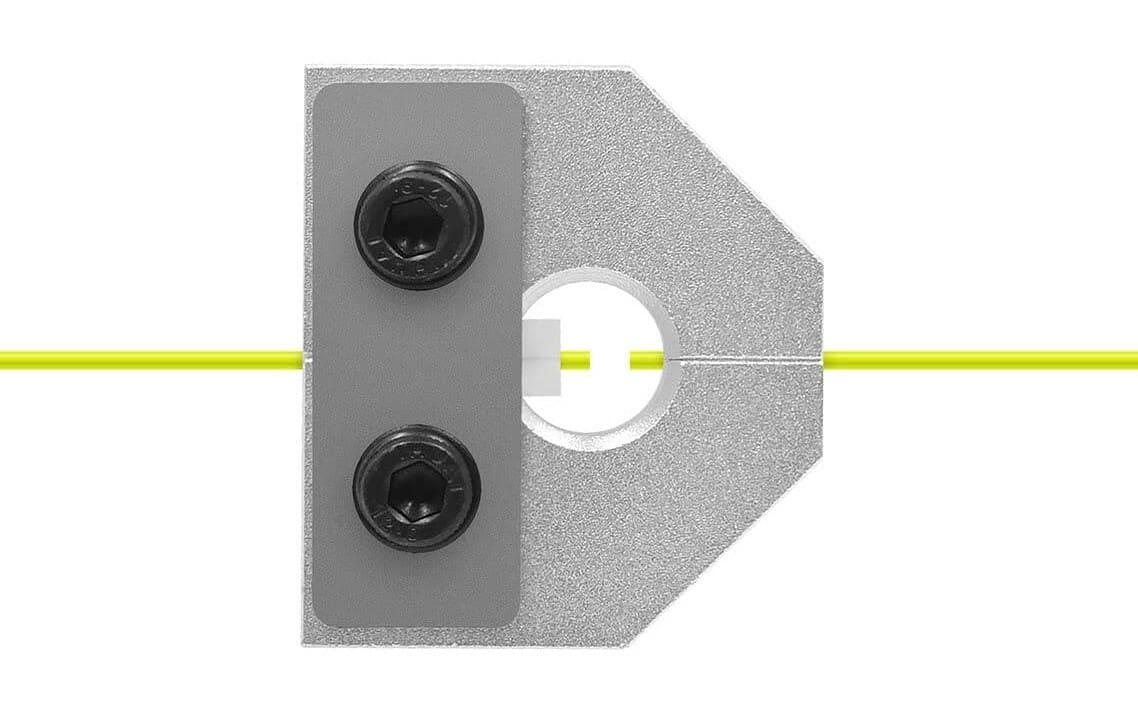
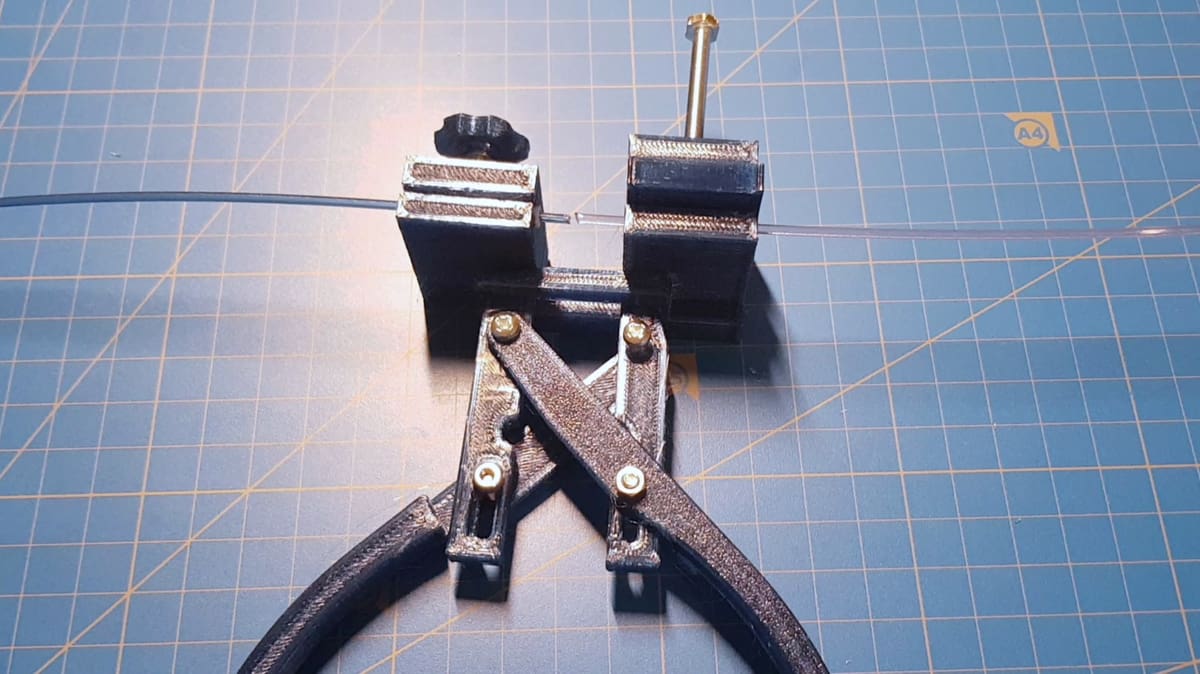
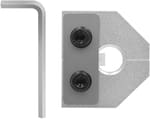
A filament splicer is a tool that does exactly what its name implies: It splices filament.
You insert the two ends of the filament to be joined into the small vice-like tool, so that both ends are visible in the middle opening. Again, an external heat source is required (such as a lighter) to soften the ends. You then have to push the joined ends through the tool to hopefully perform the join.
This takes a lot of practice, as you’ll see from this informative and amusing video! The video also demonstrates the fact that it’s not always an easy process and takes a lot of trial and error to perfect, although some commenters have suggested cutting the filament at a 45-degree angle to get better results.
If you’d rather a DIY approach, several makers have shared their own designs for printable filament splicers, like the models from neilr98, OnTheGulf, trustfm, and pick013. There are also models that rely on acetone rather than heat to fuse the filament.
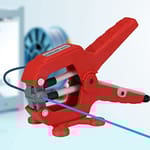
Electric Filament Connector
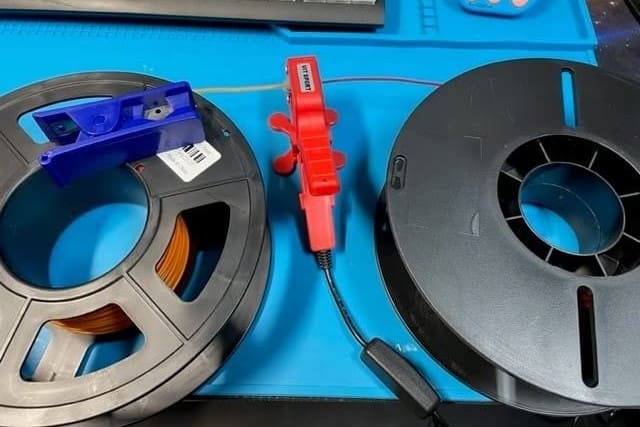
This purpose-built tool encompasses all the features of the other tools we’ve looked at, but it does come at a much higher price tag.
The electric filament connector needs to be plugged in and heated up before use. A temperature gauge tells you when it’s hot enough to use, then you simply put the two ends of filament into the clamp and squeeze. However, there doesn’t appear to be a thermistor to regulate the temperature, so you’d want to turn it off immediately after use.
Since you don’t need an external heat source, this option is more self-contained compared to the others. And it’s also more expensive, so consider whether the convenience is worth the extra price.
Mosaic Palette 3 Pro
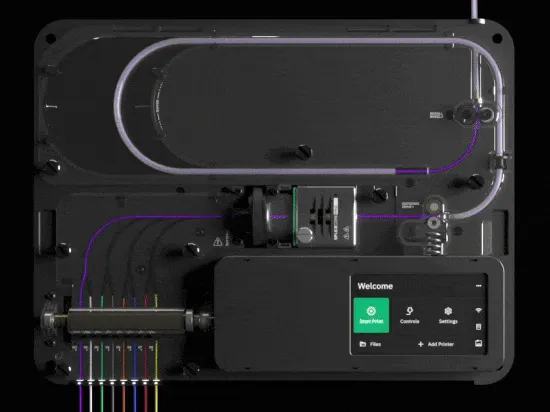
Now, we’re moving into serious territory in the world of filament splicing. The Mosaic Palette is much more than a simple splicer; it’s a complete automated management system for your 3D printing filament. The Palette 3 Pro allows for the use of up to eight different filaments without the need to change spools mid-print. It also ensures that there’s no loss of print due to filament running out, as it will automatically splice in another roll.
This is where the splicing element comes into play with the Palette, completely bypassing the need to manually join your pieces together prior to printing. Wi-Fi control and no additional modifications to the printer make this a very desirable piece of equipment.
However, all these features come at a cost: around $900. This puts it in a much higher price bracket than the other tools we’ve looked at, but you’re certainly getting much more for your money.

DIY Solutions
Aside from the purpose-built tools you can buy to weld your filament ends, there are many homemade or DIY solutions.
It’s always heartening to see the way makers use their ingenuity to solve problems and come up with new ways to do things. Filament welding is no exception, and there are several ways you can weld filament without having to buy any additional tools.
Household & Workshop Heating Appliances
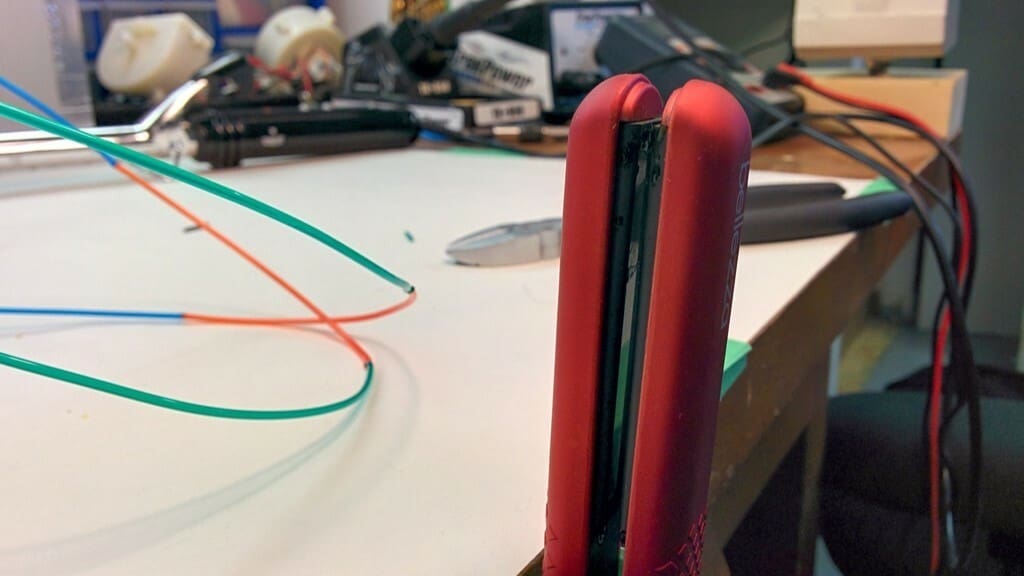
You may not realize it, but you could already have the ideal welding tool sitting on your shelf or hiding in your cupboard. Household and workspace appliances that have a heating element can be used instead of a purpose-built tool and produce the same results. The method used with each appliance is essentially the same (i.e. match the two ends of filament and apply the heat source until they melt together) but vary between conductive or convective heat transfer. Here are just a few:
- Hair straighteners: A simple and easy way to join the two ends together. You might also want to use a small length of PTFE or Bowden tubing to encase the filaments while heating. There are plenty setups out there depending on what you have to work with.
- Soldering iron: A similar method to that of the hair straighteners. In both cases though, take care not to burn your fingers! You can look at creating your own soldering station or 3D printing a jig to help out.
- Heat gun: A tool that’s predominantly used to strip old paint from walls or wood, you would need to use the lower heat settings to achieve the best results. 3D Printscape’s tutorial can come in handy. Again, a vice or pliers would be helpful.
If you’ve got a few more tools in your workshop and like to tinker, YouTuber Victor Chew shows how to use an Arduino-controller hot end.
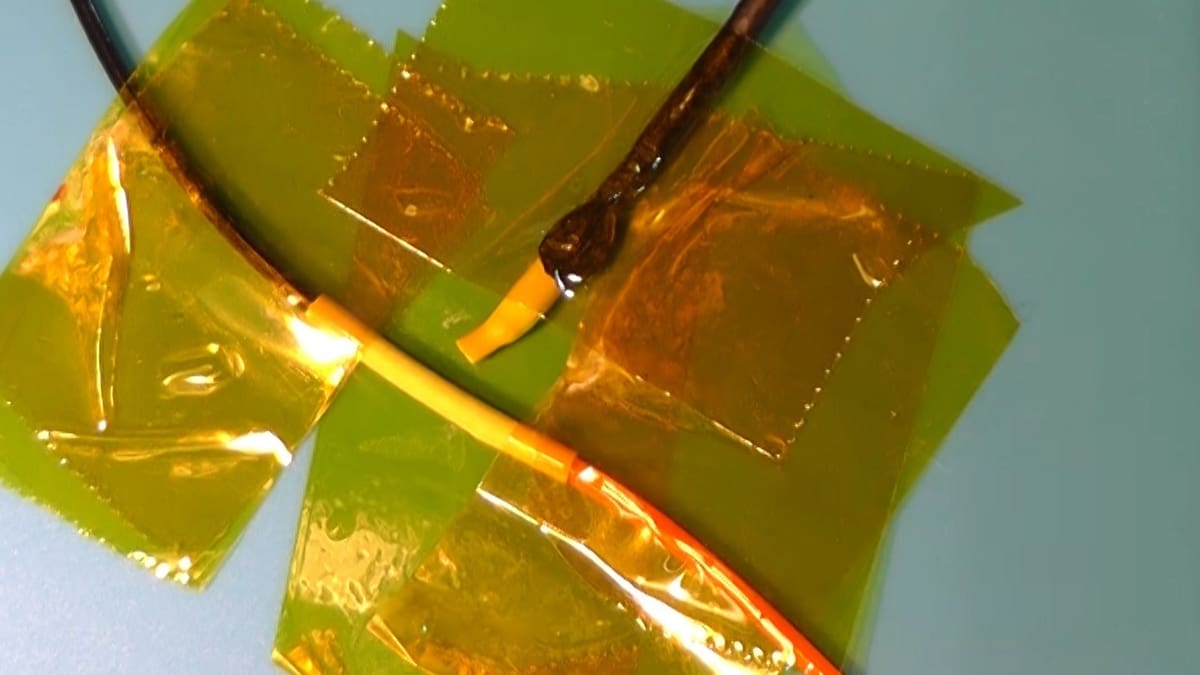
Flame & Foil/PTFE
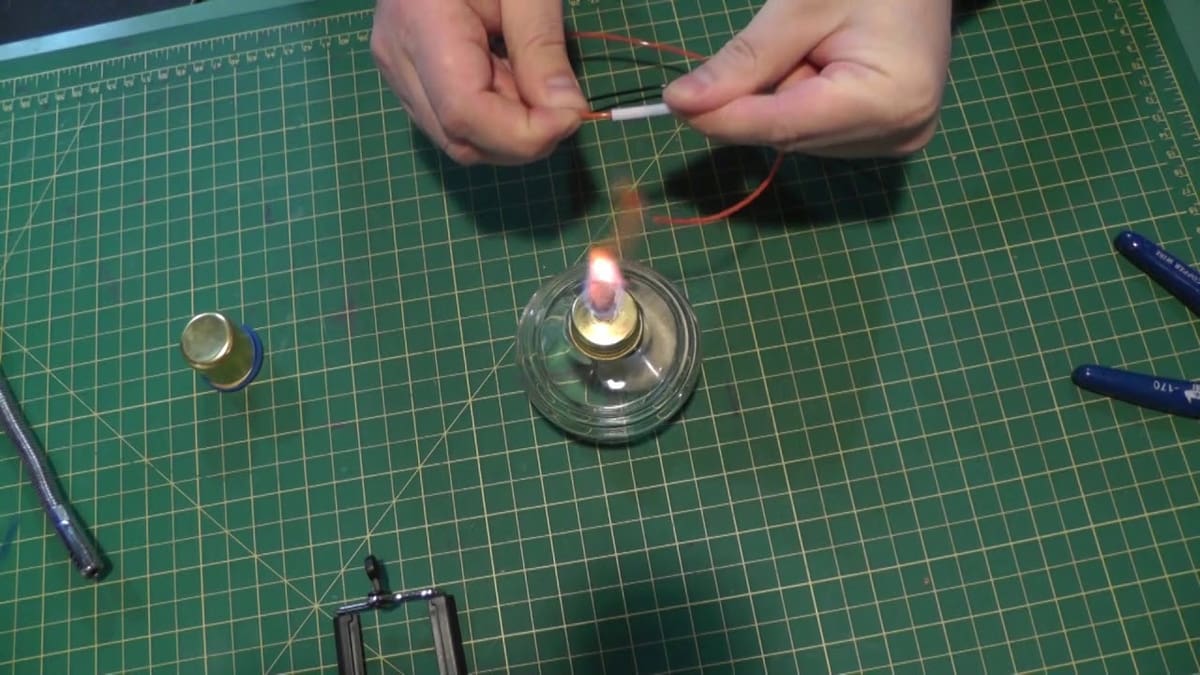
This is by no means the safest method of welding filament, but it works nonetheless. As you can see from the image, the technique basically involves matching up the two filament ends, wrapping them in aluminum foil, then applying heat from a match or lighter. It’s simple, effective, and cheap, but this process definitely requires caution to perform safely.
The same method can be used by replacing the foil with a small piece of PTFE tubing. This is essentially the fusing block method where you heat only one end of the filament, but without the block to hold everything in place!
Whether you use foil or a PTFE tube, in both cases you’ll need to have a small bowl of water nearby to enable fast cooling of the filament, which will help strengthen the joint.
Glue

Good old glue, we’d be stuck with it or without it!
All you’re doing here is using a strong, quick-drying adhesive to join the two ends of filament together. Super glue works best, but mind those fingers! We’ve tried this using Gorilla Super Glue Gel, which worked perfectly.
Remember that in joining filament with glue, you’re adding an additional material to your filament that may not react well when used in your printer. The small amount used is unlikely to cause much of an issue, but it’s worth keeping in mind.

Heat Shrink Tubing
This is a process used mainly by electricians to join two bare electrical wires together to form one. The comparisons are pretty obvious, but just because this works with copper wires, will it work with filament? The simple answer is yes!
The process is similar to the flame and foil method, but you’re instead using a convective heat source to shrink the tubing around the two filament ends. This provides for a strong joint between the two pieces, but the method itself requires a bit of practice before you get the correct temperature. Once the pieces are joined, it’s then just a case of carefully slicing off the tubing to reveal the joint.
The tutorial linked above includes some additional steps and equipment, which may not be entirely necessary to buy just for this purpose. But if you already have them in your toolbox, then go ahead!
3D Pen
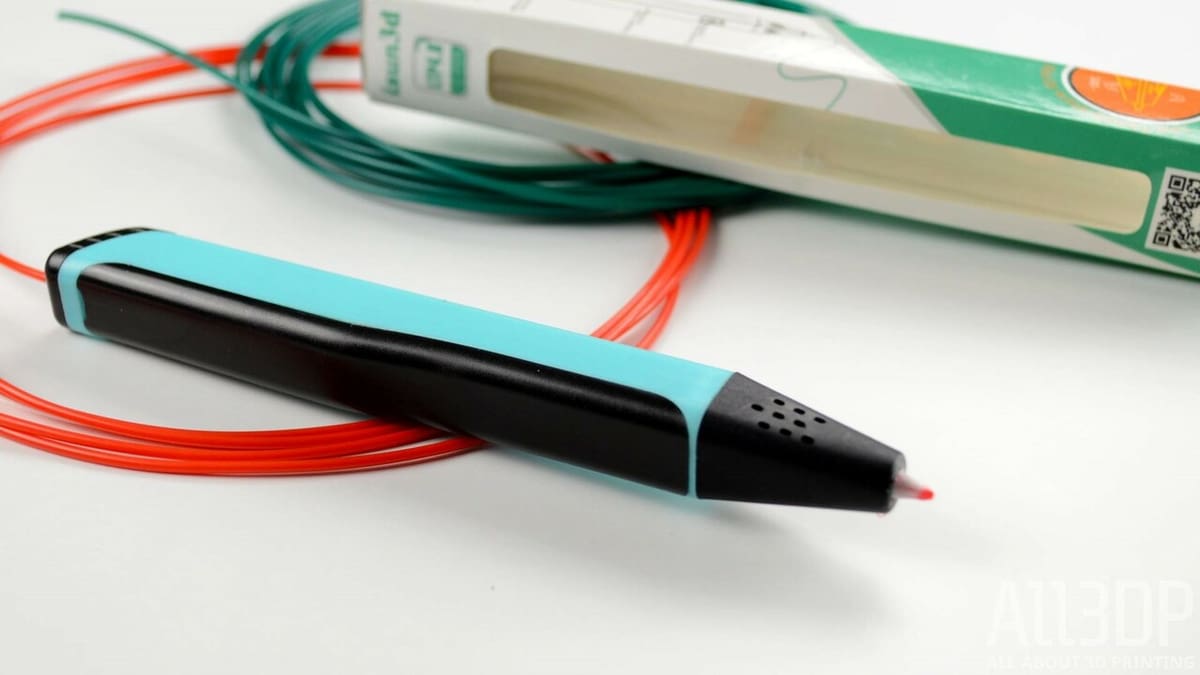
Another tool that falls into both DIY and purpose-built territory is the 3D pen.
The filament used in the pen itself is usually in short lengths, so it’s really not necessary to weld pieces together to use with the pen. However, the easy-to-use heat source makes this an ideal tool to weld filament for use in its bigger brother, the FDM 3D printer.
3D pens are quick to heat and use a ceramic nozzle that prevents the filament from sticking. This process of filament welding is therefore fairly straightforward and just relies on applying a small amount of melted filament to both ends and holding them together. Most 3D pens come with a stand of some kind, so this would act as your “third hand” in steadying the tool. You can also achieve a similar result with 3D printed inserts for a hot glue gun.

License: The text of "Filament Welding: How to Join Your 3D Printer Filament" by All3DP is licensed under a Creative Commons Attribution 4.0 International License.
CERTAIN CONTENT THAT APPEARS ON THIS SITE COMES FROM AMAZON. THIS CONTENT IS PROVIDED ‘AS IS’ AND IS SUBJECT TO CHANGE OR REMOVAL AT ANY TIME.