Fusion 360 Rendering: How to Get Started

3D rendering is a powerful storytelling tool. Find out more about Fusion 360 rendering, including the basics steps to do it yourself.
The Power of Render
Someone new to Fusion 360 might see it simply as one of Autodesk’s many options for CAD software, yet it offers much more than 2D and 3D modeling: different CAM modules, simulation tools (CAE), and most recently, a built-in slicer for 3D printing. Today, we’re here to talk about Fusion 360’s rendering tools.
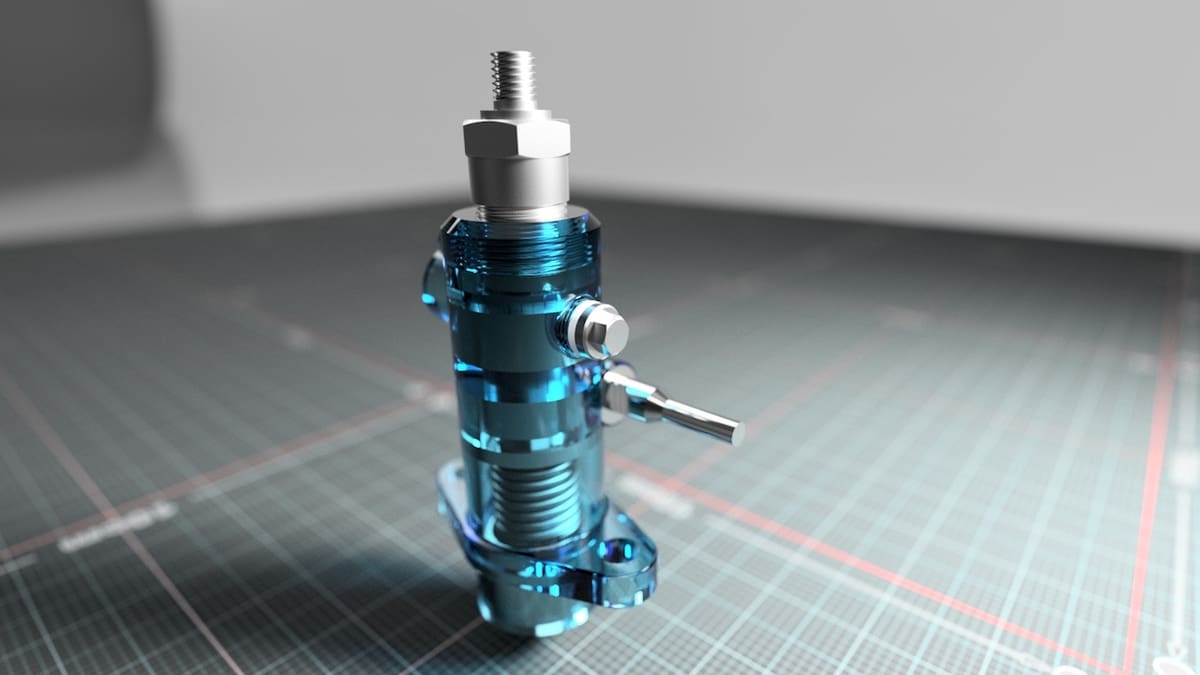
By definition, 3D rendering refers to the process of converting digital three-dimensional models into two-dimensional images in different ways. The most popular one, by far, is photorealistic rendering, where the final images look like pictures taken in real life.
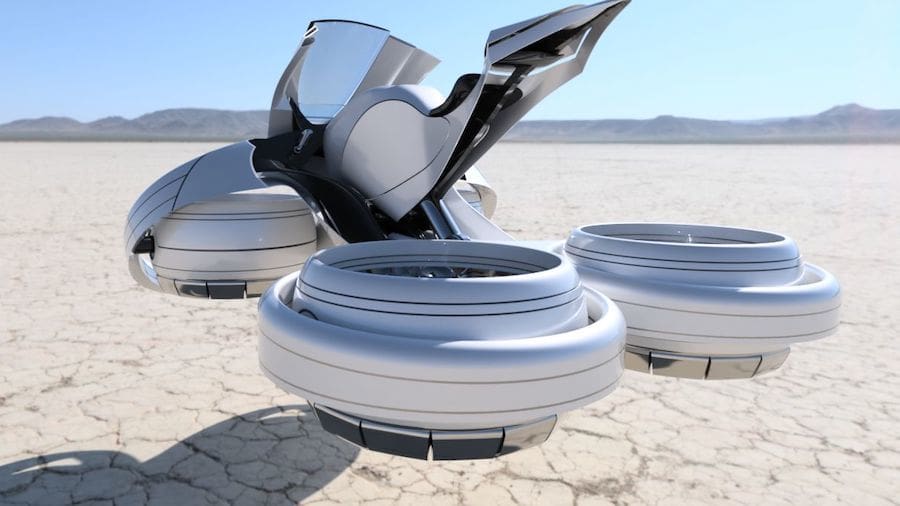
This is especially useful for communicating ideas, as the rendered images convey designers’ and engineers’ visions to the viewers. In this sense, 3D rendering works as a storytelling tool, one that can inspire and persuade by creating an instant emotional reaction.
In this article, we’ll go over the basics of 3D rendering with Fusion 360, including a brief technical review and some of the steps required to produce awesome images.
Capabilities
While there’s an impressive range of great rendering software out there, built-in tools like those in Fusion 360 bring the benefit of their ease of use. Switching from the CAD workspace to rendering is at the click of a button, providing the quickest transition and thus facilitating interaction between ambients.
In addition, Fusion 360’s rendering tools are capable enough for most applications related to product design. For some reason, it seems to be thought that Fusion 360 is less able to create photorealist renderings than the alternatives, which just isn’t true. Autodesk’s rendering gallery is packed with awesome examples that prove this wrong.
Another positive aspect of Fusion is the cost (or the lack of it). Autodesk offers a free personal license for non-commercial uses, which includes all the 3D rendering tools. However, there are some limitations, and the license is only valid for a year. For those looking for complete software with all functionalities like simulation and manufacturing, a regular license should set you back around $60/month.
But perhaps the most noteworthy feature of Fusion 360’s rendering tool is that it’s cloud-based. This means that all heavy processing is done on Autodesk’s servers instead of your own machine, allowing for much faster renderings. This also means that multiple renderings can run in parallel without taking up all your processing RAM.
The Workflow

These are the basic steps of setting up and running a 3D rendering with Fusion 360:
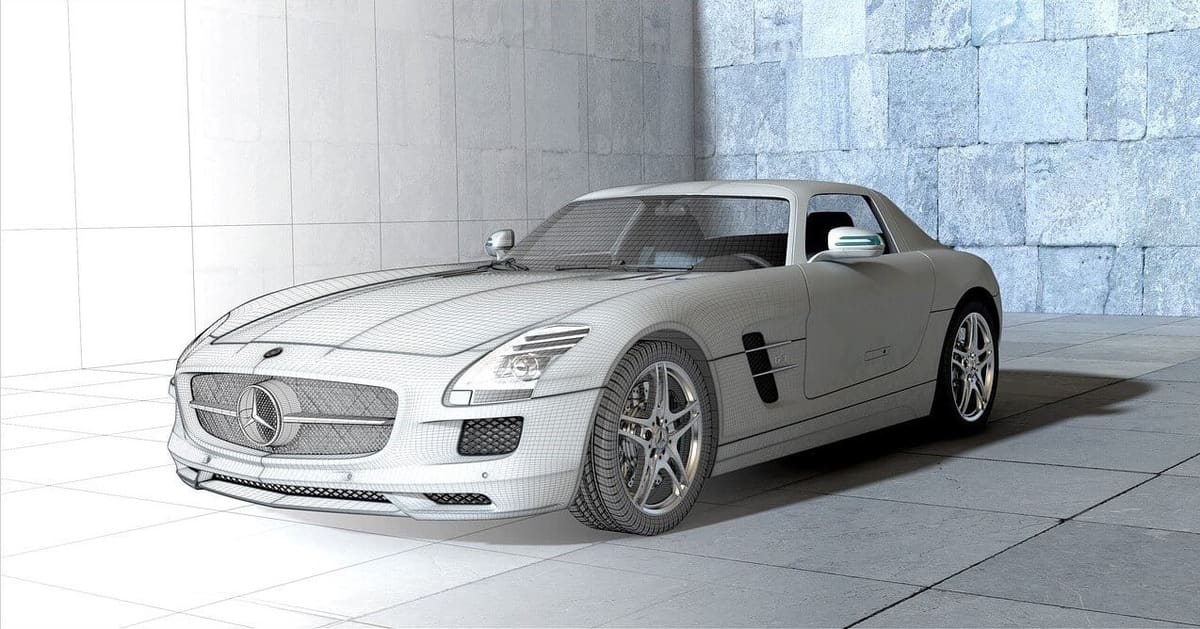
- Get the 3D models: If the 3D models you want to render were modeled in Fusion 360, you’re ready to go. If not, they should be imported into the CAD workspace first. Don’t worry about setting the appearance and color yet as this can be done in the render workspace.
- Setting up the environment: Similar to a photographer, you’ll need to prepare the scene where the pictures will be taken, like lighting, framing, and positioning. Materials should be assigned, including the colors and textures for all parts. The actual camera settings can also be played with, like focal length and exposure.
- Render: The actual rendering can be done in a couple of different ways. The “In-Canvas” render is run real-time on the screen, so you can follow the process and pause it whenever you feel something can be changed or improved. Alternatively, you can have it run in the background so you can continue to use Fusion for other things. This can be done in the cloud or run locally on your machine, but you’ll only be able to see the final results once it’s finished.
- Save and export: The final step includes post-processing steps like exposure adjustments, saturation, and color correction. Finally, you can choose the final file format (JPEG, PNG, TIFF, EXR) and export it.
Is It Right for Me?
Although Fusion 360’s 3D rendering is pretty versatile, it might just not be the right one for you. For instance, architectural renderings can get quite complex and may be better suited for specific software like Enscape or FluidRay.
For advanced control over the rendering settings, standalone software like KeyShot or Solidworks Visualize are great choices. Both support a wide range of CAD formats and provide an intuitive UI and straightforward workflows.
Finally, 3D modeling software Blender has a powerful built-in render engine for free! The open-source software is known for its professional use in animation and game development, which makes it a strong alternative.
Lead image source: Auday via GrabCAD
License: The text of "Fusion 360 Rendering: How to Get Started" by All3DP is licensed under a Creative Commons Attribution 4.0 International License.