Fusion 360 Simulation: How to Get Started

Fusion 360 offers much more than CAD design, including different kinds of simulation. Read on to learn about Fusion 360's simulation tools.
The World of Simulation
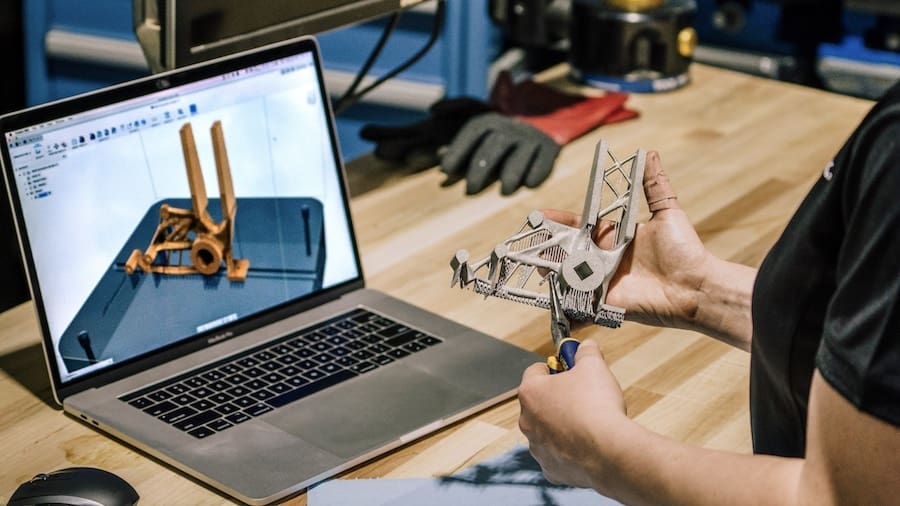
Mechanical simulation tools have become essential parts of any engineering design process. Also known as computer-aided engineering (CAE), these tools allow designers and engineers to predict a part’s performance digitally, prior to any physical prototyping or fabrication per se.
It’s becoming more common these days for programs to combine design (CAD), manufacturing (CAM), and simulation tools (CAE) all in one software package. That’s what Autodesk’s Fusion 360 does: Besides its 3D modeling capabilities, it brings CAM and CAE tools as core functionalities.
In this article, we’ll discuss the basics aspects of Fusion 360 simulation tools and briefly cover the steps required to set up and run a simple simulation.

Why Fusion 360?
For starters, Fusion 360 is comparatively accessible in terms of price: a regular license costs around $60/month, a tiny fraction of the cost of other combined CAD and CAE software. For students and educators, it’s completely free for a limited period.
Fusion 360 is also available for free for non-commercial uses for up to a year, which is especially popular amongst beginners and hobbyists. This so-called personal license, however, doesn’t include any simulation tools as per the recent changes in 2020.
But don’t let the price fool you: the simulation tools in Fusion 360 are extremely capable as it uses Autodesk’s Nastran solver, a robust and trusted FEA tool originally developed for NASA back in the 1960s.
Study Types
Generally speaking, there are different kinds of engineering simulations possible. Fusion 360 focuses on the following types of simulation:
- Linear and non-linear static stress is deformation and stress analysis for a given set of structural loads and constraints, including both linear and non-linear material properties. The results yield common failure criteria and stress levels.
- Thermal distribution and thermal stress are used to determine how parts respond to heat inputs and stress distributions from thermal and structural loads. Results show temperature distribution, heat flux, and stress distribution.
- Modal frequencies analysis determines the natural frequencies in vibration for the given parts, which must be avoided. Results include vibration mode shapes, modal frequencies, and mass participation factors.
- Event simulation is used to understand how parts respond to motion, impacts, and cyclical loads. It also allows the user to investigate multi-body interactions such as those in assemblies. The results will detail displacements, stresses, and strains experimented by all parts affected.
In addition, Fusion 360 has other tools like topology optimization (called Shape Optimization) and generative design. While such tools rely heavily on simulations, the fact is that these are more like design-aid tools that provide geometrical solutions instead of numerical results for performance analysis.
Main Features & Tools
Fusion 360’s simulation workspace offers unique features in comparison to other CAE software. Besides the different types and modes, Fusion 360 stands out with the following features:
- Cloud simulation: All studies can be solved via the cloud. This means that the calculations required for running the simulation are done by Autodesk’s servers. With cloud simulation, multiple studies can be solved at the same time, and it also eliminates the need for expensive hardware on the user’s side.
- Simplification tools: It’s common practice to remove cosmetic details and other features that don’t contribute to a part’s performance but instead generate computational inefficiency. Fusion 360 offers special tools for preparing the models for a simulation that easily remove such details while retaining them in the original design file.
- Ease of use: The basic workflow and user interface (UI) for simulation are considerably simpler than for other simulation software. The UI is kept very consistent across Fusion 360’s different workspaces (CAD, CAM, and CAE), providing intuitive navigation and user-friendliness that are especially helpful for beginners and hobbyists.
Basic Workflow
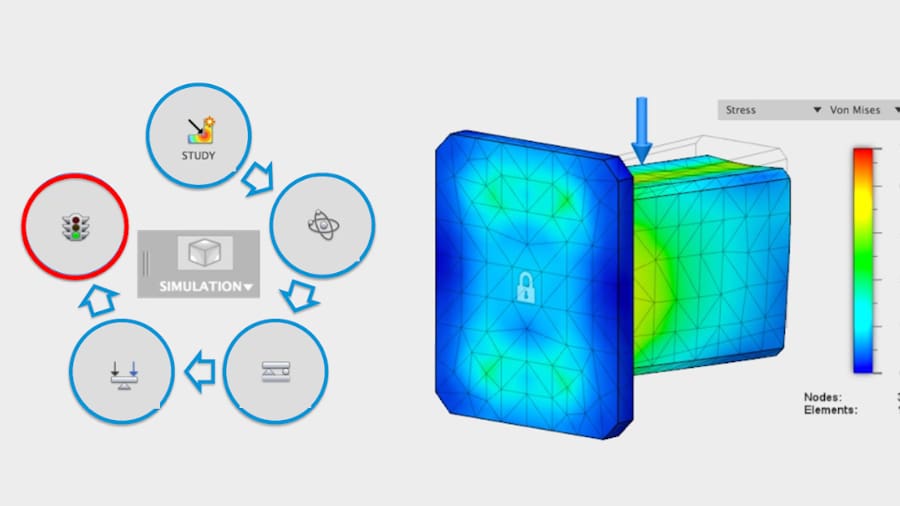
Finally, let’s briefly go over the basic steps necessary to run a simulation with Fusion 360.
- Get the 3D models ready: Either model from scratch with Fusion 360’s CAD tools or import models from other sources. For assemblies, the relationship between each part must be established before moving into the simulation workspace. In Fusion 360, these relationships are called “Joints”.
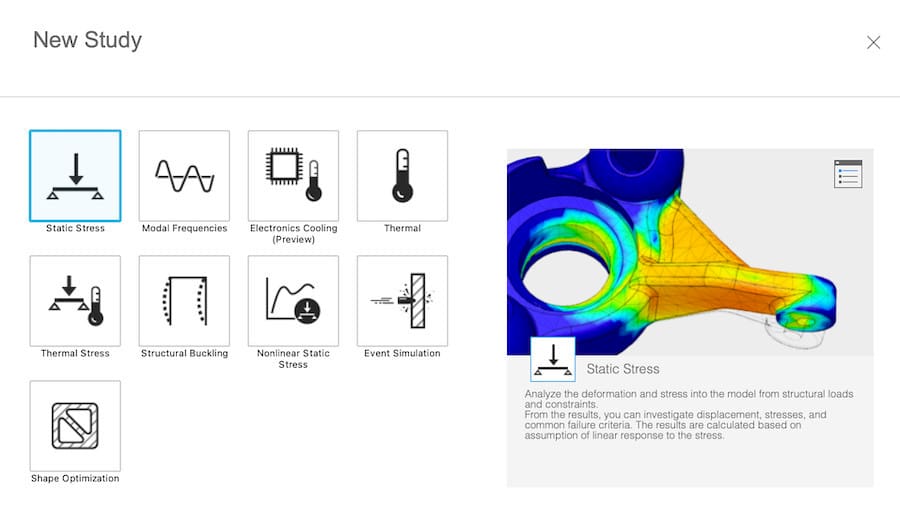
- Choose the study type: Upon switching to the simulation workspace, you’ll be prompted to choose the type of simulation at the “New Study” window. There’s some guidance offered by clicking “Help me choose a study type” in the bottom-left corner.
- Set up the boundary conditions: Specific information like structural constraints, load conditions, and the study material is required. This is perhaps the most important step of all, as erroneous inputs could compromise the accuracy of the results. Some engineering background is often needed here.
- Pre-check and solve: Once all mandatory information is provided, the pre-checker button will give the “go ahead” for solving the study. Here you can either go with cloud solving (which requires a certain amount of cloud credits) or do it locally on your own machine.
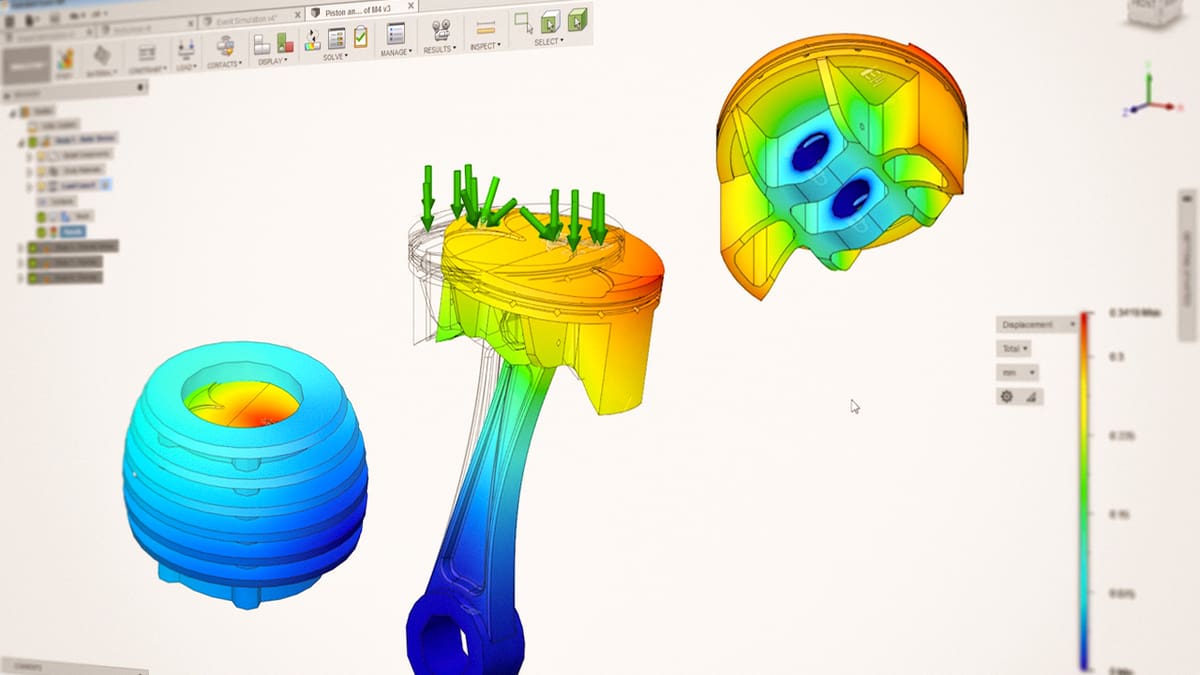
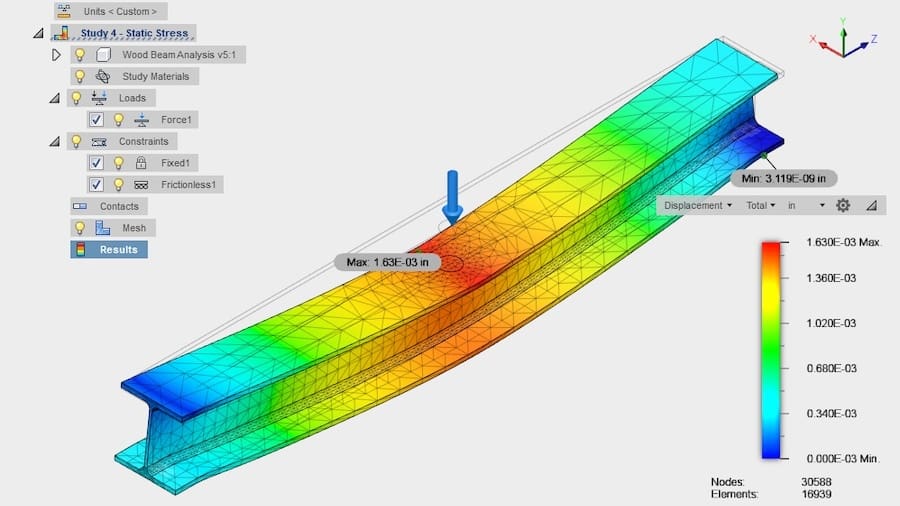
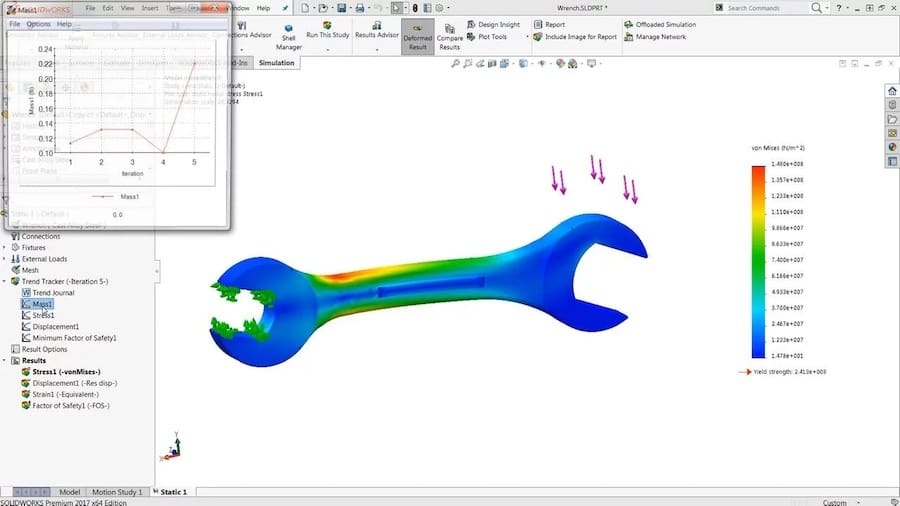
- Analyze the results: With the study successfully solved, it’s time to finally check on the results. There are several different outputs depending on the study type. Results like stress, temperature distribution, total displacement, and safety can all be visualized interactively on the 3D model.
Alternatives
While Fusion 360 simulation tools are great solutions all-around, more focused software might be better suited to your needs, depending on what’s being tested. For example, for fluid behavior, computational fluid dynamics (CFD) is the simulation that is required.
The CAE market is arguably lead by Ansys and Altair, two very traditional companies in the business that have different packages for every kind of demand out there. Note that these are professional-grade solutions that require a good amount of knowledge and training.
Popular CAD solutions like SolidWorks, Creo, and Inventor also offer add-on modules that integrate simulation and design all-in-one software.
Lead image source: PluralSight
License: The text of "Fusion 360 Simulation: How to Get Started" by All3DP is licensed under a Creative Commons Attribution 4.0 International License.