Coin collecting is one of the oldest hobbies known to man. It was originally reserved for only the very wealthy and was aptly known as the “Hobby of Kings”. Today, coins have uses far beyond that of just currency.
From maker coins to in-game currency for tabletop games, there are plenty of reasons why you could be in the market for some 3D printed coins. To mint coins, you no longer need a cast, hammer, and anvil – just a good old-fashioned 3D printer.
In this article, we’ll go over three options you have to get your hands on your own currency. Naturally, the first one is printing it yourself, so we have some material suggestions and printing to help you out. The other options include using a 3D printing service or directly buying printed coins from other makers.
Whichever method you plan to use, you’re going to have to start by considering what kind of coin design you need. So let’s get into how to model a coin and some design inspiration!

Coin Model
Before you can begin minting your coins, you need a 3D model of what you are going to create. You can either design your own coin or see what is already out there.
Looking around online repositories such as Cults, Thingiverse, and MyMiniFactory are a great place to start. Many of the models are free to download and created for FDM printing, but resin should be able to handle it just fine too. Adventure tabletop games and role-playing games (RPGs) both rely heavily on the usage of coins in their gameplay, so you’ll surely find plenty of models in this theme.
There are also a few Kickstarter campaigns out there that offer models and physical prints depending on how much you want to spend. Some cool examples include the package by Unchained Games that offers 104 different coins with 26 fantasy themes or Yann Dubois‘ 30 coin designs with the option to have them printed and shipped to you.
If you’re not very familiar with 3D modeling but are interested in trying, designing your own coin can be a great place to start, as they’re typically small and can be as intricate or simple as you want. Any CAD program will do, but if you aren’t sure what to use, Tinkercad is easy-to-use free modeling software that’s great for beginners.
There are a few things to bear in mind when designing your coin:
- When creating lettering or other intricate details, try to make them a size that your printer can handle and print at high quality; you don’t want the features to be too small.
- Features that have sharp angles (smaller than 45 degrees) are difficult to achieve because the tip of the nozzle is rounded. Try to shoot for soft, chamfered edges.
- Any overhangs present should be no greater than 45 degrees. Surface quality will begin to decrease beyond 45 degrees because the newly deposited material will have an increasingly difficult time connecting to the previous layer.
Example Designs
Whether you’re looking for design inspiration or a ready-made print model, there are plenty of great designs online to help get you pointed in the right direction. We’ve compiled a list of our favorites:
Maker Coins
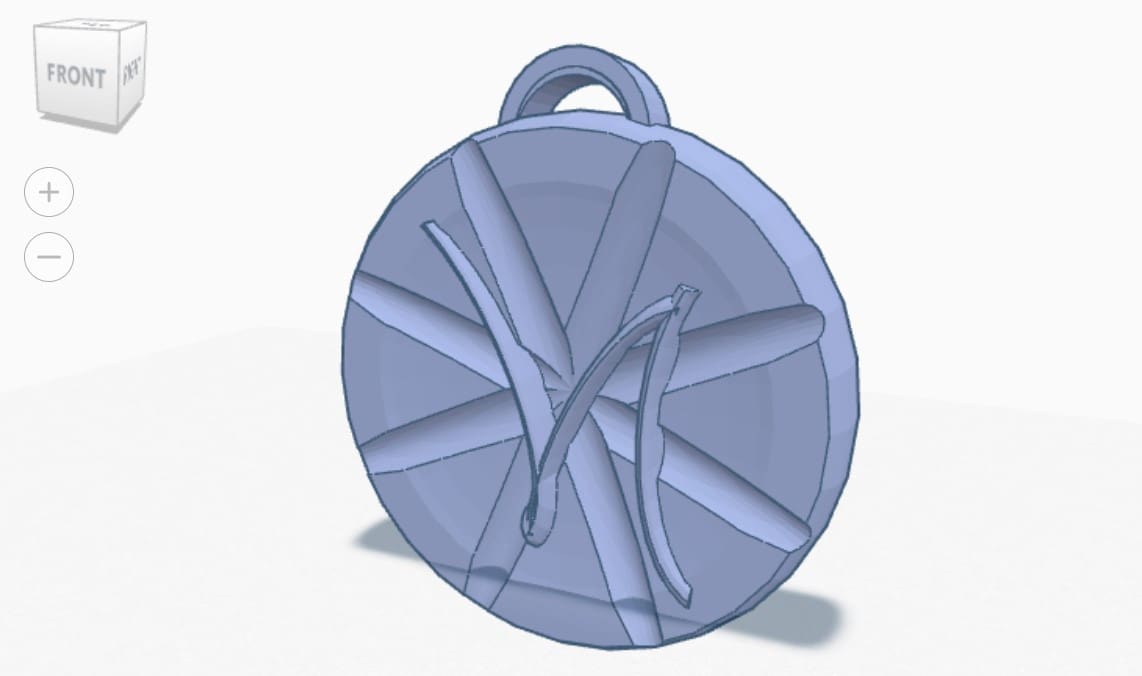
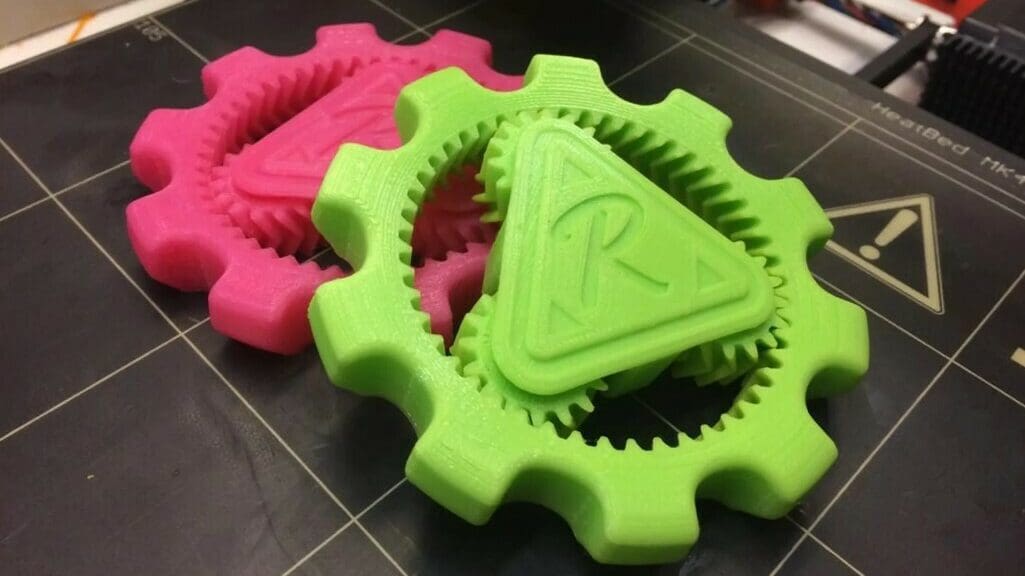
Maker coins are a fun way to showcase your own 3D printed design and share them with friends, similar to trading cards. The coin featured above has a print-in-place planetary gear system.
The Australian creator and 3D printing enthusiast Maker’s Muse first popularized the maker coin a few years ago after wanting to create a standardized small personalized filament print swatch. The idea has taken off as a way of showcasing one’s own creativity in a way that’s easy to share with other members of the 3D printing community.
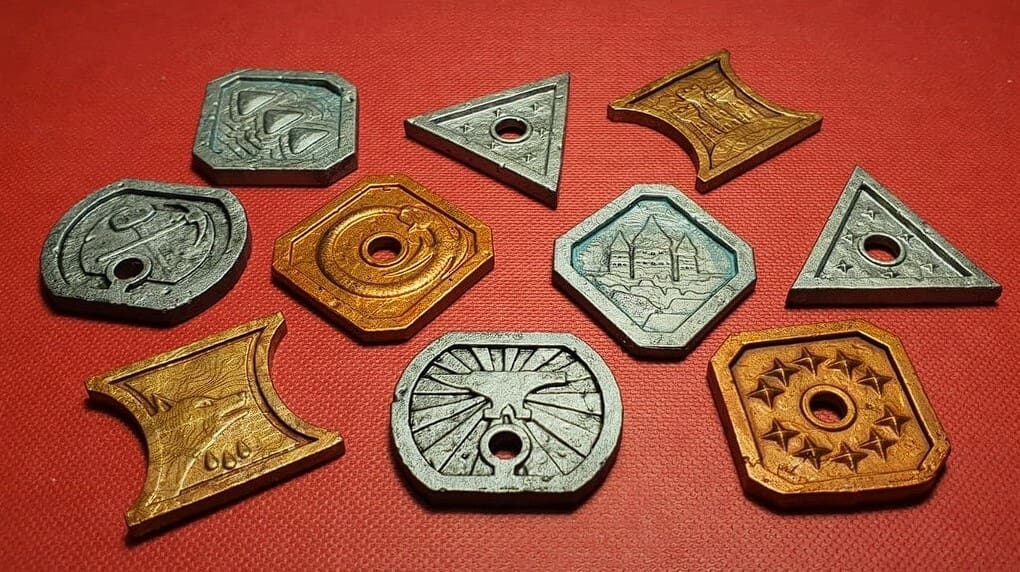
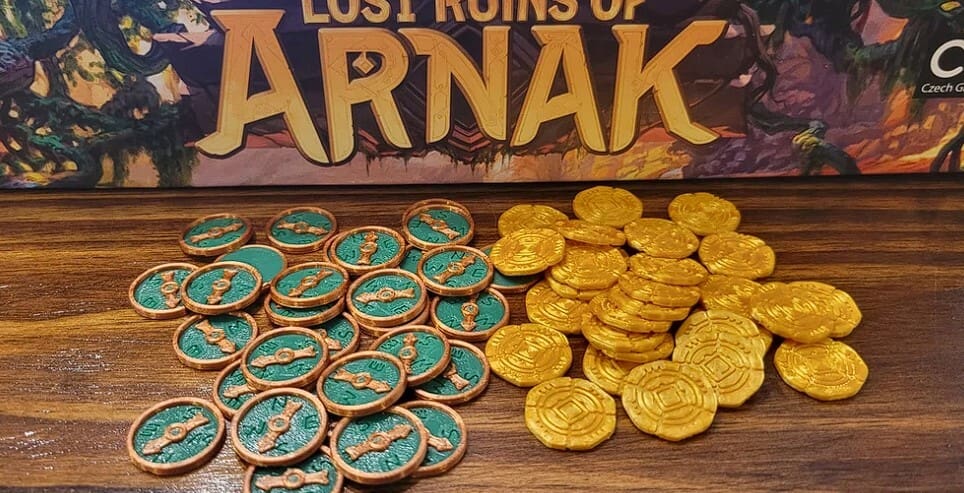
Dungeons & Dragons Coins
If you are into D&D, these excellently designed coins can be the perfect way to impress your fellow party of adventurers. Even if D&D isn’t your forte, there are plenty of other tabletop games that require tokens or coins. These are just an example of what’s possible.
Toy US Coins
Whether you’re a school teacher who wants to introduce the concept of currency to their classroom or perhaps a parent that wants a way for their child to practice counting, these toy coins can be a great learning tool.
DIY 3D Printing
So whether you’ve created your own model or taken one from an online repository, it’s going to need to be minted! If you have access to a 3D printer and plan to do the minting yourself, we have some pointers for you to get the best results.
Selecting a Material
When selecting a material, there are a couple of things to consider. Material strength for this application does not play a big role, so using stronger materials such as ABS or PETG offers no real benefits in that regard. ABS, however, does offer the ability to be vapor smoothed, if that’s the sort of finish you are after – but more on that later.
PLA is the least finicky with it comes to printing. It’s also cheaper than any other filament and offers the largest color variety. If you’re looking for a shiny metallic look to your coin, silk PLA can do just that. It’s regular PLA but with elastomer additives that give the print a silky shine.
Silk PLA can make your coin look like it’s really made out of bronze, silver, or gold. Another interesting option could be to use wood fiber-filled PLA to give your coin creation the look and feel of wood, no whittling required.
Slicing
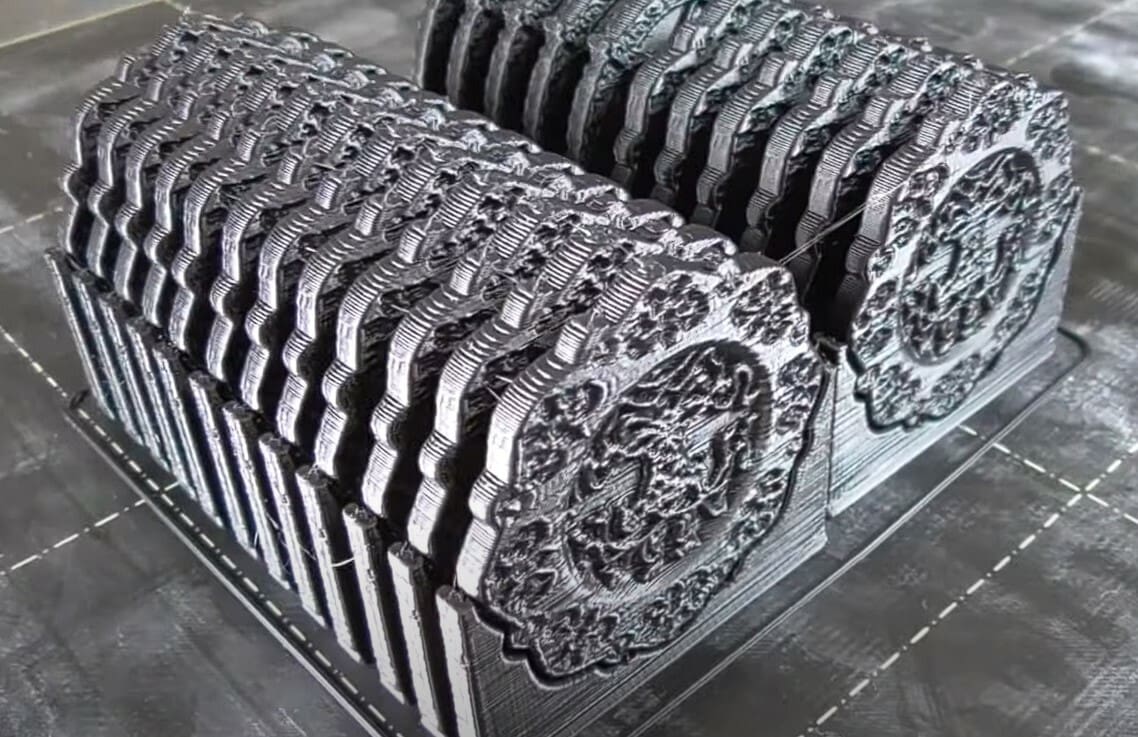
Once you’ve settled on a 3D model, it’s time to get slicing. Because this is an aesthetic piece, the quality is much more important than the strength. The orientation of your print will play a big role here, as many token and coin designs utilize embossing or debossing. Printing the embossed side against the bed will require supports which could damage its look.
Consider splitting your model in half and having the inner sides print against the bed. To make two halves into a whole again, some glue is your best bet. This also allows you to swap the filament color halfway through your print to make the surface details really pop.
If you don’t want to split the model, the other option is to reorientate your model in the slicer so that it’s perpendicular to the bed (i.e. standing vertically upwards along the Z-axis). Though, this orientation is inherently unstable, so it’s imperative that the print is well-supported. Use a sizable raft and plenty of supports to ensure strong bed adhesion and avoid wobble.
Print Settings
Now that you’ve got your model oriented to your liking, it’s time to turn to the printer. To emphasize quality, there are a number of printing settings to bear in mind.
For a great-looking print, we recommend slower print speed, decreasing the layer height, and using a smaller diameter nozzle. Lowering layer height and using a smaller diameter nozzle will increase print time but can make a world of difference in print quality by making layer lines less noticeable. Although slowing print speed can help, be weary of going too slow, as the print will not have enough time to dissipate excess heat, which could create quality defects.
Optimally dialing in the flow, speed, and temperature settings for the specific material you’re using is key to maximizing your print quality. To nail these settings down, there are numerous test prints you can find online, including temperature towers and calibration cubes.
Post-Processing

Beautifying your lovely new creation with post-processing techniques can be as extensive as you want it to be. Unless you’re lucky enough to have dual extrusion with dissolvable support, removing supports will probably cause some scuffing to the surface finish. There are a couple of different ways to tackle this:
- Sanding is probably the easiest choice. You can use sandpaper ascending in grit size or a file with any material. Rub the surface in a circular motion and try to stay perpendicular to the direction of the layer lines.
- Vapor smoothing is another option to smooth your finished product and completely eliminate those layer lines, but it only works if you’ve printed your coin in ABS. For PLA, as well as other materials, there are a few chemical smoothing options that can be sprayed or painted on, like polyurethane finishing spray.
To take your coins or tokens to the next level, painting will help you get there. PLA, ABS, and PETG can all be primed and painted. Any spray paint that can adhere to plastic should work. Just be sure to take care of smoothing any imperfections before you apply any paint, though. This will make it much easier for the paint to adhere.
If you’ve made it this far, maybe you’re looking to go all out. The intricate detail of some coins could really shine through with some dry brushing with acrylic paints. After using the acrylic paints, you could also use washes, a watery paint that settles into the cracks and crevices, helping to create definition and depth. Finally, applying a glossy or matte coat of spray-on varnish will lock in all the hard work you put in!
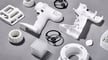
Use a Printing Service
If you don’t have access to a 3D printer or just simply want to ensure the quality of your 3D print, using a professional service could be an appealing option. There are plenty of options out there, but we’ve compiled a few of our favorites.
To evaluate them, we used the Maker Coin from earlier and got a quote from each servicer using the .stl file. To keep things simple, we quoted the coin by opting for black PLA and shipping to the US.
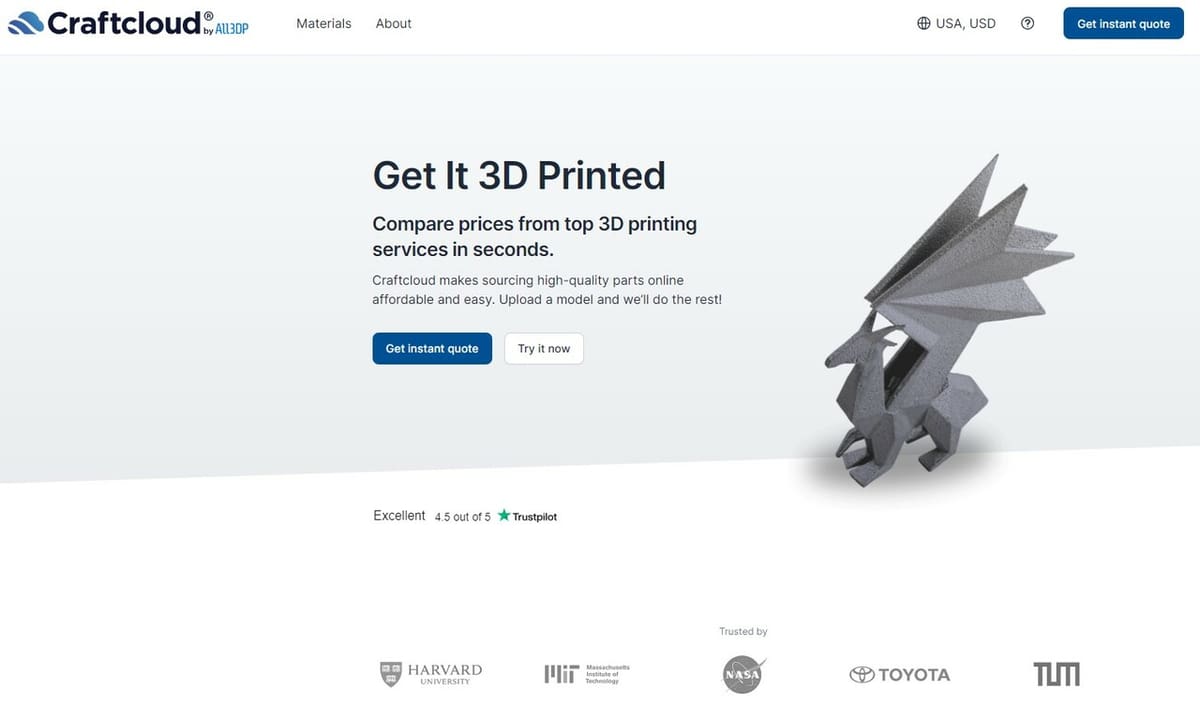
- Craftcloud: If you want to make sure your 3D print comes out at its highest possible quality, you should consider using Craftcloud. Your design deserves to look the best it can be, especially for something that’s main purpose is to be aesthetic. Craftcloud offers an extensive list of materials that can broaden the horizon of your design. Their quote came out to be $17.44 with delivery in 4-8 business days.
- 3DExperience Marketplace Make: The 3DExperience Marketplace is a French company that offers a large catalog of materials and finishes provided by over 200 qualified service providers all over the world. In total, they have access to more than 13,000 manufacturing systems. Their quote came out to be $33.12 with delivery in approximately 8 days.
- Hubs: Hubs began as the world’s largest provider of peer-to-peer provider of 3D printing services but has since expanded to include professional partners that offer on-demand manufacturing. They have over 80 metals and plastics and over 35 surface finish options. Their quote came out to be $15.88 with delivery in approximately 10 days.
Buy Printed Coins
If you’re looking for pre-made 3D printed coins that have already been painted and post-processed, Etsy is worth a look. Etsy is an e-commerce company that serves as a marketplace for independent retailers and small businesses that sell primarily customizable and hand-crafted items.
There are many retailers that are individuals that own a 3D printer (or two) and create and sell as a side hobby. Several of whom specialize in making currency and accessories for board games like BigE3D, PlayfulGeeks, and DungeonLootDesigns. Support your fellow makers and check them out!
License: The text of "3D Printed Coin: The Best Options to Get Your Own" by All3DP is licensed under a Creative Commons Attribution 4.0 International License.