Popular 3D Scanning Methods
Scanning objects in 3D can be done a number of ways. The best method often depends on your budget and the object you want to scan.
3D Scanners typically use one of three methods:
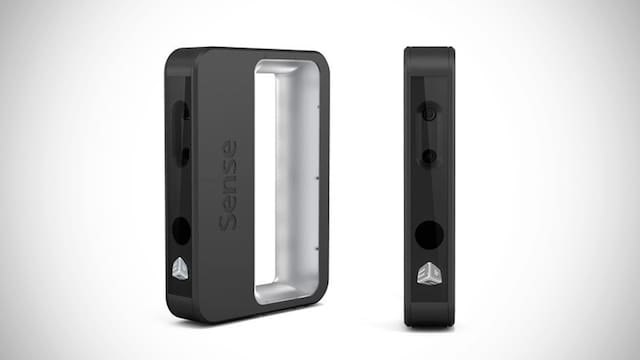
- Infrared scanners use infrared or “structured light” to scan an object. Cameras detect distortions in light projected onto the surface in order to determine the dimensions of an object.
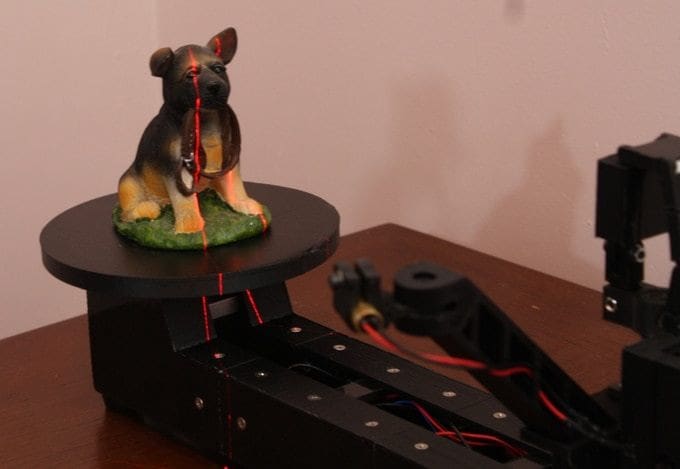
- Photogrammetry uses photos to triangulate distance and depth and produces a 3D scan with that data. The quality is dependent on the photos and camera used.
- Lidar bounces laser light off an object to gauge distance and depth in order to form a 3D scan.
In this article, we’ll focus on lidar 3D scanning, taking a look at how it works, how it compares to the other two main technologies, where it’s applied, and a few case studies.
How It Works
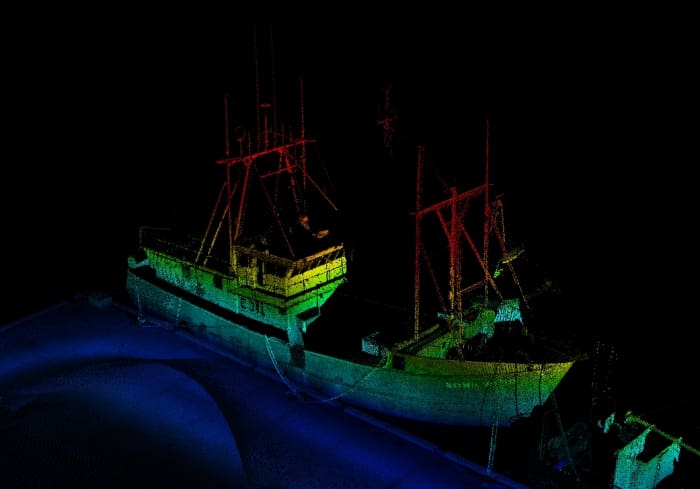
Lidar basically works in the same way as radar, with the main difference being that, instead of a microwave energy source, a laser beam is used. The speed of light is a known constant, so the distance between the sensor and an object can be measured by the time it takes for a laser pulse to bounce off of an object and be received by the lidar sensor. This allows lidar to be used as a kind of “range finder” to determine altitude or surface geometry with a high degree of detail.
Lidar vs Infrared
Infrared scanners are common and relatively affordable, but they’re not really suitable for large areas or structures, unlike lidar. Cost and accuracy are the main factors to consider when choosing which to use.
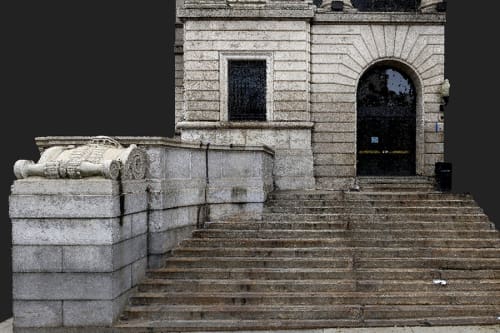
While you could technically use a costly lidar system to scan a chair, it’s neither practical nor necessary for such projects. Lidar is so expensive and accurate it’s better suited to scanning large areas or structures, such as buildings.
Lidar vs Photogrammetry
Photogrammetry uses multiple photos to triangulate points to form a scan that’s more accurate than infrared, but still less accurate than lidar.
If you have high-resolution camera equipment already or don’t need the extra performance and expense that comes with a lidar system, photogrammetry is a very good option. If your project involves scanning miles of an area or large structures, you may still want to look into using lidar.
Practical Applications

Typically used for land surveys and niche applications, lidar can also be used to produce 3D printable scans of areas and structures. While being most accurate, it’s also so expensive that companies supplying lidar technology often avoid listing prices on promotional materials and on their websites.
For small or low-budget projects, lidar simply isn’t practical, because of the cost. Despite cost concerns, lidar is still preferred for serious and large projects such as mapping flood plains and buildings. It’s also useful for tackling some niche 3D scanning needs, as with “self-driving” vehicles and robots.
Case Study: Astronomy and Space Exploration
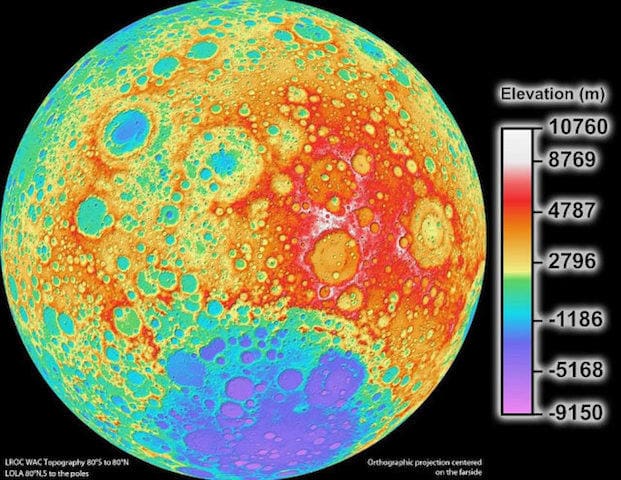
Way back in 1971, NASA launched a Saturn V rocket as the first step in the Apollo 15 mission to the moon. This was the first mission to use lidar technology.
Lidar was used to map the surface of the moon from orbit with a high degree of detail which was never seen before using other instruments. Lidar has also been used to map the surface of Mars and the topology of Earth, as well as to measure planetary distance, like from Earth to Mars.
Case Study: Environmental Conservation and Exploration
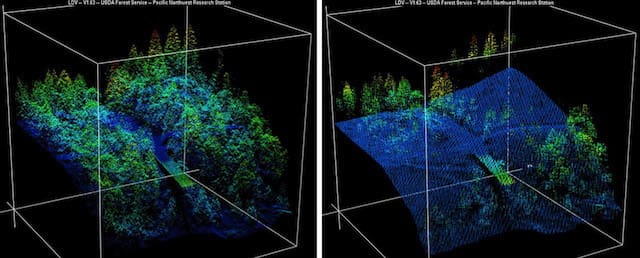
Lidar was used to determine the damage done by the 2014 “King Fire” in El Dorado National Forest in California. This helped answer questions as to the severity and extent of the damage in an efficient and accurate manner. Because lidar can be used to map large areas in this way, it can be useful for helping us to understand our environment.
For example, lidar could be used to determine what areas might be vulnerable in the future to disasters such as floods. As was the case in the “King Fire,” it can also be used to estimate damage after a natural disaster and determine where recovery efforts should be focused. Not only can lidar be used to map cities, but it can even be used to find lost cities by detecting structures beneath the dense forest/jungle canopy. One project found a lost city in Mexico that had as many buildings as Manhattan!
Feature image source: NASA
License: The text of "How Does a Lidar 3D Scanner Work? – Simply Explained" by All3DP is licensed under a Creative Commons Attribution 4.0 International License.