The vat or tank of a resin 3D printer is one of its most crucial components. The vat wall and transparent FEP film floor membrane contain the resin that will be cured into a print. Since UV light has to penetrate through the bottom of the vat in order for the resin to be cured, regular cleaning and maintaining the vat is needed to ensure the highest quality prints as well as avoid issues in the first place.
At a minimum, you’ll be faced with the task of cleaning the resin vat when changing resins, cleaning print failure, or when it comes time to change the FEP film. Cleaning the vat to change the FEP film is especially important because resin can become trapped in the gasket that seals the FEP film, which will shorten the lifetime of your hardware.
It’s essential that every desktop LCD or DLP 3D printer owner knows how to clean their resin vat. Keep reading for our guide that details how to safely and effectively complete this sometimes-daunting 3D printing task.

The Process
From the highest level, cleaning the resin vat is simply removing all resin from the resin vat. The task is complete once no resin remains in the vat, including any resin that clings to hard-to-reach areas.
While there are many ways to achieve this end, it’s important also to consider how you can save as much resin as possible and how to not damage the fragile FEP film while doing so. The following procedure can be adapted and modified to fit the specific purpose of the cleaning but typically should be done whenever certain milestone occurrences regarding the 3D printer.
Frequency of Cleaning
Cleaning the resin vat at certain 3D printer milestones will ensure that the vat is cleaned regularly enough that cured resin doesn’t build up in areas such as the vat mounting bolts or FEP film gasket.
Examples of occasions that would necessitate cleaning the vat include the following:
- A change in resin color or type
- A significant 3D print failure
- When the FEP film is replaced in the 3D printer
If you’re not using the printer frequently, you can keep resin in the tank for a few weeks as long as it’s covered and stored away from sunlight. However, removing the resin and cleaning the tank will prolong the lifetime of your FEP film.
Even if a 3D printer is unused, the FEP film should be replaced regularly (about every 3-6 months, depending on the amount of use) or sooner if it’s acutely damaged by a resin scraper or print failure.
Tools
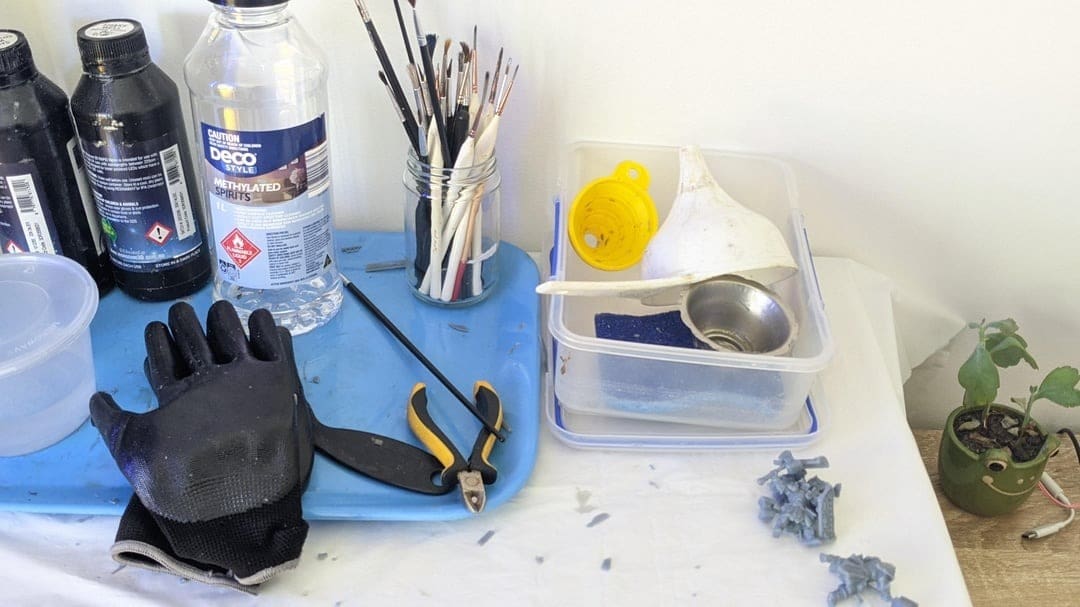
To most effectively clean your resin vat, you’ll need the following:
- Microfiber towels or soft tissues to absorb excess photopolymer resin. They must be soft so they don’t damage the FEP film. Use new microfiber towels or tissues to avoid re-depositing resin or other contaminants into the resin vat.
- Isopropyl alcohol (IPA) or another resin cleaning solution to loosen up the resin when cleaning it off of the vat. It’s recommended to use IPA of 90% or greater concentration because it’s most effective at cleaning. You’re going to need a lot of this.
- A squeegee to gently push resin out of the vat and maximize resin recovery. It’s best to opt for a plastic squeegee that’s small enough to be easily manipulated inside the resin vat.
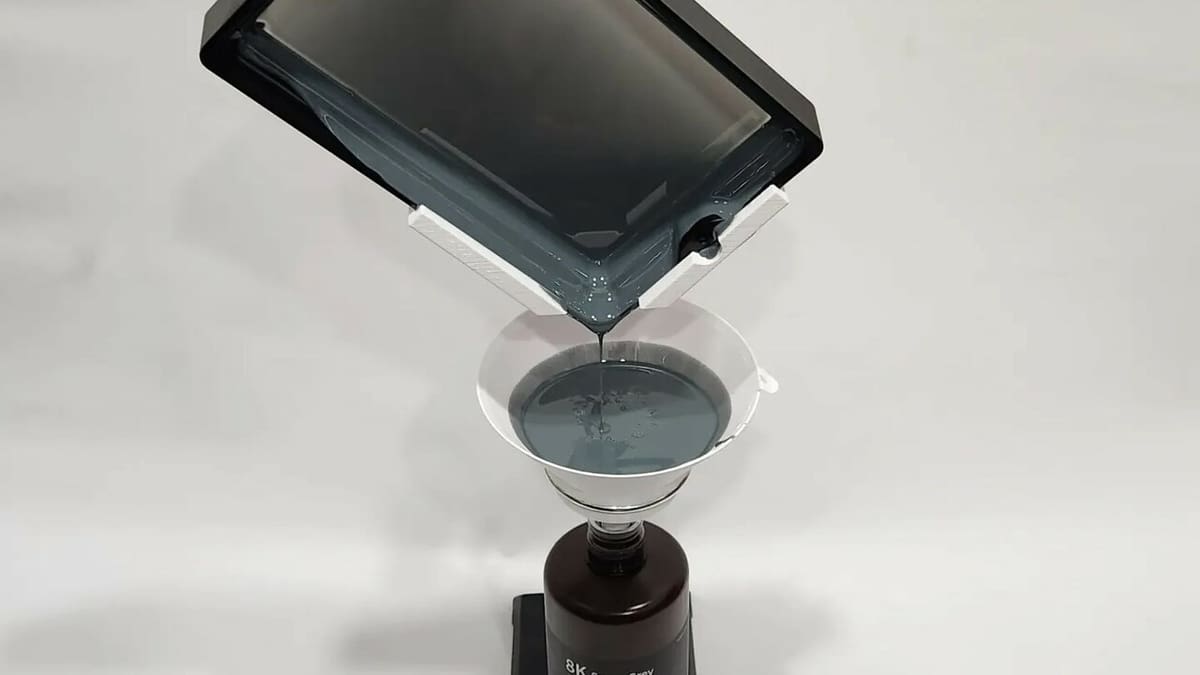
- Funnel and drip stand (with a resin particulate filter) to recover most of the usable resin inside of your tank before cleaning the vat with solvent.
- Secondary resin container for storing used resin. After a prolonged amount of time in the resin vat, and depending on the resin and amount of UV exposure it has received, the resin may not be as active anymore. For this reason, many sources recommend using secondary resin containers so that you don’t contaminate fresh resin.
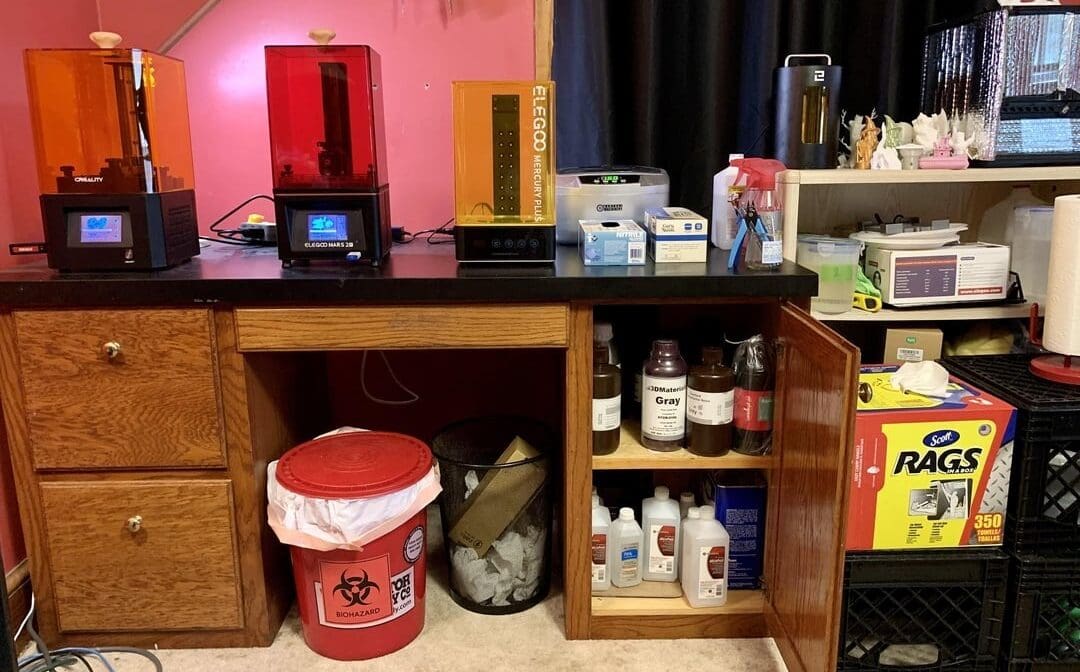
- A large, clear container to store and dry resin-contaminated waste. There are going to be plenty of resin-contaminated towels and gloves generated in this process, and you don’t want them touching anything else. A dedicated container will also make it easy to cure the waste for proper disposal.
Safety
In addition to the above tools, it’s necessary to protect yourself from the potentially carcinogenic effects of 3D printer resin by wearing nitrile gloves, non-baggy long sleeves, and safety glasses to protect from resin splashes. This is standard practice when working with resin, and following proper guidelines for personal protective equipment is a key part of safe 3D printing.
If you happen to get resin on your skin at any point during this process, make sure to remove that resin with soap and a lot of water. It’s also important to note that you should be performing the resin cleaning in a well-ventilated area, as 3D printer resin contains components that can irritate the lungs.
Finally, uncured 3D printer resin is a hazardous material, and special attention must be devoted to its disposal. All resin and resin-contaminated items created by this process need to be either handled by a hazardous materials disposal company or cured fully before disposal in your household waste. We’ll give you more details on how to do this later on. Let’s get started with cleaning!
Step 1: Emptying the Vat
As a starting point for this guide, we’ll assume that we’re working with a resin vat that contains both usable, uncured resin, as well as potentially partially-cured resin particulates from failed prints. We want to remove the particulates from the vat and the resin stream while also returning as much resin as possible to a resin container.
After putting on the necessary PPE, here’s how to empty the resin vat:
- Start by preparing a bed of tissue or microfiber towel about the size of your 3D printer’s build plate and another the size of the resin vat. You should also prepare your resin funnel and drip stand if using.
- Remove the build plate and place it on this towel bed. This will prevent resin on the build plate from dripping onto the screen while you’re cleaning the resin vat.
- Unscrew the resin vat’s screws according to your 3D printer manufacturer’s instructions and remove the resin vat from the 3D printer.
- Tilt a corner of the vat over so that as much of the resin vat is over the funnel and resin drips down into a resin container of your choosing. Use a squeegee to aid in the transfer. It’s important to exercise caution because resin often clings onto the side of the resin vat when being poured and may drip in an unexpected manner.
- Once satisfied with the amount of resin that has returned to the resin bottle, set the resin vat down on a prepared bed of clean tissues or microfiber cloth.
- Using a separate tissue or microfiber cloth, blot out as much extra resin as possible that remains stuck to the sides and bottom of the resin vat and the build platform. Do this carefully, as forceful jabs might damage the FEP film of the resin vat.
Step 2: Cleaning with Solvent

The next step is to thoroughly wash the resin vat with isopropyl alcohol or another resin-cleaning solution:
- Wet a new tissue or microfiber cloth with solvent, then use it to wipe away resin residue left on the vat. Clean both the inside and outside of the vat. If replacing the FEP film, remove the FEP film at this step so that you can clean the seal between the vat and the FEP film of resin.
- Rinse the vat by dispensing solvent onto the remaining areas of the vat, then using a dry tissue or microfiber cloth to wipe up the excess solvent.
Depending on how contaminated the vat was, multiple rinses may be necessary. The best practice for cleaning contaminated objects is to wash them three times with solvent, so repeat steps 1 and 2 at least an additional two times. This process should be repeated for the build platform as well.
Step 3: Drying
Once the vat has been cleaned with solvent, it will be necessary to dry the solvent residue so that it doesn’t dilute new resin in the vat:
- Use a fresh cloth to blot dry the resin vat and FEP film (if you haven’t removed it in the previous step) while it’s on a flat surface to avoid stretching out the FEP film. Be careful to only lay down your FEP film on a soft and clean towel or else risk damage or further continuation.
- If needed, use a solvent-dampened cloth to remove as much dust as possible.
- Allow for all of the solvents to evaporate by resting the resin vat on a clean surface for a few hours. Remember to also dry the build platform once it has been cleaned.
If you’re replacing the FEP film, you can install this once the vat has dried.
Clean Up
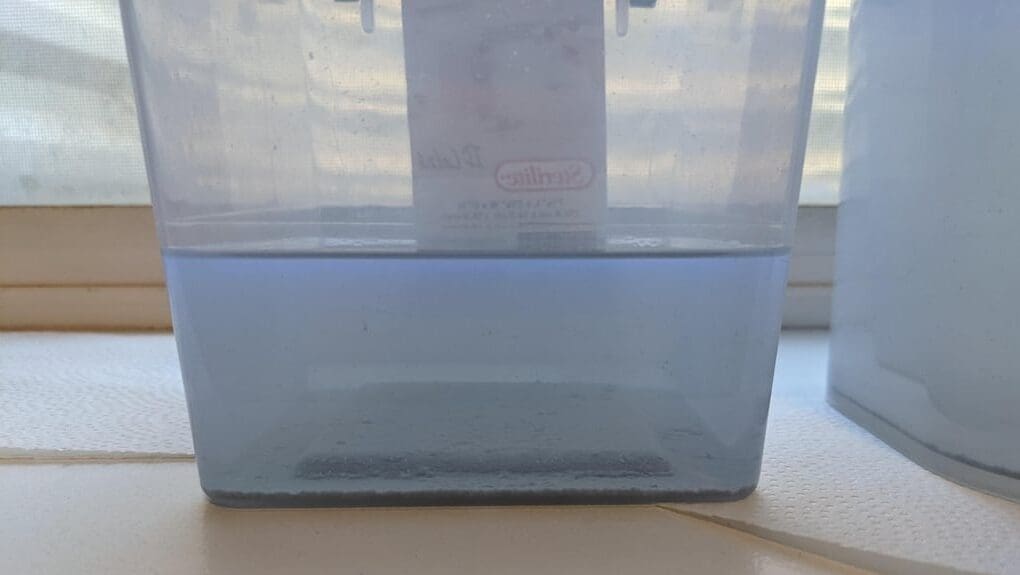
Resin 3D printing creates a lot of waste that must be responsibly handled. After completing the cleaning process, take all solid resin-contaminated waste (i.e., towels and gloves) and empty it into a large clear container. In order for the waste to be safe for disposal in the household waste stream, leave the container of waste in the sun to fully cure and evaporate. Once all is hardened, it can be thrown away as usual.
If you saved any resin-contaminated liquid waste, you can either let this fully evaporate in the sun in order to directly dispose of it as solid waste or you can recycle it. Leaving the container in the sun will solidify the resin within the IPA (as long as it’s not too heavily contaminated), making it easy to filter out. Just be sure to also thoroughly dry the filter before disposing of that as well.
Alternatively, you can also opt for your waste to be picked up by local hazardous waste disposal companies, just be aware that you’ll need to familiarize yourself with GHS labels, specialized containers, and fees.
And with that, your resin vat is as good as new! Happy printing.
Community Resources
It’s no surprise that there are plenty of makers out there trying to make the cleaning process easier. You can print models for all kinds of tools, including drip stands, print fail-cleaning tools, and even resin-cleaning peristaltic pumps.
A bit of snooping around on various 3D model repositories will likely get you the files you need for your specific printer. To help you get started, here are some great tools that makers have already designed and released:
- Resin cleaning tool: Amtech on Cults made this 3D printable resin vat cleaning comb to remove cured resin from the vat.
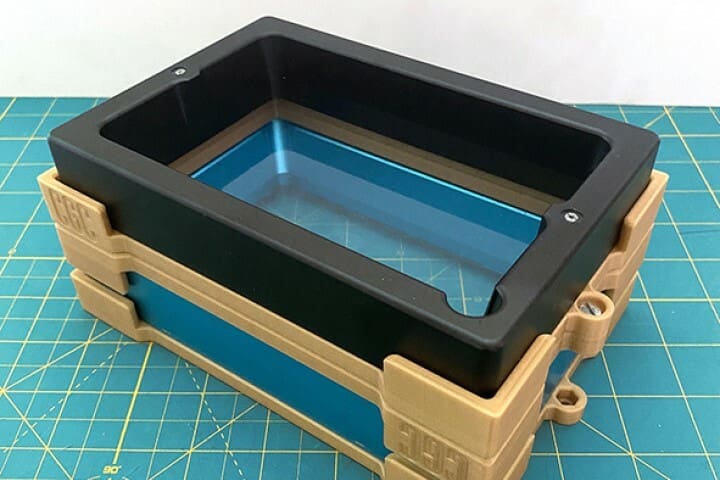
- Resin vat protector: To prevent the accumulation of dust and other particles in your resin, you can print yourself a resin vat film and dust protector, like the one designed for the Elegoo Mars by minusmagis on Thingiverse.
- Squeegee: You can never have enough of these things. Print your own with the designs posted by SpoonUnit on Thingiverse.
Alternatively, you can design a tool for yourself! Open your favorite CAD software and make sure to design with 3D printing in mind.
License: The text of "How to Clean the Resin Vat & the FEP Film of a 3D Printer" by All3DP is licensed under a Creative Commons Attribution 4.0 International License.