How to Dry Filament: PLA, ABS, Nylon & More

Moisture from the air can easily ruin your 3D printer filament, meaning it can also ruin your prints. Find out how to properly dry filament!
All fused deposition modeling (FDM) 3D printing filaments are hygroscopic. That’s a fancy way of saying that the material likes to absorb moisture.
This hygroscopicity can wreak havoc on filaments. Being plastic polymers, they’re made of chains of molecules strung together. The water molecules in moisture break up these chains, ruining the plastic and causing a whole slew of problems while printing.
But don’t fret! “Wet” spools of filament are salvageable, and proper storage can prevent future mishaps.
In this article, we’ll look at how to identify wet filament, how to dry it, and finally, how to store the moisture-free result. Let’s get started!
Identifying Wet Filament
Different filaments absorb moisture at different rates, but there are a few common signs that you’ve got a wet spool:
- Popping or cracking sounds when extruding
- Severely reduced part strength and layer adhesion
- Uneven extrusion lines
- Severe stringing, blobbing, or oozing
- Uncharacteristically textured or “fuzzy” surfaces on prints
If you’re noticing any of the above, it’s probably a good idea to dry your filament. With especially hygroscopic materials, such as nylon, PETG, PVA, and flexibles, you could have issues after leaving them out in the open just one night.
There are dry storage options to help prevent this from occurring, which we’ll get to later. If the damage is already done, it’s important to dry out wet filament as soon as you identify it to preserve print strength and quality.
Luckily, there are a few ways to safely dry your filament. These approaches vary in price and complexity. Let’s take a look at the main ways to restore your filament to its dry state and how you can keep it dry!
Method #1: Filament Dryer
Let’s start with the purchasable solution. In case you didn’t already know, there are purpose-built devices dedicated to the task of drying filament! If you want something designed specifically for 3D printing with extra features, this may be your best option.
There are various types of filament dryers that offer a few different features, but they’re all fairly simple to operate. In essence, you put your spool (or spools) inside, select the desired setting, and let the dryer do its thing.
Generally, filament dryers require a power source and work by using a heating element to create a warm environment. The heat evaporates any moisture from the filament and surrounding air. Often you will have a choice of temperatures, depending on the filament you want to dry, and the option to set a timer to limit the drying time.
When the time is up, you can retrieve your spool, which should be free of moisture. In some cases, the dryer will have a filament feeder that works alongside the printer, saving you time and hassle by drying and printing at the same time.
Popular Options
Sunlu offers two very popular versions of filament dryers, the FilaDryer S2 and the FilaDryer S4. The FilaDryer S2 has an adjustable temperature range between 35 °C and 70 °C, making it ideal for drying different types of filament, such as PLA, ABS, and PETG. It can hold a 1-kg roll, making it very efficient for small setups. The FilaDryer S4 is a larger version that allows you to dry up to four 1-kg rolls simultaneously. Both models stand out for their practicality with the option of working while printing, helping to keep materials dry during production. In the case of the S2, though, it’s important to leave the lid ajar to allow moisture vapor to escape.
Sovol’s SH02 has an adjustable temperature range of 40-70 °C, offering flexibility for different types of filament. Its compact design allows it to accommodate two 1-kg rolls and it provides a good balance between cost and functionality. Plus, it can monitor humidity and store settings for different types of materials. The SH04 automatically adjusts the temperature when it reaches either 45 °C or 55 °C, aiming for a stable 50 °C, making it simpler but more limited. That said, it’s effective for filaments that don’t require frequent adjustments. It also holds up to four 1-kg spools and can be used during printing.
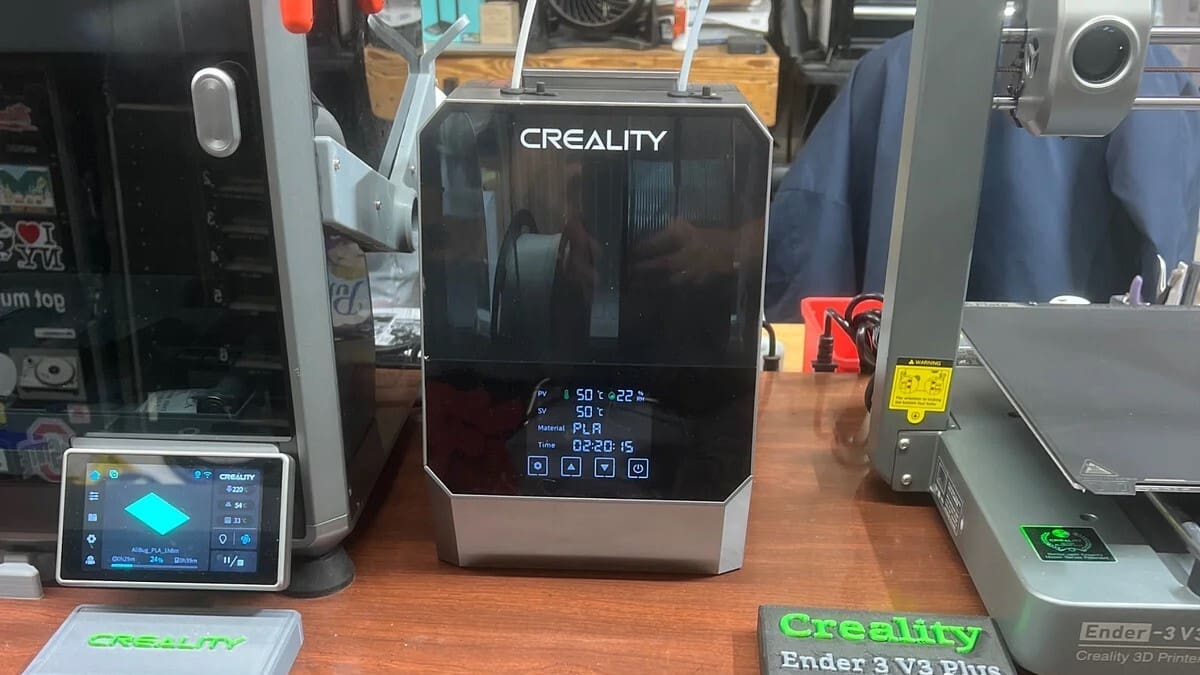
Creality, famous for its 3D printers, also offers the Space Pi Filament Dryer Plus, a model that stands out for its modern design and advanced features. This dryer has an adjustable temperature range of 45-70 °C and holds two rolls of filament of up to 1 kg. The Space Pi Filament Dryer Plus is notable for its efficient drying, as well as its digital temperature and humidity control. It also has a compartment for silica gel, which makes it a good storage solution after it has been turned off following a drying cycle.
Method #2: Oven
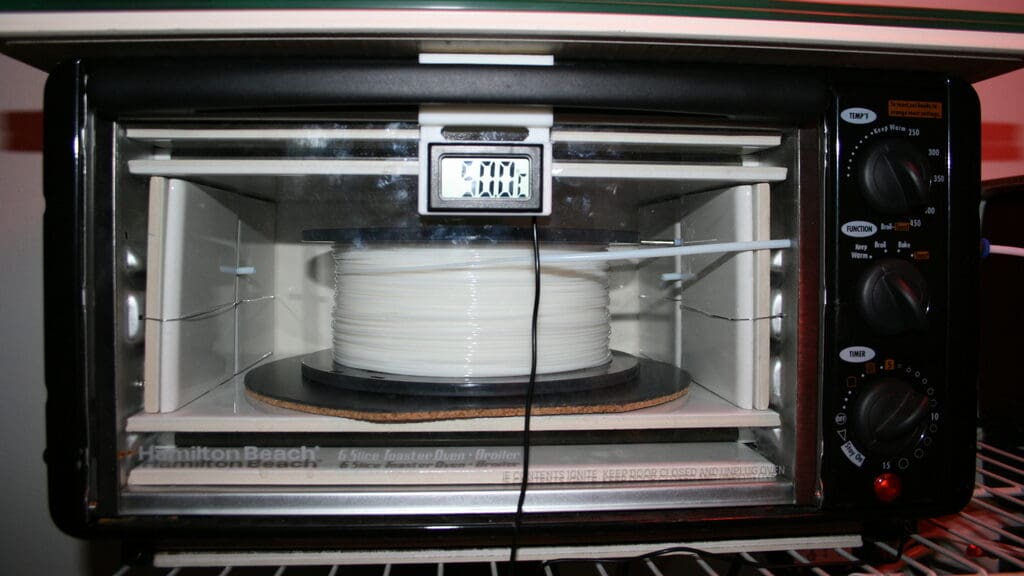
Probably the easiest and most common way of drying filament is to use the oven. Just set the temperature to right below the glass transition temperature of the plastic, and leave it in there for four to six hours until the moisture evaporates. The longer you leave it, the drier it’ll get.
Suitable target temperatures for some of the most common filaments are the following:
- PLA: 40-45 °C
- ABS: ~80 °C
- PETG: ~65-70 °C
- Nylon: ~80 °C
But don’t be too hasty! Always remember to wait until your oven reaches the target temperature before placing the spool inside. All ovens slightly overshoot the target temperature when heating up, so placing your spool in too early might result in a molten heap!
It’s also good to have an oven thermometer for more precise temperature measurement, as well as an understanding of how accurately your oven is capable of holding the temperatures listed above. With too much deviation from the target temperature, you run the risk of melting all the plastic and fusing your entire spool together.
Finally, be aware that 3D printing materials, in particular ABS, can give off unpleasant odors and fumes – not necessarily what you want to be creating in an appliance you use to prepare food! Always think carefully about what non-food items are entering your oven, and allow time for ventilation after your filament has finished drying.
Method #3: Food Dehydrator
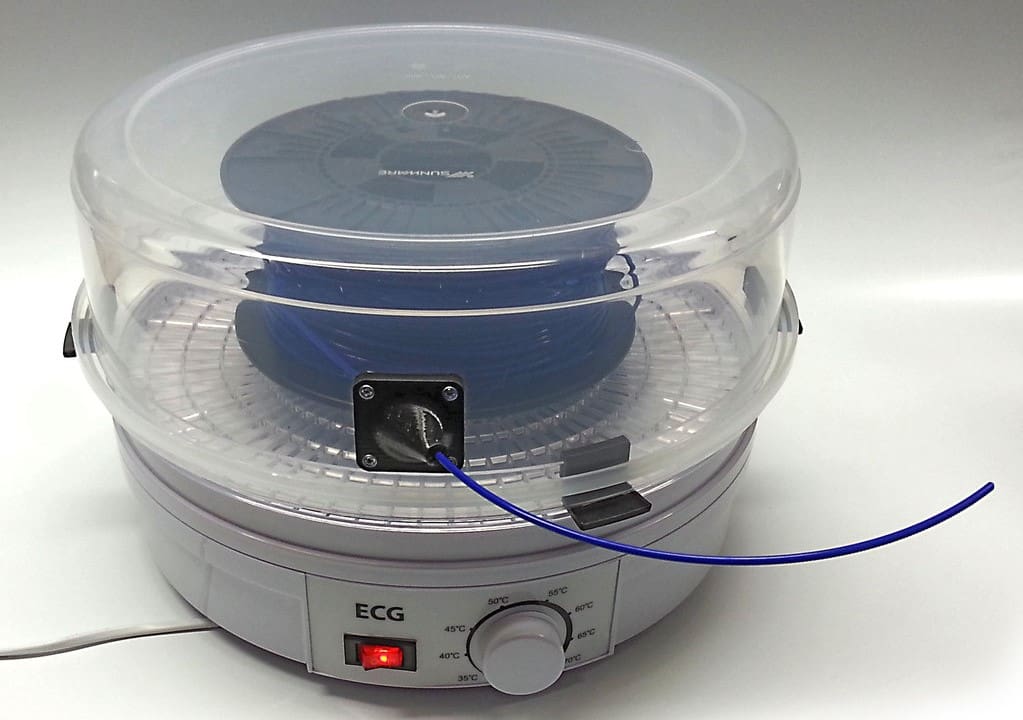
Food dehydrators are also great tools for drying out filament, especially if you don’t have a suitable oven. Originally designed for drying foods such as fruit and meat, dehydrators operate at lower temperatures than ovens, so they should have better temperature stability in our desired range. In fact, the limiting factor could be that they don’t get hot enough, depending on what material you are working with. Conveniently, dehydrators are often round, making them the perfect shape to temporarily house your filament spools!
Similar to drying with an oven, you want to aim for a temperature slightly below the glass transition temperature of the material you are drying:
- PLA: 40-45 °C
- ABS: ~80 °C (or highest available temperature)
- PETG: ~65-70 °C
- Nylon: ~80 °C (or highest available temperature)
Food dehydrators are available cheaply and can be found all over the internet. Usually, they come with removable layers and meshing that you can add or remove to fit your spools. You can also 3D print attachments to make them even better suited to your purposes, like the project from Tinkerman on Thingiverse (pictured above) that allows you to print directly from a dehydrator.
Method #4: Mod
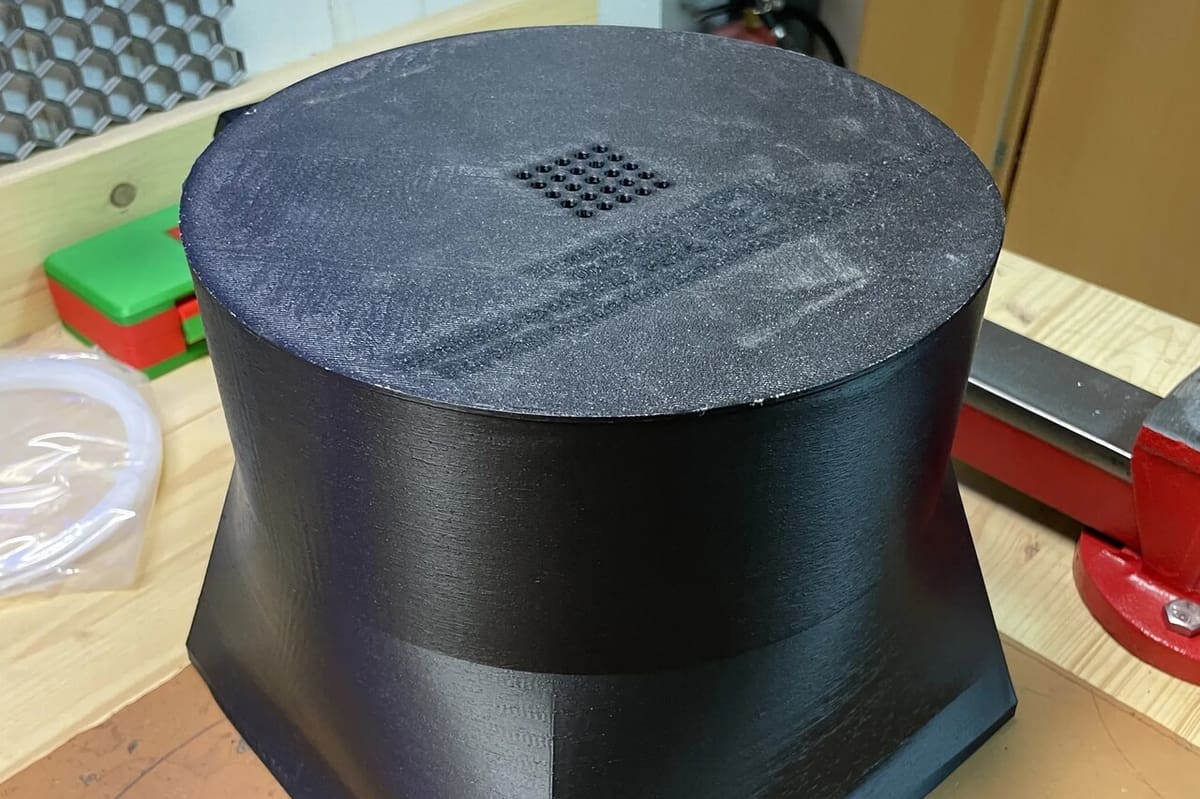
So far we’ve seen methods that require a bit of an investment, but we can’t forget that 3D printers are also a factory of solutions! This ingenious model shared by ok2vvv modifies a 3D printer to transform the heated bed into a dryer, thus eliminating the need to buy a dedicated device. It’s specifically designed to take advantage of all the high temperature from the heated bed of the Bambu Lab A1 printer, and allows makers to dry up to three spools simultaneously.
First of all, it’s important to keep in mind that this modification has limitations, and for it to work well, a few factors and considerations come into play. First of all, the designer recommends using PETG, which can be understood given the higher temperatures it can withstand over PLA. Second, a word of caution: There is no space for a purge tower because the model takes up the entire printing table. As to how it works, by taking advantage of the bed, the model fosters heat circulation from bottom to top that is capable of drying the filament. But as you can imagine, additional care is needed in controlling the temperature.
Ideally, the chamber’s material should be more heat resistant than the filament to be dried, hence the suggestion to use PETG. And in the case of more hygroscopic filaments, additional drying time at a lower temperature may be necessary. The designer explains that in his tests, Bambu Lab’s PETG withstood temperatures of up to 60 ºC, but that in the case of other manufacturers, the maximum recommendation is 45 ºC.
This isn’t a print-in-place model, so some care is needed to avoid deformations in the body or defects in the sealing; as some users, like Soulr3ap3r reported, it’s not an easy print. The designer included modifications to help with adhesion and gluing of the parts. Even with limitations, this solution was able to dry even TPU as makers Lorenzo137 and user_3207411576 commented. So, as long as due care is taken, you should be able to dry your filaments without any problems.
Proper Storage
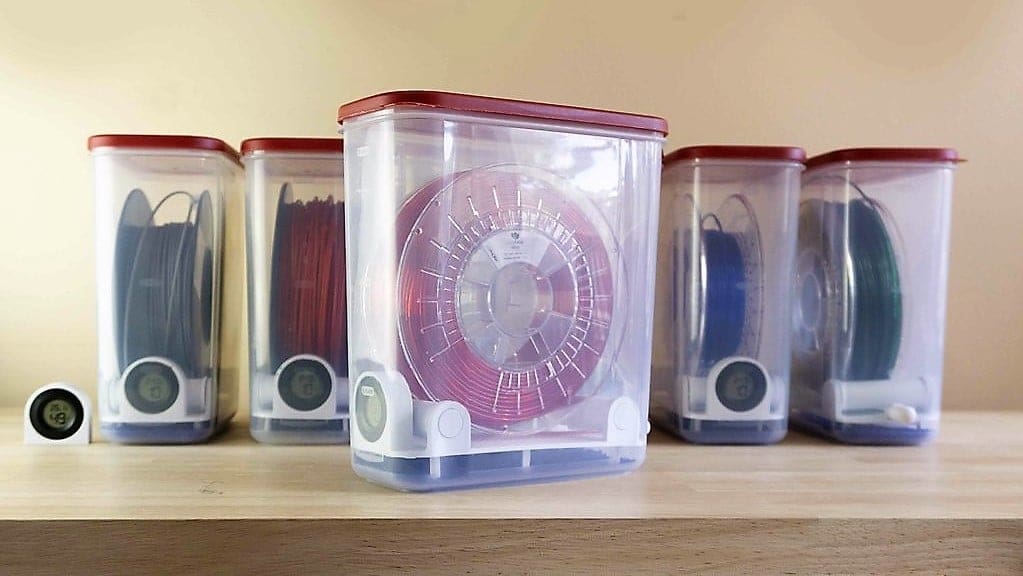
Now that your filament is dry, you’ll want to keep it that way for as long as possible. To do that, your dry spools need to be stored in a humidity-controlled environment. This can range from an airtight box with desiccant packs to dedicated commercial solutions. Usually, the former is more than enough, but the custom-designed dry boxes offer some extra benefits.
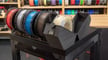
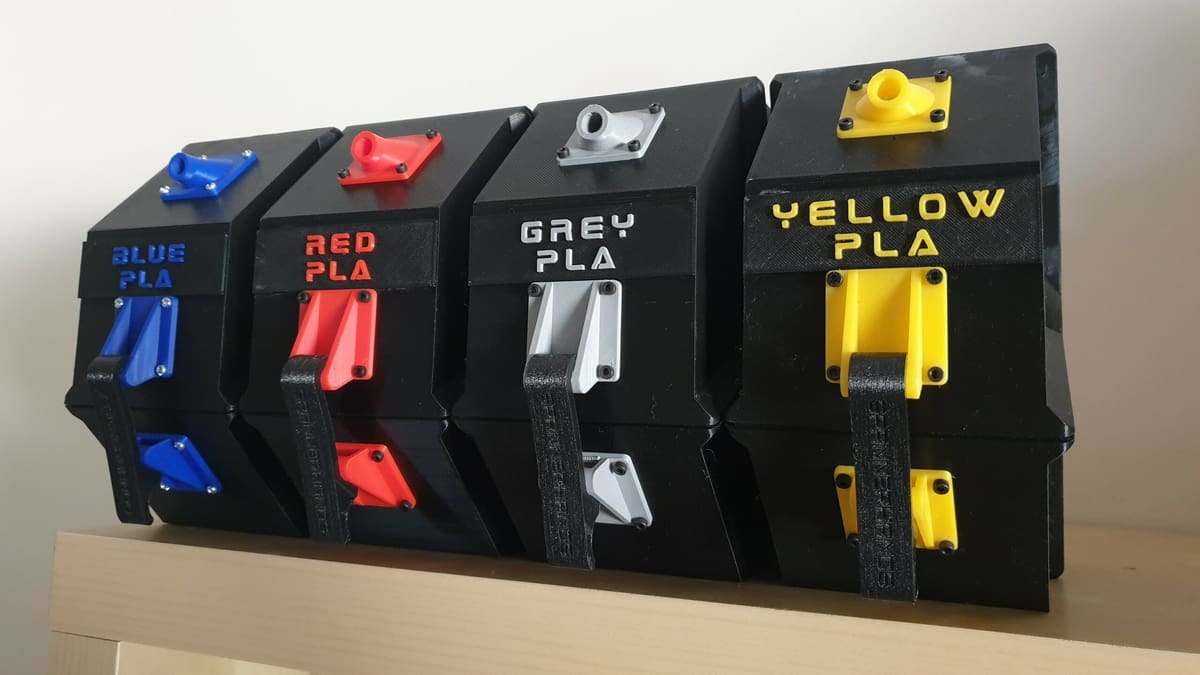
For example, the Polymaker PolyBox feeds directly to your printer and displays the internal temperature and humidity, so you can track the dryness of your filament without lifting a finger. DIY alternatives include the Rubbermaid container upcycling project shown at the top of this article and the fully 3D printed Spannerhands spool system pictured above.
Just keep in mind that even the best storage solution can’t dry filament for you; it can only stop it from absorbing more moisture. If your filament becomes wet again (or wasn’t dry to begin with), you’ll have to re-dry it with one of the methods described above.

License: The text of "How to Dry Filament: PLA, ABS, Nylon & More" by All3DP is licensed under a Creative Commons Attribution 4.0 International License.