Resin 3D printing has become the go-to printing method for detailed prints straight off of the print bed, with many modern resin printers able to create prints with little-to-no visible layer lines. This makes resin prints the perfect candidate for painting, as you are usually working with a smooth surface that doesn’t require as much post-procession as FDM printing to achieve the same or even better results.
With a resin 3D printer, some paint, and a little patience, you can create some amazing figurines, display statues, and high-quality cosplay accessories. This makes resin printing a great asset for those who enjoy many tabletop games, as you can save money on miniatures by printing and painting your own!
The type and color of resin we use shouldn’t matter too much since we will be painting over it, though it is recommended to use ABS-like resin for cosplay parts that have a chance of seeing any rough use. For miniatures and display pieces, standard resin or water-washable variants work just fine.
Before you get a brush and paint, it’s good to learn how to paint resin models. That’s what we will be covering today.
Post-Processing
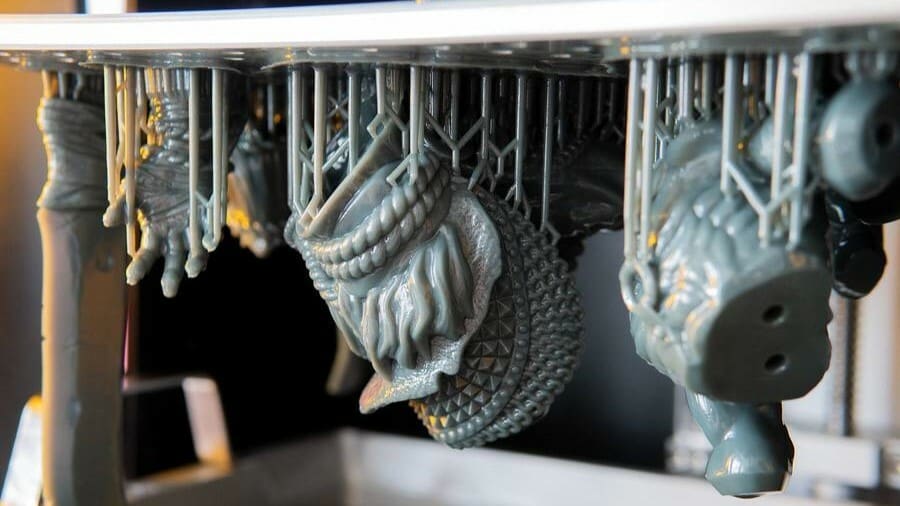
Before we can apply any paint to our resin prints, we will need to make sure that all the support structures have been removed and that our models are sufficiently cured. We’ll want to remove supports before curing as it’s much easier to do so before this step. This will also reduce the amount of sanding that is required later on. Be sure to always wear protective gloves when handling uncured resin.
Sanding Supports
Once the model is cured, we’ll want to check if there are any extra bits of support sticking out of our model. Go ahead and sand down any visible nubs left over from the support using either a file or sandpaper. You can start with either a 220- or 400-grit sandpaper and work your way up from there. Make sure to always wear a protective mask when sanding plastics.
Filling Holes
If you find any holes, dents, or divots in your model, you can use either spot putty or Bondo to fill them. Be sure to give the putty about an hour to dry before sanding it smooth. It’s recommended to leave the model in a well-ventilated area, as these types of body fillers can really smell.
Now that the supports have been removed and any blemishes have been filled and sanded down, we can begin the next step.
Priming
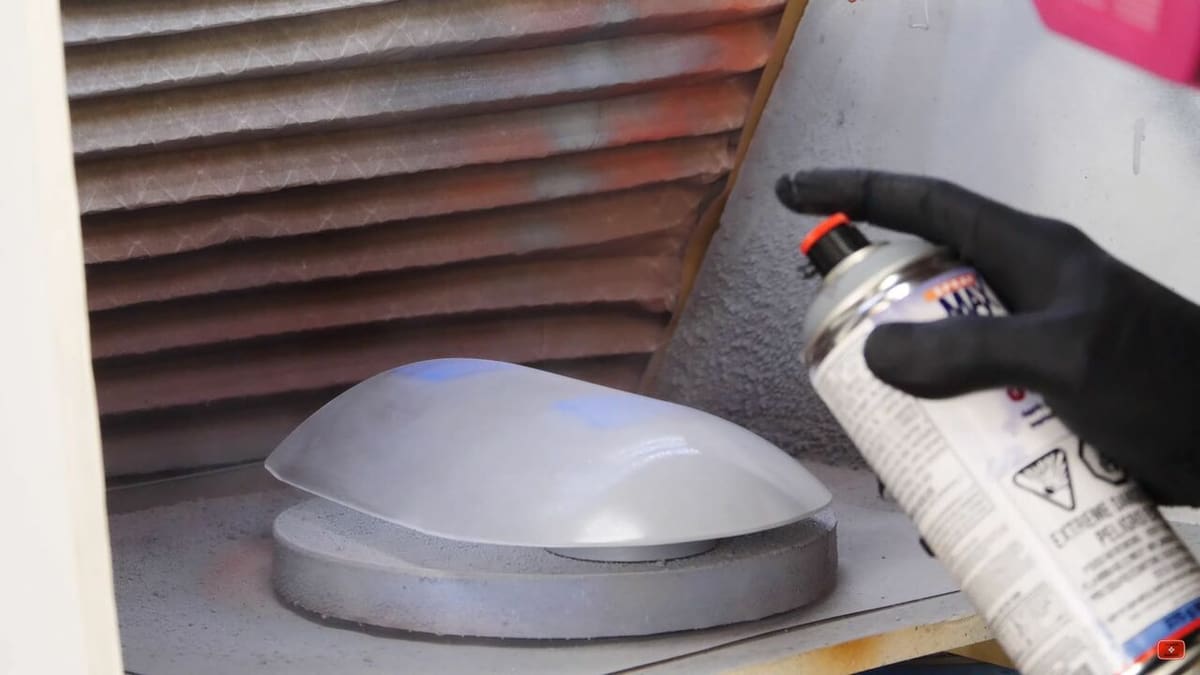
Priming is one of the most important steps when painting your resin models as it will create an even layer across the whole model for your paint to adhere to. While some paints and resins adhere to each other just fine, priming will eliminate any issues caused by our paint and resin choices, allowing us to use water-based paints with water-washable resin as well. Primer will also keep our paint from chipping or bubbling due to oils from our skin reacting with the paint later on.
When using any type of spray paint or airbrush, always wear a protective mask to avoid breathing in small paint particles and only spray in a well-ventilated area.
Applying Primer
For smaller models and miniatures, a brush-on primer will do just fine, though you can use aerosol primers if you have them handy. Larger prints will require a spray primer to get good enough coverage.
Try to get an even coat across the whole model. Not too thick and not too thin, though stay on the thinner side to be safe. Unlike FDM prints, we won’t need to use filler primer to hide our layer lines.
Primer Color
The color of the primer generally won’t matter, though a good rule of thumb is to use light-colored primers when painting lighter objects and darker-colored primers for dark objects. If you plan on using metallic paints, you will want to start with a very dark primer, as this will make the sheen of the metallic paints look much nicer.
Let your primer dry before continuing on to the next step.
Painting
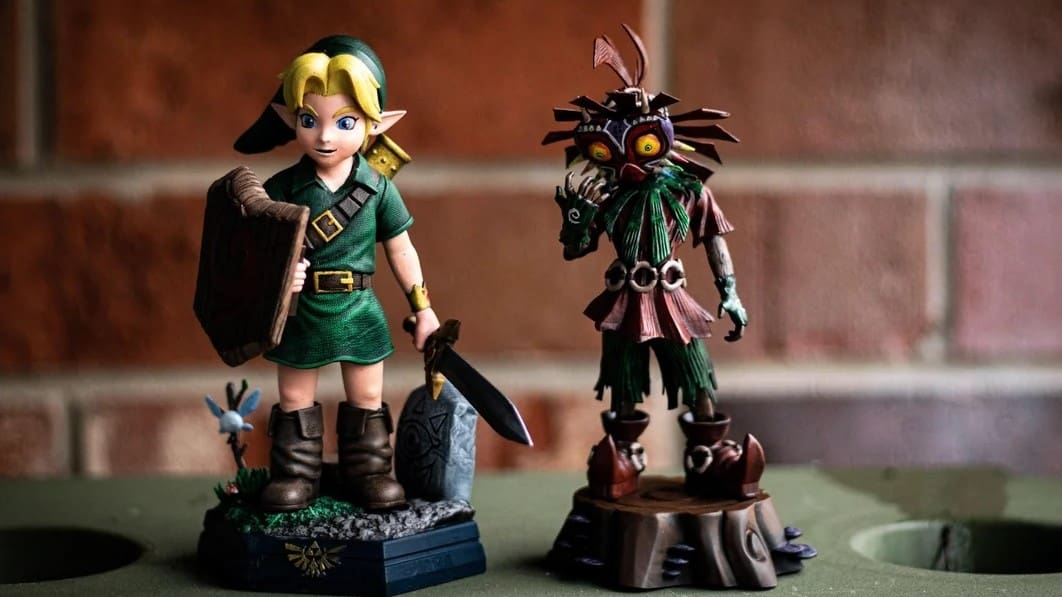
Now for the fun part, actually painting our models!
Paint Choice
The type of paint we use matters. Generally, it’s best to use either acrylic or model paints, as either choice will adhere to plastic just fine. Most acrylic paints resist wear and scratches pretty easily, making them a good choice for cosplay items, though we will need a few thin coats for maximum coverage. Enamel and oil paints will do just fine for everything else. Water-based paints aren’t recommended as they often take many coats and provide worse results than the other options.
Base Coat
Once we decide on a paint type, we will begin painting our model with a base coat, covering the entire model in a single color. Choose the most dominant color for the model to start. Spray paint is great for base coating, though a paintbrush can get the job done as well.
You can skip base coating and paint directly on a primed model, though a base coat ensures there are no awkward areas where the primer shows through.
Fine Detail
After the base coat is finished, we will want to get some smaller paintbrushes to fill in the details of our model. It is a good idea to have one brush per color to avoid accidents.
For larger models that require spray paint, this is where we would use masking tape to cover areas of the model that we want to keep as the base coat before spraying on additional colors. Give every color time to dry before applying masking tape over it and let the new colors dry thoroughly before removing masking tape to avoid peeling the edges off.
Sealing
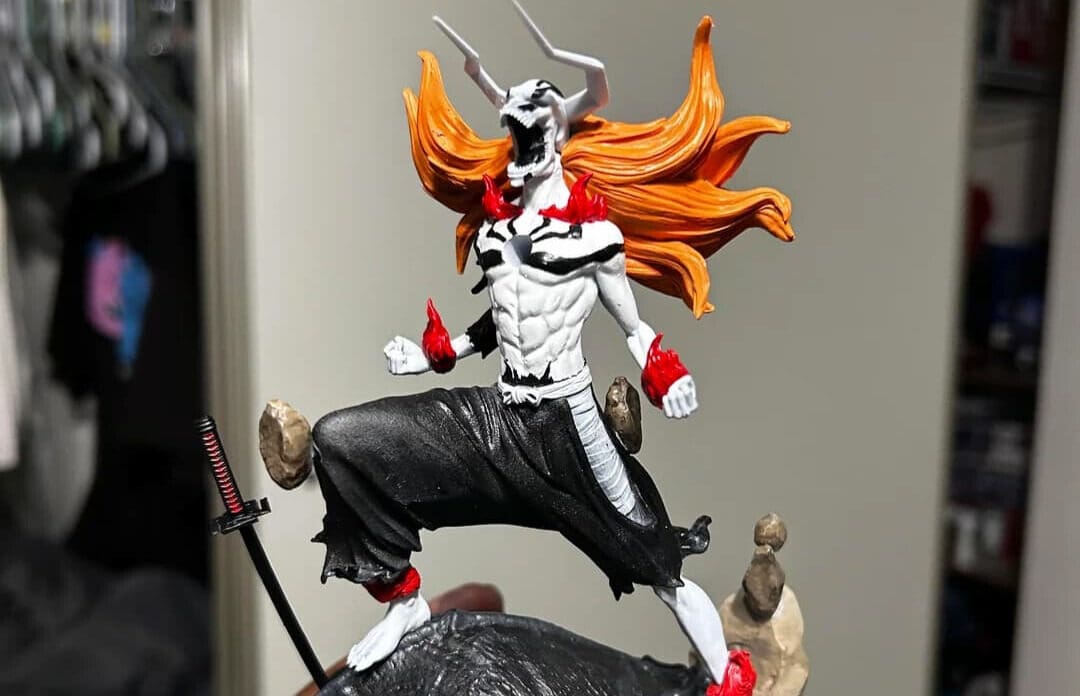
Sealing, or clear coating, will give our model a finished look while protecting the paint job from scratches and wear. While technically optional, sealing is usually a good idea to make sure our hard work isn’t ruined.
Sealer Type
The type of sealer we use is up to personal preference, with high-gloss sealants giving our models a shiny finish. Matte sealers will remove all shine from the model and give it an even surface finish. Satin sealers are in-between, giving off a slight shine that isn’t as noticeable as high-gloss options. We can mix different sealers for different parts of our model to give fire a shiny finish while the rest of the model is matte, for example.
It’s important to note that some of the higher-end sealers won’t play nicely with every type of paint. This shouldn’t be an issue if we stick to the general stuff, however.
Applying Sealer
Cover the model in an even coat and don’t touch it while it dries. Touching a clear coat before it dries will smear the paint and ruin the finish.
After an hour or two, the painting process is complete! We can now handle our model just fine and put our work on display.
Tips & Tricks
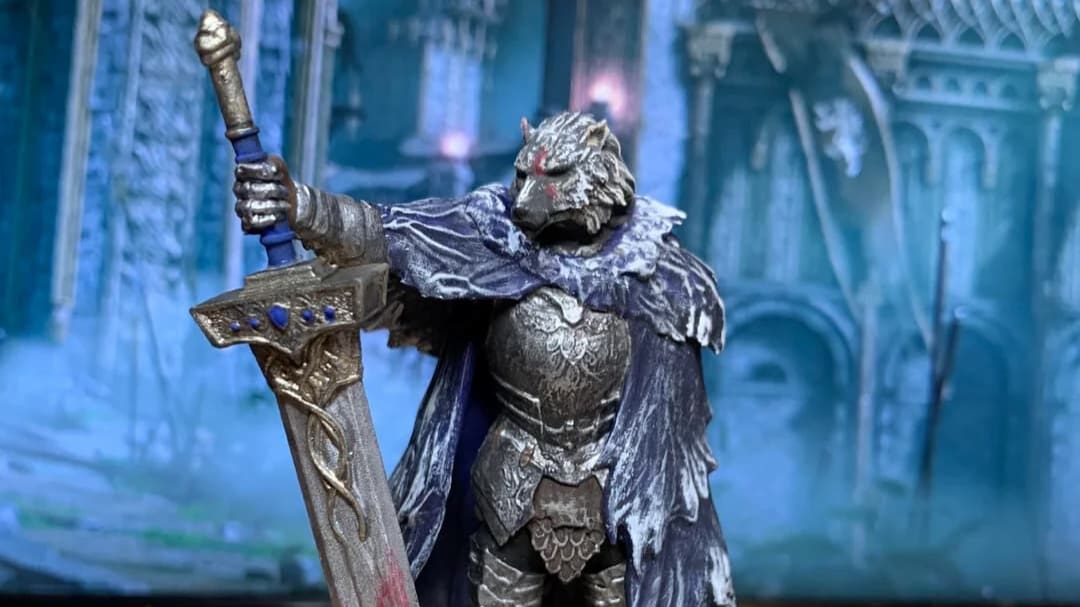
We’ve prepared some advanced tips that will bring our paint jobs to the next level.
- Highlights and shadows: This trick is often used to find where the light would hit a model and visibly display shadows, giving us a good idea of where to use darker colors and where to use highlights on our models while painting. Take a spray can, any color will do though white is a good choice. From a distance, gently dust the model with paint from directly above. Now focus on where the paint didn’t land. These areas are where we should add depth and shadows to the model to make it look more realistic.
- Wet blending: Wet blending is a brush technique that miniature painters use to create natural transitions between colors on their models. Right after painting a section of the model, while the paint is still wet, dip the same brush into a new color and continue painting where you left off. Be sure to mix the brush with the paint that is already on the model to blend the two colors for a seamless transition.
- Dry brushing: Dry brushing is often used to add very fine details to models, such as slight highlights or scrapes on the edges of metallic objects. Take a stiff-bristle brush and dip just the tips of the bristles into the paint. Let the paint dry slightly before running the brush against the edges of the model gently. This should leave behind just enough paint on the edge of the model to be noticeable but not blatant. Less is more with this technique but feel free to experiment!
- Using the resin’s color: To save time while creating some amazing effects, many makers have incorporated the color of resin into their painting designs, opting to leave sections of the model unpainted. This is especially effective with clear resins, as it can give the illusion of invisibility or create a transparent effect that paint just can’t capture. This is also a great technique to add glow-in-the-dark details to transparent resin.
- Nail polish: There are some great nail polish colors out there that can give our models some really amazing details, which can lead to some very unique finishes. However, we don’t recommend using nail polish as a complete paint replacement, as the consistency can vary and may even reduce the details in finer prints.
License: The text of "How to Paint Resin 3D Prints: Easy Tutorial" by All3DP is licensed under a Creative Commons Attribution 4.0 International License.
