IdeaMaker (Slicer): How to Get Started

Raise3D's IdeaMaker is a powerful and feature-packed 3D slicer. Read on for our beginner's guide to IdeaMaker!
Slice Your Ideas
Today, more and more 3D printer manufacturers are offering their own 3D slicers, like Ultimaker’s Cura, Prusa Research’s PrusaSlicer, and many more. 3D slicers turn a 3D model file (STL, OBJ, 3MF, etc.) into G-code, the instructional language interpretable by your 3D printer.
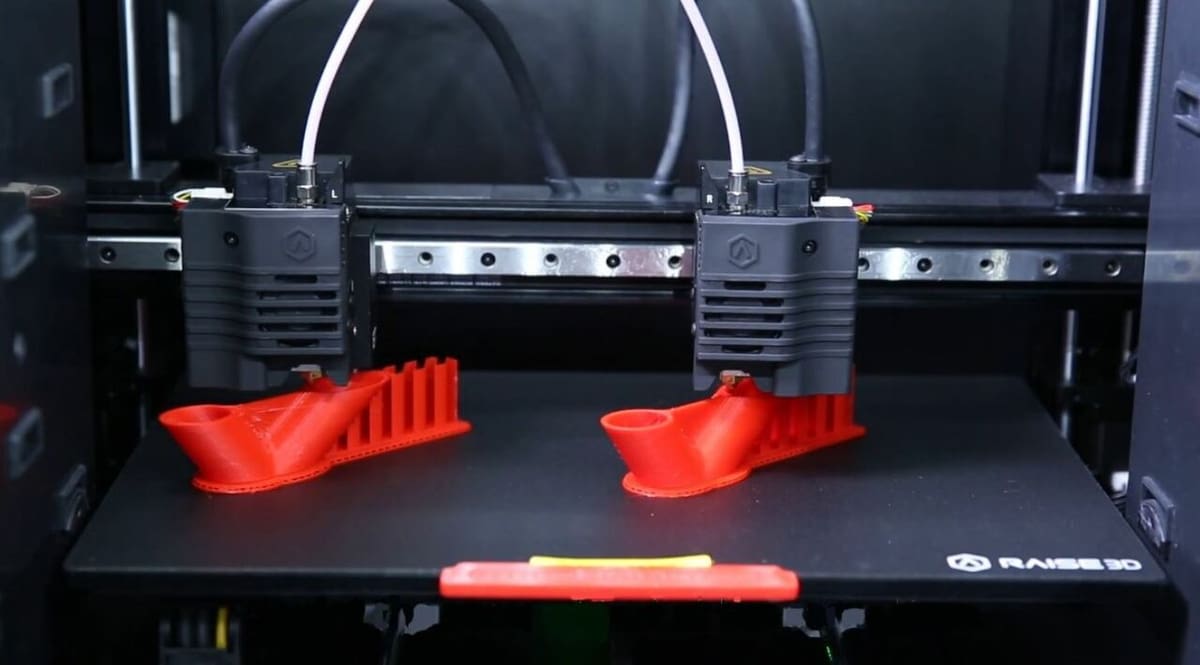
Raise3D is a manufacturer of primarily large-format, prosumer-level 3D printers, like the Raise3D E2. They also offer their own slicing software, known as IdeaMaker, a powerful program with many model modifications and slicing features. A key part of IdeaMaker is that it’s dual-extrusion compatible, so you can use it to slice models for printing on a dual-extrusion 3D printer.
In this article, we’ll be going over the IdeaMaker 3D slicer, discussing how to install the program, how to set it up, the features it has to offer, and more. Happy slicing!
Installation & Configuration
To get started with IdeaMaker, you can download the free program from Raise3D’s website. Make sure you download the correct version for your operating system: Windows, Mac, Linux 32-bit, and Linux 64-bit versions are available. Also, double-check that the device you’re using meets the system requirements outlined on Raise3D’s website (2 GB of RAM, 2 GHz or faster processor, etc.).
Once you initiate the download, you can decide where you want to install the program, and then follow the instructions and accept the terms and conditions to finish. After the installation process is completed, follow the steps below to set up your 3D printer:
- Open the app by right-clicking the icon and selecting “Run”, or double-clicking the icon.
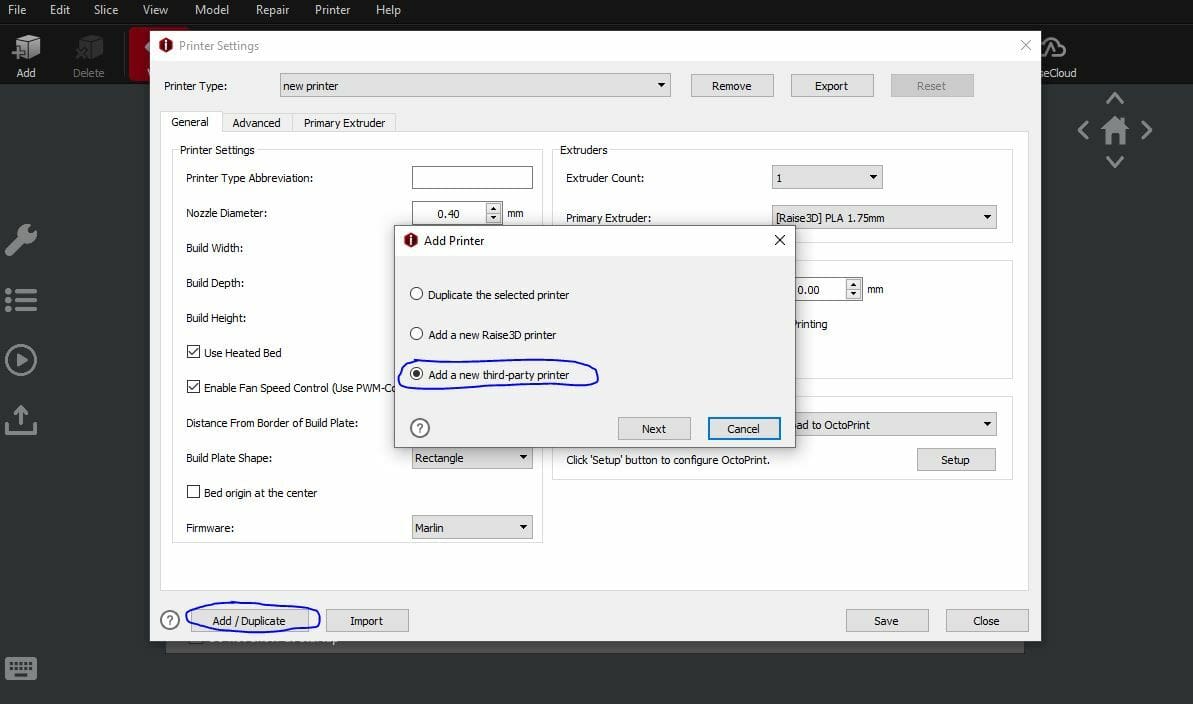
- You’ll be prompted by a pop-up screen where you should click the “Printer Settings” button in the bottom left corner.
- If you’re using a Raise3D printer, you can select your specific model from the drop-down menu under “Printer Type”. If you’re using a third-party printer, click the “Add/Duplicate” button in the bottom left corner and select “Add a new third-party printer”.
- For third-party printers only: Fill in the boxes on the new pop-up screen with the corresponding information for your machine, including its nozzle diameter, print volume, extruder count, and more. Don’t forget about the other tabs (“Advanced” and “Primary Extruder”) and fill in those settings too.
Now, let’s move on to the features of this 3D slicer!
Inserting & Repairing Your Model
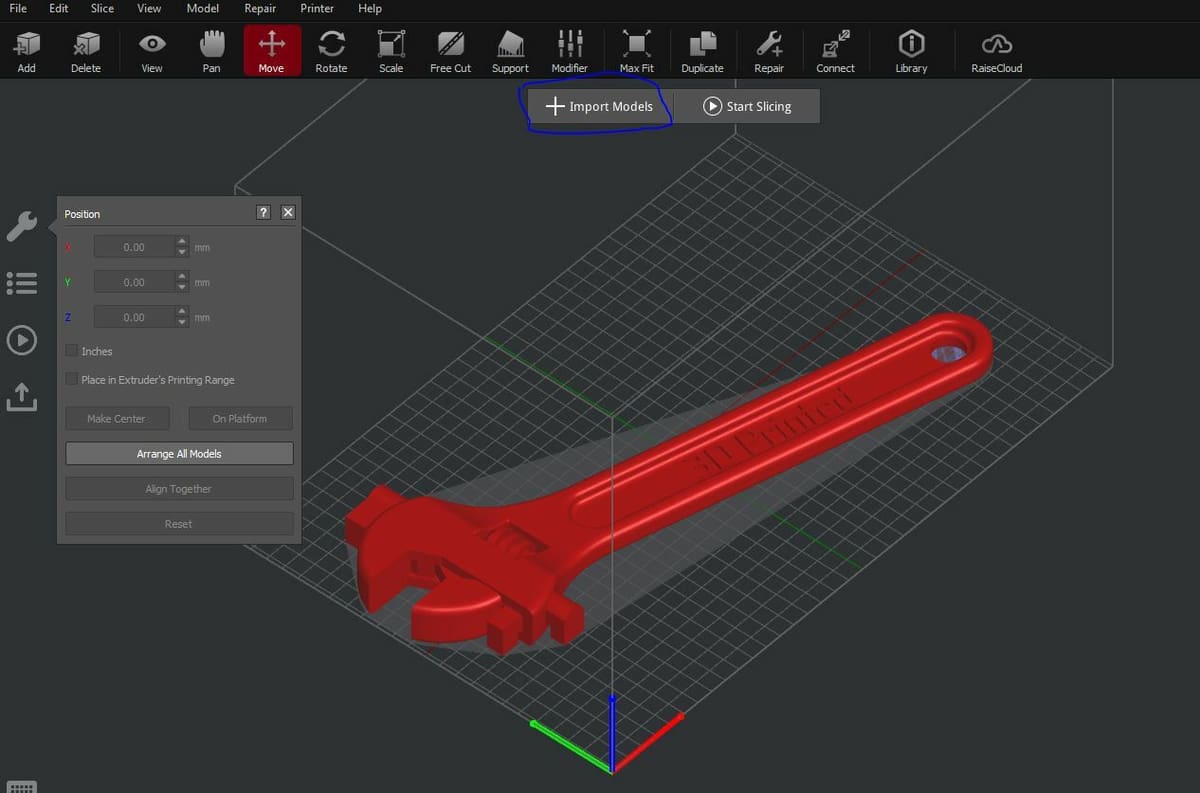
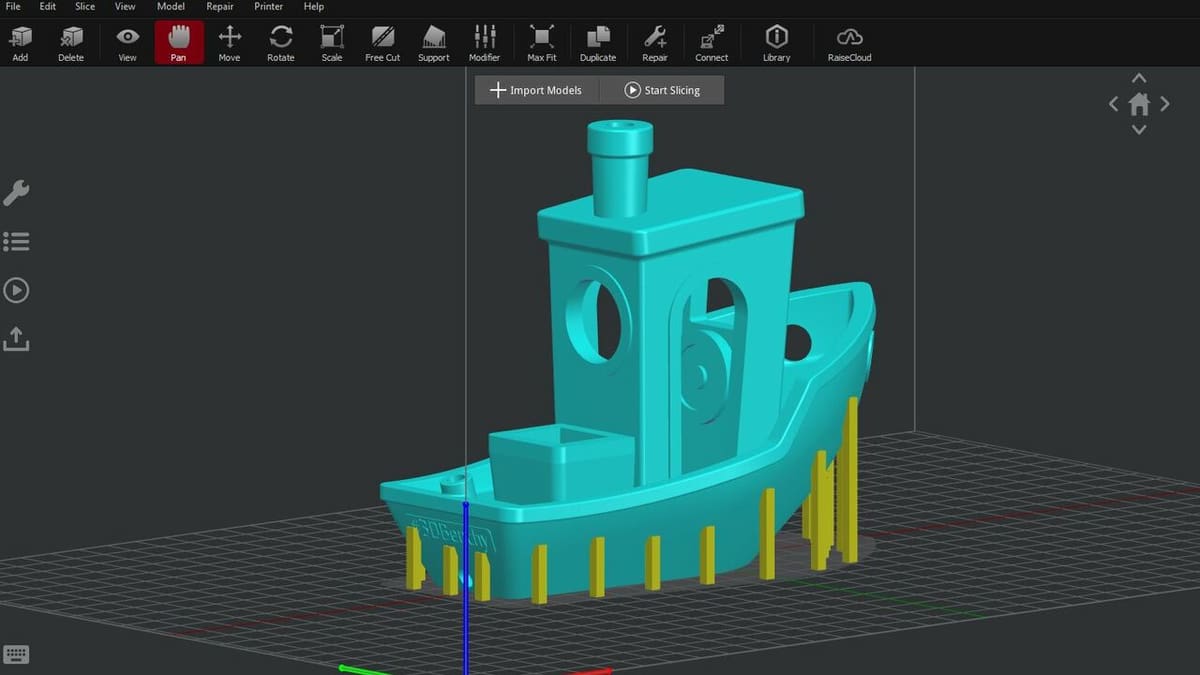
The first part of slicing a 3D model is to add the design into your slicer software. To do this, simply click the “Import Models” button at the top of the screen. Then, select a model from your device’s storage and upload it to IdeaMaker.
Once inserted, you can view your 3D model in a few different ways, including the default solid model view. On the top category bar, you can click the “View” button and choose which perspective you want to see your model in. You can also view your model in other ways using the following viewing types:
- Show Edges
- Show Wireframe
- Show Tips and Shortcuts
- Show Model Shadow
- Show Overhangs
Once you’re satisfied with your imported model regarding the view, you can repair the model using IdeaMaker’s auto-repair tool to fix any discrepancies. By default, any anomalies should be highlighted in the model, but it’s always safe to auto-repair your design anyway. To repair the design, click the “Repair” button on the top toolbar and click “OK” when asked if you want to auto-repair the model.
Transforming Your Model
Transforming your model is the next step and involves ensuring that all aspects of your 3D model’s position are correct. This includes the size, position, orientation, cuts, duplications, and supports. You can find the transformation tools on IdeaMaker on the top toolbar and use them simply by clicking the labeled icons.
Positioning
First up, to move or reposition your model, use the “Move” tool and relocate your inserted 3D model. You can use special tools such as “Make Center”, which centers your model on the build platform. The “Rotate” tool allows you to orient your model by rotating it on either the X, Y, or Z-axes.
Sizing
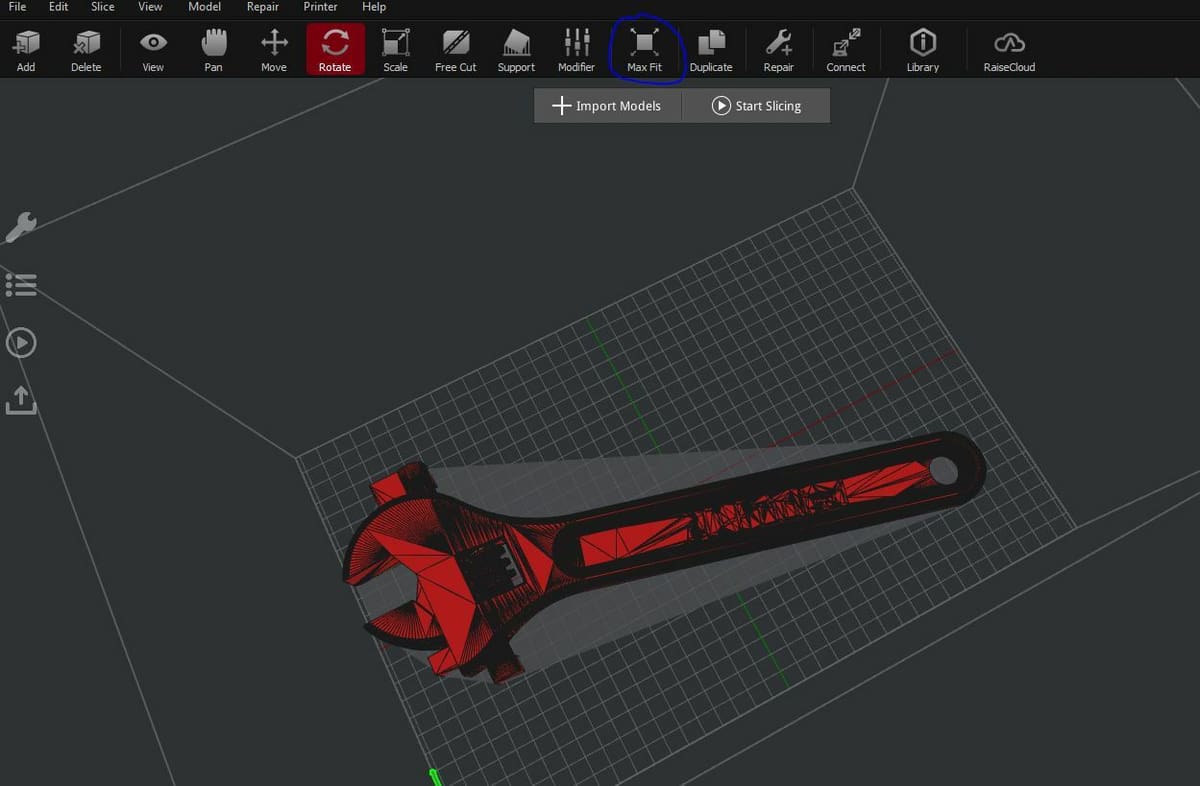
To adjust the model’s size, you can use the “Scale” tool and adjust the size as a percentage (starting at 100%) or in millimeters. Alternatively, you can use the “Max Fit” tool to scale your model to the maximum size that’ll fit your machine’s build volume. Additionally, you can duplicate your model using the “Duplicate” button to make copies of it.
Supports
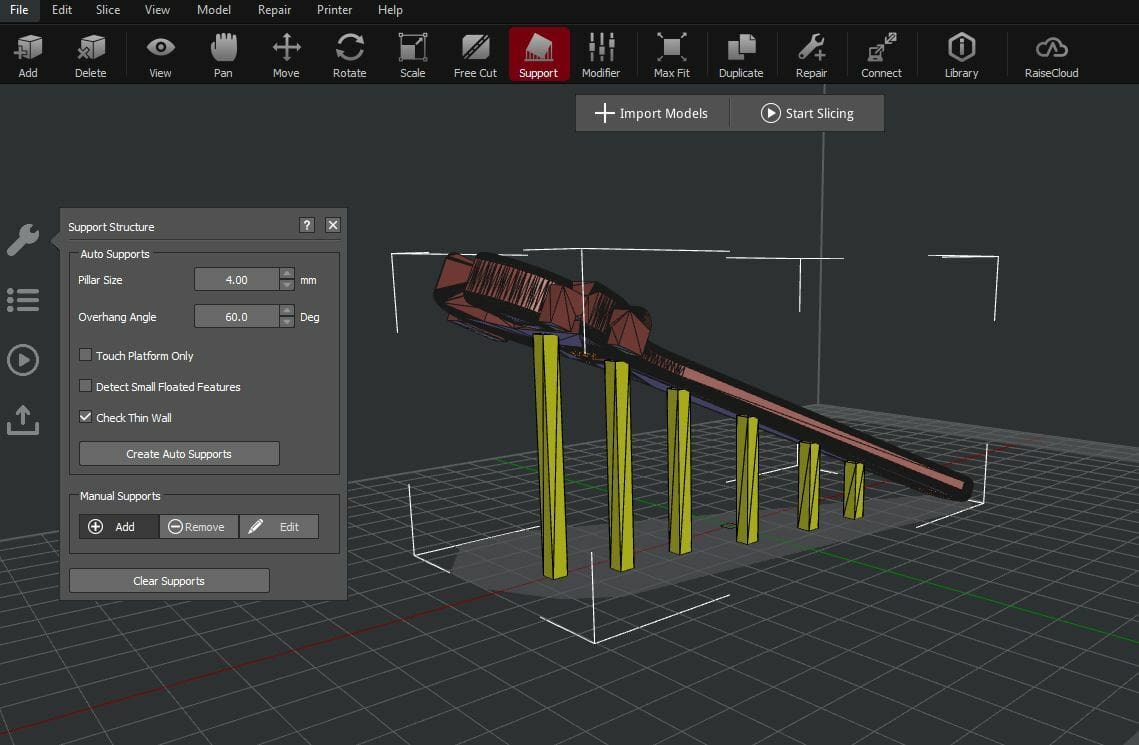
The “Supports” tool is perhaps one of the most powerful and unique tools on IdeaMaker, and it allows you to create supports for your model before you slice it. You can open up the supports tab to adjust the overhang angle and pillar size of the support structures. After making any desired changes, you can select “Create Auto Supports” to insert the support structures.
Importantly, you can click the “Add” button under “Manual Supports” and manually insert support structures that extend until they’re touching the selected model. This allows you to add supports to only the features you want to minimize material consumption.
Other Commonly-Used Tools
The “Free Cut” button allows you to slice your model using a plane at a certain position on an axis (X, Y, Z). This tool is super useful for slicing models up to print them in separate pieces or to only print certain areas of parts.
A recent addition to the IdeaMaker toolbar is the “Texture” feature, which enables you to alter the surface of your model by applying a texture from the IdeaMaker library or from a 2D file of your own. If you want to add detail to your model without the hassle of modeling software, this could become your new favorite feature!
Another powerful button to try out is “Modifiers”, which will allow you to define certain settings according to the layers.
And speaking of settings, let’s take a look at the slicing!
Slicer Settings
Slicer settings control how a 3D model is sliced and thus how it’s printed. In them, you can fix print quality issues like stringing, which can be solved by increasing retraction or lowering nozzle temperature.
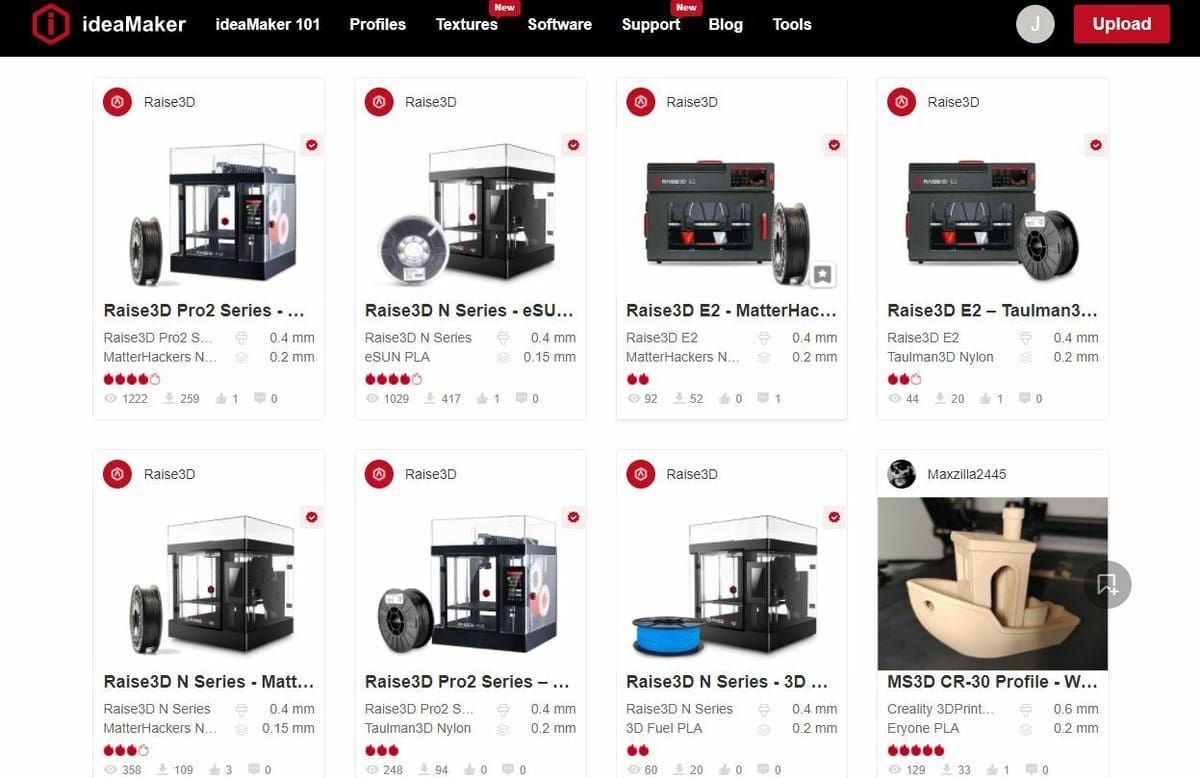
IdeaMaker’s slicer settings are split into a few different categories, but navigating the categories is slightly complicated. The first thing you need to do is import a slicer template from the IdeaMaker Library (or make your own). These profiles are usually made by community 3D printing enthusiasts and contain specific settings for different printers and materials. To import a pre-built profile, follow the steps below:
- Click the play button icon on the left-side toolbar.
- Where you see “Template”, click the “More” button.
- Select “Import from IdeaMaker Library”.
- A tab will open in your internet browser, and you can choose a slicer profile from the IdeaMaker Library.
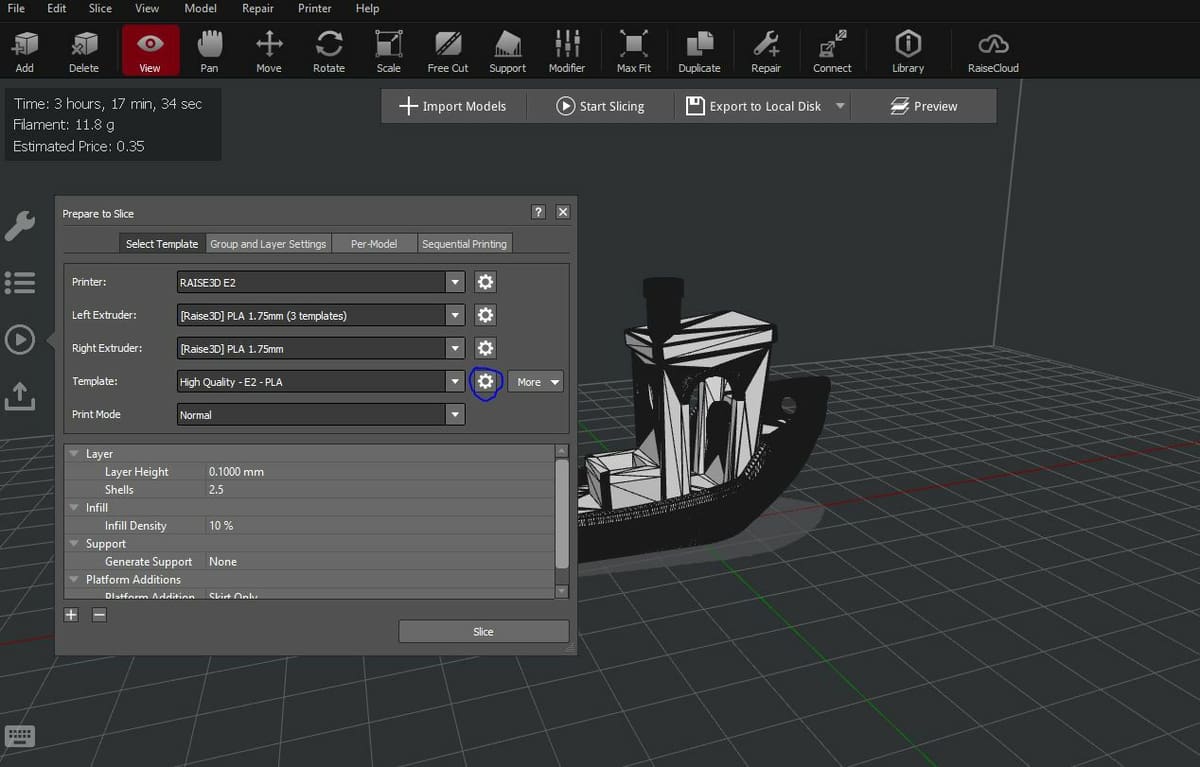
Once you import your template and load it into IdeaMaker, you can adjust slicer settings as you see fit, but there isn’t really a base profile like there is in Cura or PrusaSlicer. To find specific settings, click the play button icon and then the settings gear icon to the right of the “Template” section. Then, a pop-up screen will appear with different categories that divide the many slicer settings in IdeaMaker.
In this pop-up slicer screen, you’ll find many basic settings, including:
- Layer height
- Shells (walls and top and bottom layers)
- Print speeds
- Infill density
- Cooling fan speeds
- Print temperatures
There are many other basic settings on this screen too. If you’re looking for advanced options, IdeaMaker has those as well, like specific settings for oozing in the “Ooze” category. Another example is the acceleration and jerk settings in the “Advanced” section. Once you’ve edited all the settings you want, you can click the “Save” button, and the pop-up tab will close automatically.
Slicing & Printing Your Model

Lastly, you need to slice and print the model which is easy to do, as IdeaMaker gives you a lot of control. To slice your model, click the “Slice” button or use the “Ctrl + P” shortcut to slice the model.
Now, you can choose what you want to do with your sliced G-code. You can start by previewing the G-code, which will take you to the layer preview mode in IdeaMaker where you can adjust what layer you’re viewing using the “Layers” sliding bar tool (at the bottom of the screen).
On this note, it’s important to mention that Raise3D machines are capable of showing you a preview of your previously sliced G-code. This is a great feature, especially when checking what model is loaded in your printer’s memory. After reviewing the G-code preview, you can click “Export to Local Disk” and save the G-code file to your device’s storage.
Alternatively, you can upload the printable G-code straight to your machine using the options available in IdeaMaker: The “Upload to Printer” button works if your printer is connected to IdeaMaker. To connect your Raise3D machine to IdeaMaker, use the “Connect” button on the top toolbar, and the program will search for Raise3D printers nearby.
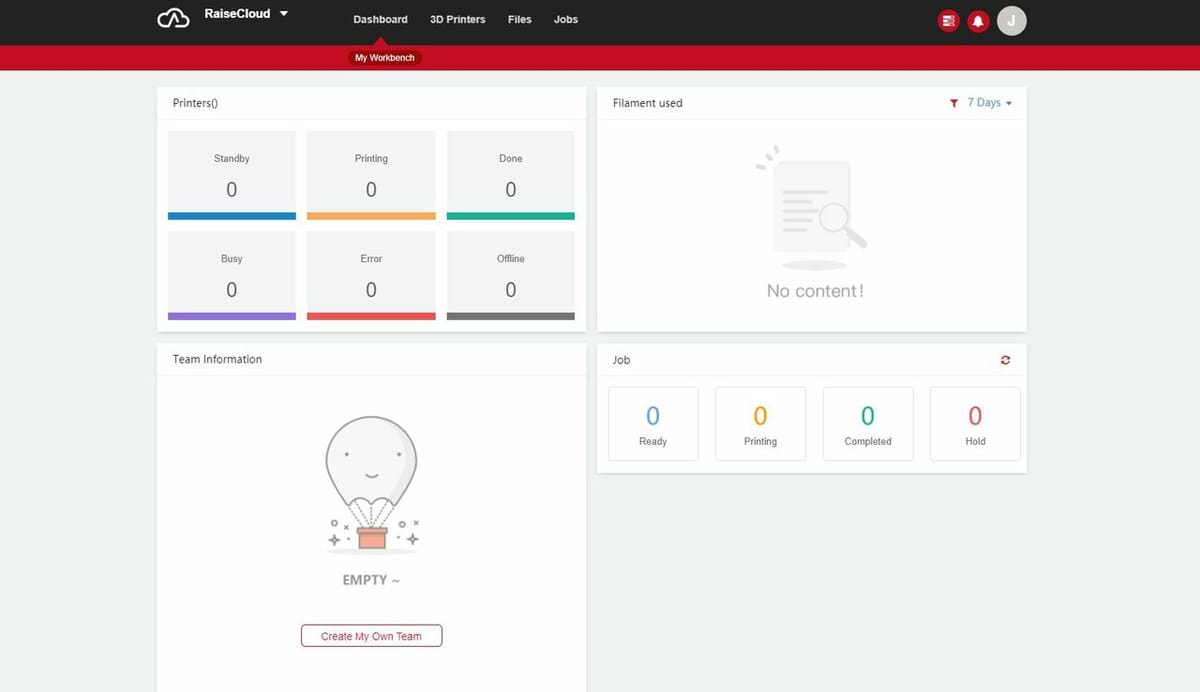
You can upload the G-code to RaiseCloud, which is free cloud storage offered by Raise3D, using the “Upload to RaiseCloud” button. You can access your RaiseCloud dashboard by clicking the “RaiseCloud” button on the top IdeaMaker toolbar, which will take you to an internet browser tab. Here, you can view your different connected Raise3D printers, errors, current prints, and more.
Lastly, you can upload the model to an OctoPrint server. OctoPrint is an open-source remote printing platform, and this should allow you to send the print to a non-Raise3D machine. Selecting the “Upload to OctoPrint” button will take you to a pop-up screen where you can click the “Setup” button to connect to your OctoPrint server. To add your server, all you need is the URL and API Key, both available on the OctoPrint interface (type in IP address of the server).
And that’s how you use Raise3D’s IdeaMaker! Overall, the 3D slicer is very well-built with many features in the realms of transformations, slicer settings, and connectable platforms.
License: The text of "IdeaMaker (Slicer): How to Get Started" by All3DP is licensed under a Creative Commons Attribution 4.0 International License.