
Ikea Replacement Parts: How to Design & 3D Print Them

Ikea is well-known as a manufacturer of cheap flat-pack furniture. However, finding Ikea replacement parts can be a pain. Follow along as we show you how to use a 3D printer to solve your furniture fixing woes.
Pieces for Everyone
One of the most practical uses of 3D printing is the ability to make replacement parts for household objects.
If you’ve ever gone to Ikea, you’ll know the pain and discomfort of assembling a bookshelf only to realize at the last moment that you’re missing a critical piece to put it all together. Or maybe you break or lose a small but necessary piece in a complicated move.
While these frustrating predicaments can be fixed by requesting replacement parts from Ikea, a quicker (and more fun) solution may be to simply 3D print whatever parts you need.
For this, you’ll need to consider a few things:
- What parts can be printed?
- Where can Ikea models be found?
- How can you use a 3D scanner to replicate the part?
- What should you do when designing your own Ikea parts?
- How can the parts be printed?
Follow along as we explain each of the above and help you on your way to printing your very own Ikea replacement parts!
What Can Be Printed?
Many different parts from Ikea can be printed so we’ll break them down in major categories, listed from the easiest to print to the hardest.
Fasteners and Small Parts
These parts tend to be extremely small, meaning they are often lost or broken during the initial build of Ikea furniture. These parts can generally be printed quickly and require very little alteration.
Examples
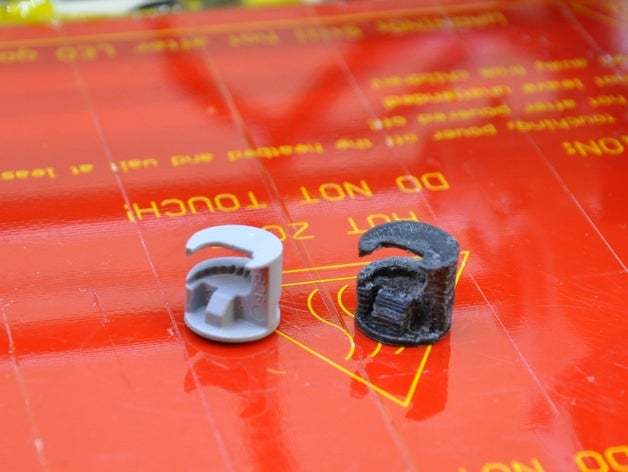
- Ikea bookshelf cam nut: This is often a plastic nut, commonly used by Ikea to lock bookshelves together. Unfortunately, eager DIYers typically overtighten and snap the plastic nuts that come from Ikea. It should be noted that these need to be printed on the rounded side in order to create a functional print.
- Ikea “wood” dowel: Although wood is typically used to create dowels for connecting parts together, 3D printed plastic dowels can work just as well. The only drawback to this is that purchasing a set of small wood dowels may be a less expensive option if you don’t need one in a pinch.
- Wall brackets: It should be noted that, while these types of parts can be printed with low infill (20-50%), due to their small size and quick print times, it may be worth printing with higher (or even solid) infill for extra strength.
Mounting Hardware
Although these larger parts tend to not be as fragile or prone to breakage as the fasteners and small parts, there are still reasons to 3D print them. For instance, these parts could use adjustment to fit into strange spaces, or they could be customized to reflect a personal design.
Examples
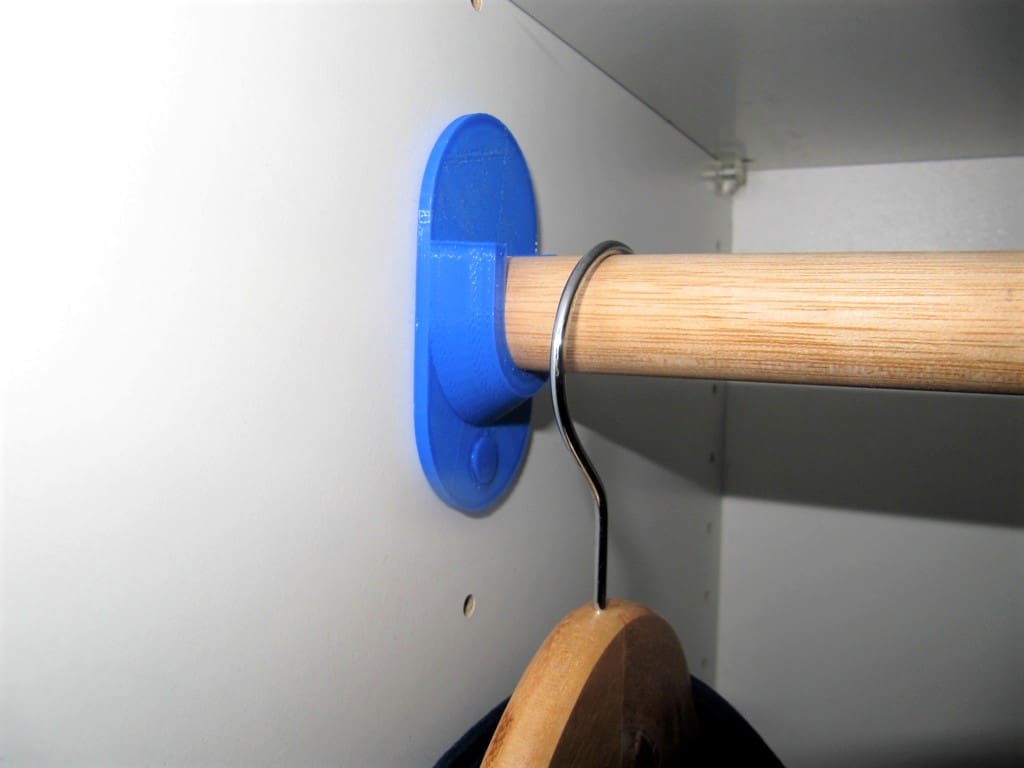
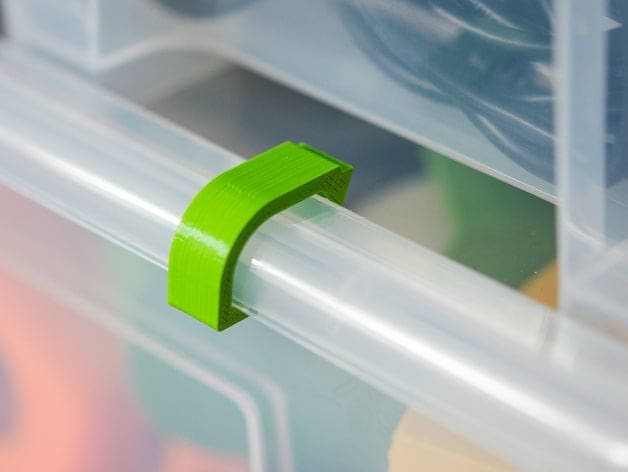
- Rail mount: This wardrobe rail mount can be helpful if you want to customize the mounting hardware for a personalized look. Or, it could be a good low-cost way of adding additional rails to existing furniture.
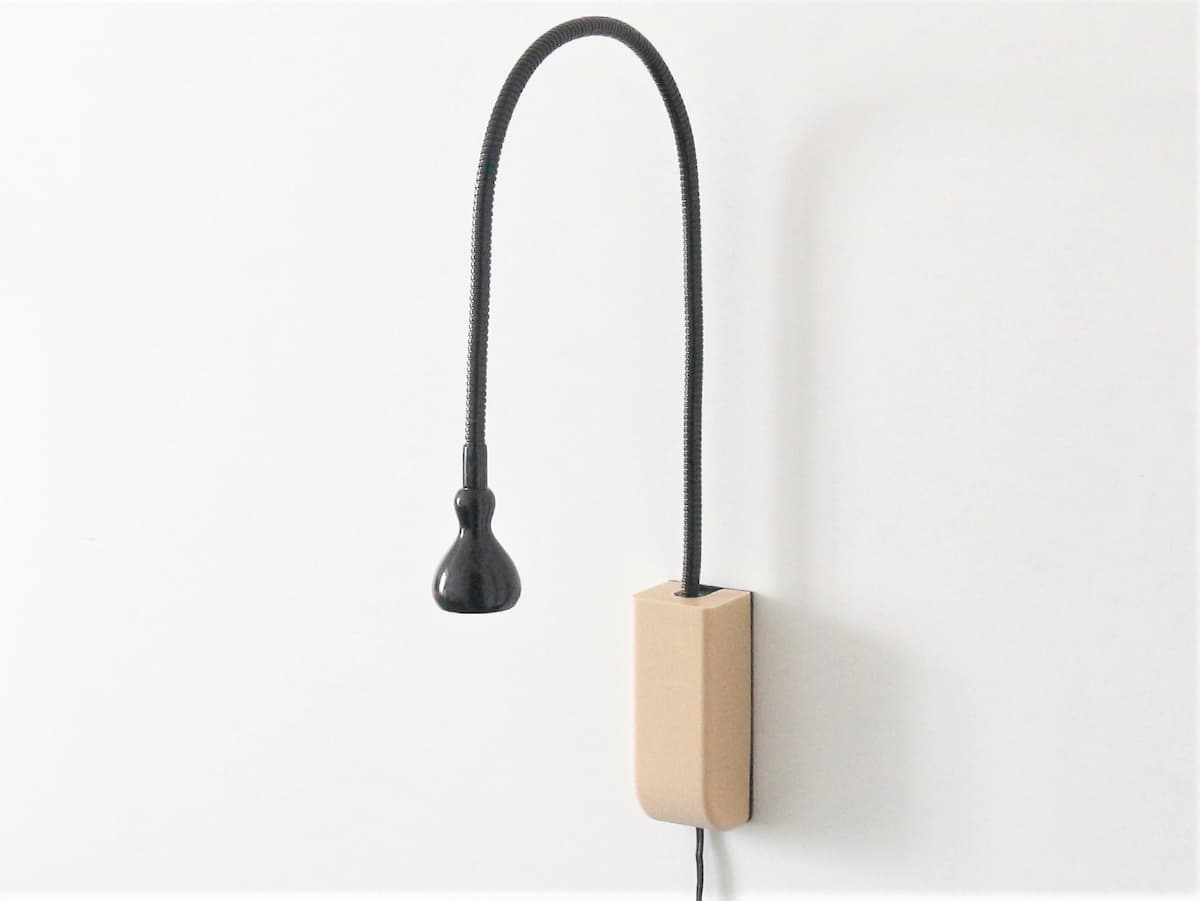
- Jansjo light wall mount: This impressive wall mount for the Jansjo Ikea light makes a beautiful accent to a wall. Although the main mounting portion is available, the brown cover requires a donation to access the completed files.
- Ordning wall mount: This cutlery caddy is a great addition to your kitchen to hold your utensils, knives, and other hardware. This can also be a great place to store tools near a workbench.
Complex & Large Objects
Ikea has gone so far as to try to make their furniture more accessible to customers with disabilities. Thisables is a website that shows off Ikea furniture add-ons for accessibility. These objects, while still very helpful, tend to be larger and more complex to print.
Examples
- Mirror mounts: This mirror mount allows people in wheelchairs to see what is present on the top shelf of a Kallax shelf.
- Door handle: This door handle allows for cabinets to be opened without the use of fine motor skills and fingers.
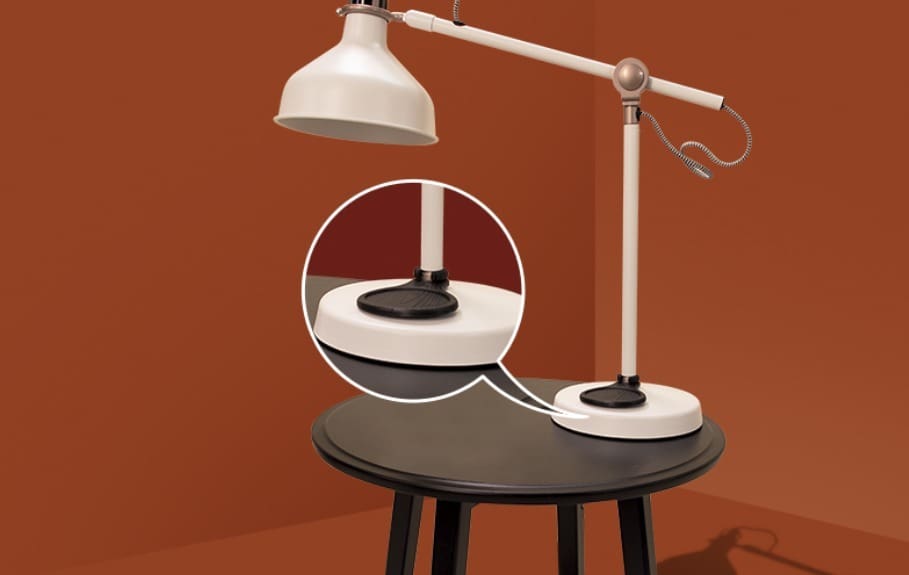
- Accessible switches: These accessible switches for Ranarp lamps allow for large movements to turn the lamp on and off.
Where Can Models Be Found?
There are several places where Ikea models can be found:
- Thingiverse: Thingiverse tends to be the go-to place for models of many kinds. There are currently 8,280 “Things” listed under Ikea. Although not relevant for this article, many Ikea projects on Thingiverse center around Ikea “hacks” meant to upgrade your printer’s functionality, like spool holders and enclosures.
- Polantis: The Polantis IKEA section is quite useful, as it provides the models for actual Ikea products. For example, the Arstid wall lamp can be downloaded in many file formats, such as 3DM, SKP, OBJ, and others. These models can be quite helpful if you’re trying to design a part to fit an Ikea product that you don’t yet own or don’t have the tools to measure.
- Thisables: Thisables is a wonderful website dedicated to the creation of 3D printable parts that make Ikea products more accessible to those with disabilities. While the selection is somewhat limited compared to other sites, their creations are demonstrated on video by people with functional disabilities.
- Cults3D: Cults3D has a great deal of Ikea lamp hacks. One of the coolest ones is the Death Star Ikea lamp hack, which allows you to change your lamp to the dark side every now and then. While this might not be a “fix” per se, it will certainly impress your friends.
3D Scanning & Replicating Parts

While there are many standard parts that have existing CAD files uploaded online for easy 3D printing, this may not be the case for all parts. Therefore, a 3D scanner can be a useful addition to be able to replicate parts you need at a moment’s notice.
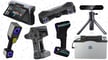
Generally speaking, there are two types of 3D scanner: freehand scanners for larger objects, and scanners with a stationary sensor and a turntable for smaller objects. Either one of these scanners will work for scanning Ikea parts, however, the turntable scanners tend to be easier to use and are better at catching smaller details.
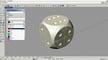
Most scanned objects don’t match the exact dimensions of the original part design due to physical scanning limitations and tolerances on parts. This means that, when you scan an object, you’re getting a 3D model that’s an approximation of a part. For example, if you scan a meter stick, you may actually end up with a scan that’s not exactly one meter in length.
Therefore, when scanning an object, you may need to adjust the dimensions slightly to what the part size should be to compensate for this variability. Oftentimes, this is easy to figure out since part designers typically make parts in common increments (e.g. 1 in, 1.5 in, 1 mm, 1.5 mm).
While it isn’t impossible to see something that’s exactly 1.625 mm in length, this would be excessively difficult to mass-produce and therefore doesn’t happen very often.
Designing Your Own Parts
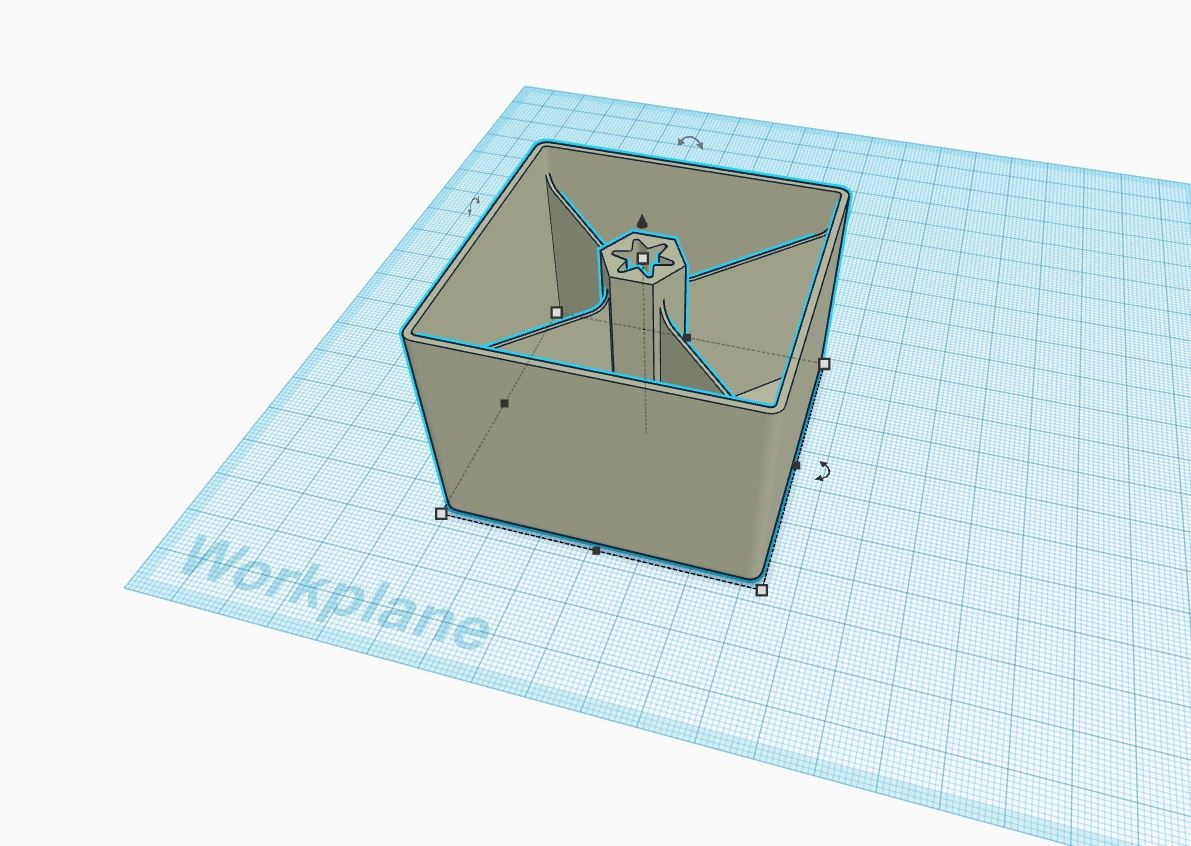
When it comes to 3D modeling your own Ikea parts, you might be thinking you don’t know where to start. Luckily, there are online communities of people willing to help you with your project and with whom you can figure out how to start.
Groups & Communities
- 3D printing useful things Facebook group: This group is for the 3D printing of useful things. While not every item is Ikea related, the community focuses on useful prints and how to successfully print useful prints.
- Grabcad: The Grabcad community contains many tutorials that are helpful for someone getting started with 3D modeling.
- Check out our articles for making your own parts: 3D modeling does have somewhat of a learning curve, however, with enough time you’ll be 3D modeling in no time.
- YouTube tutorials: There are many different tutorials on YouTube for pretty much any 3D modeling software. If you have a specific problem, such as how to design custom threads, you can usually find a video that you need.
Measuring & Modeling
Once you feel comfortable using 3D modeling software, you’ll need a few measuring tools. Most importantly, you’ll need a pair of calipers to accurately capture small dimensions. A digital protractor would also be useful for measuring angles. Most importantly, you’ll need to have a basic knowledge of tolerancing, which we’ve detailed below.
Naturally, the more complex the object, the more modeling experience counts for something.

Tolerancing
When it comes to tolerances, there are some general rules that will help you when designing your part.
- Use common sense: If you measure a length that’s 4.014 inches, chances are high that the original design was meant to be a 4-inch object. Designers often round measurements to a standard size in order to make an object easier to manufacture. As a general rule, if your measurement falls within 2% of the next closest round measurement (4 inches, 4.25 inches, 4.5 inches, etc.) then it’s usually safe to assume that it was meant to be that measurement.
- Add clearances: When 3D printing parts that should fit together, you’ll want to provide the appropriate clearances. The exact sizing will depend on the function and geometry of the articulation.
- Test important parts: Especially when a part has a critical size and belongs to a larger design, print a test to see if it fits. At the very least, this will save you time and filament.
Final Considerations
When it comes to 3D printing replacement parts, there are three main things to consider before starting your print.
Choosing the Right Material
First, you need to choose an appropriate material to use for your 3D printed replacement part. While many parts will work with common materials like PLA, ABS, and PETG, others offer greater strength, flexibility or a variety of other specifications that may better suit your application.
Optimizing Orientation
The second aspect you should consider is your part’s orientation during printing. It’s well-known that 3D prints typically fail perpendicular to the layers, due to layer adhesion being the weakest part of a plastic part. Therefore, it’s advantageous to print parts that take loads parallel to the layers if possible, to obtain maximum strength.
Reusing the Wheel
Finally, the last aspect you should consider is whether or not 3D printing a particular part is even worth it. For example, most replacement Ikea parts contain small pieces that may need to be injection molded or made of metal in order to have sufficient strength.
Oftentimes, small screws and fasteners are inexpensive and accessible enough that purchasing them directly may be a better option. In addition, 3D printing small threads doesn’t give great results.
(Lead image source: pymnts.com)
License: The text of "Ikea Replacement Parts: How to Design & 3D Print Them" by All3DP Pro is licensed under a Creative Commons Attribution 4.0 International License.