How to Install Windows 11 on a Raspberry Pi 5

Looking to combine your Raspberry Pi 5 with Windows 11? Read about how to turn your Raspberry Pi into a mini PC with Windows 11!
Between the new features of Windows 11 and the performance of the Raspberry Pi 5, many people want to know if it’s finally possible to transform these two into an accessible and complete mini PC. Although uniting the two worlds is possible, there are still some reservations; after all, this is a complex and unofficial mix.
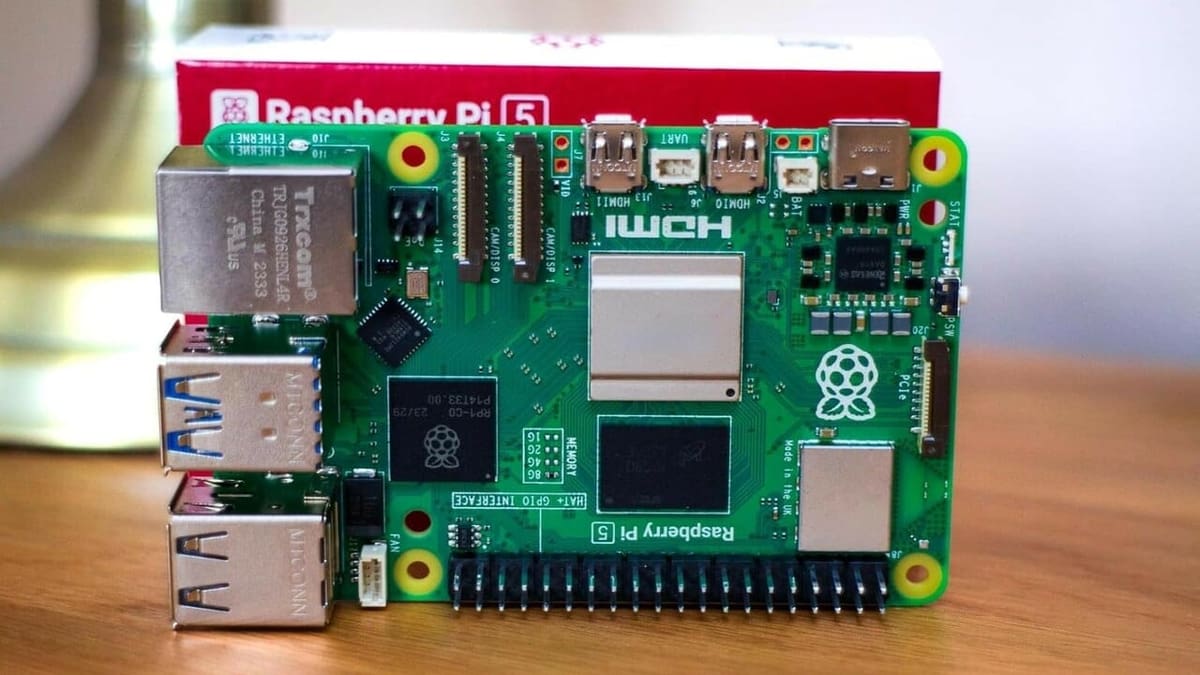
The Raspberry Pi 5, one of the latest single-board computers (SBCs), is redefining what’s possible in a compact form factor, offering excellent value for money for enthusiasts and professionals alike. However, as it becomes more powerful, it also ends up consuming more power. Windows 11 offers an update to Windows 10 that can be worth the change, and for many of us it’s impossible not to think about how this operating system (OS) adapts to SBCs and their ambitions of energy efficiency and low power consumption.
This is nothing new; after all, many enthusiasts have already managed to successfully use Windows on other versions of Raspberry Pi – with limitations, of course – but they’ve had results that have caught people’s attention. Proof of this is the emergence of projects like Windows on Raspberry (WoR), which have been dedicated to finding ways to unite these two universes. In this sense, what we find are basically adaptations so that the OS can not only run, but also get the most out of the SBC’s hardware resources.
Running Windows 11 on a device as compact as the Raspberry Pi 5 offers a unique and challenging experience, and despite the limitations, the benefits include the versatility of a popular OS and the ability to run Windows applications natively. It should be noted that projects like WoR aren’t supported by the Raspberry Pi Foundation, so if you don’t want the potential issues of running a third-party OS, you can look into the official options.
All of the above said, we’ll go over a few things to keep in mind before we look into what you’ll need and how to install and run Windows 11 on your Raspberry Pi 5, but keep in mind that a bit of background knowledge will be useful. We’ll avoid explaining some of the terms or references, which might digress from the guide itself.
Let’s go for it!
Considerations
To better understand some things, it’s necessary to keep in mind that for each specific hardware component, a specific driver is required. This is because they’re the ones that govern how the virtual environment sees and controls the available physical components and resources, such as Wi-Fi and sound card. And we’re not even talking about different versions of drivers for other OSs – so, for each scenario, a specific driver is required. This is why a second storage unit is required to perform an UEFI boot.
There are several tutorials that approach this procedure differently out there, and this specific guide seeks to bring together the techniques that achieved the best end results considering ease of execution and outcome. In this guide, we’ll show you how to install Windows 11 ARM64 on the Raspberry Pi 5, covering each step of the process to ensure a smooth and successful installation.
However, it’s also important to emphasize that we’re talking about an adaptation, and therefore unforeseen events can occur if you try something with a different hardware component or other modifications. Keeping it simple should do the trick for best results!
There are a few other important things we suggest:
- Use an official power supply or one that guarantees adequate performance; using an inadequate power supply can cause all sorts of problems, from underclocking to random crashes.
- Do not connect or disconnect USB devices while the Raspberry is powered on.
- Format storage drives properly and delete any old files.
- Do not reuse other Windows installation images as specific versions for ARM architecture processors are required here.
- Avoid using peripherals that require the installation of third-party or additional drivers, such as wireless keyboards and mice, for example.
- The sound, Bluetooth, Ethernet, and Wi-Fi features won’t work normally, but there are workarounds for sound and internet connection as we will see later.
With the above out of the way, let’s take a look at what we need to install Windows 11 on your Raspberry Pi 5.
Requirements
Before getting started, the first thing to do is check if you have everything you need on hand.
Hardware Requirements
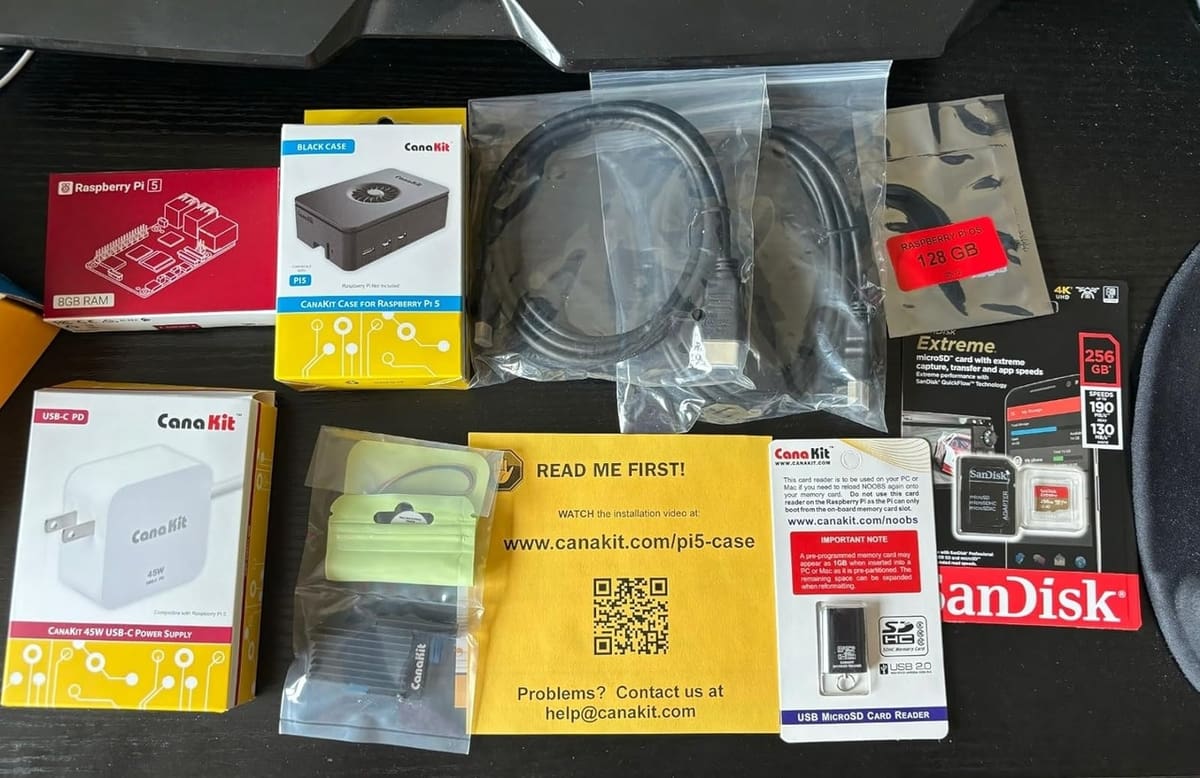
- Raspberry Pi 5 with at least 4 GB of RAM
- MicroSD card (minimum 1 GB) and USB adapter
- External SSD (NVME or SATA) or fast USB drive (minimum 16 GB)
- A smartphone running Android (for internet access)
- External USB audio card
In this step-by-step guide, we will use a Windows computer to perform the initial preparation. We recommend an A1-rated MicroSD card as others can be very slow. For the USB or SSD device, it’s also important that it has a good I/O speed for good performance. Both storage drives should be empty as they will need to be formatted (so you might want to back up their contents if they’re not).
Without further ado, let’s get started!
Step #1: UEFI Boot Download & Setup
The Raspberry Pi 5 doesn’t officially support Windows 11, so it’s necessary to prepare the boot firmware on a MicroSD drive.
With everything in hand, let’s move on to preparing the MicroSD card that will house the boot firmware:
- Connect the MicroSD card to a USB adapter and insert it into your Windows computer.
- In the File Explorer, select the drive with the right mouse button and click “Format”.
- From the “File system” drop-down menu options, select “FAT32” and then click “Start”.
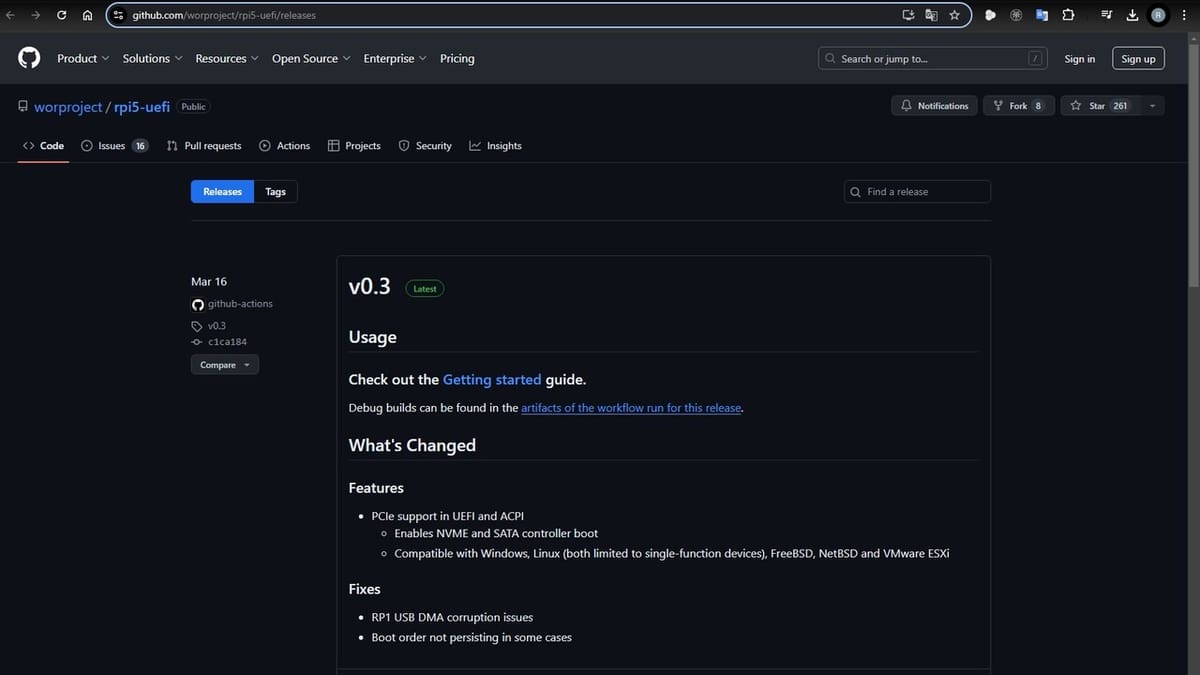
- After formatting is complete, access GitHub to download the boot files in version 3.0 of the UEFI firmware.
- With the downloaded file, extract its contents into a new folder and copy the three files to the root of the MicroSD card.
Step #2: Windows 11 System Download & Preparation
Now that we have prepared the boot files, let’s take care of preparing the Windows system on the other SSD/USB storage drive.
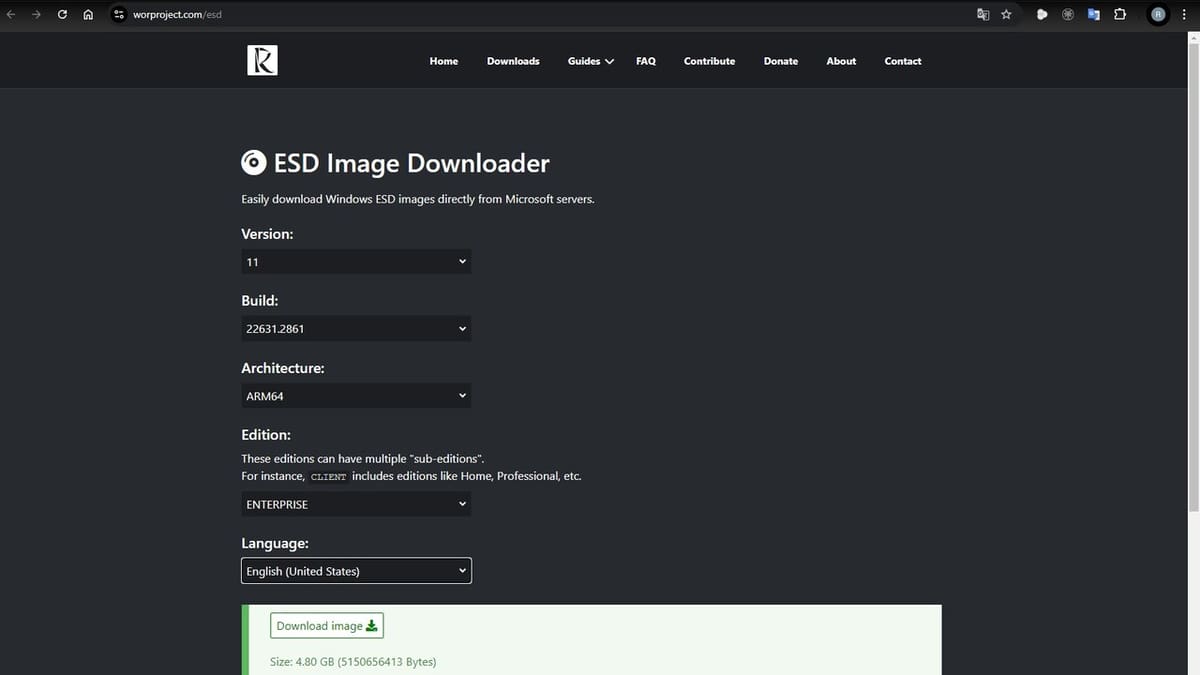
- On your computer, access the Windows ESD Image Downloader tool.
- Select the latest version of Windows 11 and make sure to select the ARM64 architecture, as this is essential.
- To prepare the Windows installation image on your SSD/USB storage drive, you’ll also need to download the “Windows on Raspberry imager” tool from the WoR project.
- Connect your SSD or USB drive to your computer.
- After downloading, extract the tool files into a new folder and run the “WoR.exe” application.
- On the tool’s welcome screen, select your preferred language and check to display only the required options, then click “Next”.
- Under the “Select device” tab, you’ll need to select your SSD or USB drive and the device type option “Raspberry Pi 2/3 ”, after which you’ll click “Next”.
- Now in the “Select image” tab, simply indicate the Windows image file you downloaded previously (in step 3) and click “Next” again.
- After these steps, a final screen will be displayed, where you can continue by clicking on “Install”.
- Wait for the files to finish installing and set the storage drive aside after safely disconnecting it from the computer.
Step #3: Windows Installation
With everything properly prepared, let’s move on to the procedures on the Raspberry Pi 5.
- Insert the MicroSD card and connect the SSD or USB drive to the Raspberry Pi 5.
- Connect only the strictly necessary peripherals (keyboard, mouse, monitor). It’s not necessary to connect the Ethernet cable, as the drivers won’t work with the interface.
- Boot the Raspberry Pi 5 and wait for the installation to initialize. If the UEFI is loaded correctly, you’ll see a Raspberry image as above.
- Wait for the installation to start and follow the initial Windows 11 configuration steps, including language settings, time zone, among others. For network settings, click on “I don’t have internet”.
- Wait for the system to fully boot and display the desktop.
- Turn off the system to connect the USB audio card and smartphone.
Now that we’ve completed the main steps, let’s look at the details of getting your sound and internet working.
Step #4: Sound Configuration & Internet Connection

As mentioned, you need to take a couple more steps to be able to use audio and internet on the Raspberry Pi.
- With the Pi turned off, connect the USB audio and smartphone cable and turn the Pi back on.
- As soon as Windows starts, open your smartphone and look for the “USB Tethering” option and activate internet sharing.
This will grant access to the internet to Windows 11 (as installed on the Raspberry Pi). The audio should work automatically without any additional action, but the internet speed may be quite limited.
While some USB network cards may work, this is not a guarantee, as in the vast majority of cases there are still problems with the drivers. That said, there are alternatives to using a smartphone, such as the ones in the guides shared by PC USB Projects or Simon Vavpotic on Hackster.
Conclusion
Although Windows 11 suffers from limitations and lack of drivers, it’s possible to explore many interesting options, such as Steam games, Spotify, and applications like VLC, among others. The speed of internet browsing will depend a lot on the path you choose to use for the setup, but it should offer a reasonable and functional experience in most cases, if done correctly.
Unfortunately, the WoR Project has stated in its FAQ that it has no plans to further improve the hardware support it has developed for UEFI booting. With Raspberry Pi’s stance stating that it does not consider it a “legal” and viable option given the lack of official support from Microsoft, and even the WoR Project indicating that it will no longer support Pi 5, it’s hard to imagine that things will progress much further than this at this point.
However you choose to run Windows 11 on your Raspberry Pi 5, it can be a productive adventure with great results; after all, the overall performance is quite reasonable.
License: The text of "How to Install Windows 11 on a Raspberry Pi 5" by All3DP is licensed under a Creative Commons Attribution 4.0 International License.