Klipper vs Marlin: The Main Differences

When choosing 3D printer firmware, you might be looking at Klipper vs. Marlin. Check out the differences and see what suits your setup!
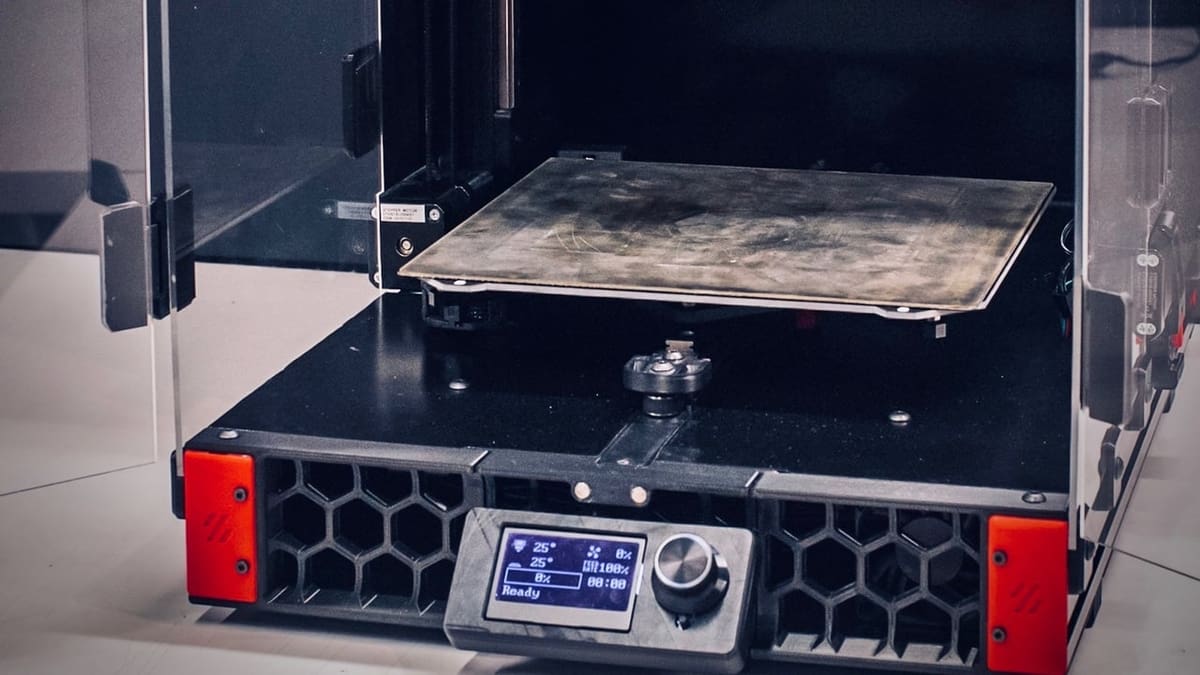
A 3D printer is little more than an inanimate sculpture of stepper motors and metal: It’s the firmware that brings it to life. Firmware reads the G-code from a slicer and translates it into the electrical impulses that control the printer, resulting in extruded objects with remarkable levels of detail.
There’s much more to the process of controlling your printer than meets the eye. Behind the scenes, millions of calculations are required to control stepper motors, fans, and heaters. Printing quickly and to a high level of detail places quite a demand on the firmware.
There are several choices of firmware for 3D printing, including RepRap, Repetier, Marlin, Klipper, and more. Marlin is certainly the favorite in the 3D printing world, but Klipper has emerged with an assortment of unique features. In this article, we’ll compare Marlin and Klipper on a variety of points, including architecture, configuration, add-ons, and functionality. But before we get into the nitty-gritty, let’s meet the contenders!

Meet The Contenders
Marlin dominates the market, and it (or a derivative of it) is found on the majority of fused deposition modeling (FDM) 3D printers. Marlin was developed in 2011 by Erik van der Zalm for UltiMaker and was designed to work on affordable 8-bit Arduino microcontrollers.
Klipper was first released in 2016 by Kevin O’Connor and takes a very different approach to 3D printer control. Recognizing that small microcontrollers impose a limit on what printers are capable of, Klipper offloads the bulk of mathematical calculation to a more powerful device (typically a Raspberry Pi).
In theory, this gives Klipper the ability to implement more computationally intensive and accurate control, which can mean faster print speeds and higher print quality. However, Marlin has caught up somewhat, firstly by introducing version 2, which supported more powerful 32-bit controllers. The developers of Marlin have continued to add new improvements in versions 2.1 and beyond.
Apart from design differences, Marlin and Klipper also vary in terms of availability of support, ease of installation, and more. So, how do the two face off against each other, and what might the future hold?
Architecture
Marlin is a classic firmware implementation. It’s written in C++ and can be configured for a wide range of boards and printers. After it’s compiled and flashed onto the controller, it needs only a keyboard or rotary input for operation and reads G-code locally from a connected SD card reader. Marlin 2.0 was introduced in 2019 with advanced functionality, support for additional interface devices, improved stability, and the ability to support 32-bit boards. It can still run on 8-bit boards, although lack of memory means that some features might have to be excluded.
While Klipper is referred to as firmware and treated as a direct alternative to Marlin, the reality is a little more involved. The design principle is to simplify the role of the controller so that it focuses only on interfacing with stepper motors, heaters, ABL sensors, and so on. All of the detailed calculations associated with converting G-code into printer movement are handled on a separate, more powerful computer. Typically, this is a Raspberry Pi, although other Linux-based boards will work, too.
To do this, Klipper firmware (written in C) is installed on your printer’s controller board (or boards), which is then connected to the Raspberry Pi by USB. The Pi runs Klipper software called “Klippy”, which is written mostly in Python. The software reads the G-code, performs the required calculations, and sends a stream of event-timed instructions to the controller to keep perfect synchronization.
One implication of this approach is that the display normally found on 3D printers and connected to their controller boards typically becomes redundant. Although Klipper is capable of using these, the usual method is to use one of several alternative user interfaces connected directly to the Raspberry Pi. This is an important component of a normal Klipper installation, and we’ll look at this in more detail below.
Configuration
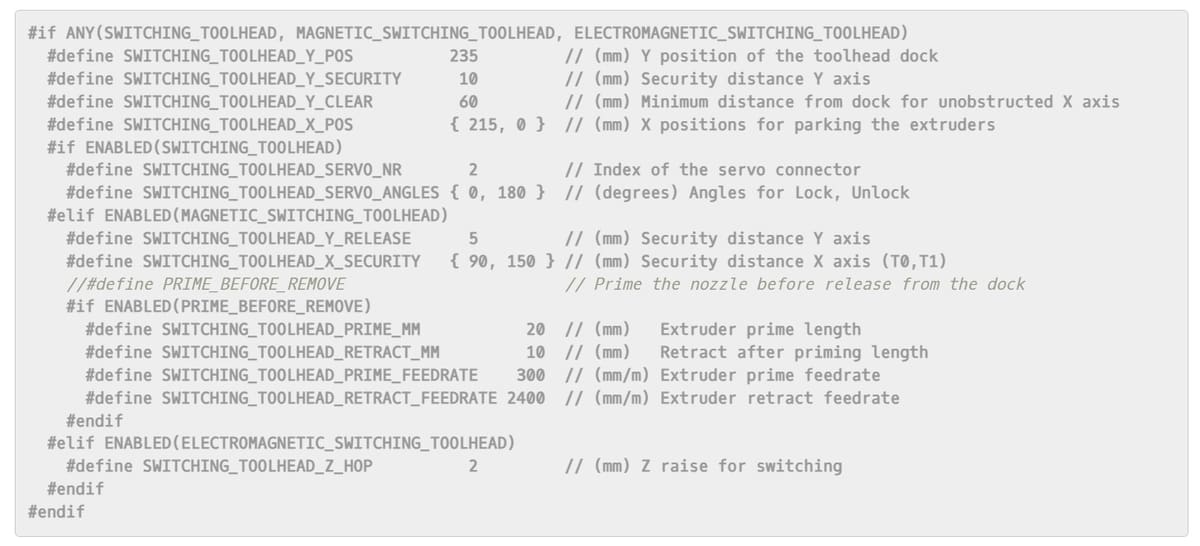
If you want to change Marlin’s configuration – for example to swap out or upgrade a component – you will need to make changes to one or two configuration files: configuration.h and configuration-adv.h. These files are “compiler directives” and tell the compiler what it needs to build the firmware.
Making changes to these can be daunting to novices, but this is offset by the ready availability of pre-packaged configuration builds for just about every common printer and peripheral setup. There’s also a wealth of online videos and other material. Despite this, any new configuration still requires the existing firmware to be entirely replaced and reflashed, which we’ll discuss further below.
Klipper’s configuration is stored in editable text files that are read each time it boots up. Modifying these files is relatively easy, and because it’s not necessary to reflash controllers, configuration changes can be made quickly. This is appealing for those who are building new machines from scratch or who otherwise need to make multiple configuration changes – texting new hardware or fine-tuning performance, for example.
Both Klipper and Marlin come with a suite of tools for debugging, namely through their logging facilities. However, Klipper’s Klippy.log file is continually updated and can be accessed remotely, whereas in Marlin, a log must be manually started via a G-code command and is then saved to an SD card. Thus, Klipper provides a smoother debugging experience, as up-to-date logs can be accessed quickly and conveniently.
Ease of Installation

Installing or updating Marlin is a matter of flashing new (properly configured and compiled) firmware onto the target controller. The exact approach varies depending on the type of device, but it’s typically done using a USB cord or SD card. Traditionally, this process was carried out by the Arduino IDE, but for 32-bit boards, this is now normally done using PlatformIO tied to VSCode. Marlin’s developers have developed easy-to-follow tutorials for this process.
Klipper also requires properly configured firmware to be installed on the printer’s controller(s), and the process is much the same as for Marlin. In some cases, it may be necessary to disconnect the printer’s display for this step to work. The key difference, as we mentioned, is that updating controller firmware isn’t necessary every time configuration changes are made.
Installing the parts of Klipper that run on the Raspberry Pi (or another host Linux-based device) can be more involved. Early versions gained a reputation for being complex and not well suited to inexperienced users. However, this has changed with improved documentation and the introduction of the Klipper Installation And Update Helper (KIAUH). It’s a simple program that makes installing Klipper and other add-on components straightforward.
Another increasingly popular option is to use a complete Raspberry Pi image with everything you need pre-installed, including the operating system and supporting utilities. The most common are MainsailOS and FluiddPi, for each of the most common Klipper UIs (outlined below) and there are also preconfigured images for families of printers including RatOS focused on RatRig machines. Installation involves simply flashing the image onto an SD card and following a few simple configuration steps; these images are included by default on the Raspberry Pi Imager tool.
Integration with Add-Ons
For many users, augmenting Marlin with additional software, such as OctoPrint, has become a must. Marlin and OctoPrint are a powerful combination, providing the built-in ability to control the 3D printer and monitor it remotely using a live camera. There’s a time-lapse functionality, as well as many other features.
Additional OctoPrint plug-ins can add advanced functionality. Obico, formerly known as the Spaghetti Detective, automatically catches and stops failed prints. Options such as “exclude-region” and “cancel-object” selectively stop printing partially failed prints.
OctoPrint communicates with Marlin firmware via USB using strings of G-code commands. A rich browser-based user interface is also provided. It can be installed either manually like any other program that runs on a Raspberry Pi or as part of a complete Raspberry Pi image called OctoPi.
Klipper was originally designed with OctoPrint in mind as a UI and can be configured to work this way with a few relatively simple steps. Alternatively, a plug-in called OctoKlipper offers dedicated Klipper-compatible functionality. However, the relationship between the two is not a comfortable one. OctoPrint consumes Raspberry Pi resources that Klipper would rather use, and more importantly, OctoPrint intercepts the G-code stream in ways that can upset Klipper.

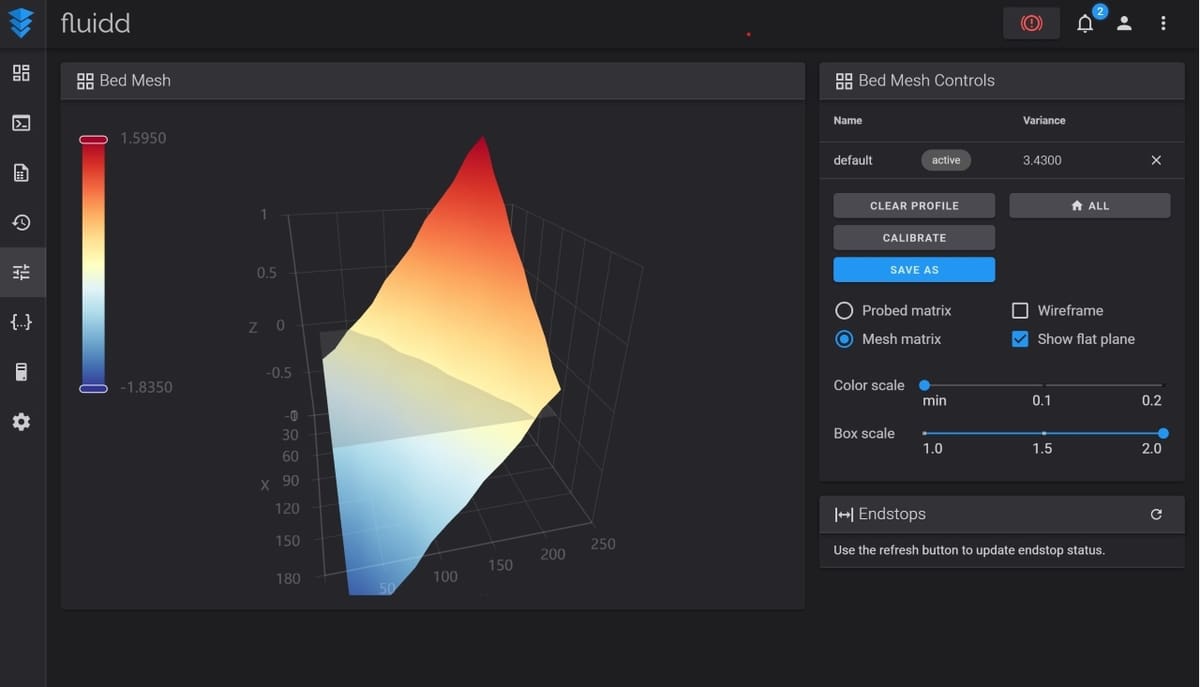
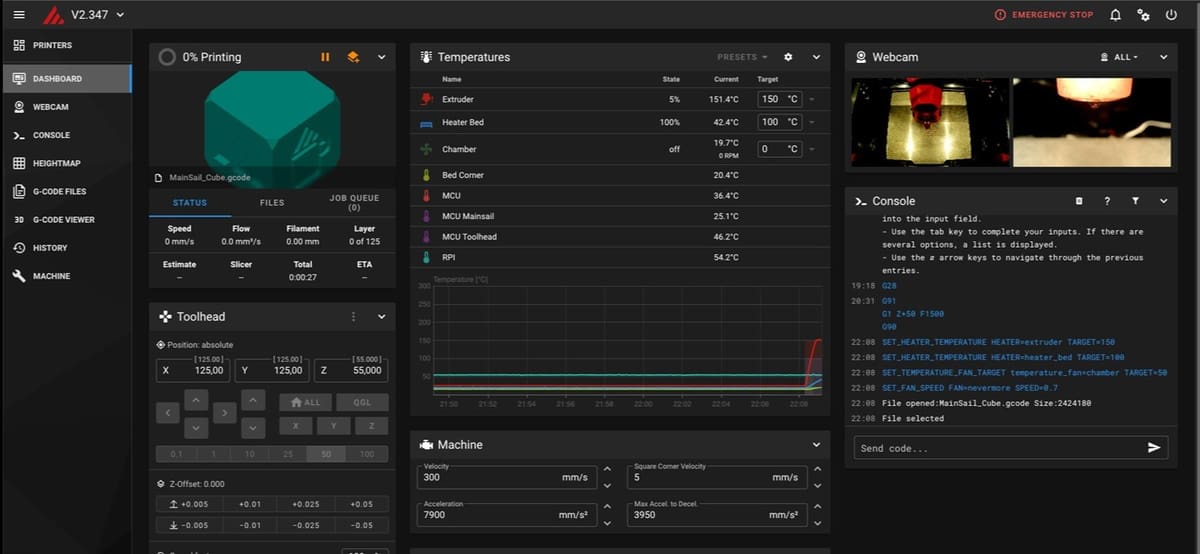
For these reasons, dedicated user interfaces for Klipper, such as Fluidd and Mainsail, have been developed and are the preferred way of working. These provide rich browser-based control panels that display information about prints in progress and give users the ability to change Klipper and print settings. Add-on functionality (such as OctoPrint plug-ins) and support for webcams, among other features, are also available.
The user interfaces connect via Moonraker, an API that enables interaction with Klipper and runs on the same platform (e.g. the Raspberry Pi). These can all be installed manually by using KIAUH or as part of the Raspberry Pi images mentioned in the previous section.
Moonraker also provides a means for other add-ons to be integrated with Klipper. Obico is an option, but there’s also KlipperScreen, a popular way of interfacing with Klipper directly through a touchscreen (rather than a browser-based) interface. Virtually any touchscreen that can be connected to a Raspberry Pi is supported, and it provides a quick, responsive way to manage 3D printing.

Functionality
Both Marlin and Klipper have much of the same core functionality, but Klipper supports several unique and advanced features.
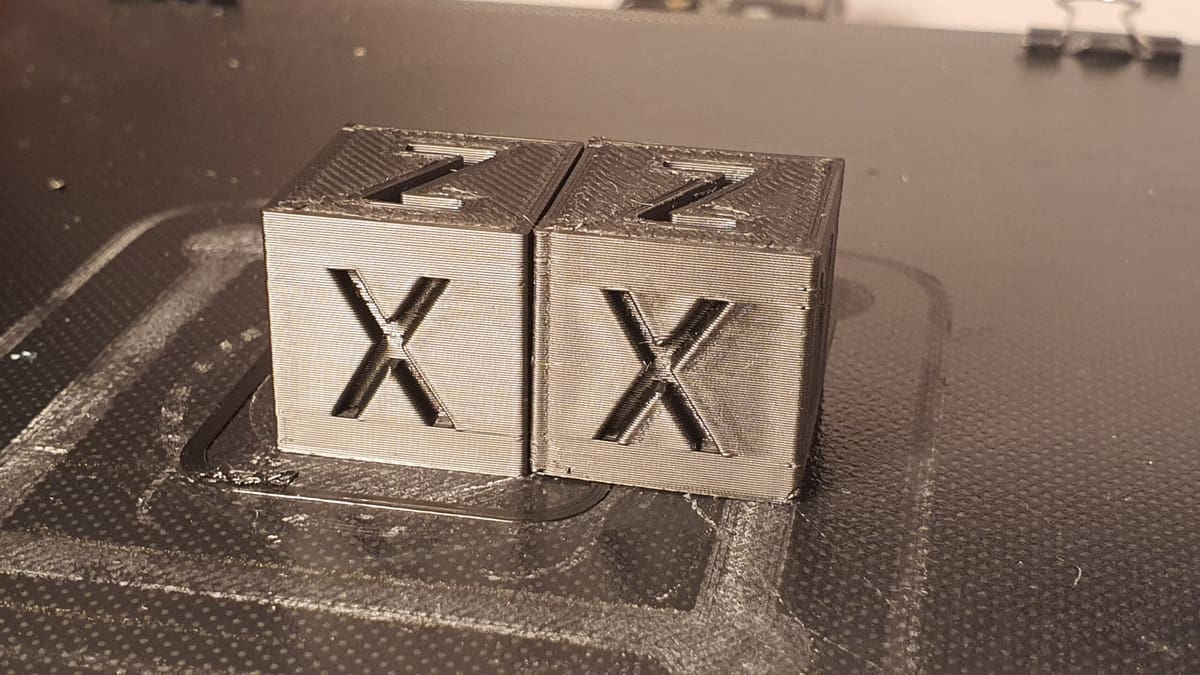
- Kinematics and resolution: Klipper uses more sophisticated motion processing and works to a finer level of detail. It can drive many more steps per second than Marlin, which can improve print quality and, in particular, print speed.
- Linear/pressure advance: Marlin has a Linear Advance feature to better manage extruder flow and improve the quality and sharpness of corners. Klipper’s version is called (Smooth) Pressure Advance. It uses a slightly different calibration method that many consider easier to work with and more accurate. Its more advanced algorithm also improves performance. It’s worth reading the documentation about this feature as it’s incompatible with some existing slicer settings, like coasting.
- Input shaping: This was once a unique feature to Klipper until Marlin released version 2.1.2 in 2022. It has the ability (through printing calibration prints) to cancel out the resonances that show up as “fish scales”, ringing, and other repeating artifacts. Klipper can do this semi-automatically using an accelerometer attached to the printhead to accurately measure the harmonics and vibrations that become an issue as print speeds increase. Marlin, on the other hand, uses simpler computations that may require more manual tuning to get just right.
- Multiple controllers: This may not sound like a big deal, but for those really pushing what’s possible, Klipper makes it very easy to add multiple additional stepper motors or other peripherals. Klipper can even add the Raspberry Pi itself as a controller and use its GPIO pins to support additional external devices.
There are other functional differences between the two firmware options. For example, Marlin supports a rich set of G-code “flavors”; Klipper supports key G-code options but errs more towards using macros, which allow a great deal of flexibility from adding new buttons to user interfaces to conditional control of the printer. Both Marlin and Klipper are under constant and rapid development to improve functionality and support a wide range of controller boards and other hardware. However, they have different approaches to how this is made available.
Updates
In general, Marlin has more frequent releases, while Klipper has fewer formal updates. Both make the most up-to-date builds available on an almost daily basis via GitHub, although using these untested can be somewhat risky. In the case of Klipper, Mainsail or Fluidd can be configured to automatically keep Klipper and other components up to date if required.
Community & Company Support
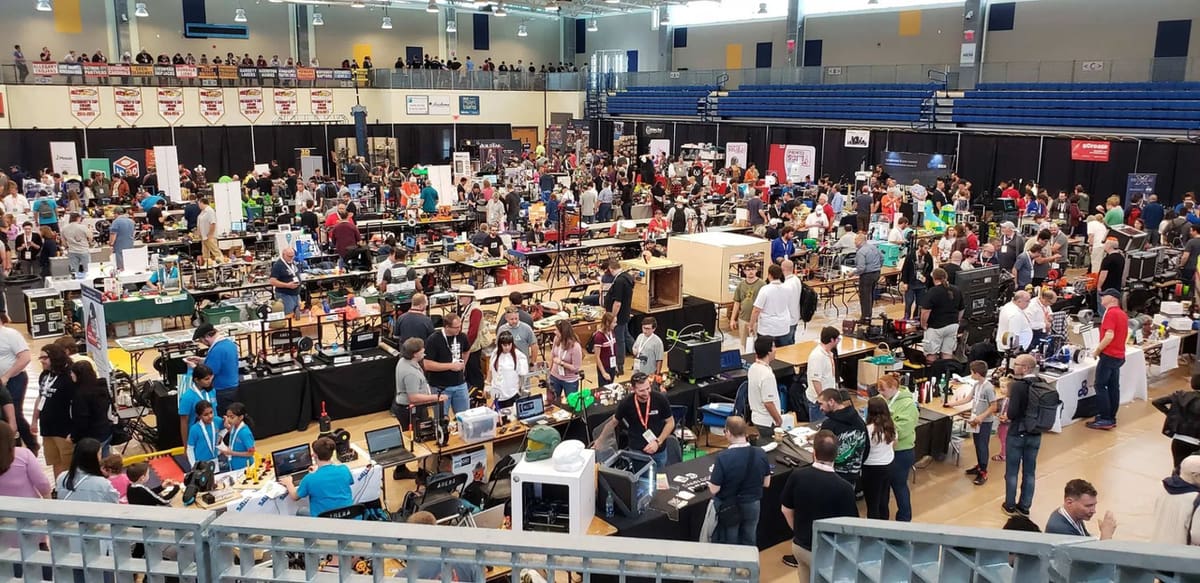
Both Marlin and Klipper have large fan bases and an active presence online. Being more user-friendly, Marlin’s community base is larger and perfectly suited for those getting started. That said, Klipper’s community is extremely passionate about its firmware.
Marlin maintains official documentation with the help of contributors all over the globe. If you run into an issue, there’s a good chance that someone else has already asked the same question on forums like Reddit or RepRap. You’ll also be able to find an endless amount of helpful YouTube videos detailing configuration at both beginner and advanced user levels. If Discord is more your speed, the Marlin channel currently has over 14,700 members and makes a great resource for staying up-to-date or for troubleshooting.
The Klipper community is relatively smaller than the Marlin one and more oriented to experienced makers. You can get started with the official Klipper documentation and check out the Klipper Discourse and Reddit pages for loads of troubleshooting support. Klipper’s Discord channel is particularly active with 26,500 members and growing!
What's Right for You?
As the world of 3D printing continues to advance, both Marlin and Klipper continue to evolve and improve. So today, what’s the right choice? There is much debate about this topic on various online 3D printing forums, with users giving extensive lists of pros and cons. However, the answer depends on a multitude of factors.
Marlin 2.1+ on 32-bit boards has processing capacity to spare for the vast majority of 3D printers. It’s well supported with a huge user base, is relatively straightforward to install and configure, and provides functionality to meet just about every printing scenario – especially when combined with OctoPrint. It looks set to continue being the default firmware choice of printer manufacturers.
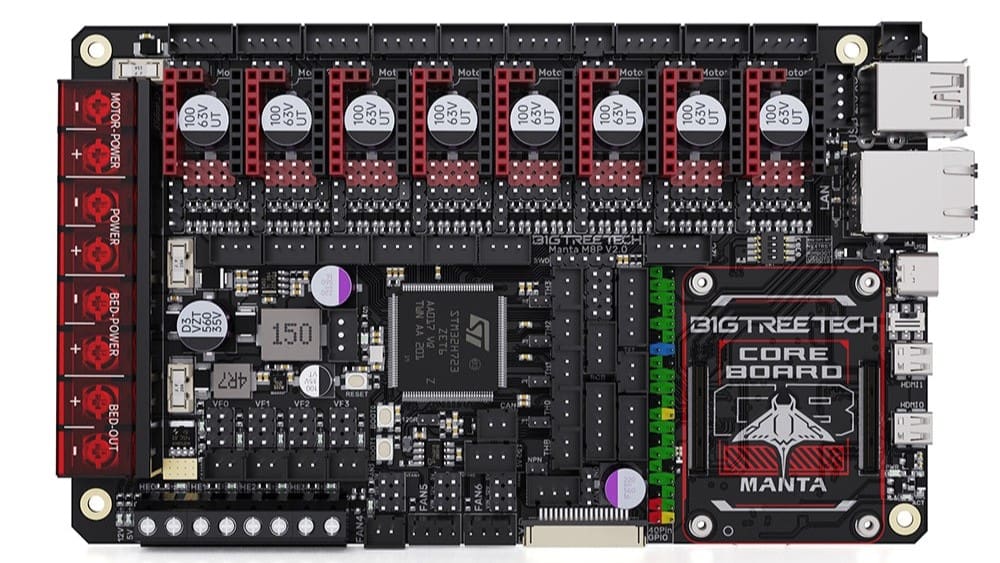
Klipper is more complex to set up initially but is then easier and quicker for making subsequent configuration changes. It also supports unique features to improve high-speed print quality. A growing range of hardware is supported, albeit with a more limited choice than for Marlin. Many may be encouraged by the sponsorship of Klipper by board maker BigTreeTech. For those seeking improved print quality, faster printing speeds, more efficient remote printing, or who are involved in scratch printer builds or modifications, it certainly has several appealing advantages.
License: The text of "Klipper vs Marlin: The Main Differences" by All3DP is licensed under a Creative Commons Attribution 4.0 International License.