Laser Engraving Wood: All You Need to Know

Laser-engraved wood projects are a simple way to make amazing gifts! Read on to learn all about laser engraving wood.
In the world of woodworking, when it comes to new equipment, there’s always room for more! Home-friendly laser cutters are getting more affordable, so now is a great time to explore how they fit in your shop. Of course, you can cut wood with a laser or turn your 3D printer into a laser cutter to experiment, but how about elevating the aesthetics of a project or making personalized gifts with laser engraving on wood?
Unlike etching and marking, laser engraving will vaporize and remove some of the material you’re customizing. This leaves a cavity – your engraving – that’s more or less deep and dark, depending on your laser cutter settings. You’ll be able to see it and feel it to the touch.
But there’s a lot more to laser engraving than clicking the Go button on your laser cutter. Choice of wood and preparing it for engraving, design, engraving method, and cleaning are all part of a successful project. In this article, we’ll go over the ins and outs of laser engraving on wood. We’ll also introduce you to laser cutters and engravers, or some laser engraving services if you’re not ready to commit.
Let’s get started!

Picking the Right Wood
It all starts with finding the perfect piece of wood! Width and length will depend on what your laser engraver can accommodate (more on that later). Anything 1/8″ thick and above will do just fine to get you started. But there’s other things to consider for your project!
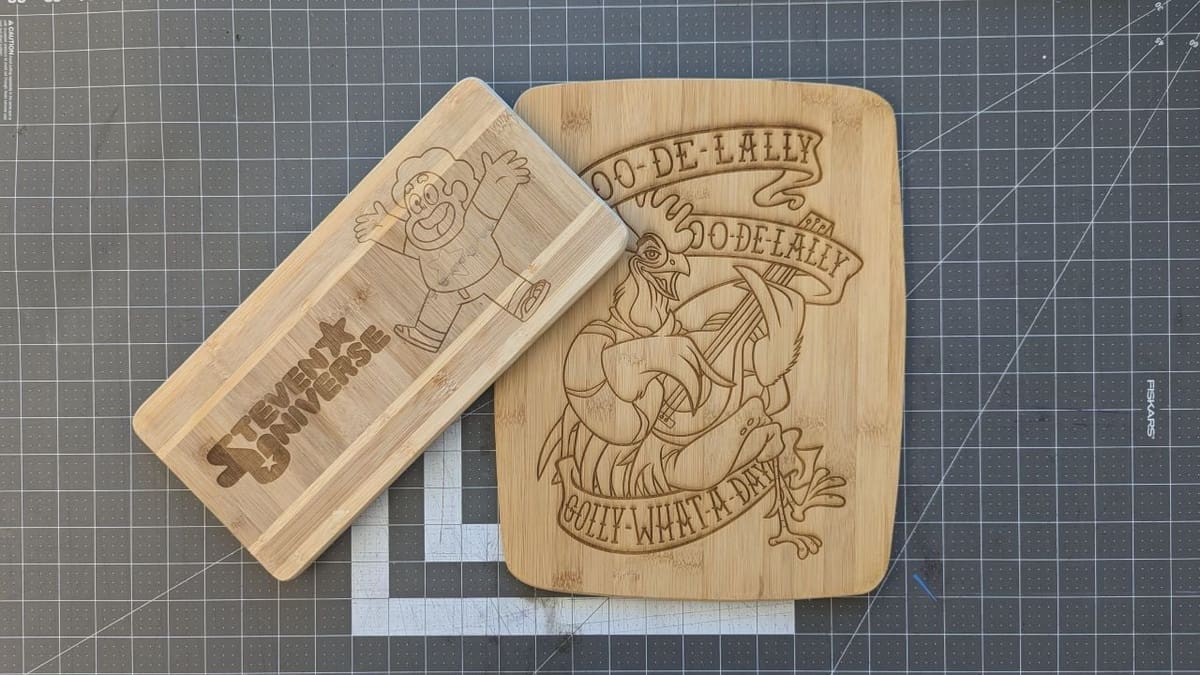
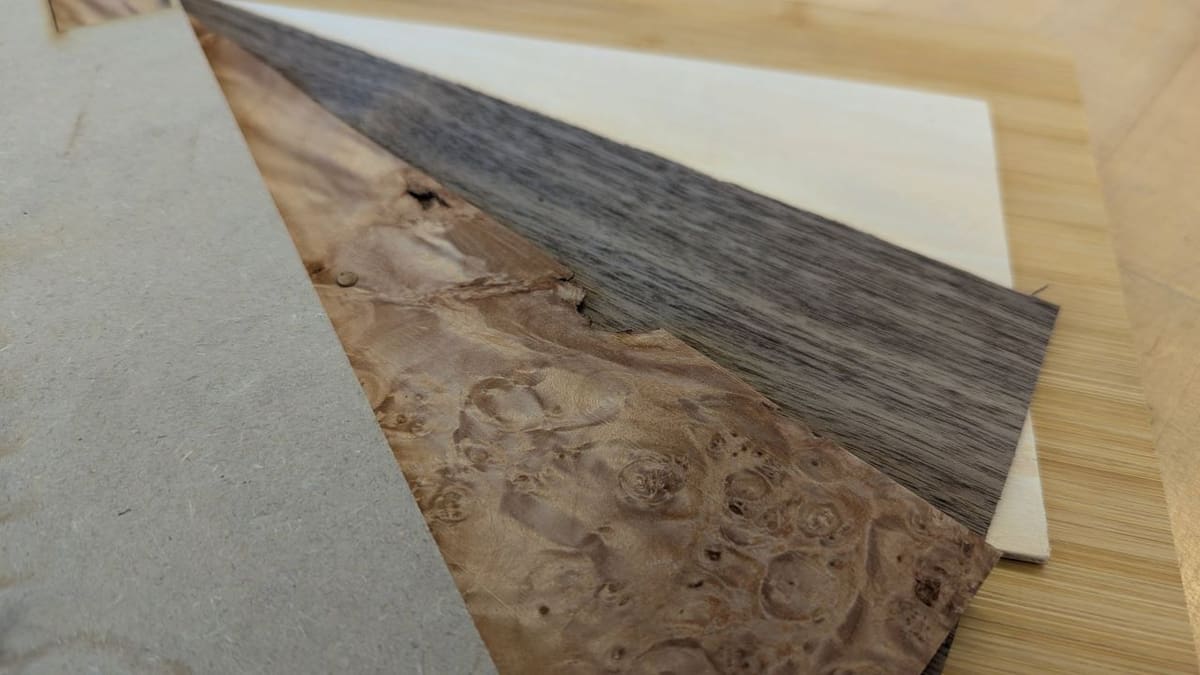
- Color: Most woods will engrave darker under a laser cutter, with only a few exceptions. Lighter woods like birch or pine are usually a great all-around pick! If you’re looking for an even darker or subtle look, try walnut or cedar.
- Resin content: Like we saw earlier, laser engraving vaporizes materials to “burn in” your design. This means wood fibers and resins will deposit wherever they can afterwards. If you don’t want to have to clean these up, wood with little amounts of resins is great. Bamboo lumber, which is often used in cutting boards, is a great example. If you’re buying wood from a specialized woodworking shop, you can also ask for advice from the team or ask for summer-cut woods with less sap.
- Grain: Some laser engraving techniques work better if the grain of the wood – the direction of the fibers that make up the piece of wood – goes in the same direction as the design you’re engraving. The harder fibers of the grain will interfere with your design if both aren’t running in the same direction. So, as you prepare your wood, make sure to select a piece where the grain runs horizontally when it’s in your laser engraver.
- Hardness: For an easy way to check the hardness of a piece of wood and how easy it is to engrave, try and dig into it with your fingernail. If it leaves a mark without much pressure, it will engrave just as easily. If not, you might need several passes to get the same depth and contrast as with a softer wood. This test is definitely not as scientific as the Janka hardness scale, but it will serve you well!
Wood Preparation

Now that you’ve picked the perfect piece of wood for your project, it’s time to prep it. This might mean one or several of the following:
- Cleaning and sanding: There’s a good chance your piece of wood comes unfinished or with surface irregularities as well as dust and stains from transport and storage. Cleaning it with a microfiber towel and giving it a light sanding is essential for a pleasing, uniformly engraved design.
- Staining and coloring: Laser engraving can only do so much when it comes to color, but there’s an easy way to add pop to that project. Using stains, water-based paints, or alcohol-based pens, you can add a splash of color to your project before engraving to get the best of both worlds or even after engraving for a different way to contrast your design.
- Application tape: Protecting your wood from the heat, dust, and resins released by the laser will help prevent burn marks. For this, application tape is perfect; it peels off cleanly from the wood. In a pinch, painter’s tape might do.
All of these steps will save you work after laser engraving your project.
Design & Engraving

Once your material is ready, the next stop is putting together your project in your design software. Are you going raster engrave detailed pictures and text, vector engrave intricate design features, or both?
- Raster engraving: It works very much like a paper printer, engraving your design one line at a time vertically but always from the left to the right. It’s great for pictures, text, and logos, but it’s also very slow!
- Vector engraving: It uses the same settings as laser cutting, adjusted to kiss-cut your wood. It’s great for engraving very thin details where raster engraving would be too much, engraving a large surface really fast, or adding definition to a raster engraving.
Wood is a very forgiving material when it comes to engraving. However, there are two types of wood engraving projects that are tricky: reproducing shades of gray when engraving photos and deep engraving to create differing heights (also known as 2.5D or relief engraving). These two types of projects are often reserved for advanced users, but software advances and tutorials make these a little easier everyday.
When it comes to software options, Inkscape is a great, free piece of design software, and our guide to designing in Inkscape has everything to help you get started. Other vector design programs like Adobe Illustrator or Corel Draw are also popular options.
Once your design is ready, it’s time to take it to your laser control software. Some file formats play nicer than others. Plain SVG files and EMF files have good chances to maintain the scale of your vector designs. Some raster engraving jobs will need formats with a lot of detail like BMP pictures or with transparency like PNG pictures.
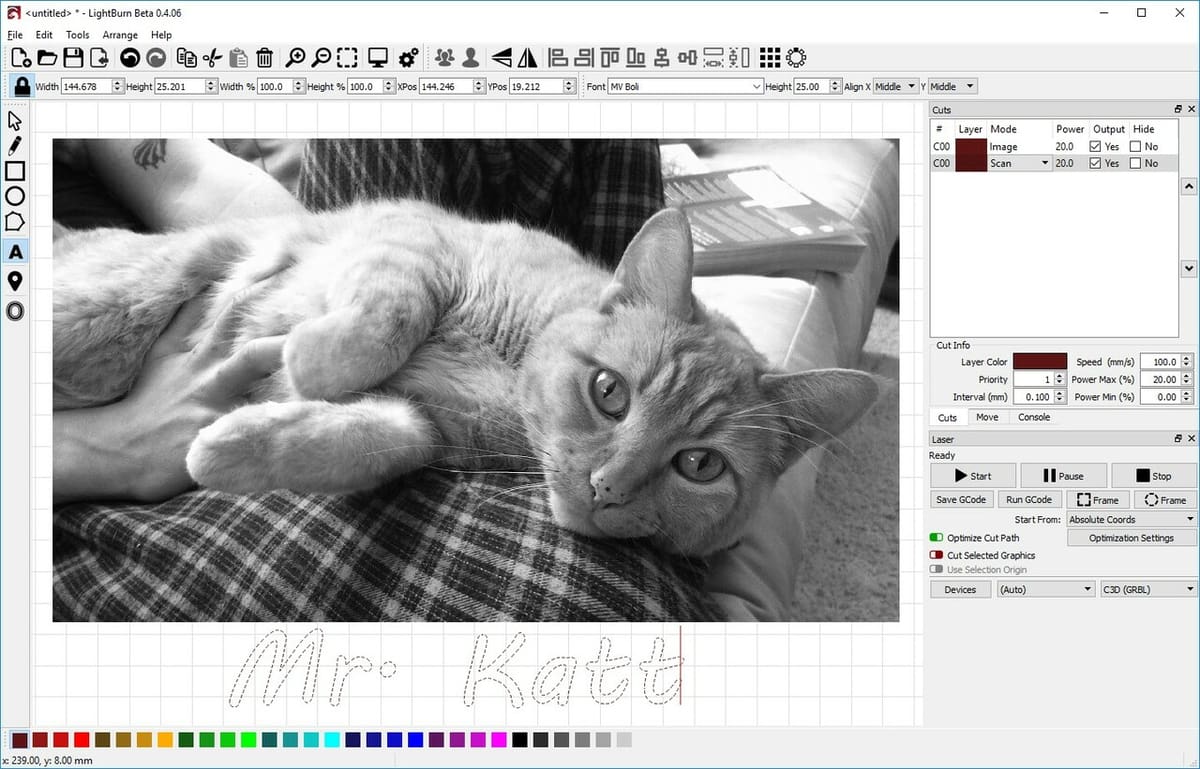
You’ll load your file into your laser control software, and the design features will be interpreted for raster and vector engraving. Your laser engraver might come with a basic control program, but more complex laser control programs – for example, LightBurn – have more features. Sometimes, they even offer all the tools you need for a quick laser engraving project without having to use a design program.
Once you’re happy with the way your design is interpreted by the laser control software, pick the settings for each process – usually speed, power, and frequency as indicated in your laser engraver’s manual. Then, turn on your exhaust and hit go!
Safety
It’s important to keep in mind that wood can catch fire! Laser engraving packs a lot of energy and heat into your material. So, make sure to never leave a wood engraving machine unattended, especially for thinner wood sheets or veneer. And of course, test your settings on a sample piece before committing to your project.
Engraving with too much power or at very slow speeds on a thin piece of wood is a great way to start a fire, putting yourself in danger and damaging your laser machine.
Post-Processing
Just like in 3D printing, you can either stop once your laser engraving job is done or you can go the extra mile. This extra mile is called post-processing, and if everything went well during preparation and engraving, you won’t have a lot of work to do to help your design shine.
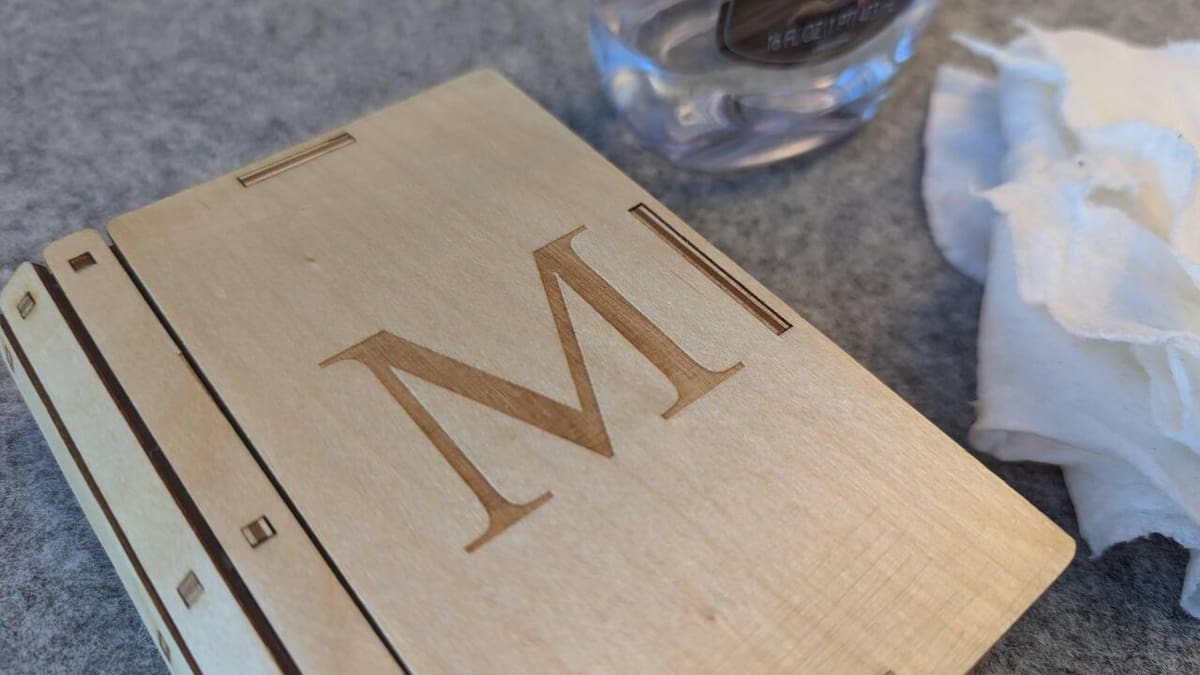
First, peel your application tape. It will come off very easily, along with any resins that deposited on the wood while engraving.
Next, clean up your engrave with mineral oil and a microfiber towel. It will clean the dust from the engraver and make the wood grain pop. Linseed oil is another popular choice, but whatever you do, avoid boiled linseed oil! The added solvents and chemicals can be a hazard, especially for laser engraved projects that will be in contact with food or around young children.
Finally, clean your laser engraver. The air assist nozzle that keeps dust and smoke away from the beam might clog very quickly with dust and resin, even over the course of one engraving job. This happens a lot with woods rich in resin like pine or fir as well as materials like MDF or cheaper plywood.
After all this, you should be left with a beautiful engraving on an elevated piece of wood. Congratulations, your wood laser engraving project is over!
Advantages & Disadvantages
There are pros and cons to laser engraving wood when you compare it to more traditional wood burning. Here are the most common points we noticed during our laser engraving projects:
Advantages
- Laser engraving wood is relatively easy: If you’re already familiar with some sort of design tool and have access to a laser cutter, you’re all set! No need to pick up a new skill.
- Laser engraving is beautiful: It can take a pretty, blank piece of wood and turn it into a work of art. It all comes down to your design choices and how your design will highlight or interact with the grain, color, and texture of the wood you selected.
- Laser engraving is consistent: Whether you’re engraving one design, 10 different designs, or the same design 10 times, your laser engraving machine will give you the same result. That’s pretty difficult to achieve by hand!
Disadvantages
- Laser cutting can be expensive: If you don’t have access to a laser cutter and engraver through a community makerspace or a friend’s shop, the equipment and software cost compared to a simple handheld wood burner can be very high.
- Laser engraving can be a lot of experimenting: Not all woods behave the same, and wood products made from the same wood don’t all behave the same either. This can mean a lot of experimenting to find the correct settings or the correct machine to get to a laser engraving project that makes you proud.
- Laser engraving means paying special attention to safety: Laser cutters and engravers are becoming more and more affordable, but they remain industrial machines that need supervision, ventilation, and fire precautions. The fumes released need to be ventilated, and as a flammable material, wood that’s being engraved should never be left alone in case of fire.
Choosing a Laser Engraver
Now that you know how to prepare for wood laser engraving, successfully engrave your project, and clean it up, you might be interested in buying a laser engraver or laser cutter. The good news is that there has never been a better time for that.
Affordable diode laser engravers or expensive but powerful CO2 laser cutters have all become more accessible for maker projects. Here are a few things you should consider before settling on a laser engraver:
- What do you want to do with it? If you have clear project ideas in mind, it’ll be easier to pick a machine. Do you only need an engraver to decorate parts you’ll have cut with other tools, or do you need a laser cutter to cut parts too?
- How much room do you have for it? You’ll need room for the laser engraver, as well as the computer to run it. Depending on the equipment you’ve picked, you might also need room for ventilation or the possibility to house your machine in an adequate room with a window you can open.
- What software does it work with? We have discussed LightBurn in our design preparation section, but there are alternatives. You want to keep compatibility in mind because not all laser cutters and engravers are compatible with any given piece of software. Some cutters and engravers even run their own proprietary software and require an internet connection as well.
- What is your budget? In the world of laser cutters, price still often goes hand in hand with power. But laser engraving is not a high-power application, making laser engravers relatively affordable compared to full-power laser cutters – anywhere between $300 and $600.
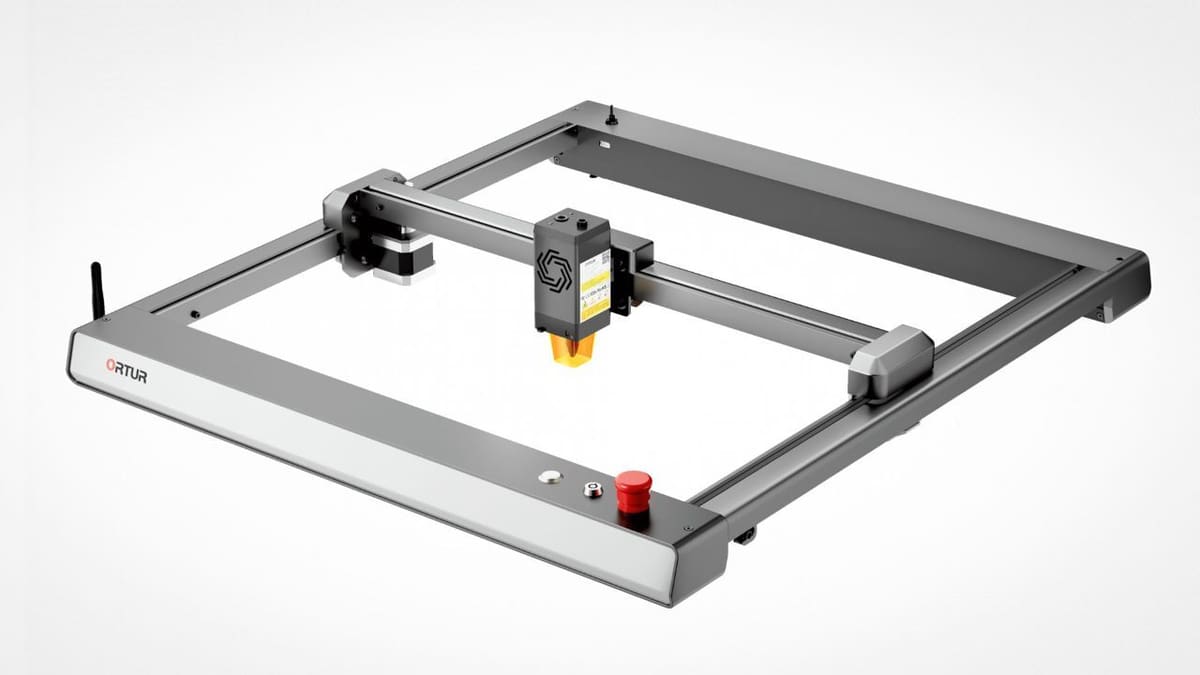
Based on all of these considerations, our top pick is the Ortur Laser Master 3! It’s a light machine with a good footprint for engraving and plenty of safety features at an approachable price. You can also complement it with a fire-resistant fabric enclosure and a fire extinguishing device.

Makerspaces & Laser Engraving Services
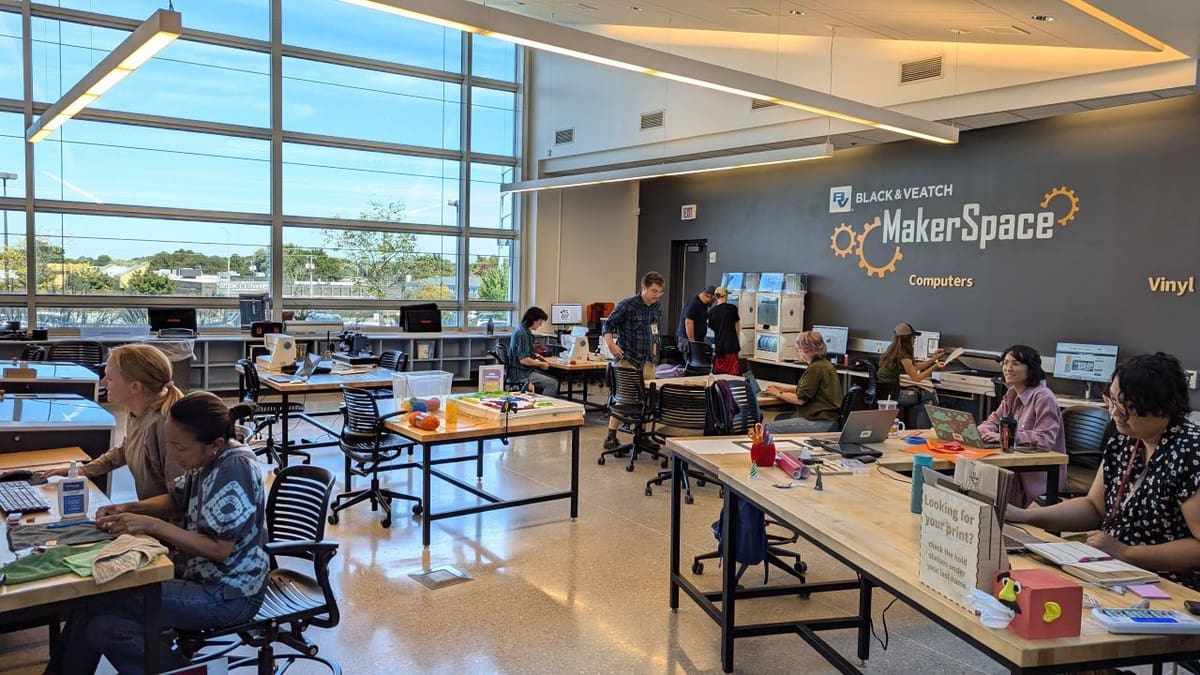
Do you want to find out whether laser engraving is for you without having to buy equipment or maintain it? Check if your local library has a makerspace! These community workshops often have all the equipment you might need, and they’re maintained by staff who will teach you how to use it – most of the time for free!
There’s an easy way to check for these. Go to your favorite maps website and check for “makerspaces near me“. Private makerspaces – think of them as gyms for makers – might show up, too.
If you don’t have a makerspace nearby, professional laser engraving services might be just what you need. They have the tools and quality control for excellent results, at a fraction of the cost of an entire machine plus accessories. They’ll get you quotes from the comfort of your own home and web browser.
Here are some services to check out:
- Ponoko is one of the most popular services used by industries, professionals, and hobbyists around the world. They boast over 200 materials to pick from and production facilities in the United States and China.
- SendCutSend has three locations in the US. Their free shipping make it a turnkey service for your laser engraving needs.
- Snijlab is great for makers in Europe. Their flat fee shipping makes it easy to assess the total cost of your project wherever you are in Europe. Plus, you can send in your own objects for the most custom of engravings!
License: The text of "Laser Engraving Wood: All You Need to Know" by All3DP is licensed under a Creative Commons Attribution 4.0 International License.