LinuxCNC on Raspberry Pi: How to Make It Work

If you're looking to enhance and simplify your DIY CNC setup with LinuxCNC, Raspberry Pi 4 is your friend. Read on to learn more!
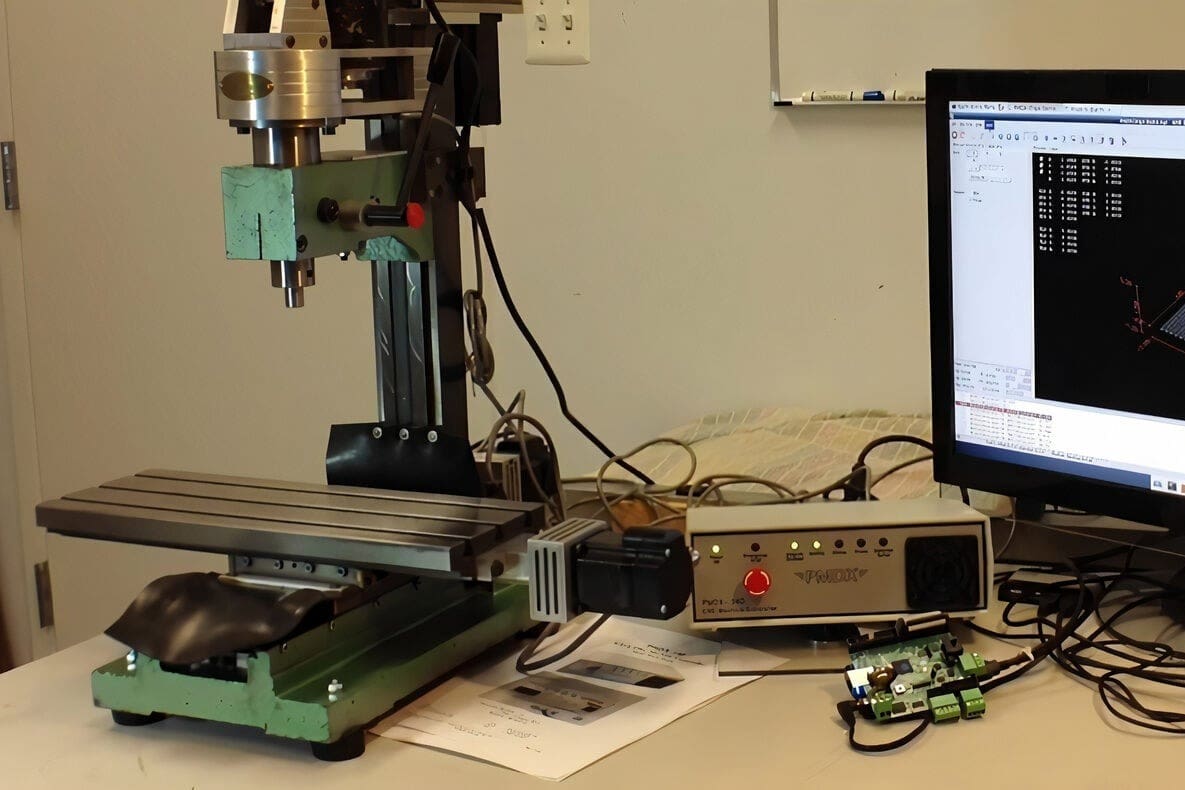
Computer numerical code (CNC) machines and other subtractive manufacturing technologies have had a fundamental impact in both professional and home workshops for many years. Open-source software such as LinuxCNC has helped contribute to the growth by making it easy for DIY enthusiasts to set up their own custom CNC machines with common everyday computing hardware. LinuxCNC provides a control interface for users to import G-code files or to directly send commands to their CNC machine.
Although most CNC machines use a similar flavor of G-code as fused deposition modeling (FDM) 3D printers, LinuxCNC supports CNC machines with up to nine axes of movement, making it quite different from how a regular FDM 3D printer works.
Raspberry Pi needs no introduction. Pairing LinuxCNC with a Raspberry Pi 4 has the potential to be a great low-cost tool to control your CNC machine. The software has a pre-baked Raspberry OS-based version of its platform, which allows you to leverage the Pi 4 to remotely control and interact with your CNC machine.
In this article, we’ll take a look at a general set of instructions, bill of materials, and reference resources to read up on if you’re considering using a Pi 4 to build yourself a LinuxCNC controlled router.
What You'll Need
A LinuxCNC setup on your Raspberry Pi requires the following items:
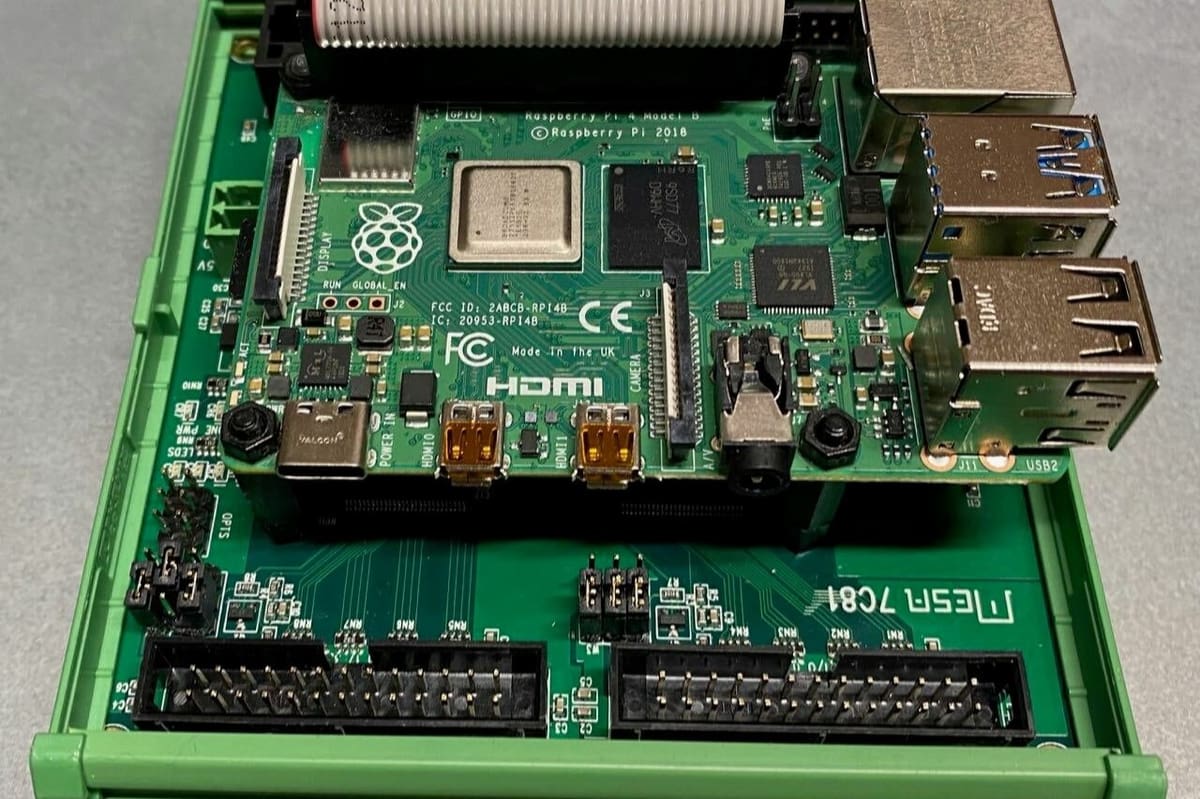
- A Raspberry Pi 4 (8 GB RAM recommended)
- MicroSD card of 8 GB or greater
- A Windows, Mac, or Linux computer to flash the LinuxCNC operating system onto the MicroSD card
- A CNC machine that you’re familiar with (i.e. you have a good understanding of its operations or you have documentation for reference)
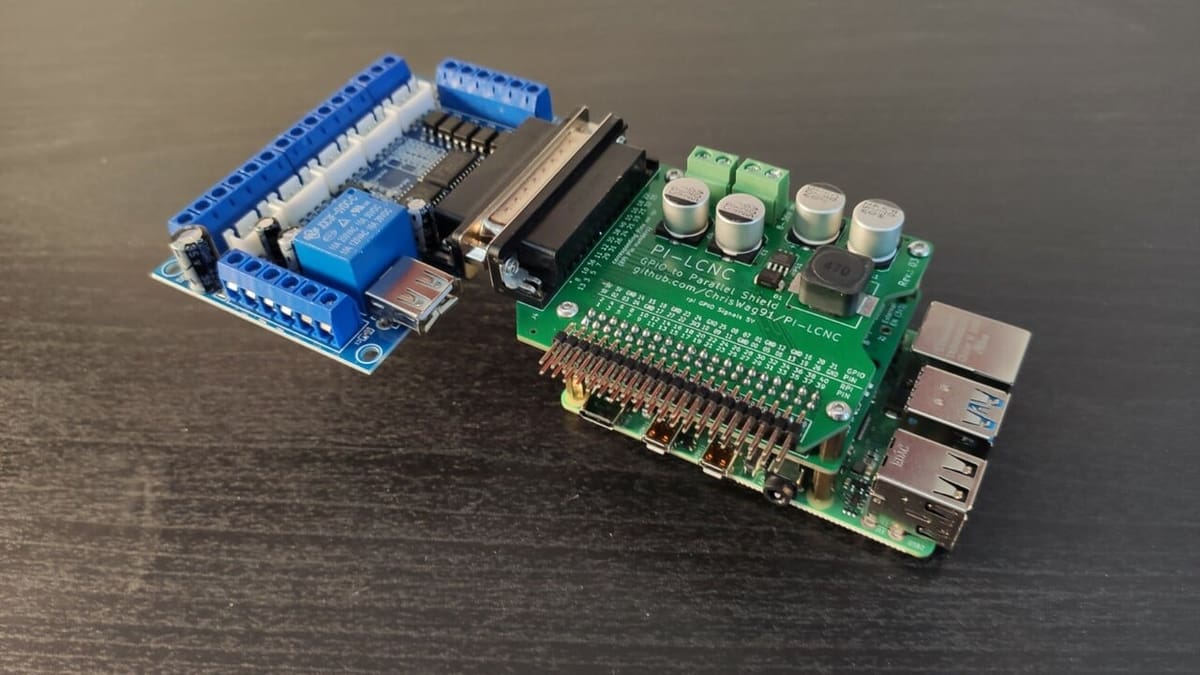
- A USB cable or interface card that will connect your Raspberry Pi 4 to your CNC (the exact type will vary based on your CNC machine)
Although the general process to get LinuxCNC may work on older Pi models, it’s best to stick to the Pi 4 as recommended by the LinuxCNC settings requirements and community. Forum users report mixed results with older Raspberry Pi models.
General Installation
Similar to setting up other operating systems on the Raspberry Pi, setting up and using LinuxCNC is best left to individuals comfortable with the Linux terminal. That said, setup is a relatively straightforward process:
- Referring to the official LinuxCNC instructions, download and flash Raspberry Pi OS or Raspberry Pi OS Lite onto a MicroSD card.
- If you don’t plan on connecting a monitor, mouse, and keyboard to your Pi CNC setup, follow the official instructions to enable SSH for remote desktop computing.
- Connect the Pi 4 to your CNC machine using the required interface cable for your machine.
- Run and follow the Stepconf Wizard to configure LinuxCNC for your machine. The basic setup of the wizard is straightforward, but there are many advanced options that you may need to use to configure the software to correctly talk to your CNC machine.
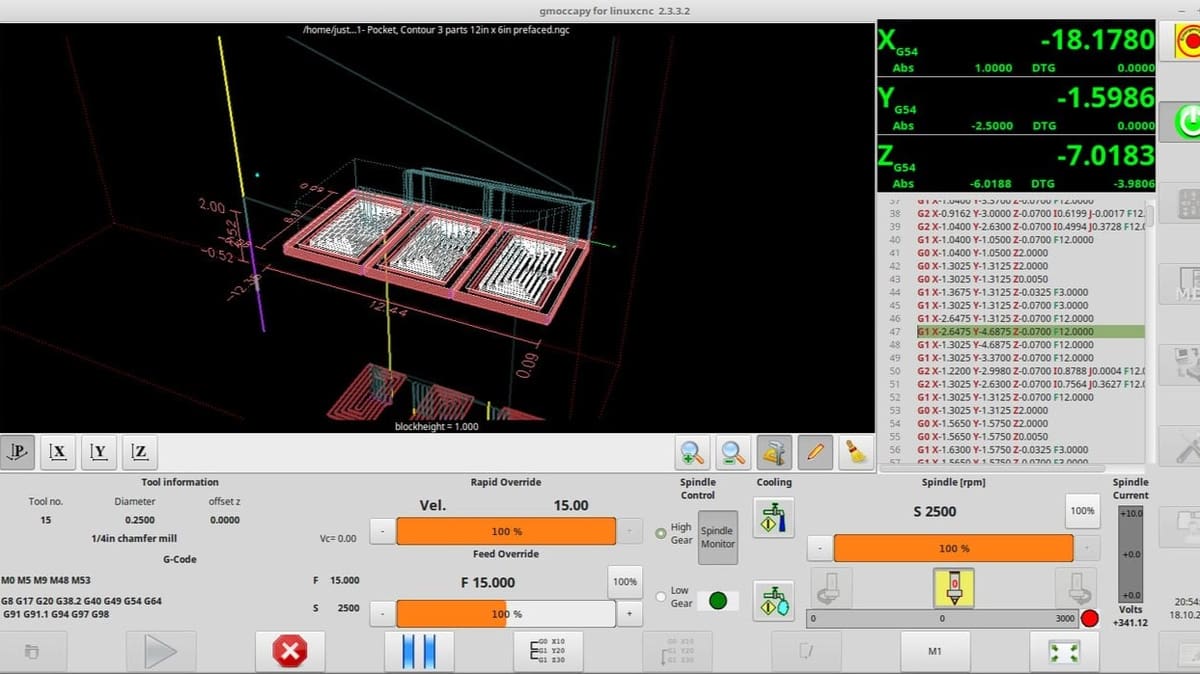
- With everything configured, you should be ready to launch your CNC control software. For most users, this will mean running either Axis, which is for mouse and keyboard setups, or GMOCCAPY, which is for users who plan on installing a touchscreen to their Pi 4.
User Experience & Alternative Approaches
User Experience
Anecdotally, using LinuxCNC should be somewhat familiar for those who have set up OctoPrint for their 3D printer. The Delta Gear channel on Vimeo has a useful video demonstrating the general LinuxCNC workflow, which is similar to how you prep a model for your 3D printer.
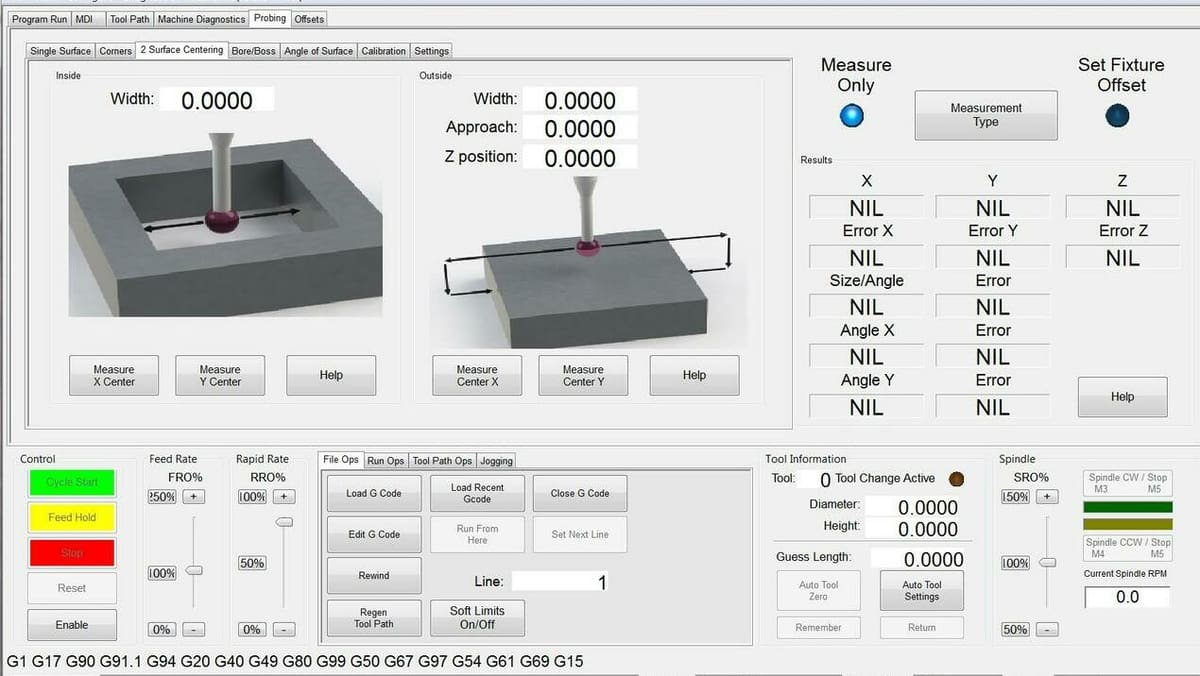
In the general LinuxCNC workflow, you first need to prepare a G-code file in an external program, then open the G-code file in LinuxCNC. Next, get the machine ready for milling, then use LinuxCNC to monitor the milling process.
Workflow aside, the user interface can be a bit hard to intuit, and having a PDF copy of the reference guide handy will make your life easier when trying to determine what certain tools are responsible for.
Alternative Approaches
If you don’t have a Raspberry Pi 4, Newfangled Solutions offers two paid programs that you can use on a standard X86-64 PC running Windows. The first piece of software is Mach3, which is meant to control older CNC machines that use a parallel port for communications.
The second is Mach4, which builds off of Mach3 by creating an extensible plug-in-based interface for connecting to different machines. Customers of either Mach3 or Mach4 get access to free email support and can learn more about their products on their YouTube channel.
Alternatively, if you don’t have a spare Windows PC or extra Pi 4, you can also consider running LinuxCNC with a BeagleBone single-board computer (SBC). The official guide has instructions for setting up LinuxCNC on the BeagleBone, and some users have reported successful LinuxCNC setups with it.
Final Thoughts
Overall, getting LinuxCNC installed is fairly straightforward. The challenge for most people will likely be determining which method LinuxCNC needs to communicate with their machine and how best to configure LinuxCNC to work with that method. This can be a bit overwhelming at times due to the vast and sometimes conflicting differences between the documentation and the LinuxCNC wiki.
A good place for prospective users to start would be the official LinuxCNC system requirements to make sure that your hardware is compatible with the software. The LinuxCNC for the Hobbyist series by MyHeap on YouTube is also a good place to get started and learn the basic concepts of setting up and working with LinuxCNC. Additionally, the LinuxCNC Forum and Reddit thread can be helpful for more specific hardware questions.

License: The text of "LinuxCNC on Raspberry Pi: How to Make It Work" by All3DP is licensed under a Creative Commons Attribution 4.0 International License.