An Introduction to MicroPython

MicroPython doesn't have to be daunting – start with the basics! Learn about this performance-driven Python-based language.
Python, one of the world’s most popular programming languages, is known for being user-friendly and easy to learn. While we may not be aware of it, many of us in the world of 3D printing have likely interacted with Python in some form. Possibly through a Cura post-processing script or through the setup of OctoPrint on a single-board computer (SBC).
In this article, we’ll cover what MicroPython is, what types of microcontrollers it’s compatible with, the basic setup you’ll need for a MicroPython project, and how to get started. We’ll also provide some useful references that you can lean on while you work on your project.
Let’s get started!
What Is MicroPython?
Although it’s a well-adopted and established language, writing code in Python is commonly critiqued as not being as resource-efficient and responsive as other programming languages. While hardware requirements are not always a primary concern for many 3D printing enthusiasts, the subset who write code for SBCs or microcontrollers know how important every bit of performance can be.
MicroPython is designed to specifically address the performance gap between Python and less powerful microcontrollers. Based on Python 3.4, MicroPython speeds up its performance by cherry-picking a subset of Python’s built-in functions and optimizing its runtime for those functions. A great benefit of MicroPython is that users can expect to write code in a way similar to that for standard Python and therefore don’t have to relearn too many details.
MicroPython does have some limitations however, most notably that the hardware support is more specific than what Arduino caters to in the microcontroller market. In general, Arduino has a wider array of first-party hardware to choose from, whereas the MicroPython project is more focused on only a few first-party boards. Unlike Arduino, MicroPython doesn’t come with an integrated development environment (IDE) and doesn’t offer a specific editor to write MicroPython code.
Features
Part of MicroPython’s appeal is being able to write code in a readable way. This helps speed up the development process and improve maintainability for its coders. MicroPython offers core functions such as the ability to interact with your board using either a live terminal session or with a “.mpy” script that the user’s written in advance.
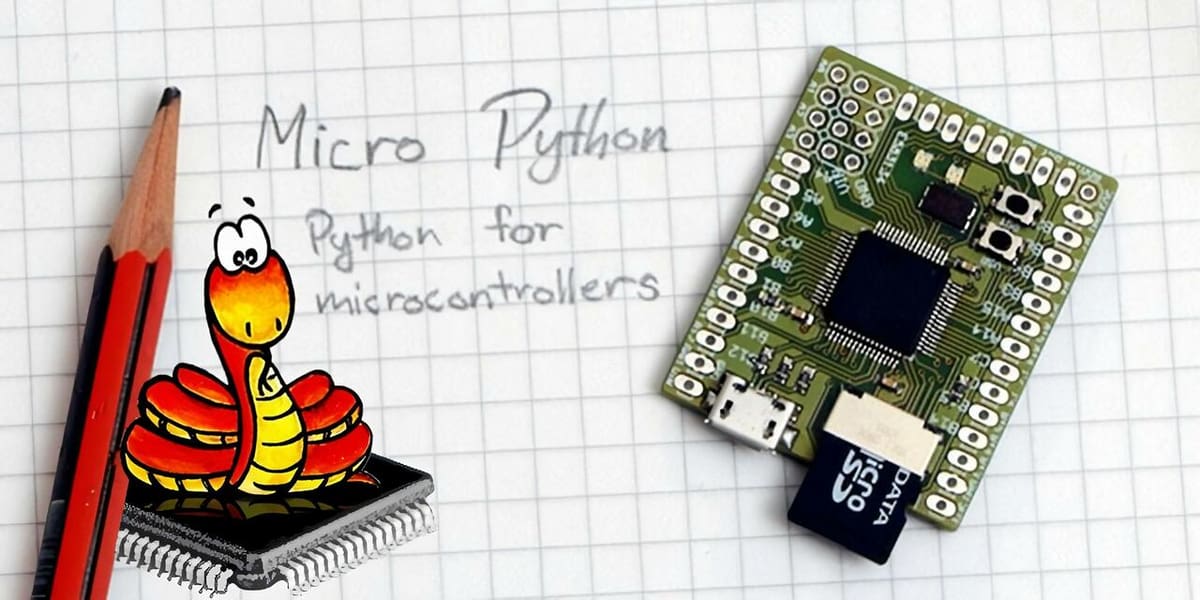
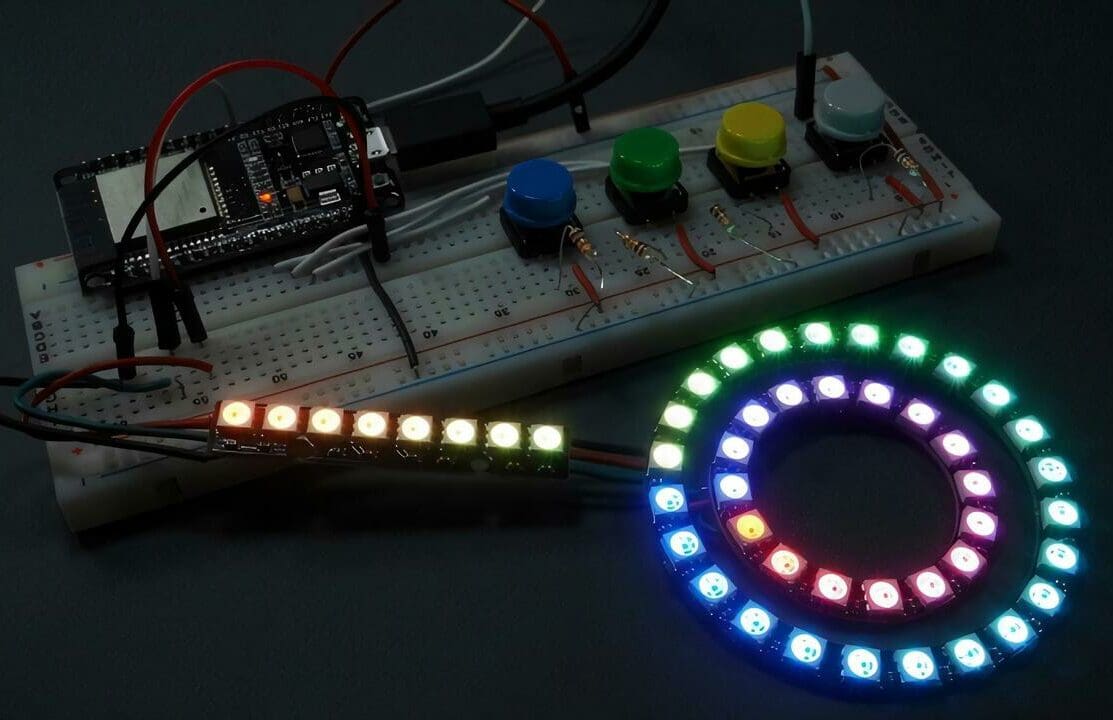
Additionally, MicroPython provides built-in libraries for interacting with your chosen microcontroller’s GPIO and serial bus (UART) in a number of different ways. For example, there are built-in libraries to perform analog-to-digital conversions, retrieve readings from internal sensors (like an accelerometer), manage servo motors, and more.
Compatible Microcontrollers
The MicroPython project has been ported to over 15 different types of hardware architectures, with the full feature set being best supported on the official Pyboard and Pyboard Lite. The boards below all have good levels of documentation, but you can check out the MicroPython GitHub site to see if you have an existing Arduino board that you can use.
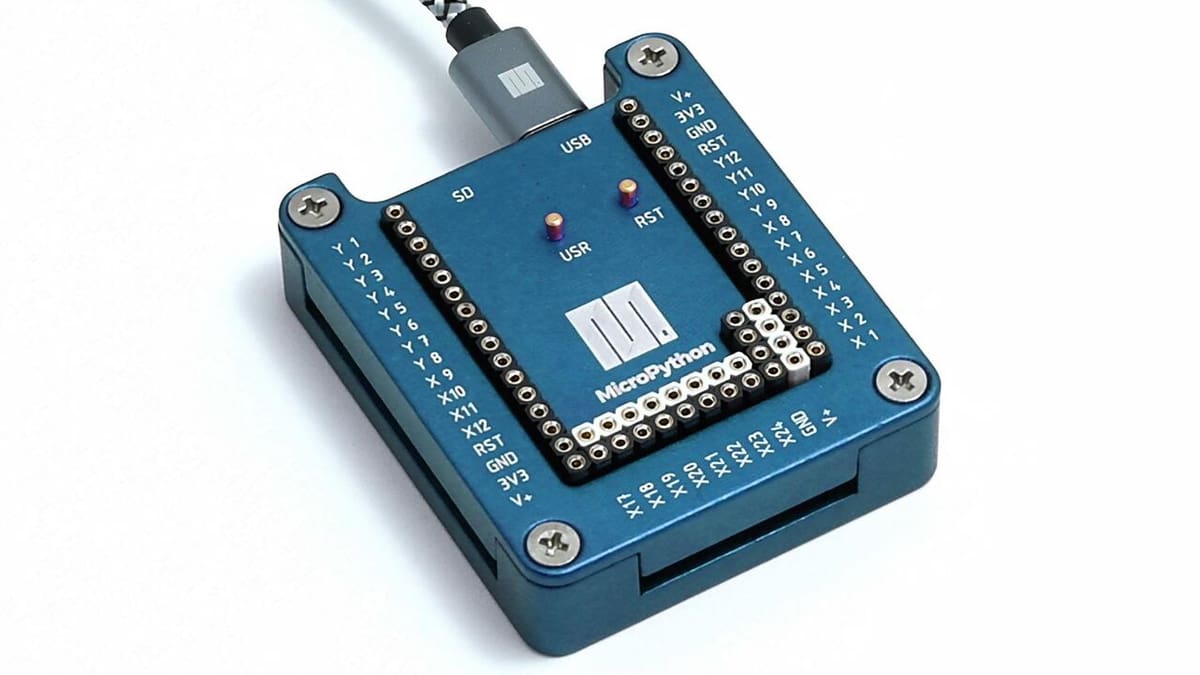
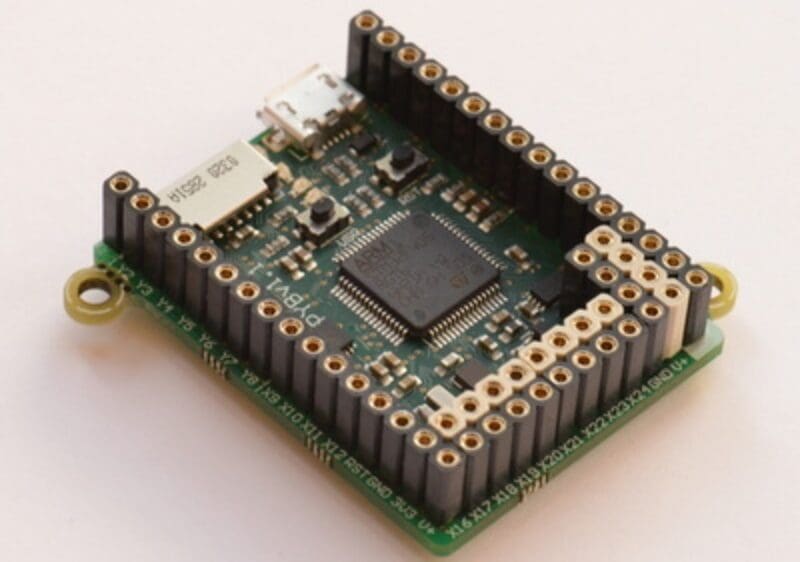
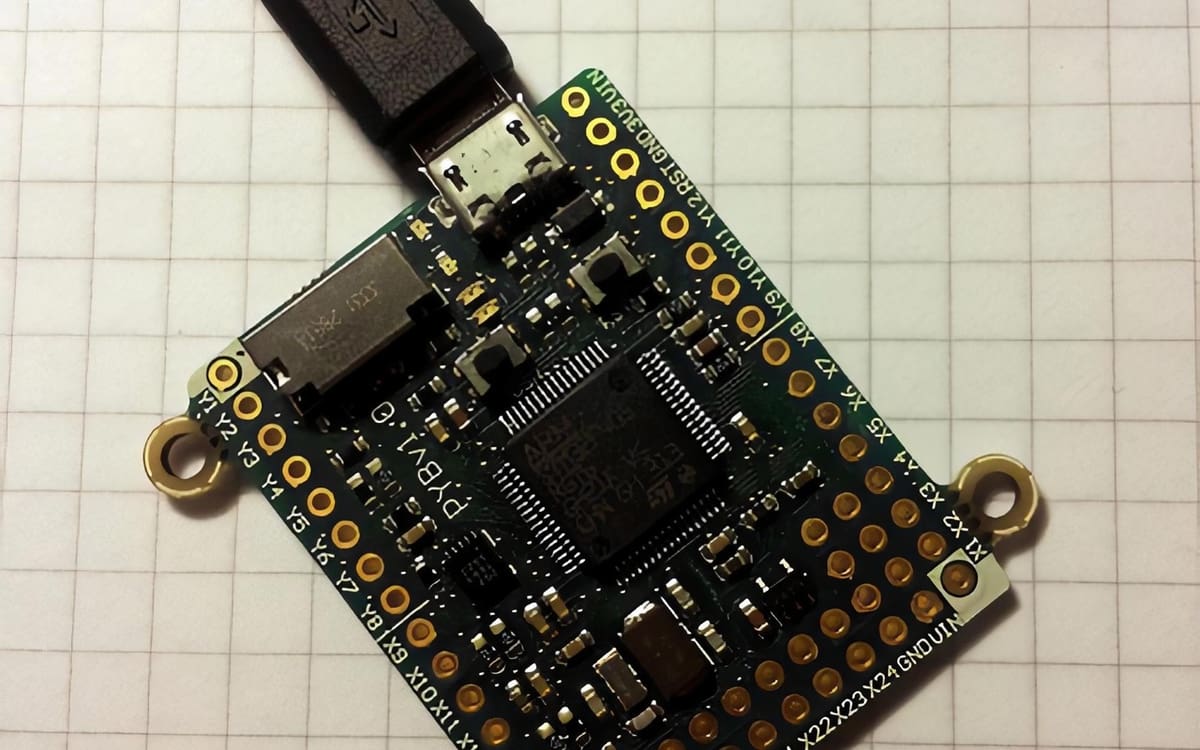
Pyboard & Pyboard Lite
If you’re interested in developing full-time with MicroPython or if you don’t have any other type of microcontroller, the most compatible MicroPython boards are the Pyboard and the Pyboard Lite. These two microcontrollers have first-party support and are designed to work with the entire feature set of the MicroPython language. This means that your board will be set up to run your MicroPython script out of the box.
- Clock rate: 168 MHz (Pyboard), 96 MHz (Pyboard Lite)
- Arduino IDE compatible: Yes
- Wi-Fi enabled: No
- Cost: ∼$25 (Pyboard)
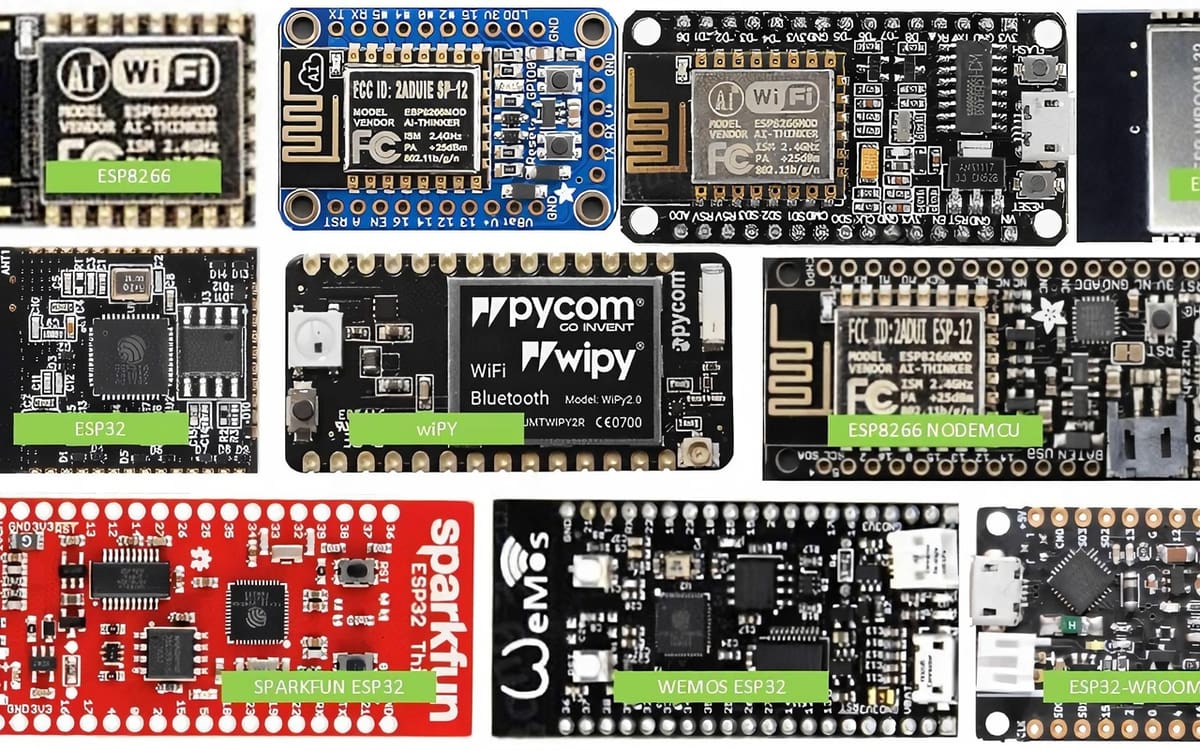
Adafruit Feather Huzzah
Although it has a slower clock rate then the Pyboards, the Adafruit Feather Huzzah is based on the popular Esp8266 chipset and comes with built-in Wi-Fi. One benefit of picking this board is that it has good first- and third-party documentation and support articles. Just keep in mind that this microcontroller has only 9 GPIO pins, shying in comparison to the 31 on each of the Pyboard models.
- Clock rate: 80 MHz
- Arduino IDE compatible: Yes
- Wi-Fi enabled: Yes
- Cost: ∼$19
Espressif Esp32
The Espressif Esp32 development board is another cheap and cheerful board that has a reasonable amount of MicroPython documentation. This board comes with Wi-Fi and a similar clock rate to the full Pyboard, but it comes with the caveat of being developer-centric and having less first-party documentation from Espressif.
- Clock rate: 160 MHz
- Arduino IDE compatible: Yes
- Wi-Fi enabled: Yes
- Cost: ∼$15
Raspberry Pi Pico
The newest board on this list, the Raspberry Pi Pico comes with a built-in accelerometer and 26 GPIO pins for your project use. The MicroPython community has been quick to adopt this low-cost board, providing a number of methods to get up and running on its GitHub page.
- Clock rate: 133 MHz
- Arduino IDE compatible: Yes
- Wi-Fi enabled: No
- Cost: ∼$4
Basic Setup: What You'll Need
By no means the only way to start coding in MicroPython, the most straightforward setup requires:
- A Pyboard or Pyboard Lite
- A Micro-USB cable for device communication and power
- A Windows, Mac, or Linux PC (Windows users will need admin rights in order to install the correct serial drivers for the Pyboard)
How to Get Started
Assuming you go for a Pyboard, getting it up and running is fairly straightforward. Most users will opt to initially power their board via a Micro-USB cable (although you can also power it via a GPIO pin). Users on Windows will then need to set up drivers and install a terminal program like Putty, which can connect via the Pyboard’s serial interface. Mac and Linux users can connect to the Pyboard’s serial interface directly through their OS’ terminal.
With your board connected and set up, you can now interface with the Pyboard by launching a MicroPython read-eval-print loop (REPL) session via the terminal. The REPL session is designed for MicroPython commands to be sent straight to the Pyboard.
Further Reading & Reference
It’s good to know that, if you’re venturing into the MicroPython world, you’ve got lots of sources for support.
- The official MicroPython documentation site and the MicroPython forum are great places for new users to reference, ask questions, and check for project ideas.
- You can also check out the helpful series of MicroPython Video Tutorials, which provide a great beginning-to-end guide of coding in MicroPython on a microcontroller.
- There’s a very helpful curated list of MicroPython libraries and resources hosted on GitHub, which can provide a ton of project inspiration and places to research.
- Last, users of Esp8266 or Esp32 boards can read about setting up the Thonny IDE, which should catch errors and reduce time spent writing MicroPython code.
License: The text of "An Introduction to MicroPython" by All3DP is licensed under a Creative Commons Attribution 4.0 International License.
CERTAIN CONTENT THAT APPEARS ON THIS SITE COMES FROM AMAZON. THIS CONTENT IS PROVIDED ‘AS IS’ AND IS SUBJECT TO CHANGE OR REMOVAL AT ANY TIME.