MPCNC (Primo): Review the Specs

MPCNC machines, including the new MPCNC Primo, are powerful DIY routers that are customizable to your needs. Read on to learn all about them!
The Right Route
First, a bit of history.
The RepRap project was a community initiative for makers to create 3D printers capable of producing most of the parts needed to self-replicate. The initiative opened the door to many innovations as people started to realize the small-scale manufacturing capabilities of 3D printers.
3D printers weren’t the only type of machine that improved through the RepRap project, though. In fact, many other types of computer numerical control (CNC) machines, such as laser engravers and CNC routers, also grew.
CNC is a classification of machines that operate on a coordinate system and can move across the X-, Y-, and Z-axes. Most CNC machines are specific to one form of manufacturing (e.g. milling) and achieve this through the special-purpose E-axis. However, open-use CNC machines can function as a few different types of manufacturing devices if they have an interchangeable E-axis.
The Mostly Printed CNC machine, or MPCNC for short, is one of these open-use CNC machines, being a DIY, open-source project. Its large community backing contributes to its many uses, including 3D printing, CNC routing, CNC milling, laser engraving, and more.
Most people choose to turn their MPCNC kit into a CNC router thanks to the exhaustive documentation and the fact that the MPCNC’s frame is well suited to routing. However, you can find a few guides relevant to turning the MPCNC into another type of machine, such as a 3D printer. Keep in mind, though, that you may be better off using another base design for a 3D printer because the MPCNC design doesn’t offer a lot of Z-axis movement.
Developed by V1 Engineering, an organization that designs open-source builds, MPCNC machines include many 3D printed components, which helps reduce the cost of putting it together. There are guides and kits to provide the foundation for your build, but the degree of customization is up to you!
As the original MPCNC grew in popularity, community makers improved the machine with their contributions, leading to V1 Engineering’s release of the MPCNC Primo kit. The Primo builds on the original MPCNC design, drawing on previous revisions, including new roller assemblies, a redesigned Z-axis structure, and a universal tool mount. Although building an MPCNC router doesn’t have a defined cost due to the freedom of which parts you can add, V1 Engineering boasts that you can build one for under $500.
In this article, we’ll be going over MPCNC machines, discussing their general features, capabilities, and specs. We’ll also compare the MPCNC Primo to a similar machine to expose the project’s strengths and weaknesses.
Features

MPCNC machines have many unique features that make them customizable, capable, and powerful. Let’s take a closer look!
Customizable
The MPCNC project is open source in both hardware and software. You can find 3D models for MPCNC components for different builds including the Primo on Thingiverse. This public availability allows MPCNC machines to be community developed because users can download a design, modify or improve it, and then share their own versions.
On top of being easily modifiable, the MPCNC structure isn’t constrained to serving as just a CNC router. This means that you can use the kit to build any type of CNC machine, including 3D printers, CNC mills, laser engravers, and more.
The only difference between these types of builds is the function of the special-purpose E-axis motor, which is responsible for the tooling capabilities of a CNC machine. Like the other three axes, the E-axis simply moves a component. However, this component is usually a component like an extruder on a 3D printer or a rotary tool with a bit on a CNC mill.
Sturdy Frame
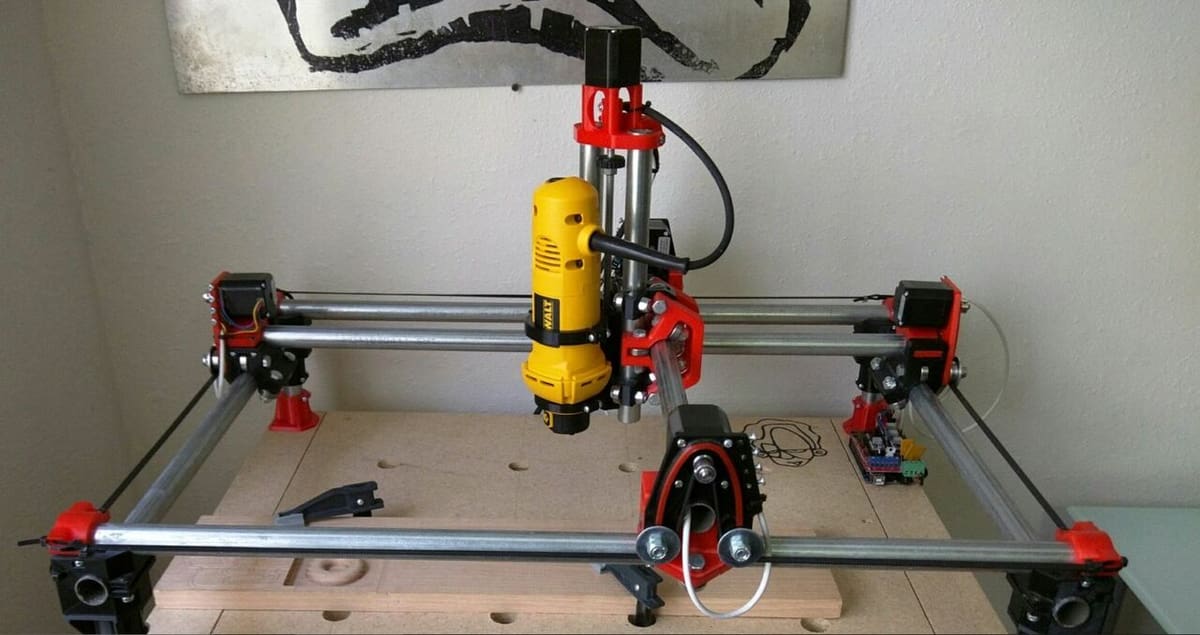
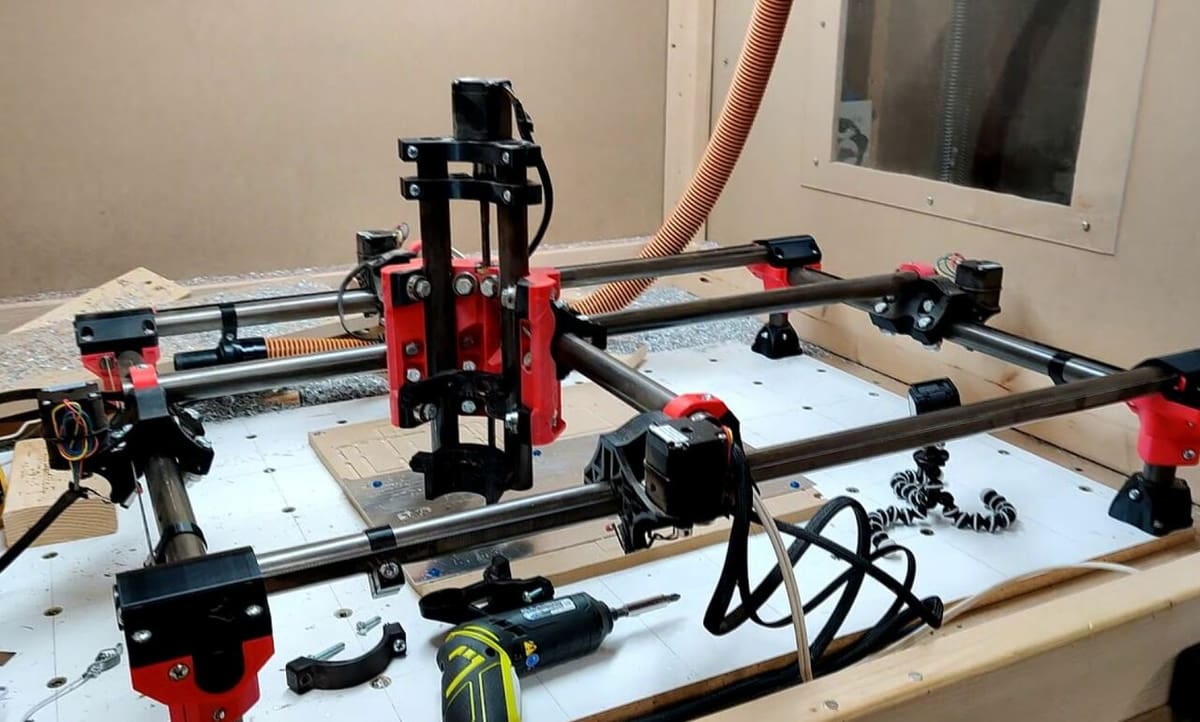
The next great feature of the MPCNC design is its super sturdy frame, making these machines reliable and powerful. The frame of any CNC assembly is perhaps the most important element of the design because it’s what the moving carriages, belts, pulleys, and other parts are mounted to or move along.
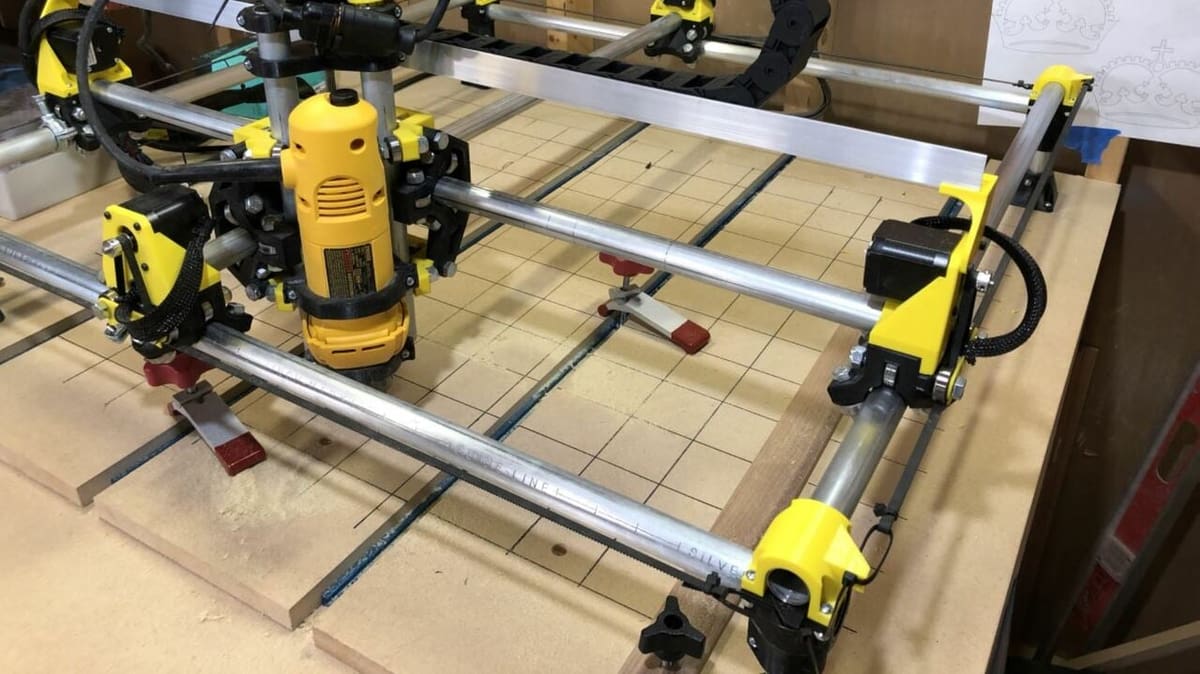
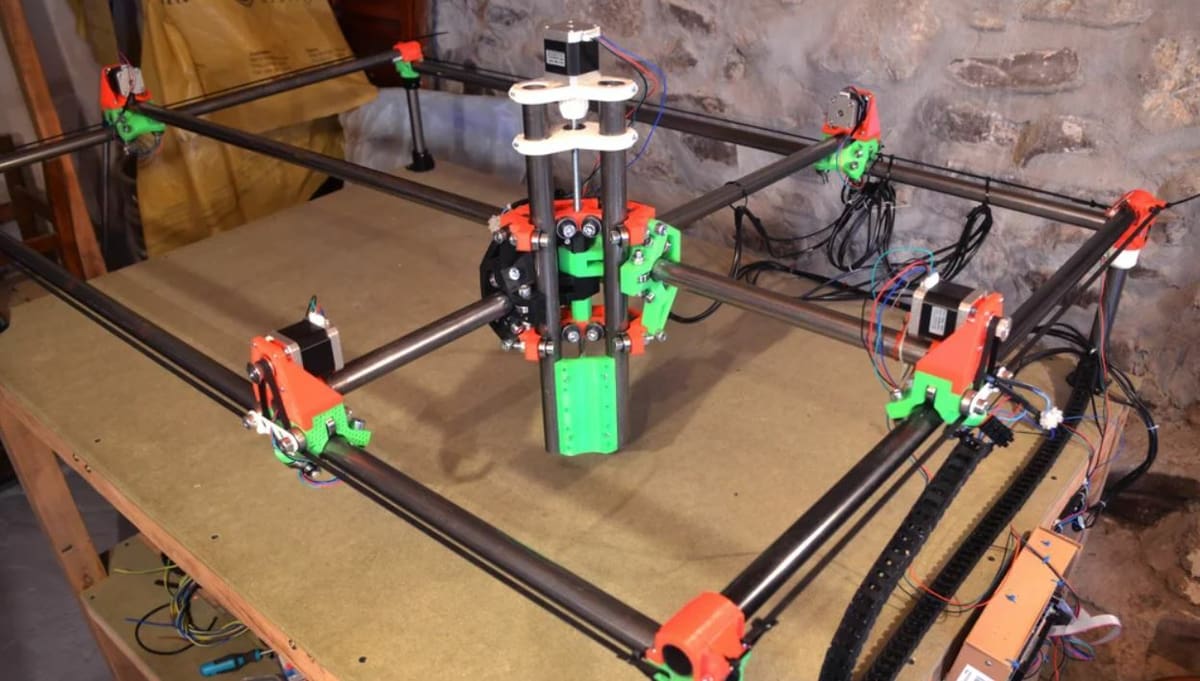
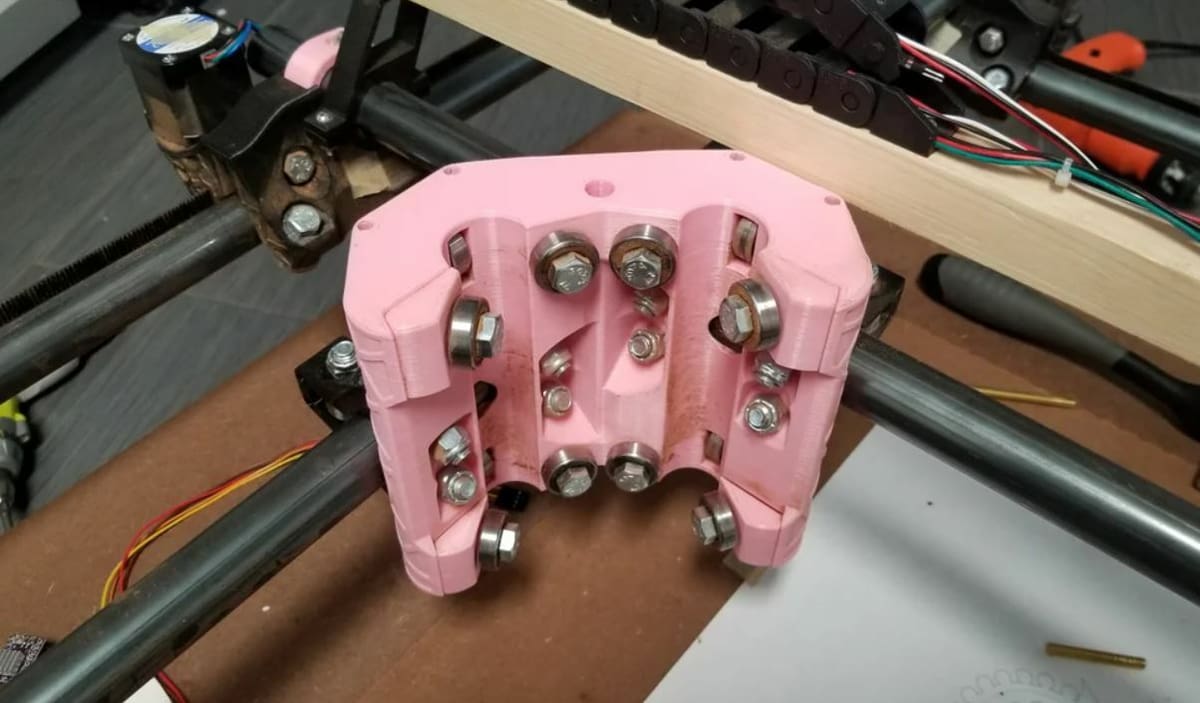
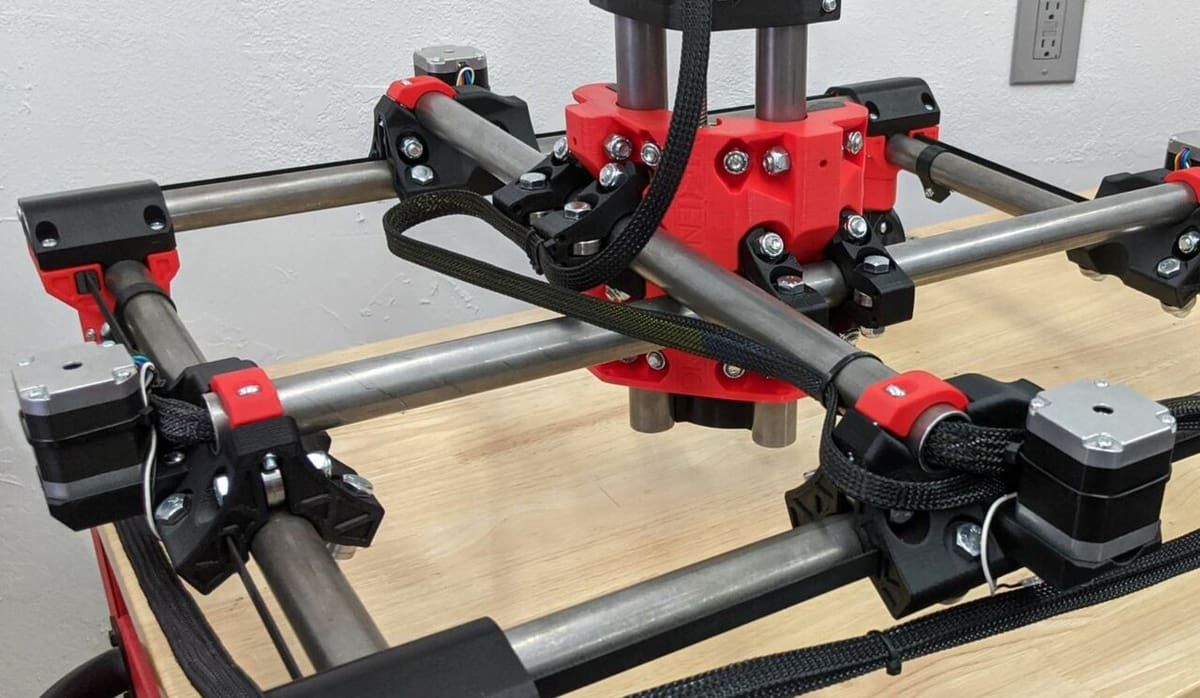
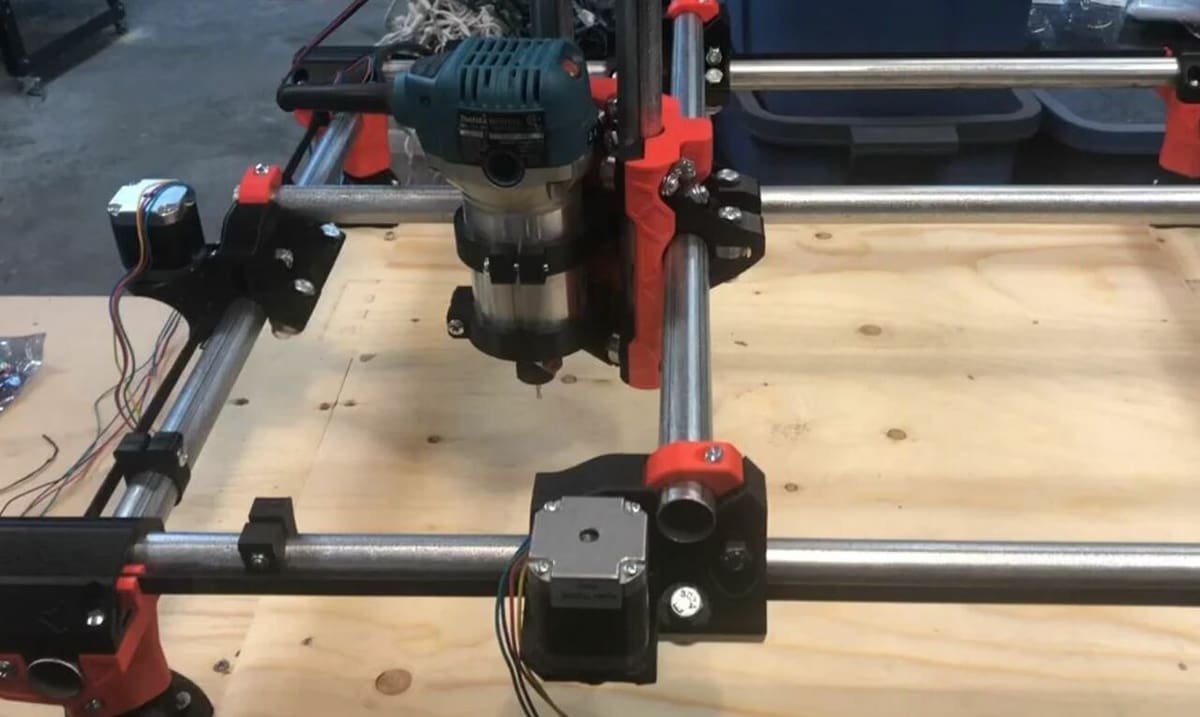
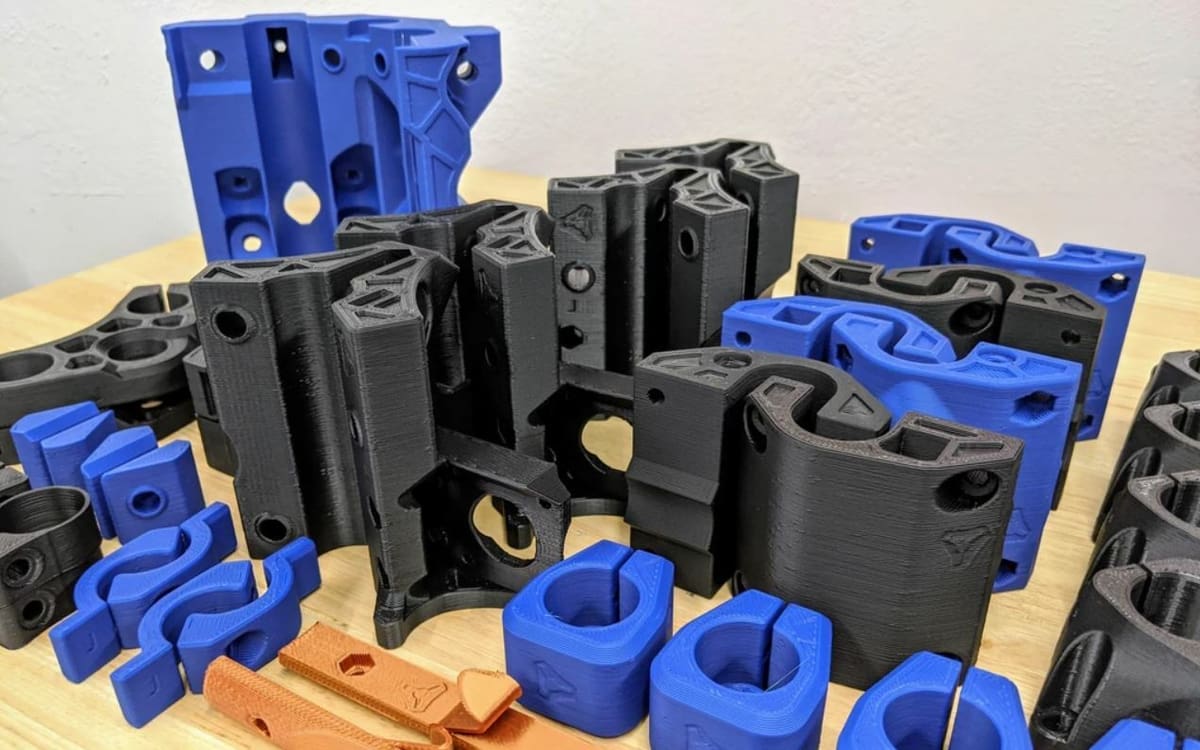
MPCNC frames are built from 3D printed components and other hardware. The printed parts are primarily located at the corners of the machine, and there are metal conduit rail rods for the longer parts of the frame that are very stiff and durable. (Makers supply their own rails, so these can vary in size, and the printed parts can be sized accordingly.)
Many of the 3D printed parts on the frame serve as support brackets that keep the conduit rails aligned and stable. Moreover, they also will reduce the vibrations on the rest of the frame, which can lower the noise levels of your machine.
Powerful Motion
Lastly, the MPCNC has a powerful motion system that allows it to produce accurate parts quickly. It uses belt motion attached to movement carriages. For the Z-axis, there’s a stepper motor affixed to the connection point on the X- and Y-axes. The Z-axis motor rotates a lead screw to push and pull the E-axis module up and down.
Another way the MPCNC effectively achieves powerful, stable, and quick motion is by having dual stepper motors on the X- and Y-axes. Having two stepper motors per axis provides more torque and power for the motion of the connection carriage.
The Bottom Line
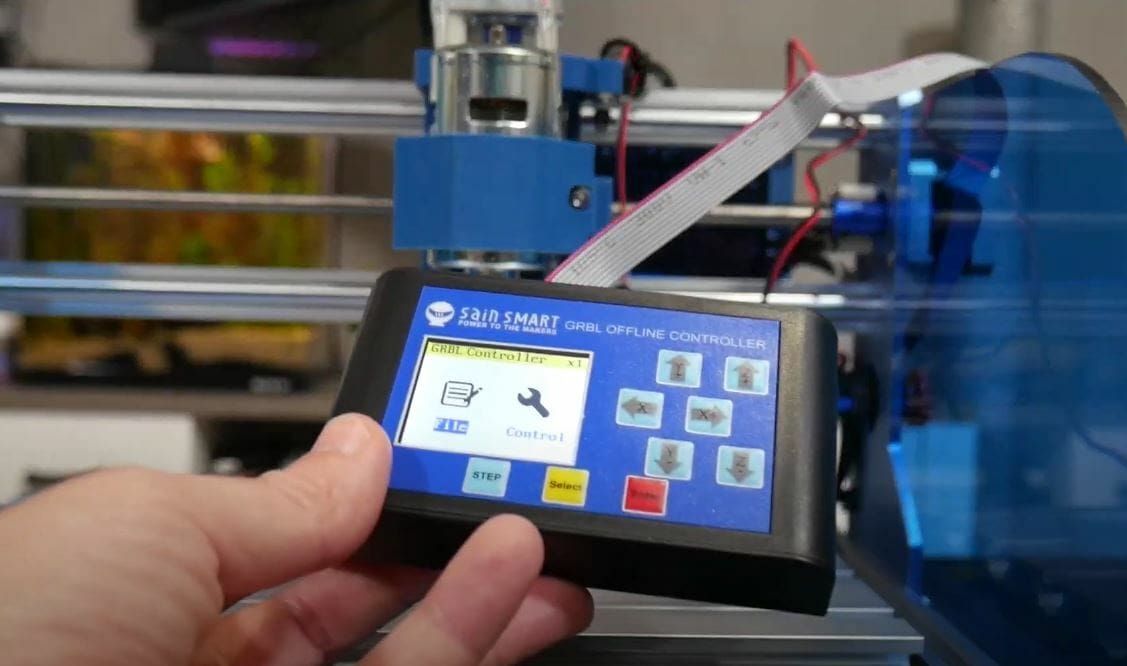
Now that you know the features that make MPCNC machines so popular, let’s compare the MPCNC Primo to the similar SainSmart 3018-PROVer, as they’re both popular devices that can serve as a CNC router. The PROVer is moderately sized, with a control interface and an aluminum frame.
The first point of comparison is the customization of the machines. As we know, the MPCNC can be adapted for different purposes, including machines as diverse as a 3D printer and a plasma cutter. The PROVer, on the other hand, isn’t as customizable because it doesn’t have an easily mountable Y-axis. However, it does use aluminum extrusions that you can easily add mounts to.
The PROVer comes with a touchscreen display and a colorful user interface, making it super easy to use, even for beginners. Unfortunately, adding an interface to your MPCNC is an extra expense and complexity.
Next, the frames of both machines are very stable and secure, but the PROVer doesn’t require you to mount the frame to a surface so it’s simpler to set up. Although mounting the MPCNC frame is a bit of a nuisance, the machine makes up for it by using smooth, stiff rods over aluminum extrusions. Smooth rods provide easy movement for the carriages due to the lack of places for fiction-causing particles like dirt to stick.
On this note about motion, the PROVer uses lead screws for all three of its axes, while the MPCNC utilizes belt motion. Although lead screws are less likely to wear over time than belts, they are also slower for longer movements.
Lastly, the MPCNC uses double stepper motors on the X- and Y-axes, providing superior motion compared to the PROVer. The PROVer only has one stepper motor on each axis, and while this lowers its cost, the PROVer may have a harder time pulling larger loads, such as a heavier spindle motor.
Overall, both the MPCNC Primo and the SainSmart 3018-PROVer are great machines, however, the DIY focus of the MPCNC makes it a better option for those looking to customize their CNC machine. However, the MPCNC is more suitable for those who have worked with CNC equipment before and know how to build and work with a DIY machine. The PROVer, on the other hand, is a great choice for beginners who want an easy-to-use interface, as well as for anyone looking for a cheaper option.
Specifications
It’s clear that MPCNC machines have a lot of great features, and below, we’ve provided a list of some of the specifications that are important to know. As these machines are customizable, the list only represents those of a standard MPCNC Primo:
- Build dimensions: 600 x 600 mm (24 x 24 in)
- Motors: 5x NEMA 17 stepper motors (two each on the X- and Y-axes; 1 on the Z-axis)
- Mainboard: Rambo, SKR Pro + TFT, or use your own!
- Software: Any CAM program (e.g. Fusion 360, Repetier-Host, Estlcam)
- Frame: 3D printed brackets with metal conduit rail rods
- Motion system: Belt driven
- Power: 12 V
Where to Buy
Although the MPCNC Primo and other variations are CNC builds requiring a host of unique individual components, you can purchase a kit with many of the things needed to make them. Alternatively, you can start from scratch using the full parts list.
The Primo kit without any add-ons (no wiring, extra belt, mainboard, or 3D printed parts) costs around $220. If you don’t have your own 3D printer, adding on the printed components sets you back another $165 (or try Craftcloud). Adding on a mainboard costs around $120, or you can choose to supply your own. You can customize and purchase your MPCNC Primo kit from V1 Engineering’s website.
Lead image source: Tom Will via Medium
License: The text of "MPCNC (Primo): Review the Specs" by All3DP is licensed under a Creative Commons Attribution 4.0 International License.