Multicolor 3D Printer: The Main Types & Printing Guide

Let's take a look at a few ways 3D printing is bringing ideas to life... in color! It's time to talk about multicolor 3D printing.
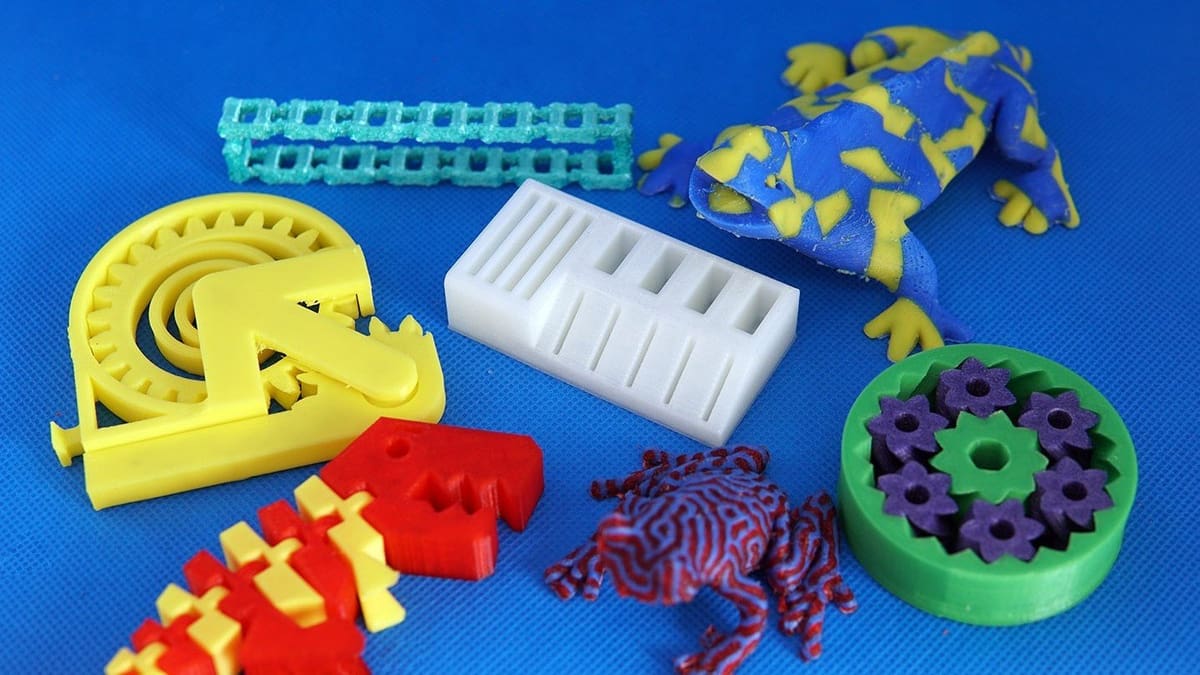
3D printing is an extremely versatile technology, with 3D printers able to create everything from toys to car parts. There are a few shortcomings, however, one of which is color.
Standard 3D printing, regardless of the technology, is inherently a single-color production method, which can be limiting to makers who want creative color patterns or realistic details – especially if you want to 3D print models that were designed for multiple colors.
The good thing is, there are possibilities! In this article, we’ll discuss the main ways to print multicolor 3D designs, from the simplest to the most complicated techniques, with a focus on fused deposition modeling (FDM) and a final look at non-FDM considerations to keep in mind.
Overview
We’re about to explore a variety of multicolor 3D printing solutions. Before we go full steam ahead, let’s discuss a few key terms to ensure we’re on the same page. Please know that these definitions aren’t in any way official terms. We’re simply going to use them to help distinguish and discuss different multicolor 3D printing techniques.
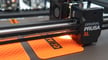
- Hobbyist multicolor printing fits within a hobbyist-level budget. Hobbyist multicolor 3D printers are typically under $2,000, whereas a multicolor add-on kit or upgrade would tend to run under $500. These solutions fit on a normal desktop, ready for DIY projects galore. Such solutions include printers like the Original Prusa i3 MK3S+ with the MMU3.
- Professional color printing is more expensive, precise, and perfect for prototyping and product development. Printers matching this description run upwards of $10,000 and fit nicely in an office environment since businesses tend to have a more flexible budget than everyday makers. For reference, the UltiMaker S5 and Raise 3D Pro 3 Series are stellar examples of color 3D printers that would suit a business in need of color 3D printing capabilities.
- Industrial color printing has virtually no financial or size restraints. They are high-tier machines ideal for production and end-use manufacturing. (Think Stratasys J-Series or 3ntr.) These machines work like a dream and fit in most large office or factory floor environments.
In this article, we’ll also use the following terms:
- Separate-color FDM 3D printing, which uses multiple materials to create parts with multiple colors.
- Blended-color FDM 3D printing, which uses only a few colors to create multicolor parts. The colors are blended to produce a broad spectrum of colors and shades.
Now that we’ve got these initial concepts out of the way, let’s get to the fun stuff!
Add-Ons
If you’ve already got your 3D printing setup and want to add some color, you can start by giving an add-on a try.
Swapping is one method to achieve multicolor 3D prints with minimal investment. This technique requires only one nozzle and simply retracts the old filament and inserts the new one when a color change is needed. It’s relatively simple and effective but can be pretty slow.
Swapping also requires purging to clear out any old filament before depositing the new one. As you might expect, this wastes time and material.
MMU3
The MMU3 is the latest multicolor unit produced by Prusa Research. Released with the MK4, it’s designed to work with the MK3S+ and the MK4. It was engineered for high-speed and low-waste multicolor printing, allowing for up to five-color printing. For this purpose, the MMU3 features a selector that picks the right material and loads it into the 3D printer extruder. It’s available already set up with the MK4S and also comes in a kit that needs to be assembled from scratch, plus you can find it as an upgrade kit if you already own the MMU2S. The assembly process shouldn’t be too difficult, but it’ll still take you a couple of hours.
AMS (Lite) & AMS 2 Pro
The Automatic Material System (AMS) is the first multicolor unit produced by Bambu Lab. Since the release of the A1 Mini, a smaller sibling has been added to the collection: the AMS Lite. With a hub, you can connect 4 AMS units, which allows users to print with up to 16 colors on the P1 and X1 series; the AMS Lite allows for 4-color prints only, and it’s compatible with the A1 series. The latest addition to the Bambu Lab catalogue is the brand-new AMS 2 Pro, which is compatible with the X1 and P1 series and should become compatible with the A1 series toward the end of 2025. Unlike the other two models, the AMS 2 Pro also works as a dryer, making it a great option for Bambu Lab users who often work with engineering-grade materials.
These are only some of the separate color add-ons that are now available on the market. In the last few years, multicolor 3D printing has skyrocketed in popularity, and many manufacturers are getting into this world. For instance, a couple of the latest options that have been released on the market are the Anycubic’s ACE Pro and Creality’s CFS. We’ll probably see a bunch of multicolor unit options in the next few years.
DIY
There are also DIY options, like the SMuFF and Enraged Rabbit Project. It’s worth noting that these require some previous (in the SMuFF’s case, significant) knowledge of firmware, tinkering with your machine, and a lot of patience.
FDM Printers

When you’re looking to add a new machine to your setup – or maybe you’re just getting started – and you want to skip ahead to a 3D printer that’ll offer some versatility, one of the following options may suit your needs.
Separate-color FDM 3D printing is perhaps the most straightforward multicolor 3D printing method. Using this technique, each color in a multicolor 3D print uses a separate filament. Several companies have developed this type of solution.
Multiple-nozzle, multiple-extruder printers, as we’ll refer to them here, are fully-fledged multiple extrusion printers (in contrast to blended-color machines, such as Geeetech’s now discontinued A-Series, which use two or three extruders – depending on the model – to push filament through a single nozzle). Multiple nozzles eliminate the need for excessive retraction of the old filament and annoying purge towers. On the flipside, these machines typically need more care and calibration to work perfectly.
Here are just a few examples of multiple-nozzle, multiple-extruder machines:
UltiMaker S5
If the budget isn’t a problem, a great option for a multicolor 3D printer is the UltiMaker S5. This machine features a dual-nozzle system mounted on a single printhead. It provides a decent build volume of 330 x 240 x 300 mm, and it’s enclosed. This makes it a great choice for those who plan on using more demanding materials. Additionally, UltiMaker offers a wide range of hot ends that can be easily swapped and are designed for different materials, ranging from PVA for easy-to-remove supports to fiber-filled filaments. It’s a great choice for both multicolor and multi-material printing.
Snapmaker J1s
The Snapmaker J1s features an independent dual nozzle with two separate printheads (IDEX system). This allows you to print in parallel, as well as print with two colors or two materials. It isn’t as expensive as the UltiMaker S5, but it’s on the upper side of the consumer budget, priced at ~$1,500 when not on sale. The advantage of this particular machine over other IDEX 3D printers is the automatic calibration that allows you to save a lot of time and headaches.
Original Prusa XL
Another great option for a multicolor 3D printer is the Original Prusa XL. Unlike the previous two machines, the Original Prusa XL features a toolchanger system that can provide up to five different printheads. This design produces minimal waste when printing in multicolor, a big advantage compared to other systems. It also allows for multi-material printing with up to five materials. If you plan on using engineering-grade materials often, you can purchase the enclosure to improve the chances of success.
DIY Alternatives
Multicolor 3D printing is without a doubt more expensive and complicated than single-color printing. If you aren’t sure that you want to take the time for or make the financial investment in such a machine or upgrade, you can try some pre-, during, or post-printing coloration techniques.
Pre- and post-coloring aren’t multicolor 3D printing techniques in the truest sense because neither method is part of the printing process. However, these are great techniques if you want to add some color to your filament or the printed part.
Filament Swap
While you’re printing, you can also swap the filaments manually. We’ve gone over letting the 3D printer or add-on take care of the task, but there’s also the DIY approach.
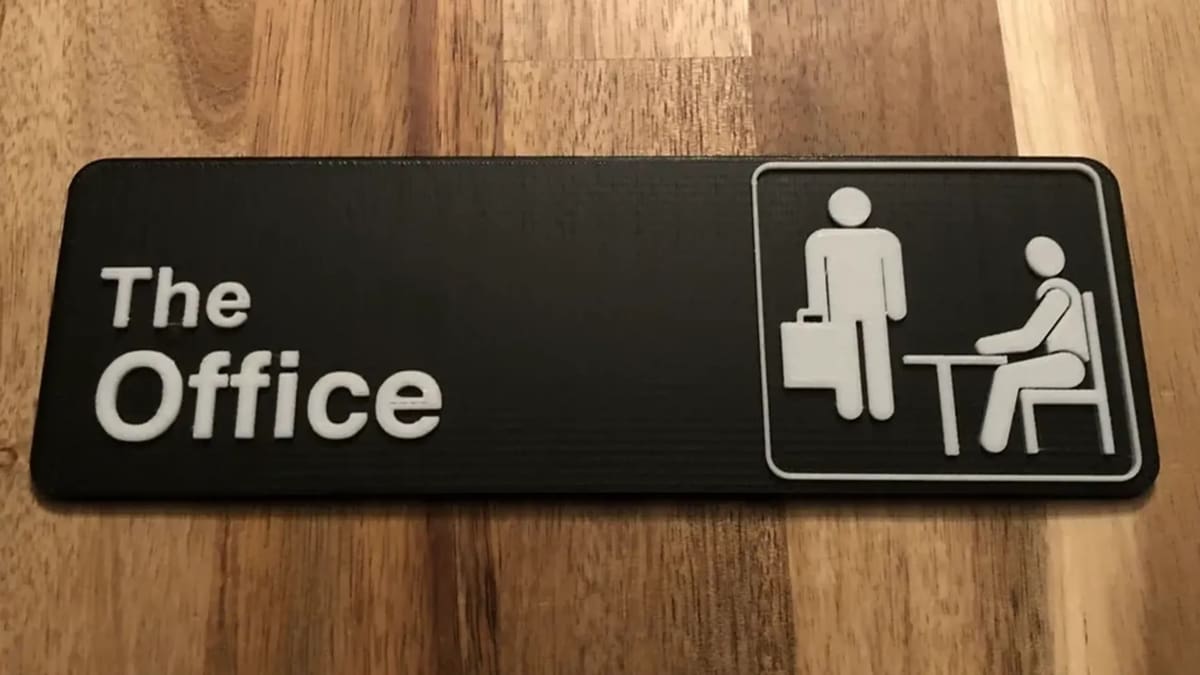
You can swap filaments manually by pausing a print at a particular point. Naturally, this can be tiresome for complex 3D prints, but you can easily create multicolor plaques, for example. Be sure to thoroughly purge the old filament and swap in the new one before resuming your print. (Using a Creality machine? Check out how to do this on an Ender 3, V2, Pro, or S1.)
Pre-Printing Color
To start with, let’s go over options that will add some color to your prints although you won’t be able to predict color changes: having a pigmented filament.
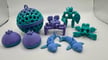
You can print in fun colors, blends, and mixes. Multicolored filament provides no control over the color of your part since it’s randomly colored before printing.
- Rainbow (or multicolor) filament comes in all sorts of colors and shades that look beautiful for artistic models such as vases and sculptures.
- Color-changing (or “dynamic”) filament is similar to rainbow filament except that, instead of having multiple fixed colors, the material reacts to the temperature and changes color accordingly.
- Dual-color or dichromatic filament is created through co-extrusion, which means that two different colors are used. However, instead of mixing, they each make up a non-overlapping half of the filament (think mint-stripe toothpaste). As a result, the print color will vary depending on the orientation of the design while printing, making it great for illusion pieces.
- Filament dying (nylon) allows you to print in a tie-dye or unique color of your choice. First, wrap up a spool of nylon filament and dip one to four sides of the spool in different nylon-compatible dyes. When you print with your dye filament, the print will have a neat tie-dye effect. You can also dye nylon prints after printing.
Post-Printing Coloring
Post-printing coloring is a simple way to achieve multicolor prints without taking too much time or breaking the piggy bank. It isn’t part of the 3D printing process, but it’s still a neat way to add color to your parts.
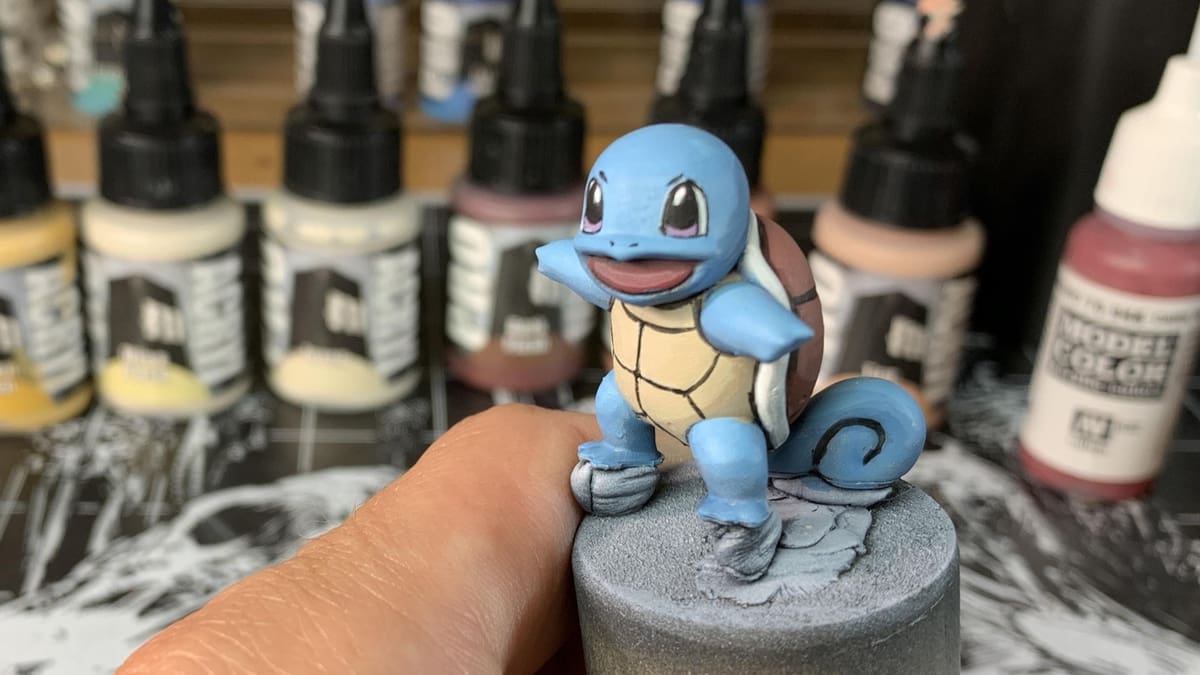
- Painting is a straightforward process familiar to most people. Make sure to properly post-process your print before painting. Pay close attention to detail, using a small brush if necessary.
- Hydro dipping, also known as water marbling, is a technique that involves mixing non-water-soluble paint onto the surface of the water to achieve chaotic yet beautiful patterns. The paint will only stick to the print when you dip your model in water.
Non-FDM Solutions
So far, we’ve discussed FDM multicolor 3D printing, but FDM is only one 3D printing technology. In terms of quality, the best color 3D printers are actually non-FDM. Let’s take a look at other colorful solutions!
Multicolor Resin 3D Printing
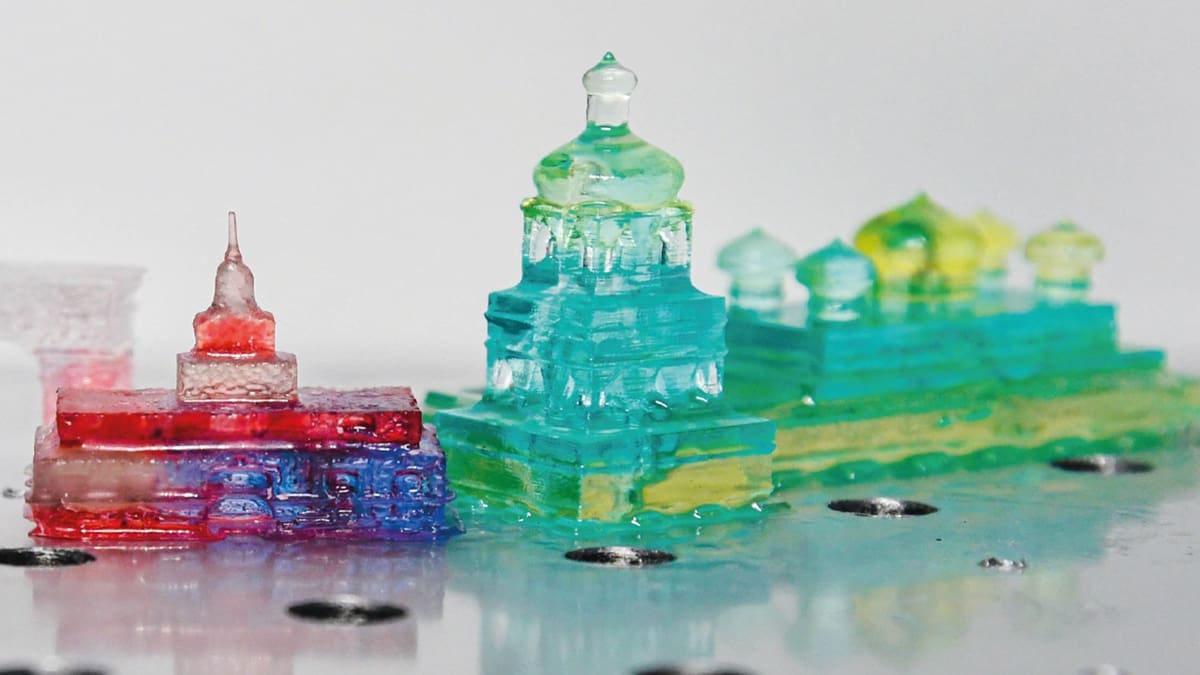
While resin 3D printing offers a higher level of detail and quality than FDM, it lags behind when it comes to multicolor prints.
It’s possible to start a resin print with one color and pause the print at the layer where you would like to make a color switch. You can then remove the resin in the vat and replace it with the color of your choice, adjusting the printer settings to match the new resin. However, this process is time-consuming and can be a bit messy.
Often, it is simpler to just print two separate pieces in different colors and then glue them together, or you can also simply paint the parts after they’ve been cured.
Full-Color 3D Printers
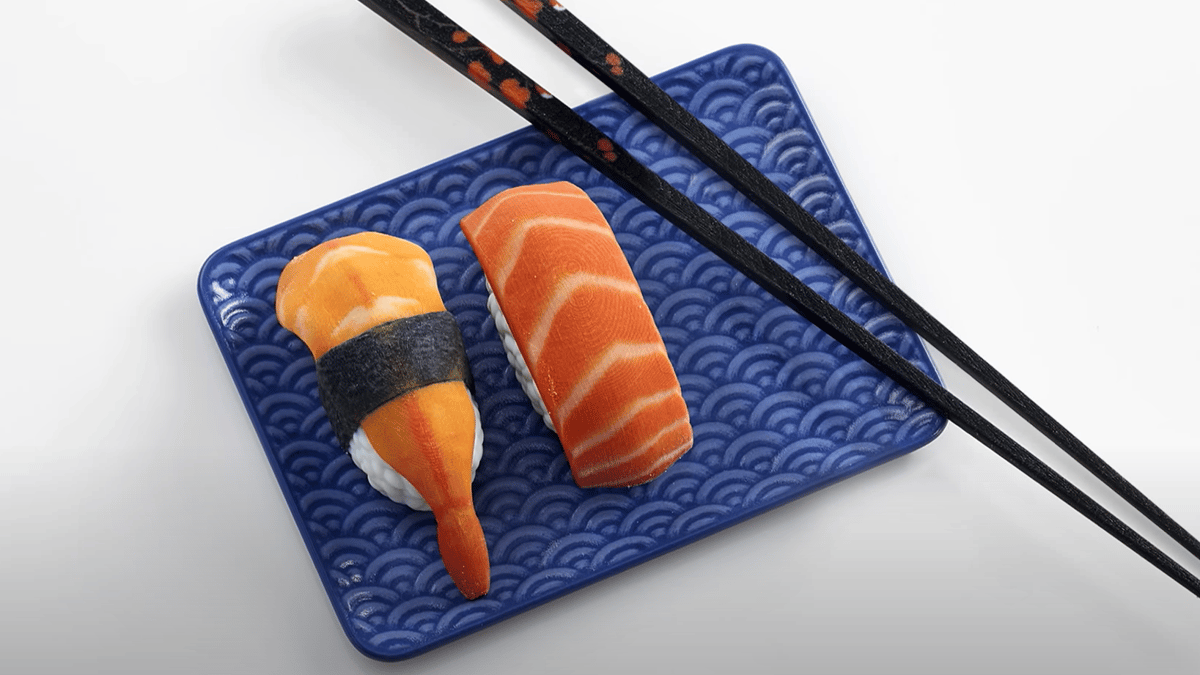
Going beyond multicolor, full-color 3D printing opens up a world of possibilities. 3D Systems, Stratasys, and Mimaki can create precise, full-color 3D prints that will knock your socks off with realism. Each company uses a different method to achieve colorful 3D prints. These are top-tier industrial machines perfect for creating final prototypes and proofs of concept.
Material jetting is an extremely fast and accurate 3D printing technology for full-color prints. Material jet 3D printers build parts by depositing polymer droplets that are then cured with UV light. To develop full-color parts, these machines use CMYK (Cyan, Magenta, Yellow, Black, and White) droplets that give them a full suite of available colors and shades.
The Stratasys J-Series machines are prime examples of full-color material jetting 3D printers. These machines can even replicate the real-life texture and feel! That’s how accurate the jetting and coloring are. However, with a cost of around $250,000 per machine, they’re a bit out of reach for most hobbyists. Best to leave it to high-level professional and industrial applications!

License: The text of "Multicolor 3D Printer: The Main Types & Printing Guide" by All3DP is licensed under a Creative Commons Attribution 4.0 International License.