NOOBS vs Raspbian: The Differences

Everyone's heard of the Raspberry Pi, but the NOOBS vs. Raspbian (Raspberry Pi OS) debate may be unfamiliar. Let's take a closer look!
What's What

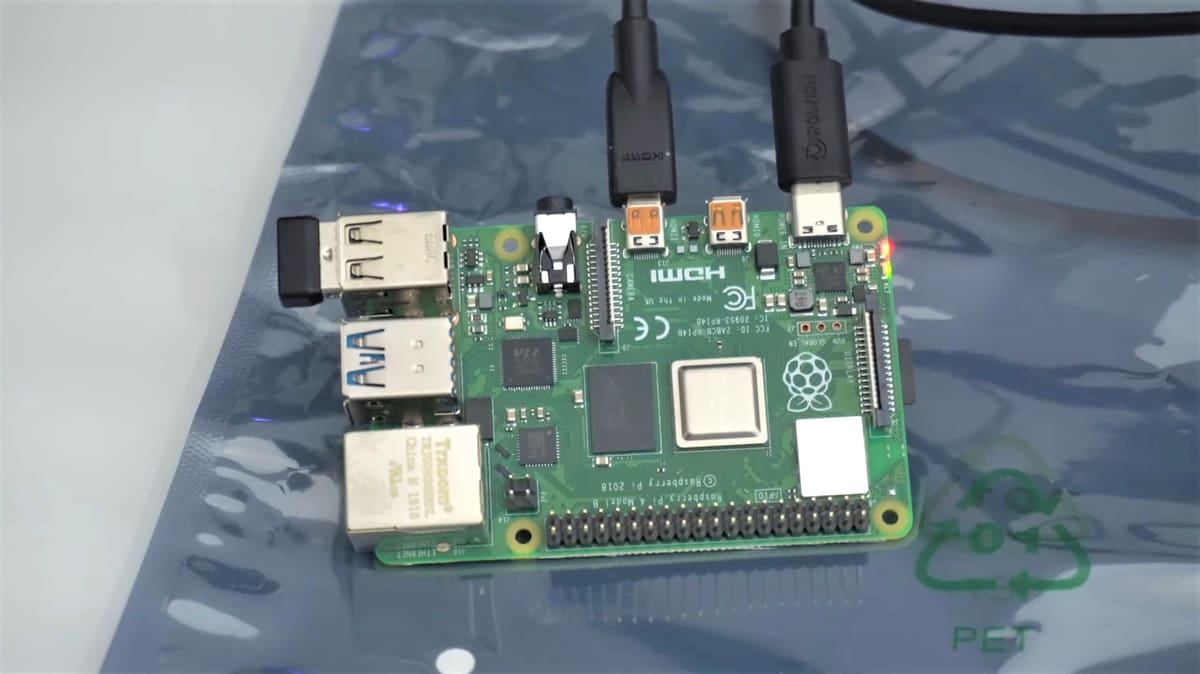
The Raspberry Pi is a tiny, low-cost single board computer that has opened the doors to physical computing for millions of people. It can be used to play retro games, build a robot, or even monitor your 3D prints.
One of the simplest ways to get started with the Raspberry Pi is to grab a starter kit. Besides the Raspberry Pi itself, a starter kit often comes with peripherals, such as a power supply, keyboard, mouse, and depending on the model, either a Micro HDMI or HDMI cable.
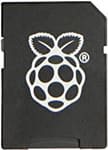
Most starter kits will also contain a MicroSD card with NOOBS pre-installed (which we’ll explain in a minute), and this is where things get a little tricky. Unlike a traditional computer, the Raspberry Pi can’t run an operating system without a MicroSD card. Therefore, this MicroSD card serves as permanent storage and also stores the operating system.
Although there are some alternatives out there, Raspberry Pi OS (formerly known as Raspbian) is the recommended OS for the Raspberry Pi. There are a number of ways to install the OS, however, the Raspberry Pi Foundation suggests either the Raspberry Pi Imager or NOOBS, which stands for “New Out Of the Box Software”.
NOOBS was created back in 2013 to make the setup process easier. Don’t think of it as a rival operating system to Raspberry Pi OS. Rather, it’s a program that facilitates the installation of an operating system.
In this article, we’ll walk you through the setup process using both NOOBS and the Raspberry Pi Imager. If you’ve got prior experience with image-flashing tools, skip ahead a couple of sections. Otherwise, follow along as we jumpstart the process with an SD card with NOOBS pre-installed.
Installation from a NOOBS SD Card

The installation process is a cinch with a pre-installed SD card. Here’s how to do it:
- Remove the MicroSD card from the SD adapter and insert it into the Raspberry Pi’s MicroSD slot.
- Connect the HDMI or Micro HDMI cable to the Raspberry Pi.
- Connect the other end of this cable to a monitor display.
- Finally, connect other peripherals, such as a keyboard and mouse, and then power it up.
Once the Pi boots, you will briefly see a screen with the Raspberry Pi logo at the upper left. After a short while, the NOOBS installation menu will be displayed.
From here, you can select the operating system of your choice. According to the Raspberry Pi Foundation, “As of NOOBS v1.3.10 (September 2014), only Raspberry Pi OS is installed by default in NOOBS. The others can be installed with a network connection.”
- So go ahead and select the Raspberry Pi OS by pointing the cursor at the white box. Click once with the left mouse button. An “Install (i)” menu icon can now be selected.
- Click the “Install (i)” icon once and follow the prompt to begin the installation process.
- Now, wait for the installation process to complete.
Depending on the speed of your MicroSD card, the process may take anywhere from 10 to 30 minutes.
Prepare Your Own NOOBS MicroSD Card

Have a MicroSD card lying around? You can get NOOBS onto it yourself:
- Download NOOBS.
- Verify the integrity of the downloaded archive. While this isn’t a mandatory step, it is recommended. Here’s how to do a quick integrity check:
- Open a terminal window and run the “sha256sum” utility with the downloaded file path. For example, you may have stored the “NOOBS_V3_5_0.zip” folder in your Downloads folder. So type the following into the terminal window:
sha256sum Downloads/NOOBS_V3_5_0.zip - You should see a long hexadecimal number. Compare this number to the one on the NOOBS download page as shown in the image.
- If they match, the download was successful, and the file is safe to use.
- Open a terminal window and run the “sha256sum” utility with the downloaded file path. For example, you may have stored the “NOOBS_V3_5_0.zip” folder in your Downloads folder. So type the following into the terminal window:
- Use a program like SD Card Formatter to format the MicroSD card for NOOBS. The formatting process erases everything that’s already on that MicroSD card, so make sure you’ve saved what’s needed.
That’s it! The remaining steps to install the operating system are the same as above.
Installation with Raspberry Pi Imager
The Raspberry Pi OS can also be installed using the new Raspberry Pi Imager, and it’s super fast. This is made possible as the utility downloads a JSON file from the Raspberry Pi website, reads it directly from the website, and writes it straight to the card. Doing so eliminates the need for the extra steps of the standard installation process.
If you want to go the Raspberry Pi Imager route, here’s what you do:
- Download the Raspberry Pi Imager.
- Once it’s been downloaded, double-click on the downloaded file to run the program.
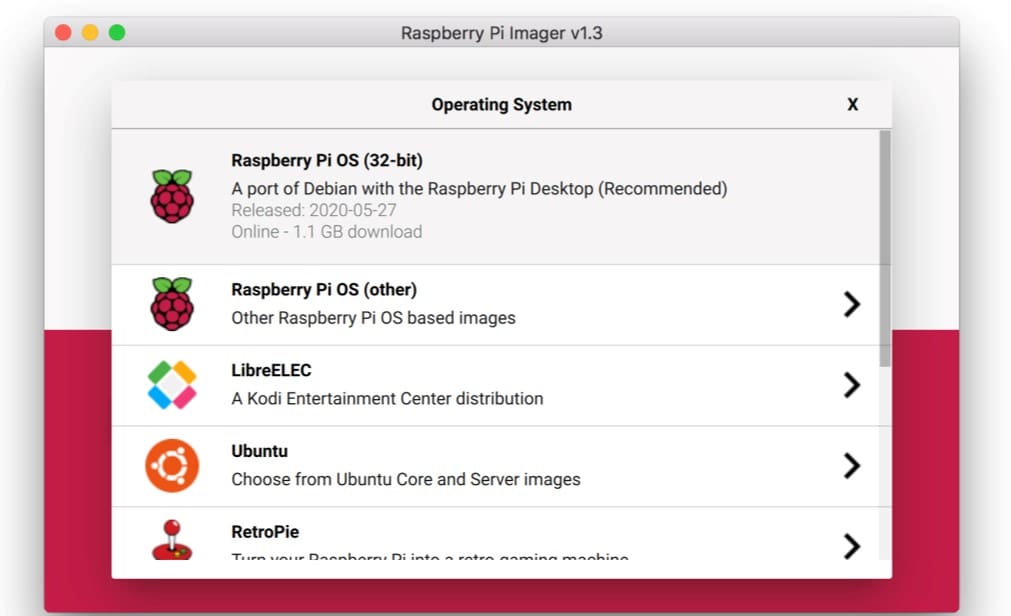
- Choose the operating system of your choice, which in our case will be the “Raspberry Pi OS (32-bit)” option.
- Make sure the correct SD Card is selected.
- Click on the “Write” button.
- Once this is complete, proceed to the next step!
Raspberry Pi OS
Now that the installation process is complete, you can set up the OS and browse for software. Before you start, double-check that a keyboard, mouse, and display are connected.
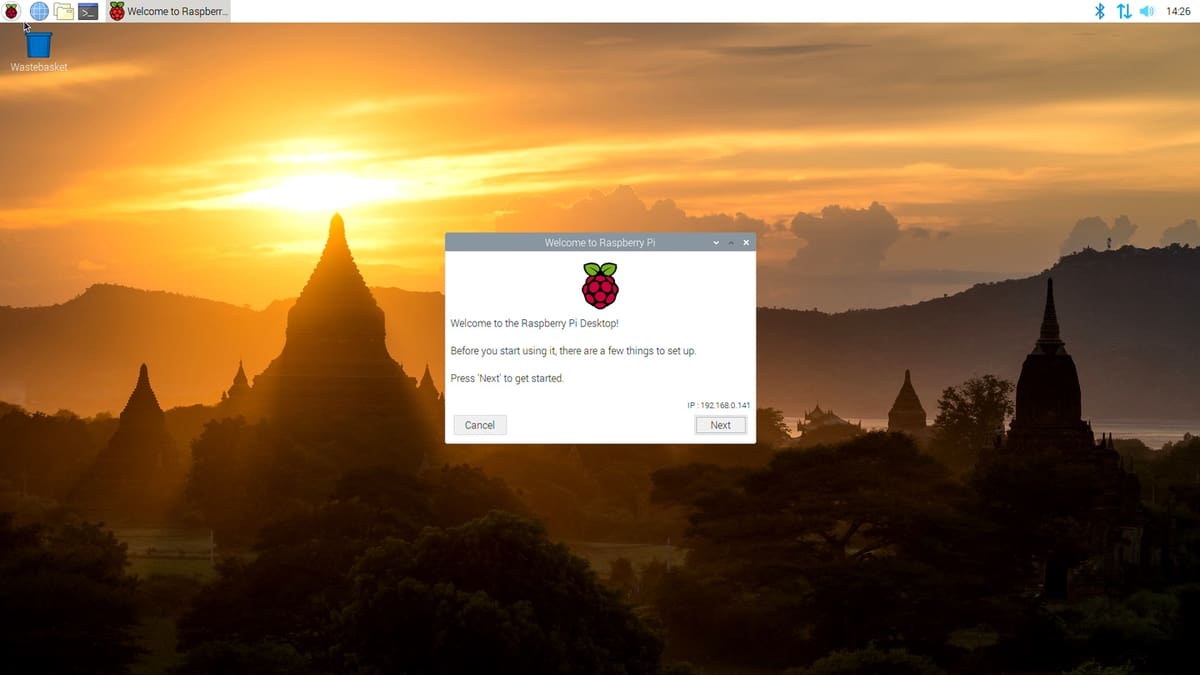
Whichever way you’ve chosen to install the operating system, you’ll be greeted with the same welcome screen after powering up your Pi. You should now see the Setup Wizard, which will allow you to set your country and language, enter a password, and connect to a Wi-Fi network.
Browsing for available software is pretty easy:
- Click on the Raspberry icon on the top left-hand corner.
- Click “Preferences”, then select “Add/Remove Software”. The tool’s window will appear and on the left, and a list of categories will be displayed.
- To select a package for installation, check the box next to it. Multiple packages can be installed at the same time.
- Once you’re ready, click on the “Apply” button.
To uninstall software, follow the first two steps listed above. In the list of packages, search for the program and uncheck the box next to it. Complete the removal process by clicking on “Apply”.
You’re all set to take on a host of DIY projects with your new Raspberry Pi. Not sure where to get started? Check out these 50 Cool Raspberry Pi Projects or OctoPrint Setup: How to Install OctoPi on a Raspberry Pi.
Lead image source: The Review Suite via YouTube
License: The text of "NOOBS vs Raspbian: The Differences" by All3DP is licensed under a Creative Commons Attribution 4.0 International License.
CERTAIN CONTENT THAT APPEARS ON THIS SITE COMES FROM AMAZON. THIS CONTENT IS PROVIDED ‘AS IS’ AND IS SUBJECT TO CHANGE OR REMOVAL AT ANY TIME.