
OctoDash: All You Need to Know

As we all know, OctoPrint takes the 3D printing experience to the next level. So add an even higher level of convenience with OctoDash!
A Nice Touch
OctoPrint is a remote control and monitoring platform for streamlining your 3D printing workflow. Essentially, it’s a much more convenient way to send print files to your printer and offers additional controls and information. No more moving microSD cards from your computer to the printer! Additionally, OctoPrint can be accessed from anywhere on your network and even remotely if you configure your network appropriately.
To run it, you’ll need another device to interact with OctoPrint. Many makers go with a Raspberry Pi, but you can also use an older laptop, a Chrome Book, or your main computer. With its many amazing plug-ins, OctoPrint is a popular choice for makers for several reasons.
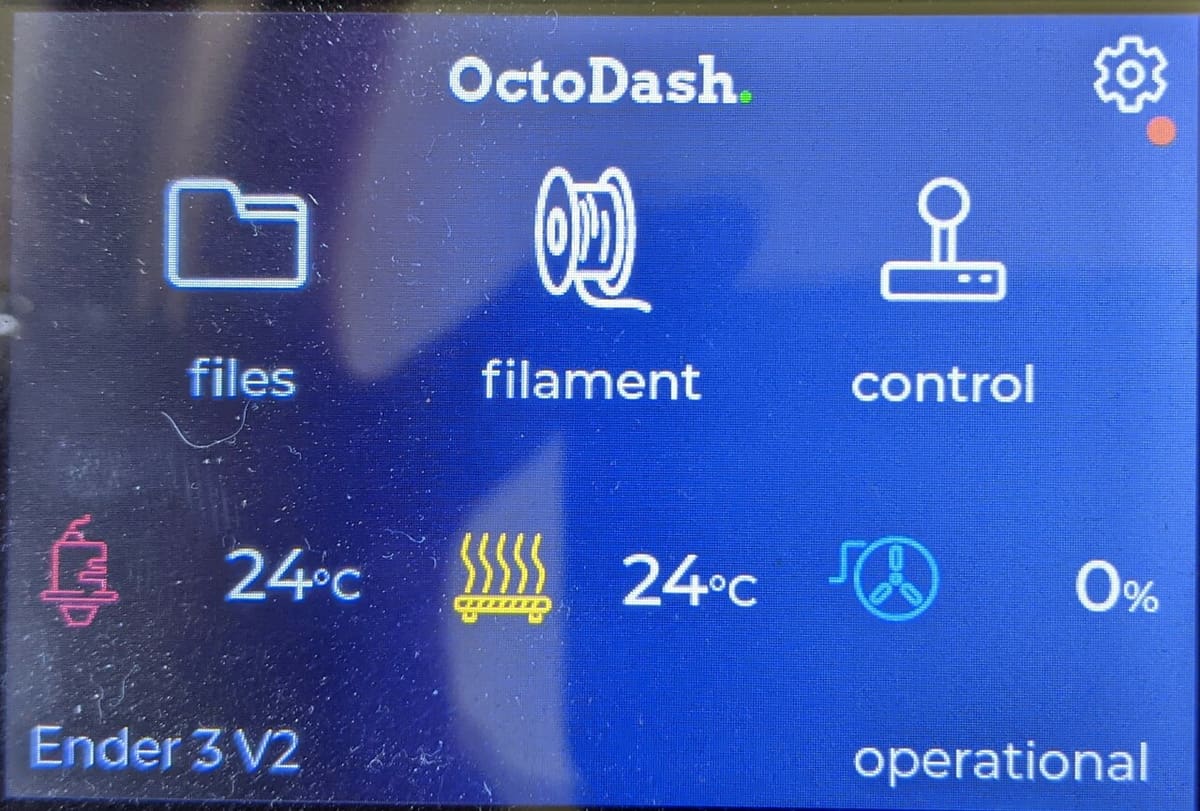
Speaking of amazing plug-ins, one you might want to add is OctoDash, an open-source project by Timon Gäbelein and other contributors. The plug-in gives you a way to interact with OctoPrint at your printer. In other words, it creates a UI compatible with a small touch screen for controlling OctoPrint. This includes icons, a menu structure, and the ability to browse the files stored on the Raspberry Pi to select for printing.
Now that we know a little bit about OctoDash, we’ll go into more details about how it works, what you’ll need, and how to install it. Let’s get started!
User Interface
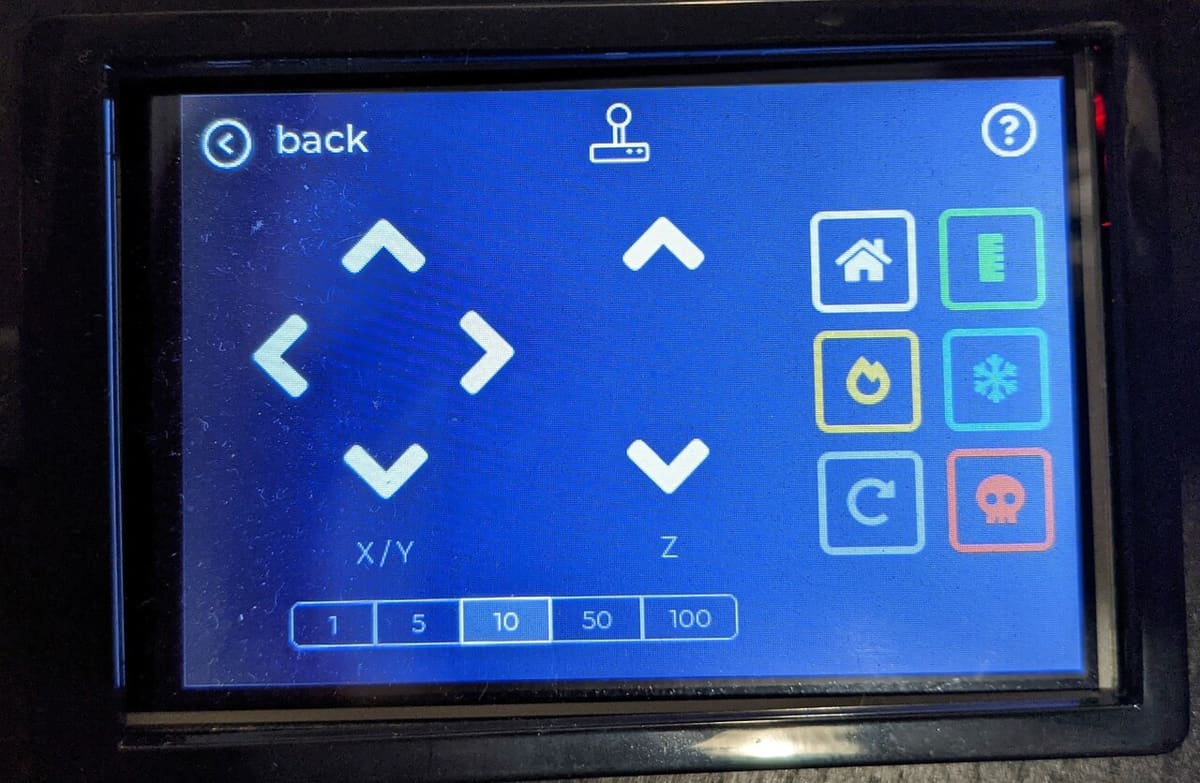
OctoDash creates a graphical UI of OctoPrint’s various functions, which allows them to be accessed via a touch screen. Some of the more popular controls available on OctoDash include the following:
- Temperature and speed adjustments when printing
- Moving along the X-, Y-, or Z-axis
- Homing your printer
- Loading and printing a file
- Pausing or canceling a print
- Turning your printer on and off
- Changing filaments automatically
- If you have a webcam, you can view your camera feed on the screen
Hardware Needed
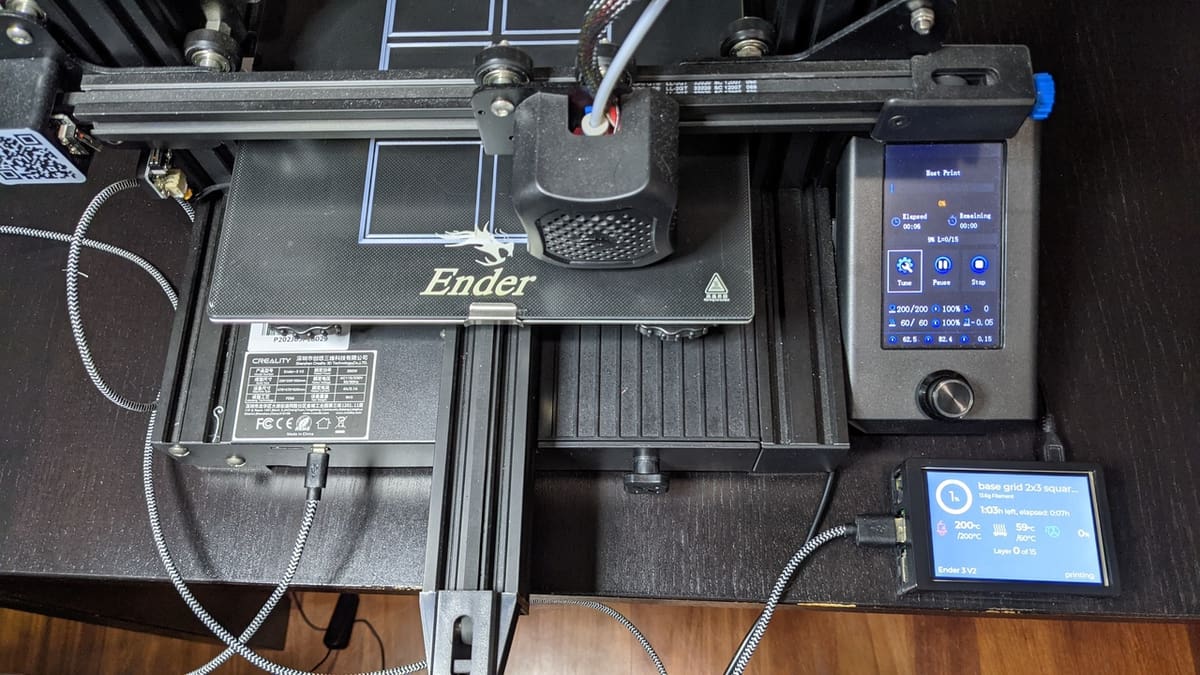
Convinced already? Not surprisingly, the only additional hardware you’ll need is a display, preferably a touch screen. Note that if you don’t have or want to get a touch screen, OctoDash’s UI can work as read-only, though you won’t have access to a few interactive features.
If you want to take advantage of all of its features, however, you can get a 3.5″ color touch screen for around $30. For those of you who prefer a larger display, OctoDash supports a 7″ screen as well.
When choosing between the two, the main factor is how big you want your footprint to be. As a reference point, the 3.5″ display is basically the same size as the Raspberry Pi. For either size, you’ll need to install drivers for the specific touch screen. Consult the directions that came with the screen, or if that doesn’t work, search on that specific model for help. Generally speaking, it’s fairly easy to add the display to your OctoPrint setup.
Installation
Thankfully, installing OctoDash is an easy and straightforward process!
First, you should make sure that your OctoPi (version of Linux OS) and OctoPrint (application) are up to date. For the OS, it’s best done by going to the terminal in OctoPi and executing the following commands:
sudo apt update
sudo apt full-upgrade
For more information on updating the OS of the Raspberry Pi, you can check out their official website.
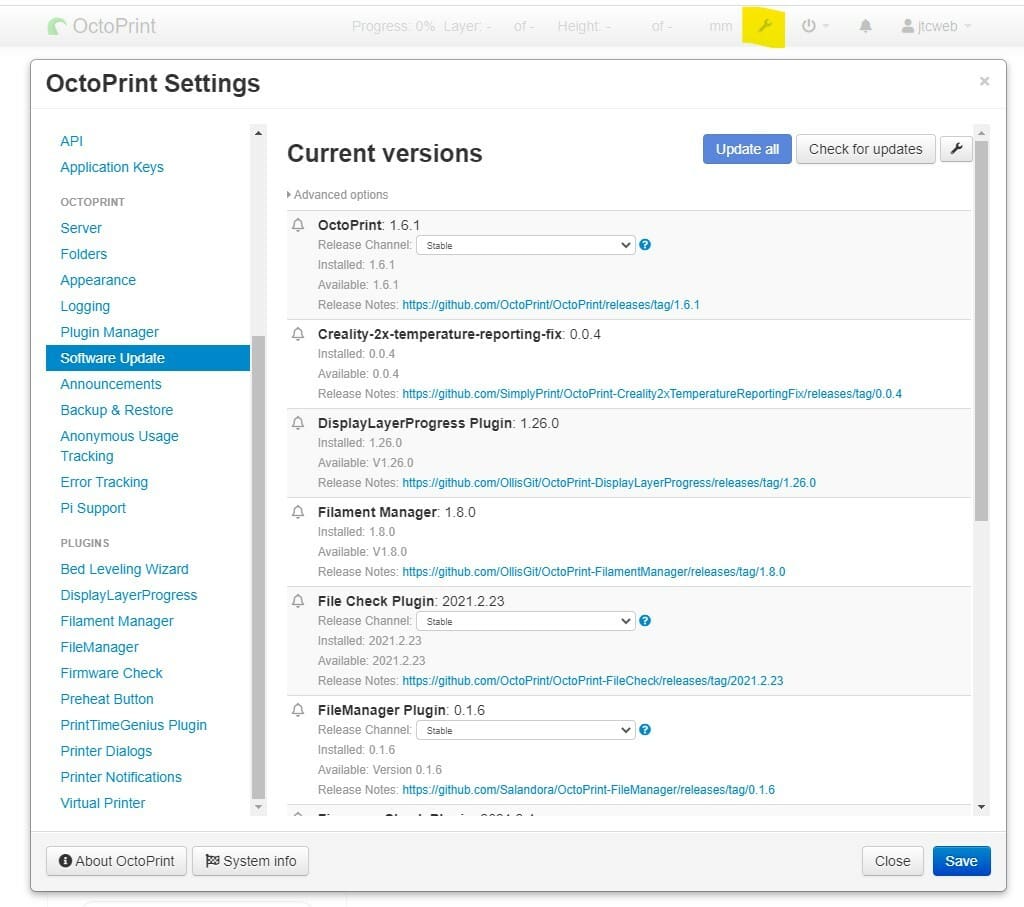
To update OctoPrint, navigate to your settings window in the UI. Click on the setting icon (little wrench in the top bar) and select “Software Update” from the left menu.
Once the OS and OctoPrint have been updated, go to the OctoDash GitHub, copy the install command, and paste it into a terminal window.
Troubleshooting

You might have a hard time getting a GPIO display to go into the graphics mode to display the OctoDash UI. The GoodTFT display is a common and cheap option, but unfortunately, the instructions that come with it do not produce a working configuration. Fortunately, the Raspberry Pi website has a good article on how to configure it correctly.
And that’s all there is to installing and using OctoDash!
License: The text of "OctoDash: All You Need to Know" by All3DP is licensed under a Creative Commons Attribution 4.0 International License.