
OctoPrint: Dark Mode – Simply Explained

Some are afraid of the dark, others seek it out. In that case, let us enlighten you! Learn how to work OctoPrint in dark mode.
One of the most fun aspects of 3D printing is customizing your setup! Having the ideal printer (or printers) is just the beginning. There are so many other factors to consider, like adding upgrades to your machine, having the furniture that best suits your workspace, opting for the slicer that meets all your needs, and more! One such customizable feature is OctoPrint, which is a pretty handy tool that has quite a few advantages.
In this article, we’ll be explaining how to configure OctoPrint, a popular monitoring platform, to use dark mode. We’ll cover the basics of OctoPrint, explore dark mode, and then show you how to install the display setting. There are four main options for doing this in OctoPrint, and we’ll show you all of them!
But first, let’s go over what OctoPrint brings to the table.

What's OctoPrint, Again?

As an avid All3DP reader, you’re likely a 3D printer superfan. Thus, you probably already know what OctoPrint is.
But for those who don’t, OctoPrint is, at its core, a web-based interface for communicating with your 3D printer. It enables you to remotely control your printer and reduces the risk of print failures by providing capabilities to monitor your machine remotely.
But that’s not all OctoPrint can do. Thanks to the many plug-ins available, its usefulness can be greatly expanded. In fact, that’s exactly how OctoPrint supports dark mode.
Dark Mode Explained

Dark mode, as you likely already know from other devices, simply renders a user interface in predominantly dark colors rather than light ones. This is sometimes also known as black mode, dark theme, night mode, or light-on-dark. Dark mode is mostly a personal preference based on aesthetics. Particularly if working at night or in a dark environment, many people find dark mode more comfortable to deal with.
A variety of colors are in used dark mode themes, not just black. Deep blues and dark grays are also common. Some different themes include darker versions of other colors. Try green if you want to enter the Matrix!
Findings on whether dark mode is better or worse for your eyesight aren’t clear-cut: While some studies show that dark mode reduces eye strain, others say it increases it. Ultimately, the jury’s still out on any eye health benefits, but it does look nice!
How to Enable Dark Mode in OctoPrint
The team behind OctoPrint have done a great job at allowing the software’s capabilities to be expanded through a rich library of plug-ins. Enabling dark mode in OctoPrint is one example of the power of these add-ons. If you get stuck trying to install a plug-in, then check out the guide from the OctoPrint developers.
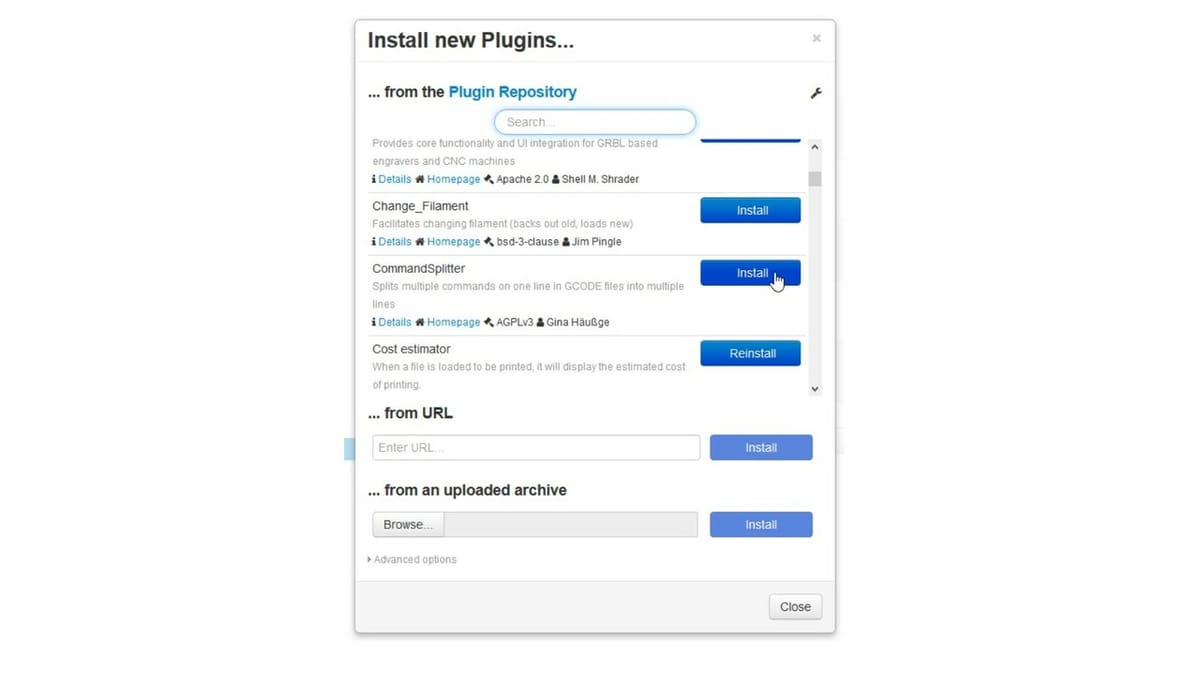
To install dark mode on OctoPrint, choose one of the dark mode plug-ins that we cover below. Then, it’s as simple as opening the settings panel, navigating to the Plugins section, and searching for your plug-in of choice. Next, hit “Install”. After the plug-in has been installed, you’ll need to restart your OctoPrint server to enable the changes. You can do this through the System panel found next to the settings icon in the top right-hand corner.
It doesn’t get any simpler than that.
Plug-ins
Alright, let’s take a closer look at the plug-ins so that you can decide which suits you best.
Themeify

Themeify is the simplest and most popular plug-and-play solution for getting dark mode on OctoPrint, installed on over 21,000 OctoPrint instances. It maintains the default layout of OctoPrint, so you won’t have to relearn where your favorite settings are. It also comes with four dark themes by default, so you’ll have a few options to pick from. If you choose to, you can customize aspects of the OctoPrint interface individually from the settings panel.
If the palette looks similar, that may be because it’s based on the color scheme used for Discord.
- Plug-in link: OctoPrint Plugin Repository
- Active instances: Over 21,000
- Developer: Birk Johansson
UI Customizer

UI Customizer is hot on the heels of Themeify in terms of popularity. Installed on nearly 7,000 OctoPrint instances, this plug-in comes with eight beautiful dark themes. A favorite OctoPrint dark mode theme of ours lives in this plug-in: Blue Moon.
Like Themeify, this plug-in retains the default OctoPrint layout. However, it has more powerful controls to rearrange OctoPrint’s layout to your heart’s content. This plug-in also introduces custom widgets for the G-code, Webcam, and Temperature tabs, allowing you to view these outside of their normal locations.
- Plug-in link: OctoPrint Plugin Repository
- Active instances: Almost 7,000
- Developer: Mikkel Skovgaard
Blocks

Unlike the previous two plug-ins, Blocks transforms the OctoPrint layout into – you guessed it – blocks! Although its main purpose is the fundamental redesign of OctoPrint’s frontend, this plug-in also has a dark mode.
Blocks’ installation is similarly easy, but its layout takes some customization and getting used to. It’s still pretty unused, with around 30 active installations at the time of writing.
It’s worth noting that this plug-in won’t play nicely with Themeify or UI Customizer, so you can’t combine the layout of Blocks with one of their themes. Of all the plug-ins in this guide, Blocks is the easiest to switch between light and dark modes with its simple toggle switch on the front page of OctoPrint. All the other plug-ins require you to go into settings to change the theme.
- Plug-in link: OctoPrint Plugin Repository
- Active instances: Over 20
- Developer: Hugo C. Lopes Santos Costa
OctoDash Companion

OctoDash Companion is the most advanced plug-in for OctoPrint theme customization, as it allows you to upload your own custom CSS file to OctoPrint to completely customize the design of its interface. While this will require you to have strong knowledge of CSS scripting, it means that the results you can create are as varied and visually stunning as your imagination allows them to be. Of course, as part of this, you’re able to design your own dark themes. (Note that a theme called Nox is available.)
No default themes available after installing the plug-in, yet it’s a pretty popular plug-in, with over 3,000 installations currently. If you’re a tech whiz, this is the plug-in for you! You have almost unlimited granular control over the interface you’ll use.
- Plug-in link: OctoPrint Plugin Repository
- Active instances: Over 3,000
- Developer: jneilliii
License: The text of "OctoPrint: Dark Mode – Simply Explained" by All3DP is licensed under a Creative Commons Attribution 4.0 International License.