OctoPrint & Home Assistant: How to Get Started

Adding your 3D printer to your smart home hub can be pretty useful. Read on to see how it can be done with OctoPrint and Home Assistant!
OctoPrint and Home Assistant are modern and powerful tools that can be used to simplify the control of and add extra functionality to devices around your home.
OctoPrint stands as a dynamic tool that offers a streamlined and feature-full way to interact with 3D printers. Home Assistant complements this with a centralized experience to control many smart home devices.
Merging the two, when done right, can provide for a seamless and useful experience that further facilitates managing devices – in this case, 3D printers!
In this article, we’ll look a bit closer at what OctoPrint and Home Assistant are, why they’re worth integrating, cover two methods of how to do so, and give some tips on how to avoid the most common pitfalls.
What Are They?
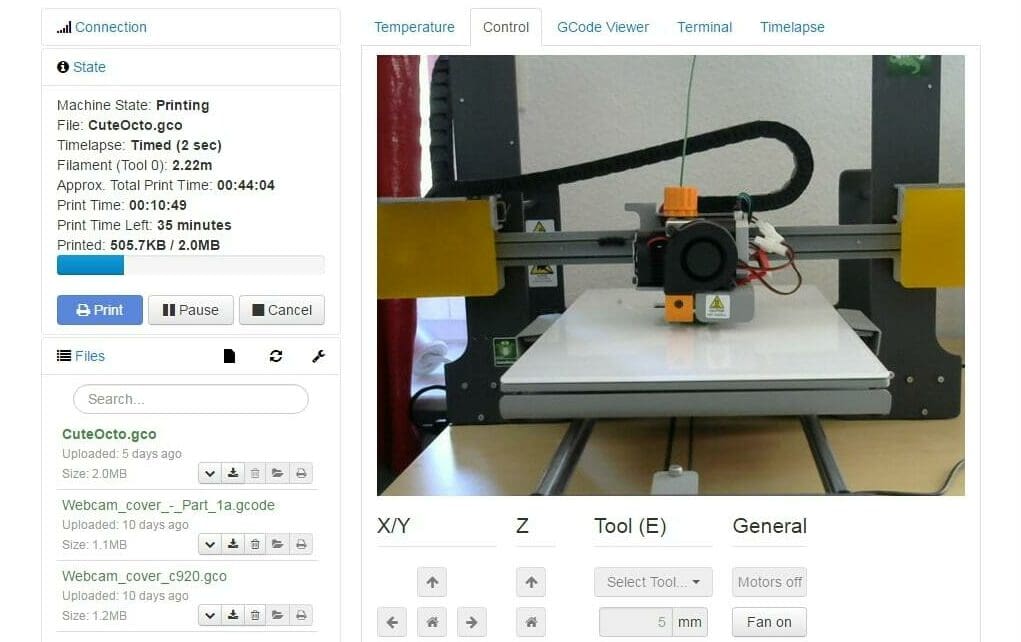
OctoPrint is versatile software that enhances the typical feature set of 3D printers with remote management, more advanced control over printer functions, and a vast array of plug-ins. It adds extra functionality to the printer, including remote monitoring and control of print jobs, improvements to a printer’s interface, and even time-lapses!
Additionally, it makes the printer and its functions accessible over a network, which can allow for integrations with other software, such as Home Assistant.
Similarly, Home Assistant serves as a centralized control hub for a wide range of smart home devices on a home’s network, such as light switches, door sensors, smart speakers, and even 3D printers! It simplifies the management of various smart home gadgets, enabling users to unify and customize their smart home experience by controlling the interactions and automation between devices.
While it may be rather obvious why integrating these two setups can be useful, let’s go over some of the reasons to do so.
Why Integrate?
Integrating OctoPrint and Home Assistant can offer several compelling advantages for users seeking to elevate their 3D printing and smart home experiences.
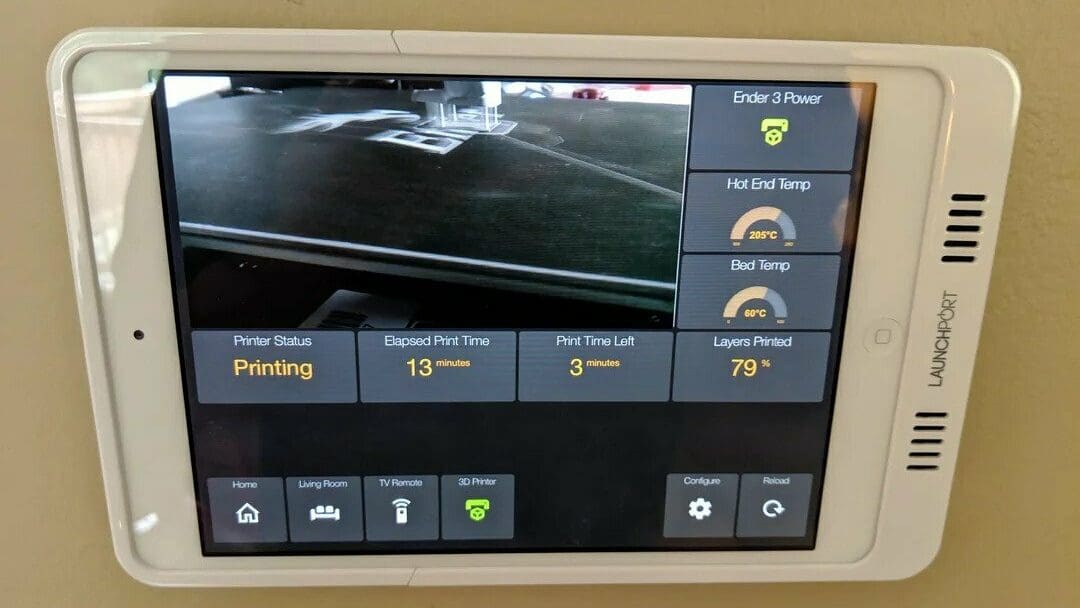
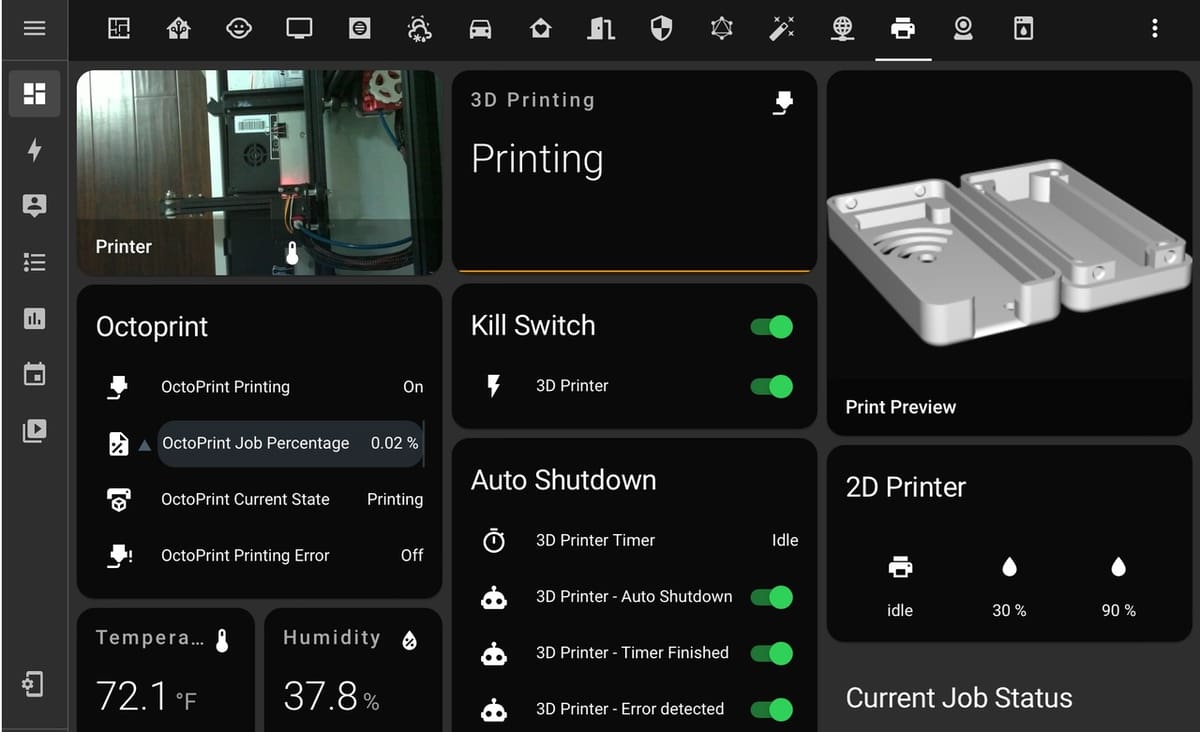
One key benefit of integrating OctoPrint and Home Assistant is the ability to monitor and interact with essential printer functions and sensor data directly within Home Assistant. Users can gain real-time insight into their 3D printing process, including print status, printer state, print start and end times, print percentage, estimated end time, and even live camera feeds if a camera is connected to the printer.
Moreover, users can take advantage of Home Assistant’s intuitive interface and automation to manage their 3D printer with ease. Control functions encompass the ability to initiate, pause, and terminate prints, along with more advanced capabilities that require a few additional setup steps. These advanced functions include connecting and disconnecting the printer, preheating the print bed or extruder, and executing precise movements, providing an extensive range of control options.
While OctoPrint already allows monitoring and control of this nature independently, integration with Home Assistant can streamline control into just one place, making it more convenient to control many devices. If done right, it could even remove the need to use OctoPrint’s interface entirely.
It’s important to note that there are two distinct approaches to achieving this integration. The native integration offers a more straightforward setup process, making it accessible to users of varying technical expertise. In contrast, the integration through MQTT is a bit more challenging to configure but offers an expanded set of features and customization options, appealing to those who seek a highly tailored and feature-rich integration.
We’ll go over both methods of integration after looking into the hardware and software requirements.
What You Need

To make the most of the potential of this integration, you’ll need the following:
- A 3D printer: You’ll need a 3D printer that supports OctoPrint. Learn how to install it here if you haven’t done so already.
- A separate computer or Raspberry Pi: You’ll require a separate computer or Raspberry Pi from that used for Home Assistant to run OctoPrint. While it’s possible to install Home Assistant and OctoPrint on the same device (such as a Raspberry Pi), installing them on separate ones may be easier if you have that option.
- Community-made tools do exist to make this process easier, otherwise, you will need to have some technical knowledge (ex. Docker) to make it work.
- Raspberry Pis (models 3 and up) are commonly used for Home Assistant and OctoPrint installations, but there are other options available, such as Docker containers and Windows, Mac, and Linux images for both Home Assistant and OctoPrint, to aid in installation on other devices.
- An existing Home Assistant installation: You should have a Home Assistant installation in place.
- A camera (optional): While not a must, a camera can be a valuable addition to your setup, as it allows you to keep an eye on your prints from anywhere, set up a print failure detection plug-in like Obico, and record time-lapses, among others.
How to Do It
Here’s how to best integrate OctoPrint with Home Assistant, including both the native integration and the more advanced MQTT-based approach.
For either, you’ll want to be running the latest versions of all software involved, including OctoPrint and Home Assistant!
Native Integration
- Once you’ve set up OctoPrint, Home Assistant should automatically discover your 3D printer. You can see this from Home Assistant’s dashboard. If it’s not automatically discovered, you can try manually adding the service.
- In the configuration, provide the following details (some may already be filled in):
- Username: This should match the username configured for your OctoPrint instance.
- Host: Enter the IP address or hostname of your OctoPrint instance.
- Port: Specify the port number used by your OctoPrint instance.
- SSL: Set this to the same value as your OctoPrint instance (this will be
falsefor non-HTTPS setups). - Path: Enter
/.
- After you’ve filled out the configuration details, submit them. Then, proceed to the OctoPrint dashboard of the device you’ve set it up in, and accept the request (which will appear as a notification made by Home Assistant to establish the integration).
- The process is complete! You’ve now integrated OctoPrint with Home Assistant. But…
Integration Through MQTT
Integration through MQTT is arguably better than the native integration. It includes faster updates of information, easier and more robust configuration, and more sensors and actions available to take on your printer. Here’s how to accomplish that:
- Ensure you have the MQTT plug-in installed on OctoPrint, as well as an MQTT broker set up to work with Home Assistant.
- In OctoPrint’s settings, configure the MQTT plug-in to point at your MQTT broker by entering its connection details. This can be done in the settings of the MQTT plug-in you installed, or alternatively in its configuration. It will enable communication between OctoPrint and Home Assistant, now via MQTT.
- Next, install the OctoPrint HomeAssistant plug-in. After completing the installation, restart your OctoPrint instance to ensure that all changes are properly registered.
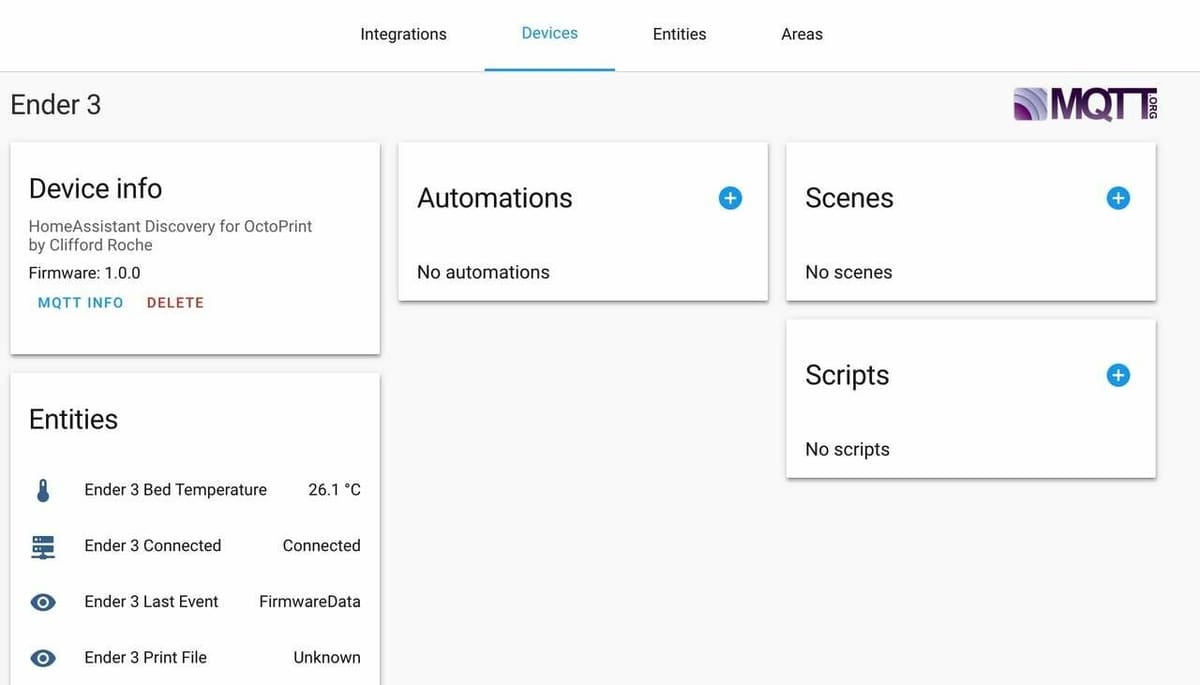
- Now, Home Assistant’s MQTT broker should automatically recognize your printer! Head to the “Devices” section of the broker (usually within Home Assistant’s dashboard) to gain access to all the new sensors and actions.
- If you have a camera set up with OctoPrint, you can also add some extra configuration to enable camera access for easy remote monitoring.
Tips & Tricks
When troubleshooting OctoPrint and Home Assistant integration, it’s crucial to address common issues that may arise. Out-of-date software components, such as OctoPrint, Home Assistant, or their respective plug-ins, can often lead to compatibility problems. Make sure to keep these components up-to-date to avoid potential issues.
In the case of using both OctoPrint and Home Assistant on the same device, be aware that they may initially share the same port (typically port 80). To prevent conflicts, consider changing the port for one of the services to any other port of your choosing – just make sure to update configurations wherever the old port was used!
For the native integration, ensure that the user specified in the Home Assistant integration setup is actively logged in to OctoPrint. This step is necessary to grant Home Assistant the required access to OctoPrint’s functionalities.
For the MQTT approach, some users have reported issues with Git being disabled for the root user, which is essential for OctoPrint to function correctly. If you encounter this problem, you can resolve it by running the command sudo rm /root/bin/git to enable Git for the root user.
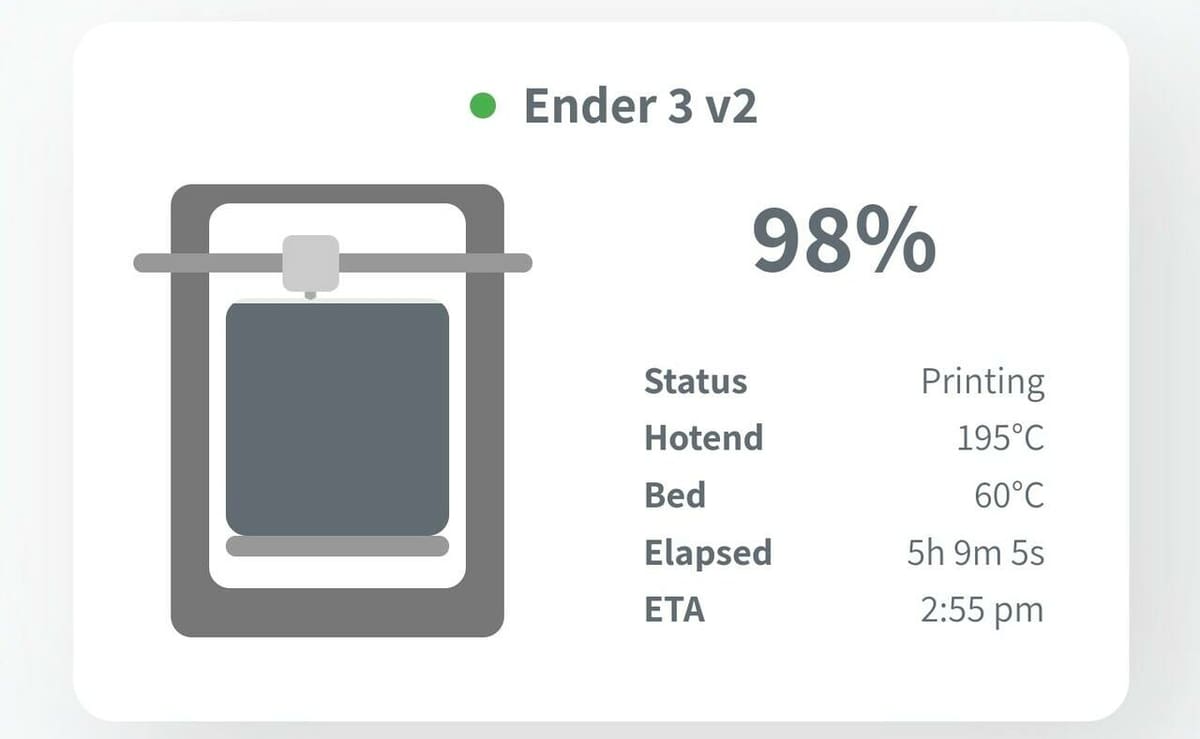
And finally, an additional tip for when you get everything working: Consider utilizing existing packages, such as Threedy, which offer convenient ways to neatly display information from OctoPrint within Home Assistant. This can go a long way to enhance the overall integration experience.
License: The text of "OctoPrint & Home Assistant: How to Get Started" by All3DP is licensed under a Creative Commons Attribution 4.0 International License.