OctoScreen: All You Need to Know

OctoScreen is a popular OctoPrint plug-in that allows you to use a display with your Raspberry Pi. Read on to learn about the plug-in!
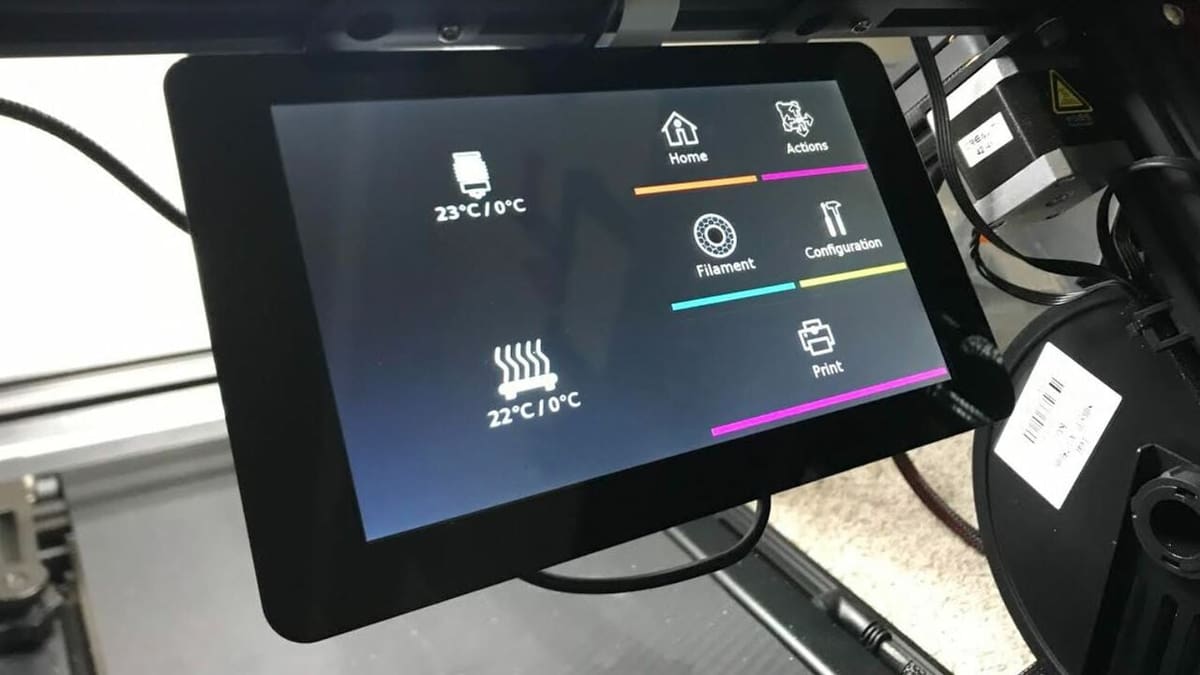
In recent years, a desire has grown for a more fun user experience on 3D printers, and now there are a few options to improve your printer’s stock graphical user interface (GUI). One great GUI replacement option is OctoScreen, an OctoPrint plug-in for a multicolor and touchscreen user interface.
If you’re unfamiliar with the name, OctoPrint is an open-source remote printing server that operates on a computer, like a Raspberry Pi, and lets users monitor, print, and control their machines online. OctoScreen was made by Z-Bolt, an organization that contributes to OctoPrint with enhancement plug-ins, and is actually a hard fork of a similar, discontinued OctoPrint plug-in, known as OctoPrint-TFT.
In this article, we’ll be going over OctoScreen’s capabilities and how you can install the plug-in on your OctoPrint server and 3D printer.

What Is It?
A graphic user interface (GUI) is a digital platform (on a screen) that masks and simplifies complex programming to allow the operator to easily control features on a machine. Many consumer 3D printers, like the original Ender 3 or Prusa i3 MK3S, come with a two-color display screen with a button knob and a basic GUI that lets users control a wide range of features.
While this simple yet effective approach to the GUI on a printer certainly doesn’t take away from the printer’s performance, it can make the machine less fun to use. Furthermore, the typical selection knob on stock 3D printer displays makes it hard to navigate the interface. It’s not uncommon for the standard knobs and interfaces to over-scroll past the desired button, lag, or become unresponsive.
A multi-color touchscreen display with a great GUI can solve these problems as it makes your machine more fun and easy to operate. Touchscreen displays, when set up with an external computer, can relieve your printer’s mainboard of some stress, so the interface will be more responsive. Also, as you tap the buttons, you shouldn’t experience as much mis-clicking because there won’t be any over-scrolling.
Capabilities
OctoScreen is a GUI upgrade for 3D printers, but to use it you need an OctoPrint server with a compatible multi-color touchscreen display, such as a Raspberry Pi LCD. Most of the stock displays on 3D printers are incapable of running OctoScreen due to either incompatibility issues or feature limitations (e.g. not touchscreen, not multicolor).
The interface on OctoScreen works by taking most of the data and features from OctoPrint and arranging them in a colorful manner. For this reason, OctoScreen is 100% reliant on OctoPrint to work; without OctoPrint you won’t be able to control any aspect of your printer.
Although OctoScreen pulls data and features directly from OctoPrint, it doesn’t have all the same features. For example, you can’t stream the view from a connected camera on OctoScreen, like you can on OctoPrint’s online interface. Below is a list of actions that OctoScreen’s interface enables you to perform:
- Printing from the SD card (from the printer)
- Printing from OctoPrint’s storage
- Home and move axes (X, Y, Z, E)
- Control temperatures
- Control prints (pause, stop, start)
- Adjust fan speeds
- Load and unload filament
It’s also important to note that there are some features on OctoScreen that aren’t on OctoPrint’s interface, such as the ability to switch networks easily. OctoScreen requires an internet connection because if your OctoPrint server doesn’t have an internet connection via Ethernet or Wi-Fi, the server won’t launch, and OctoScreen won’t be able to control your printer.
Typically, to change your server’s network, you need to either send commands via OctoPrint’s stock interface (the one with all the programming) or by adjusting the information in one of OctoPrint’s configuration files. OctoScreen makes this process super easy by including a simple method to change the network through the OctoScreen interface.
Overall, OctoScreen is a pretty great upgrade, especially for those who already have an OctoPrint server and want to further improve their printer and make it more fun to use. Many users very much appreciate OctoScreen’s ease of use, however, using this upgrade with custom or off-brand hardware can be difficult because not everyone has the same setup.
Preparation
While many OctoPrint enhancements are plug-ins, OctoScreen isn’t technically an official plug-in because it’s not listed on the OctoPrint Plugin Repo. However, it’s still a popular upgrade, and you don’t need to be a programming whiz to install it.
Although setting up OctoScreen may look difficult, it’s fairly simple if you already have an OctoPrint server and a connected display. If you don’t already have OctoPrint up and running, see our article on how to install OctoPi on a Raspberry Pi.
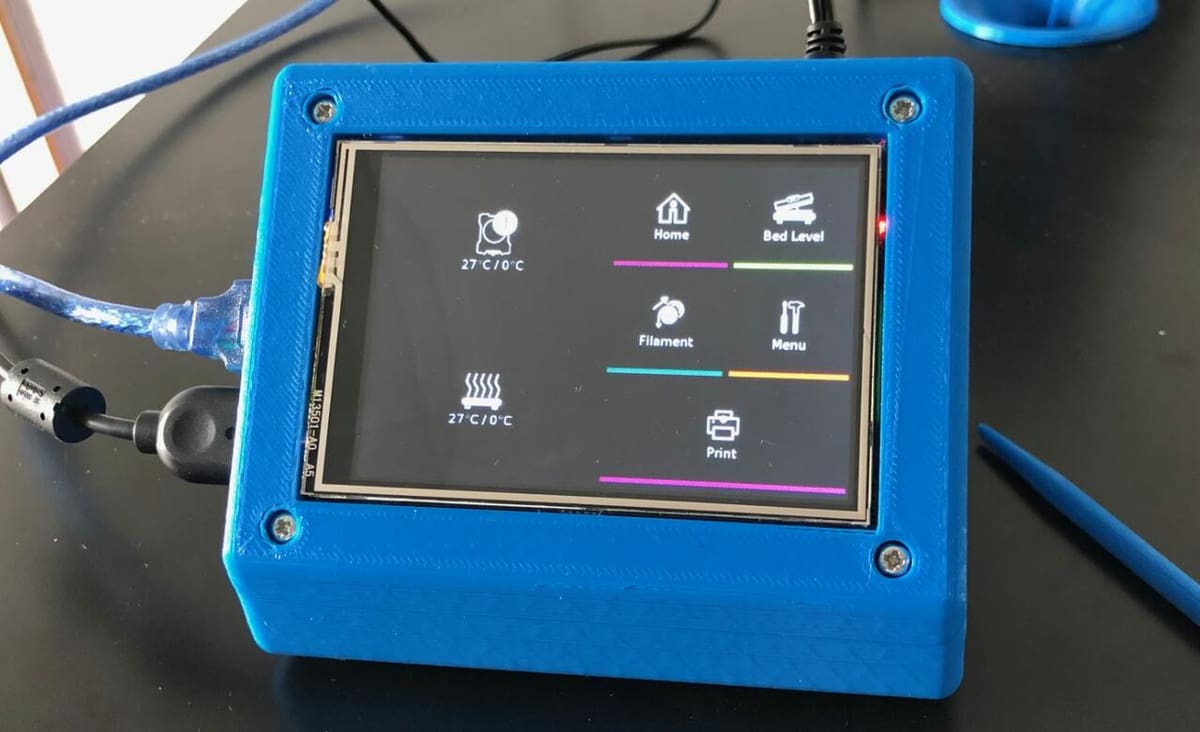
As for the screen, you can use a small touchscreen that’s compatible with your Raspberry Pi 4 or 3B. OctoScreen was designed for a minimum display of 548 x 348, but several solutions have been put forward that will allow 480×320 screens to be used as well. Check the OctoScreen GitHub page for screens that are known to work.
If you’re looking for an easy one, a genuine Raspberry Pi touchscreen display is a great option, and it comes in many sizes. The official Raspberry Pi displays are perhaps the easiest to set up because many of them don’t require you to install new display drivers on your board. You can use other screens as well, but be sure to verify whether the appropriate drivers are available so that your screen will work with your board.
Once you have your OctoPrint server and screen set up and ready, make sure you also have a stable internet connection for your OctoPrint server, a keyboard connected to your OctoPrint board, and a sufficient power supply for your OctoPrint board (low power can cause issues when installing and using the screen).
Installation
If you meet the previously mentioned conditions and requirements, you can follow the steps below to setup OctoScreen:
- Power on your OctoPrint server.
- Type and enter the following command to gather the tools necessary for OctoPrint:
sudo apt-get install libgtk-3-0 xserver-xorg xinit x11-xserver-utils
- Once downloaded, type and enter the following command to download and retrieve the application information and data for OctoScreen:
wget https://github.com/Z-Bolt/OctoScreen/releases/download/v2.7.3/octoscreen_2.7.3_armhf.deb
- After the previous command process is finished, type and enter the following command to finish your OctoScreen setup:
sudo dpkg -i octoscreen_2.7.3_armhf.deb
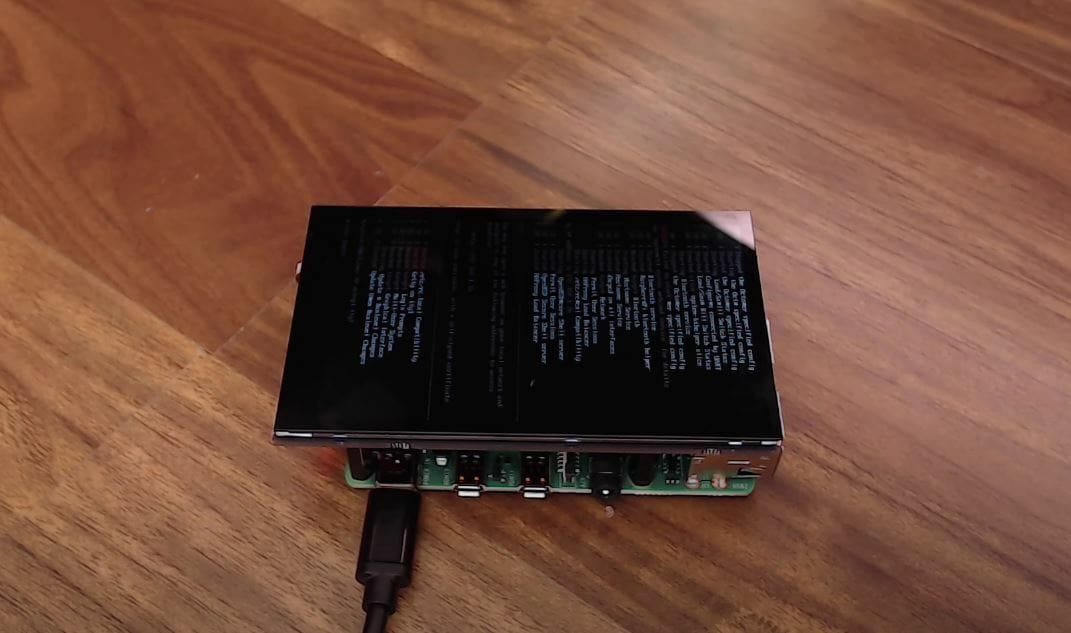
- Wait until you see the new interface, then shut down your Raspberry Pi and printer (it shouldn’t be connected at this time).
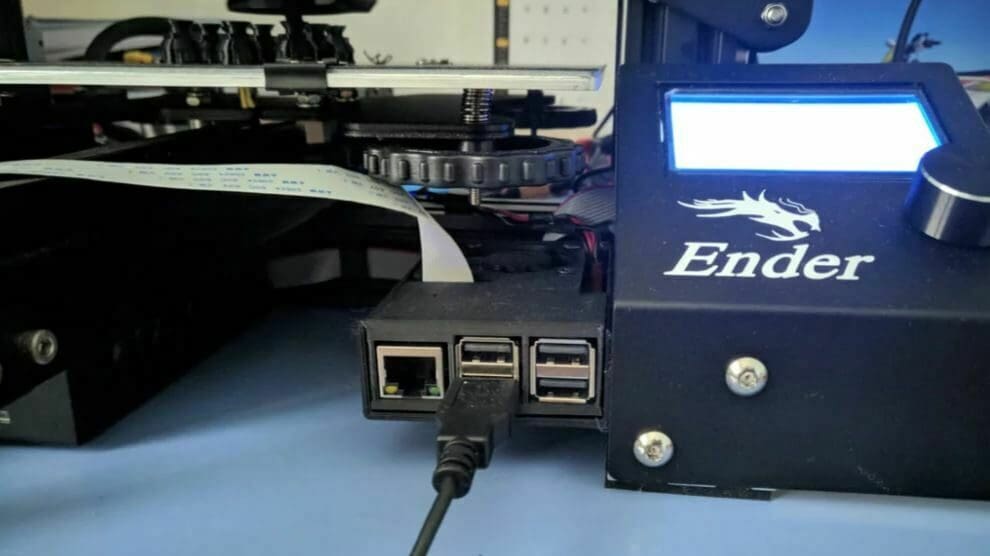
- Connect your OctoPrint server to your printer’s mainboard via a USB cable.
- Power on your 3D printer and your Raspberry Pi, and wait until you see your new, ready-to-go interface.
And that’s it! You have successfully installed OctoScreen on your Raspberry Pi OctoPrint server. For troubleshooting and guides for specific screens, visit OctoScreen’s GitHub page.
License: The text of "OctoScreen: All You Need to Know" by All3DP is licensed under a Creative Commons Attribution 4.0 International License.