OG Ender 3 in 2024? Yes, These OGs Can Keep Up!

The Creality Ender 3 has been THE printer that led to such a vibrant 3D printing community. Find out if it's still relevant today!
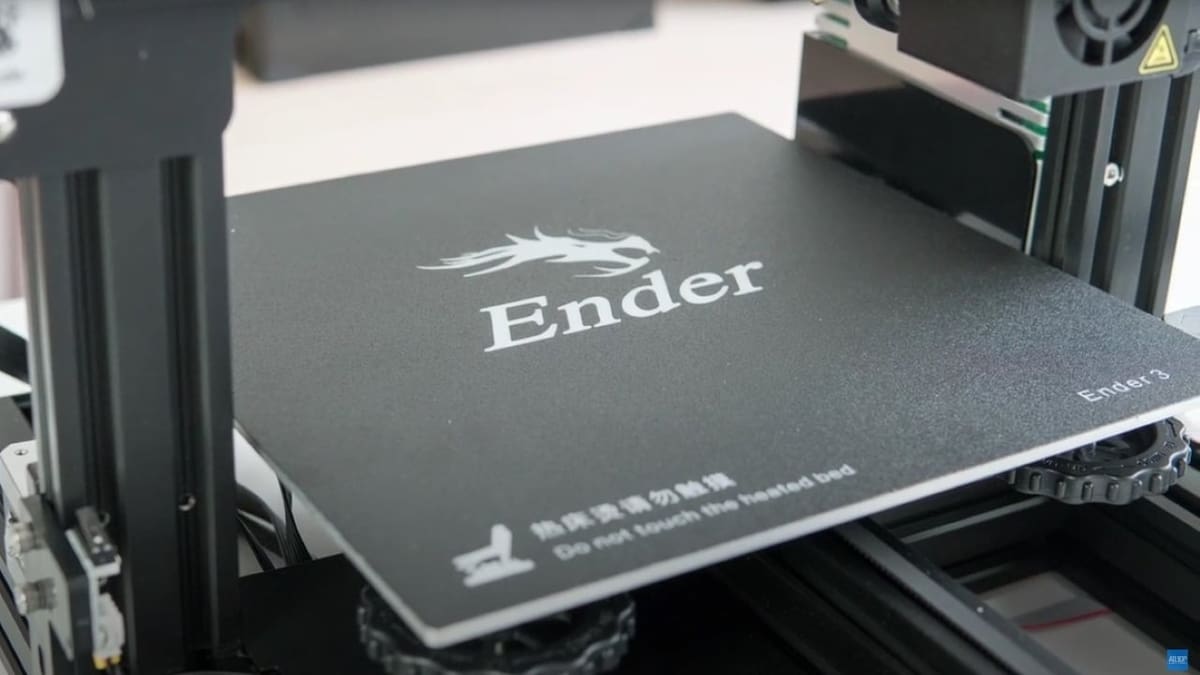
Released in March of 2018, the Ender 3 series has quickly become one of Creality’s most successful lines of 3D printers. The company continues to release iteration after iteration of the Ender 3 model, each implementing new features to produce higher quality and faster prints. The newest versions still rank on lists of high-quality, budget-friendly 3D printers.
Being competitively priced, the Ender 3 series has always been one of the go-to choices for new makers just starting in the 3D printing hobby. The original Ender 3 was capable of producing quality prints, while requiring a lot of hands-on tinkering in order to achieve them. This was seen as a great way for beginners to get their hands dirty with repairs, tuning, and troubleshooting – a great education, but also preparation for their inevitable second or third printer.
The older generations of the Ender 3 series, while still capable of producing quality prints given enough tuning, have fallen quite far from today’s speed standards. This, combined with the lack of smart features that have become a must-have inclusion for modern 3D printers, has led many to adapt their Enders with mods to keep them relevant. Given the plethora of mods available for the Ender 3 series, you’ll find plenty of makers today still using their old printers in one way or another.
We were curious to learn how makers are using their vintage Ender 3 printers today, so we interviewed a few of our contributing writers. If you have an older Ender 3 printer, we’d also love to hear from you! Let us know in the comments below how you’re using your OG Ender 3.

Datis Reyhani's Original Ender 3
When and why did you get an Ender 3?
I bought my original Ender 3 in the summer of 2021 and haven’t looked back since. It’s been a sturdy machine, holding up well and keeping up with my intense printing demands. I purchased this printer for numerous reasons, with the biggest being that I wanted to prototype parts for my (mostly robotics oriented) projects quickly and cheaply.
I’ve used my printer to make claws, grabbers, and intakes for my robotics team. I’ve also used it to make mounts and frames for parts in other projects, like a thrust vectoring system (for a rocket!) and a custom CNC router.
I also started off wanting to make cosplay parts, like parts for an Iron Man helmet and general Marvel props. Unfortunately, I haven’t gotten around to that yet.
How have you kept it up to date?
The noise from my Ender used to bother me quite a bit, so I upgraded the stock mainboard to an SKR E3 V3. This has been a massive improvement, with improved print quality, less noise, and faster processing speed. Using the SKR E3 also allowed me to switch from Marlin to Klipper really easily.
I use a Fluidd interface with a Raspberry Pi 3B+ to print remotely and wirelessly. The installation process was quite simple with the help of the Klipper Installation And Update Helper (KIAUH). Updating the firmware is very easy through the Fluidd interface; I update it whenever I notice that there’s a new stable release.
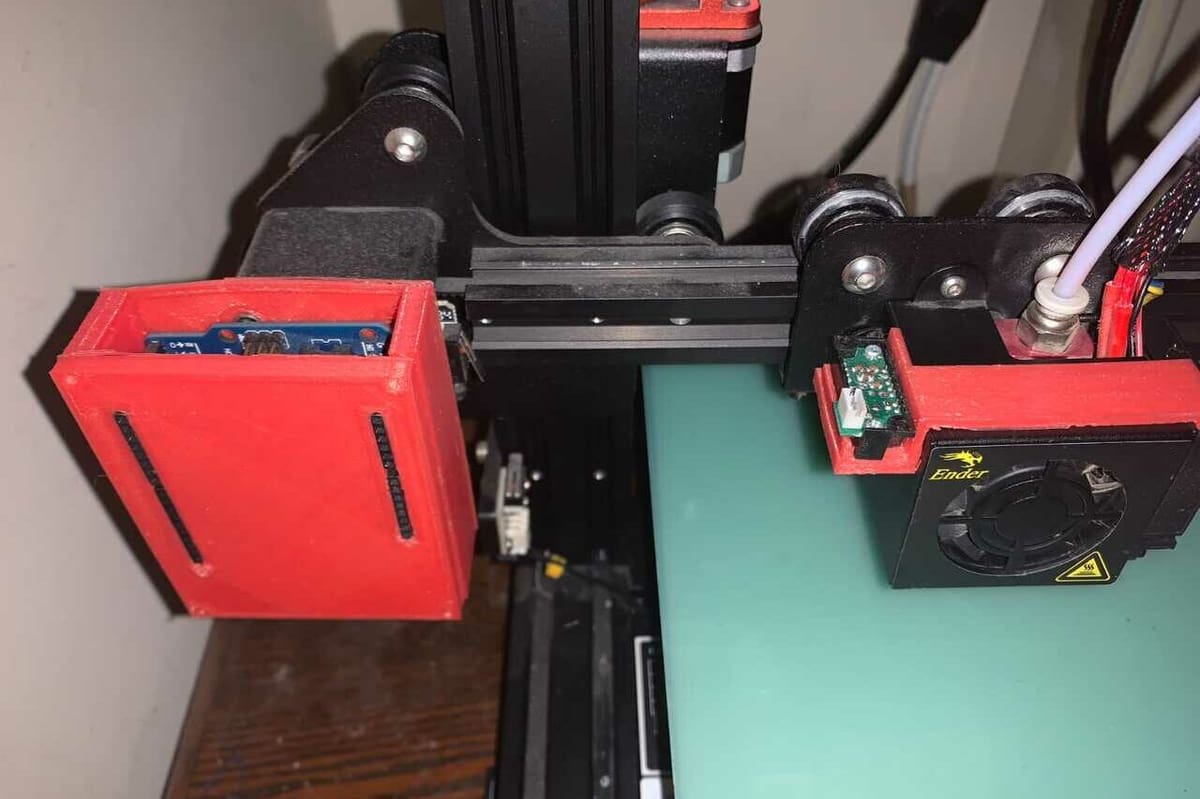
Manual bed-levellng was far too cumbersome and time-consuming for me. So, I made my own bed-leveling system, which interfaced with the Marlin firmware. Unfortunately, I needed the hardware from my bed leveling system for another project, so I disassembled it and bought the CR Touch. The latter interfaces really smoothly with Klipper, but I did run into some annoying problem with the Z height, which took a lot of trial-and-error in the Config file to fix.
What, if any, mods have you done to it?
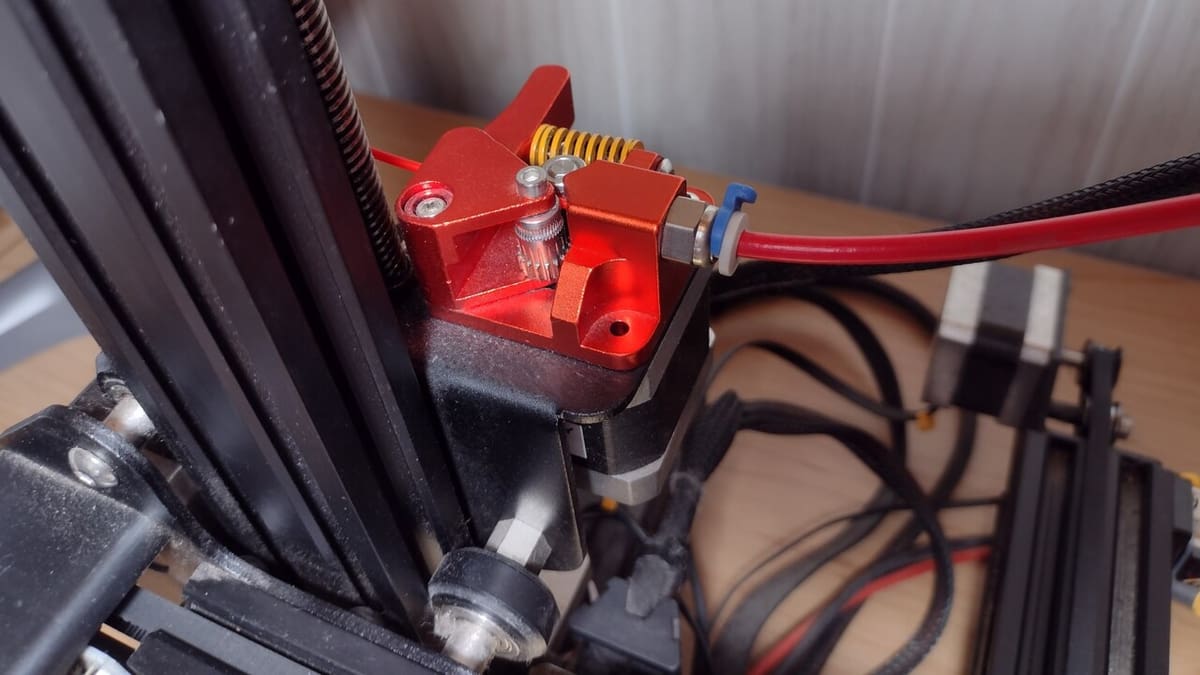
Besides the mainboard and firmware upgrades as well as automatic bed leveling, I haven’t modified my printer all that much. I only modify it when I need to squeeze extra performance out of it, so the only other mods I’ve got are an all-metal dual-gear Bowden extruder and a new dual-sided textured PEI build plate. The new extruder performs much better than the stock extrusion system, and both mods have really helped me to print higher quality parts with PETG – usually my material of choice.
I also printed and installed a Hero Me fan duct on my Ender 3 and used it for about three months. The Hero Me is a 3D printable part-cooling duct for the toolhead that can improve overhangs and bridging. Unfortunately, I had to decommission it after getting the CR Touch because the Hero Me duct obscures the CR Touch mounting holes on the toolhead’s backing plate.
What sort of things do you print with your Ender 3?
I mostly print functional parts for my personal projects. As I’ve already mentioned, I’ve used my Ender to make brackets, mounts, and more for my custom CNC router as well as almost everything for my thrust vectoring system. I’ve also used it to build an autonomous turret from scratch and even to make a micro-scale version of the Boston Dynamics Spot Robot!
My Ender 3 is also handy to have nearby whenever I need a quick gift. I’ve printed plenty of personalized last-minute birthday presents for friends, or even just assorted memorabilia. A personal favorite of mine is The Rocktopus.
Datis is a college student who avidly enjoys engineering, programming, and making. 3D printing has been a massive part of their maker journey over the last few years. They have been part of All3DP's Content Academy since the winter of 2023.
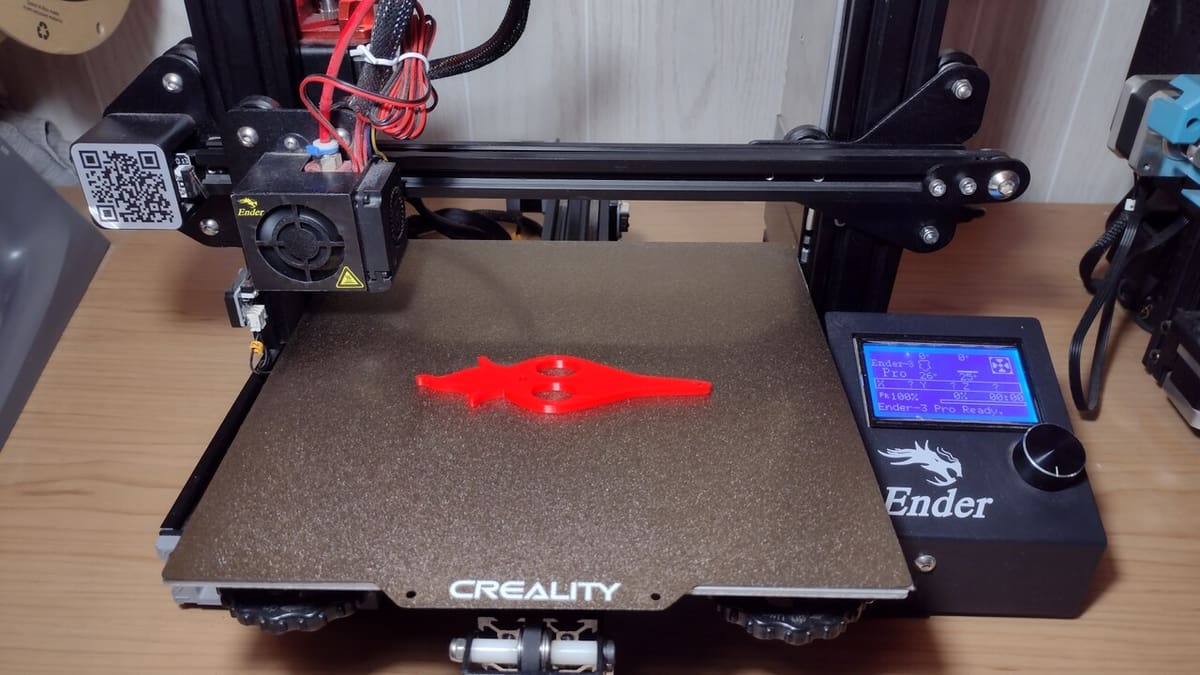
Opie Cain's Ender 3 Pro
When and why did you get an Ender 3?
I got an Ender 3 Pro as my first 3D printer back in 2019 as the pandemic began. It seemed like the perfect time to dive into the 3D printing hobby. The affordability and credibility of the machine at the time made it a very compelling option.
How have you kept it up to date?
Proper maintenance and tuning is a must to keep an old Ender 3 as a viable option when compared to today’s printers. Of course, it can’t reach the quality or speed of something like a Creality K1 Max or a Bambu Lab X1 Carbon, but it’s amazing the quality you can get from this machine if you put the time into it.
Leveling can be a pain, but once you get it just right, it can produce more consistent first layers than something like my SV06 with its inductive sensor. (Although, the physical Z-stop homing switch on my Ender 3 is beginning to show its age).
I’ve had to replace a good number of parts on the machine over the years, including multiple fans, a motherboard, and a couple of extruders. I’ve never had to upgrade the firmware on my machine, it just worked. The stock firmware never gave me any issues, so I’ve never thought about making any changes.
What, if any, mods have you done to it?
The first change I had to make was the Bowden tubing. I used Capricorn for a while before swapping to a cheaper brand that I could buy in bulk. At the time, I was dealing with a lot of clogging and jamming.
The plastic extruder was quickly deteriorating, so I installed an all-metal extruder, which has a better grip on the filament and helps with consistent extrusion. I also printed a rotating spool holder and a filament guide to keep the filament from rubbing against the extruder too much.
I was still experiencing clogs and jams, and it turns out that there was a small gap between my Bowden tube and hot end. So, I replaced the hot end with an all-metal one.
A silent motherboard was a quality-of-life upgrade that I wasn’t expecting to be so nice, but it has made my Ender 3 nearly silent save for the fans. Lastly, I swapped to a textured PEI build plate that has made all the difference. It’s easy to clean, makes print removal easy, and has made print adhesion a non-issue.
What sort of things do you print with your Ender 3?
I run a small print farm and use the Ender 3 to print smaller detail pieces and less complex prints that don’t require supports, as the fans aren’t the best for overhangs. As I’m able to get a very nice first layer on this machine, it’s great for things like key chains and ornaments that need a good top and bottom surface finish. It’s also able to print small planters when my other printers are busy.
Opie is a 3D design and printing enthusiast. When not writing about his hobby, he can be found working in his small print shop, designing new 3D models, and creating full-scale cosplay props from his favorite video games and book series. He has been part of All3DP's Content Academy since the summer of 2023.
Gedeon Ang's Original Ender 3
When and why did you get an Ender 3?
Like many others, my wonderful journey of 3D printing and engineering came from the well-known Ender 3. It was a birthday gift from my dad on my 14th birthday, and it has truly changed my life.
Since then, I’ve gone down a very deep rabbit hole. My Ender 3 has helped me to print parts for countless practical engineering projects – and, of course, fun prints too!
How have you kept it up to date?
Although the original un-modded Ender 3 can certainly produce high quality prints, there’s definitely room for improvement. As the Ender 3 was my only printer, I sought to improve its capabilities and to allow it to perform closer to today’s printers. Of course, it would be expensive and impractical to do huge revamps to the entire printer in an attempt to match the speed of a modern CoreXY machine, so I mainly focus on value-for-money mods for pure performance.
I mainly focus on improving speed (slightly), material compatibility, dimensional accuracy, quality of prints, and convenience. Therefore, I upgraded the toolhead, kinematics (Z-axis), and bed surface (on the hardware side). I also switched to a silent mainboard and ran Klipper firmware (on the software side). As long as configured correctly, these mods work great!
What, if any, mods have you done to it?
Some upgrades are definitely well deserved. I’ve done the following:
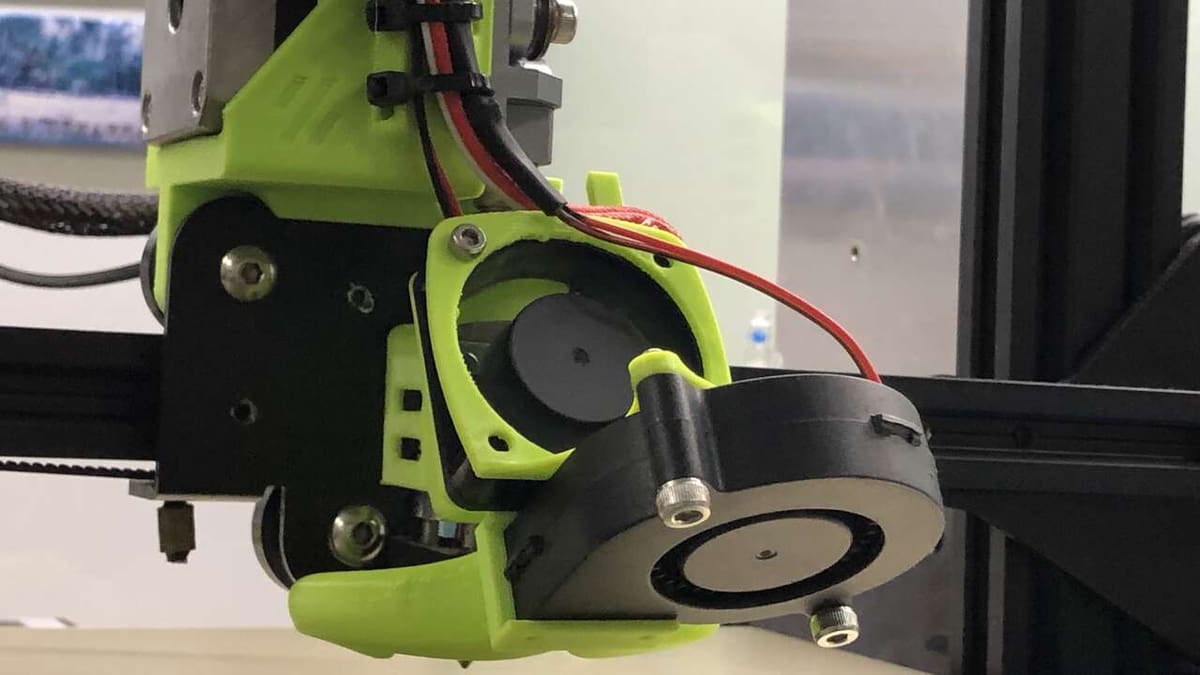
- Extrusion system mods: I have explored several options to the extruder, hot end, and toolhead modifications in general. I started with simple fan ducts that provide dual-sided cooling, then progressed to a simple direct drive using the stock (aluminium) extruder. This worked quite well for me, especially with more powerful part cooling – which is especially important for materials like polylactic acid (PLA). It could handle materials such as thermoplastic polyurethane (TPU) well, too. Eventually, I wanted to print faster and with higher temperature materials like acrylonitrile butadiene styrene (ABS), so I eventually upgraded to a BMG-style (or a relevant repackage) extruder and V6 (all-metal) hot end to allow for even better handling of flexibles, higher temperature capabilities, and higher flow rates.
- Kinematics mods: GitHub user kevinakasam’s belted Z-axis mod basically changes from a leadscrew-driven to a belt-driven Z-axis. Besides eliminating the potential problems of Z banding, I added this mainly to allow parts to come out square. A leadscrew on one side can result in gantry sag, which occurs when one side of the gantry is lower than the other because only one side is supported by the leadscrew. It’s important for my funtional parts to be dimensionally accurate, which is the main driver for this mod. Besides, it allows the Z-axis to move faster and can potentially improve print quality.
- Mainboard and firmware: I upgraded to a silent mainboard, which not only largely reduces the loud and annoying noises from the default A4988 (or similar) drivers but also provides other benefits such as better microstepping capabilities. Klipper firmware allows for more convenient, advanced printer control – such as through a web interface and macros – and features such as input shaping. This allows better print quality at higher speeds as well as more configurable options and convenience because the printer and firmware can be controlled through a web interface. Personally, I like Mainsail.
- Bed surface: A PEI bed is amazing! It provides great adhesion to all common materials yet release prints easily when cooled. They’re long-lasting and don’t get easily damaged, outperforming the stock bed in virtually every aspect. I find it to be an essential and very worthwhile upgrade. The best part, it costs under $15.
- Other small upgrades: These are quite unimportant and performance improvement can be marginal. For example, I’ve modded the spool holder to use ball bearings for lower friction and smoother operation. I’ve also used a spare cable chain for better strain relief of the Z-axis cable.
What sort of things do you print with your Ender 3?
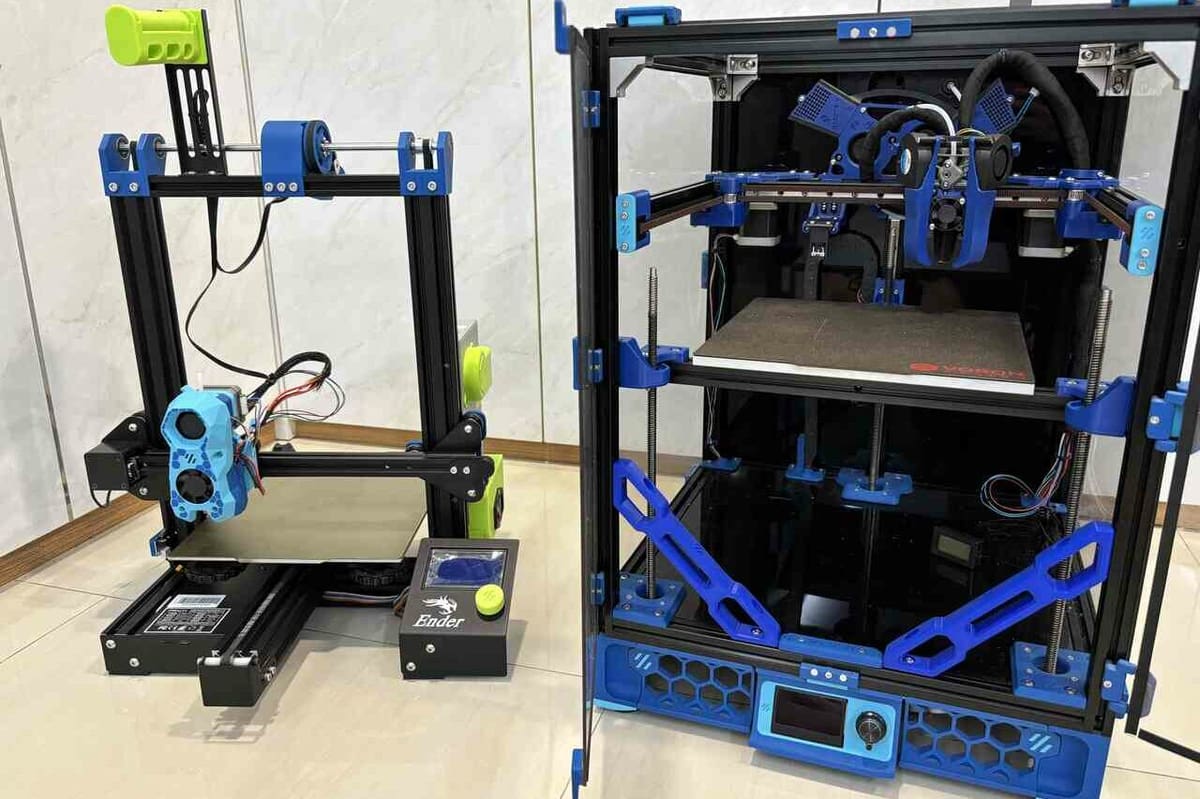
My Ender 3 was last majorly-used for printing ABS parts for its big brother, a customised Voron Trident – which gives me the ability to prototype faster and produce better end-use parts using more technical materials, such as acrylonitrile butadiene styrene (ABS), nylon and polycarbonate (PC).
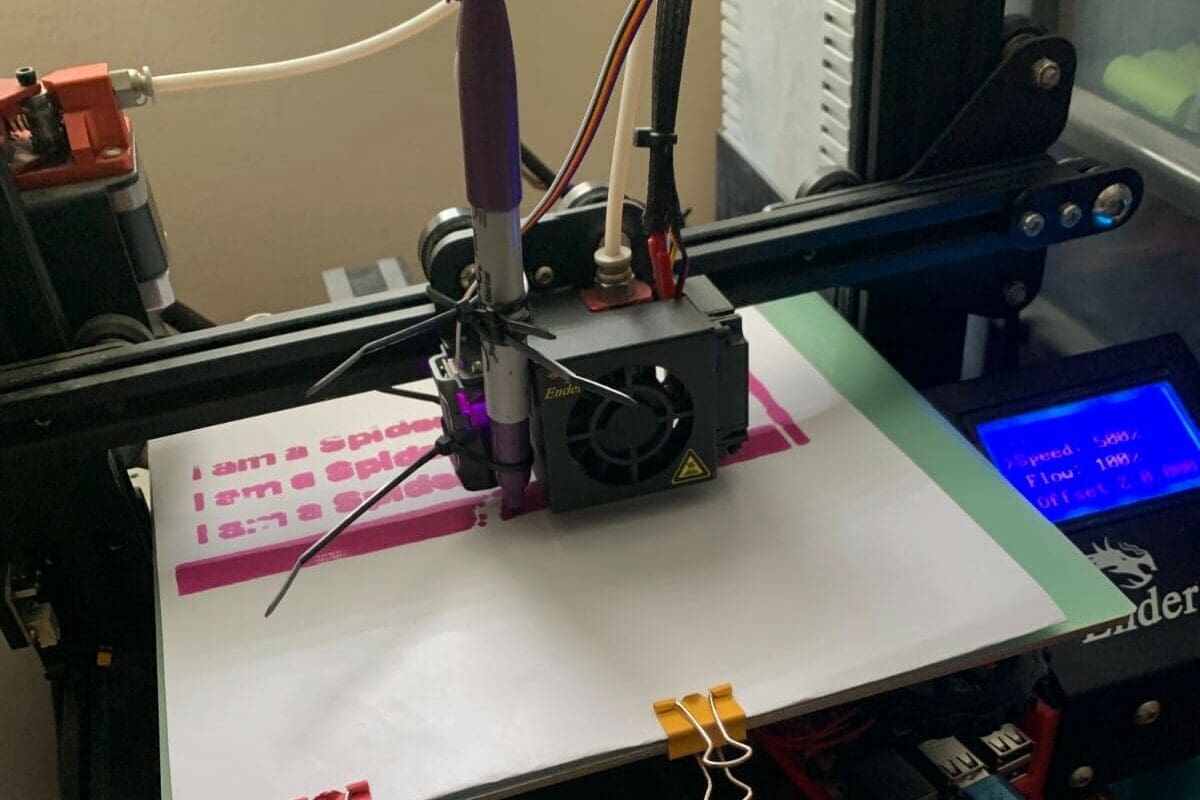
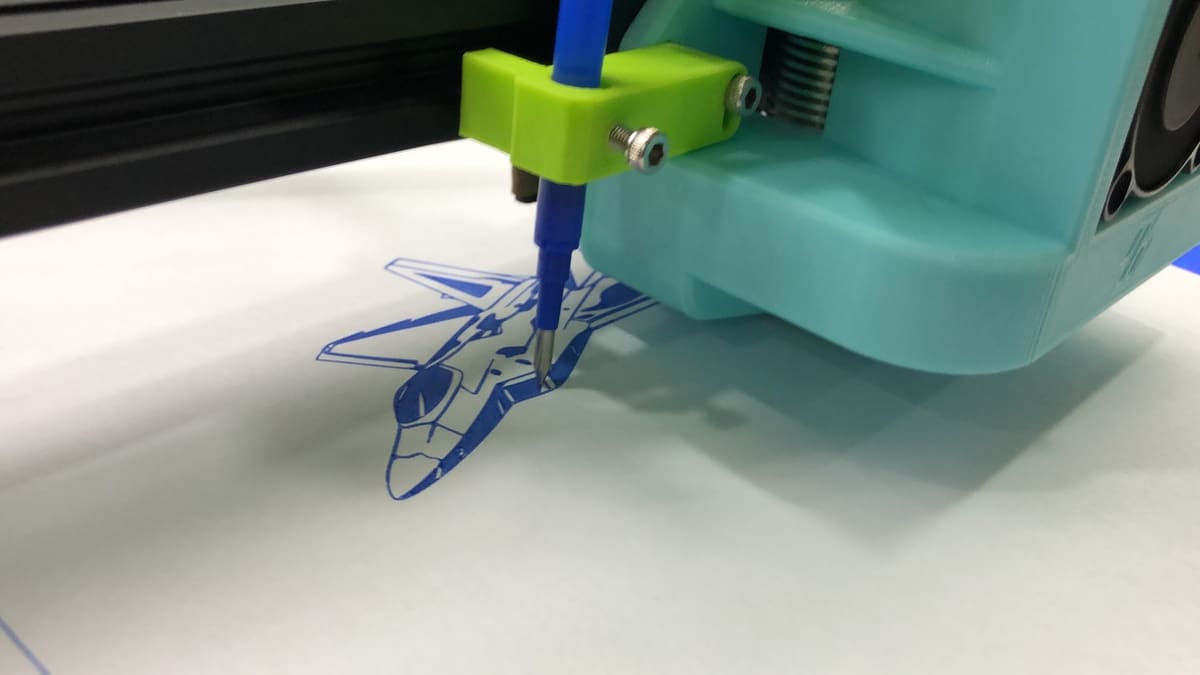
That said, I still use it for fun things, such as a small pen plotter!
These days, my Ender 3’s primary responsibility is to print PLA and TPU parts, as these materials can be printed easily and well on open-frame printers. Moreover, flexible materials such as TPU can benefit from the slower speeds and shorter filament paths (from spool to extruder) of bed slingers like the Ender 3. For functional prototyping, the onus is on my Voron to print strong and fast parts out of more specialised filaments.
Though I don’t use my Ender 3 as much as I used to, perhaps only running it when I need a flexible wheel or the like – it still holds a very special place in my heart. It’s a trusted companion that has brought endless joy, passion, and creations that I will never forget!
Gedeon is a high school student from Singapore whose interests include 3D printing, engineering, aviation, and astronautics. He likes to work on projects, research, and competitions related to additive manufacturing as well as mechanical, electrical, and aerospace engineering. He has been part of All3DP's Content Academy since the summer of 2023.
License: The text of "OG Ender 3 in 2024? Yes, These OGs Can Keep Up!" by All3DP is licensed under a Creative Commons Attribution 4.0 International License.