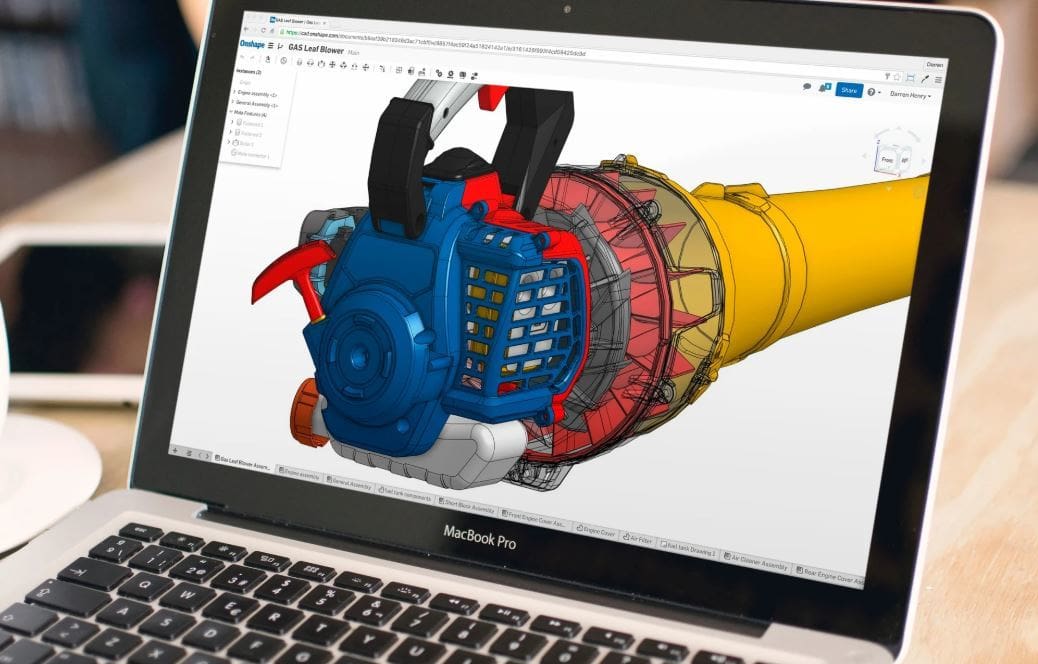
Onshape is a professional computer-aided design (CAD) tool that targets engineers who are looking to model mechanisms and design mechanical parts. It’s a highly advanced, cloud-based web application perfect for designing anything, anywhere, and with anyone.
The software was launched in 2012 by a couple of SolidWorks co-founders, and it took the design world by storm, offering a simple workplace suited for engineers. Later, in 2019, Onshape was acquired by the company PTC.
Since then, PTC has added many new features and Onshape continues to grow. Currently, Onshape has recently celebrated its one millionth student on an education plan, and it’s still expanding as more people switch from traditional design programs. Onshape is also used by thousands of companies to streamline their design and production systems.
With Onshape’s utilization of the cloud, you can have real-time collaboration on projects between designers. Furthermore, Onshape exists within your web browser, so it can be accessed on any computer and even mobile devices; there’s no need to download it at all.
In this article, we’ll be going over the most important aspects of Onshape, from features and functions, to community and company support.

Prices & Licensing

As a professional 3D modeling program, Onshape comes with a fairly expensive price tag, though lower than that of many equivalent programs.
However, if you’re a student or educator, you can get a free version of Onshape, which is mostly limited to the basic tools and features. Similarly, the standard subscription has fewer data management tools than the professional subscription.
For all the differences between subscriptions tiers, check out Onshape’s pricing page. In the meantime, here’s a quick summary:
- Education subscription: Free
- Standard subscription: $1,500/year
- Professional subscription: $2,100/year
- Enterprise subscription: By request
System Requirements
Designing is a very complex process, and any CAD software, even Onshape running on a web browser, can take up a lot of memory. That is to say, make sure that you have an adequate device before you start designing, otherwise you’re likely to have some trouble modeling.
According to Onshape, you should have at least 1 GB of video memory, but 2 GB is preferred. It’s a good idea to check Onshape’s hardware recommendations when choosing the device with which you want to run the software.
Onshape also has a mobile app, although many users have experienced functionality issues. Although the mobile app has iOS and Android compatibility, it seems a safer bet to run Onshape on a computer.
Now that we know what we need to successfully run Onshape, let’s take a look at all that it can do!
Features & Functions
Although Onshape does offer rendering and simulation, in the following sections, we’ll be focusing on the standard design tools.
There are three main phases in the Onshape design process: sketching, creating, and assembly. We’ll look at some of the most important and most used tools and features for each of the three phases, but you can check out the full list of basic features on Onshape’s website. (There are over 100!)
In-Sketch Tools
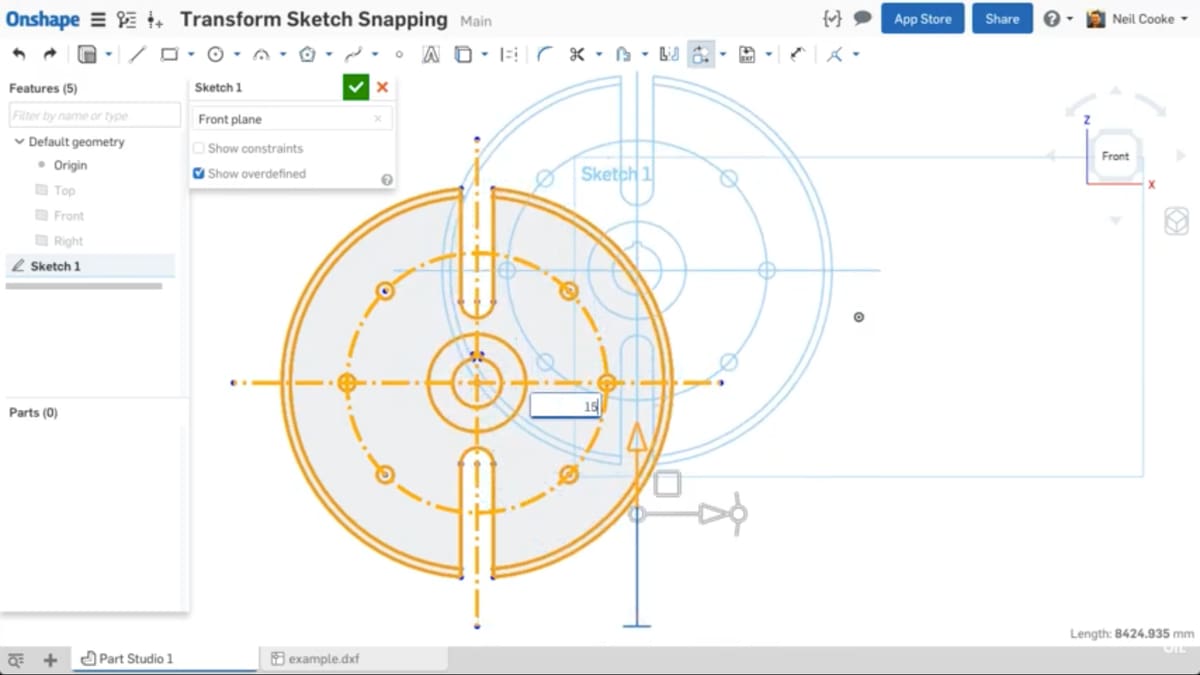
As you might expect, the in-sketch tools are those that are used when… making a sketch. In other words, they’re used before extruding. (In this context, “extrude” means turning a sketch into a 3D object.) The in-sketch tools are located along the top bar when you’re creating or editing a sketch.
Whenever you start a project, it’s very likely that you’ll be starting with a sketch and the in-sketch tools. The resulting 2D models can then be turned into 3D models using the “out-of-sketch” tools, which we’ll cover in the next section.
The in-sketch sketch tools below cover the simplest and most basic design forms, including a line, rectangle, and circle. Depending on your familiarity with the program, you might want to practice with these tools before you start working directly on your design.
- Create sketch: Located on the far right of the top bar, this tool allows you to create a sketch (in 2D) on a plane.
- Line: Not surprisingly, you can make lines with this tool.
- Rectangle: You can choose between a couple of different types of rectangles with this tool, including a center-point rectangle (centered around a single point) or a corner rectangle (drawn from a corner point).
- Polygon: Creating a polygon with this tool lets you choose how many sides you want it to have. There are also two options for this tool: a circumscribed polygon or an inscribed polygon. The former can be measured by an outer circle that touches all outer points, while the latter can be measured by an inner circle that touches all the inner points.
- Circle: This tool allows you to make a circle in your sketch around a center point.
- Spline: The spline tool gives you irregular curved lines. You can alter the spline by moving the angle points around to create the desired shape.
- Dimension: This very important tool measures sketch figures. You can add dimensions to a sketch figure to find the length or the angle between two attached lines. Alternatively, you can see the distance between two sketch figures by selecting two points.
- In-sketch mirror: Mirroring sketch figures over a line is possible with this tool. Be mindful that, when using this tool and after mirroring an object, any changes done to one side will automatically happen to the other.
- In-sketch pattern: The in-sketch pattern tool is a time-saver that allows you to create a pattern of sketch figures.
- Coincident: The coincident sketch constraint can match points from different sketch figures together and make them the same.
- Parallel: The parallel sketch constraint ensures that two sketch lines remain parallel.
Out-of-Sketch Tools
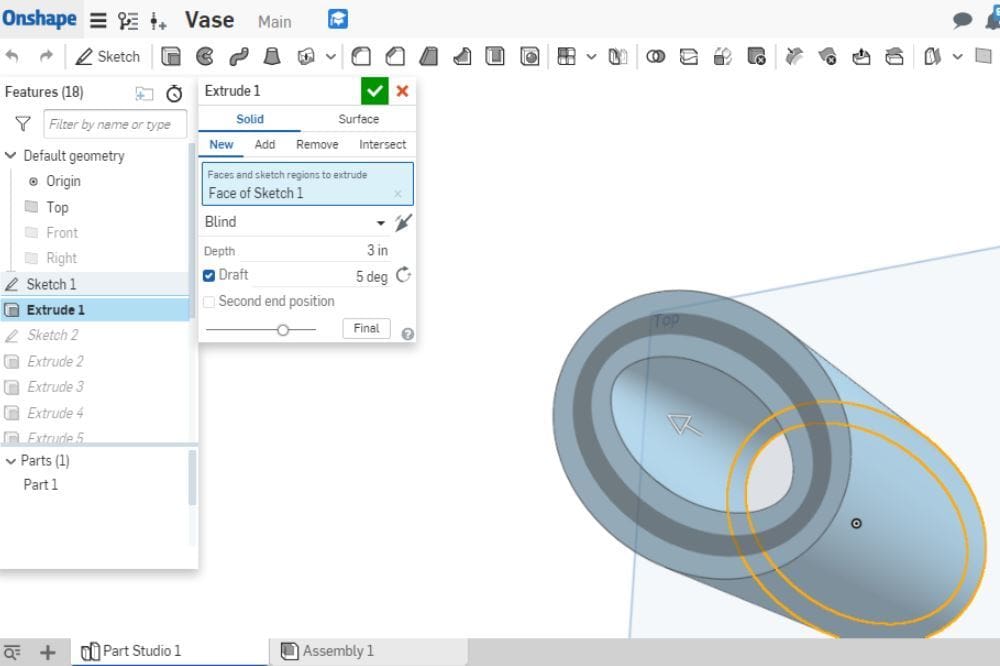
Creating 3D objects is the next part of the design process and it’s where you can give your design a 3D form suitable for 3D printing. The out-of-sketch tools, also known as the “create” tools, are located along the top bar when you’re not in sketch mode.
- Extrude: This is how one turns a 2D sketch into a 3D model. It can add to an object, make a new object, cut and remove something from an object, or intersect an object.
- Revolve: This tool allows you to revolve a sketch around a point, making a 3D model. It basically extrudes a sketch in a revolving pattern.
- Sweep: The sweep tool is used to extrude a sketch figure along a path, which is great for custom and irregular extrusions. You’ll be able to select the sketch to be extruded as well as the path along which it should be extruded.
- Loft: You can connect two closed sketch figures that are on different planes with this tool.
- Shell: The shell tool hollows out an object and offers adjustable thickness of the walls and bottom.
- Hole: This time-saving tool lets you skip the sketch phase for cutting a hole through an object. You’ll select the face that you want a hole to cut through and change the size and shape options to fit your needs.
- Mirror: This tool is similar to its in-sketch counterpart, only it operates in 3D. All you do is select the object or feature and the mirror plane.
- Pattern: You can create a pattern of objects or features with this tool and choose between a linear, circular, or curved pattern.
- Fillet: Simply select the edge to fillet and provide the degree to which you want to apply a curve.
- Draft: You can add or remove a draft angle to one or more faces of your 3D model and you can look at it from different perspectives.
- Plane: The plane tool creates a new plane. There are different types of planes, including irregular and offset.
- Split: If you want to split an object using planes, you’ll select this tool, then the object, and then the plane. This tool is great for splitting up a large object to 3D print.
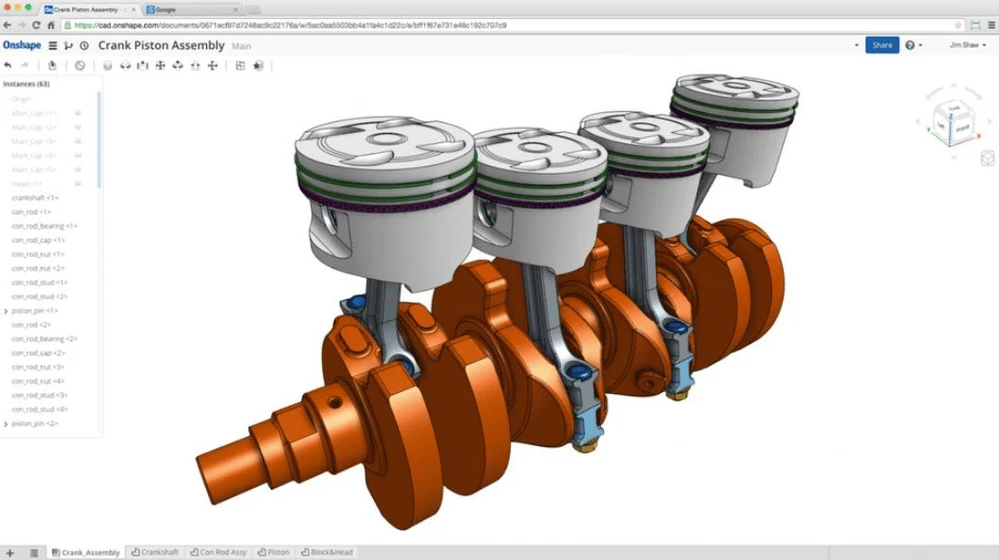
Assembly Tools
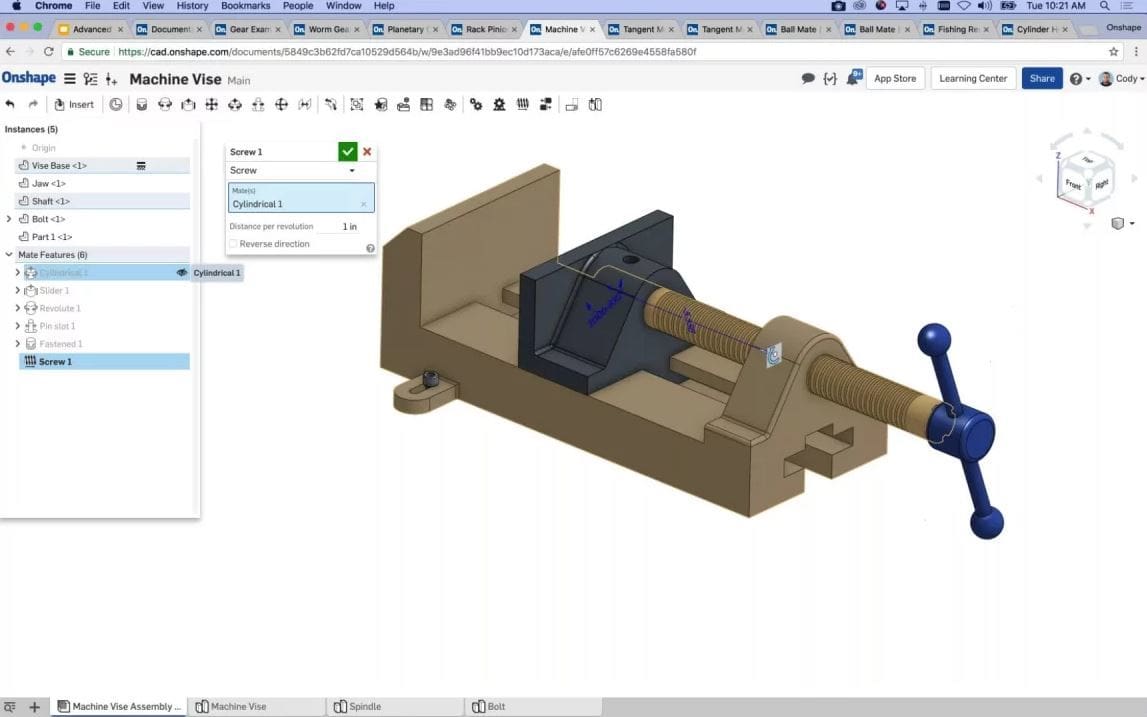
Finally, we have the assembly tools. These can be found in the assembly part of a project, which you navigate to through the bottom tab of the screen. The assembly tools can be found in the top bar of the assembly.
Assembly tools, unlike in-sketch tools, are just in 3D. These tools and features allow you to put together and maneuver multiple 3D parts to form a mechanism or final product. This phase of the design process comes only when all of your 3D objects have been designed and you’re ready to assemble them.
- Insert: This tool inserts different parts, whether from the part studios in your project or from the public library of parts made by others.
- Fasten mate: This useful assembly tool binds two objects together.
- Revolute mate: The revolute mate adds a spinning motion to an object.
- Slider mate: This tool creates a vertical sliding motion between two parts.
- Cylindrical mate: You can create a revolving motion on top of a vertical sliding motion with this tool. This movement type is the same motion as screwing in a screw.
- Ball mate: The ball mate tool allows you to model a ball and cap motion. This mate feature could be used, for example, to model a ball in a semi-spherical-like structure that allows the ball to move freely and holds it in, as well.
- Gear relation: With this tool, instead of selecting the mate features, you’ll need to select the revolute mates of the gears to model a gear relation. You can also click “Play” to see the motion work and to make sure that the directions of motion are realistic.
- Screw relation: The screw relation assembly feature is perfect for modeling a screw motion. This is basically a cylindrical motion, but – more accurately – it matches up to a hole. Simply select a motion mate for the screw and the hole to match them up. Then click the Play button to confirm that the motion is correct.
Tips & Tricks
Computer-aided designing can be a lengthy and some times repetitive process. That’s why we recommend using some of these tips and tricks to speed up your designing process and to keep it organized:
- Sketch in construction mode. The construction option basically turns a sketch into a “fake” sketch that’s only there for measurement and reference purposes. This can be helpful in making accurate measurements the first time around. You can find this tool in the top bar when using the in-sketch tools.
- Name all parts and steps. Naming all extrusions, revolves, sketches, parts, and so on, that you’re using, can be super helpful for any alterations later down the road. Onshape’s parametric modeling system allows you to go back and change certain steps in your design. Avoid names like “Sketch 1” or “Extrude 3”, opting instead for descriptions like “Wheel sketch”. (This will help you remember what they accomplished.) You can name all steps and parts by double-clicking them in the history tab on the left-hand side of the part studio. You can also rename part studios and assemblies.
- Use mate features and constraints. You should always constrain your sketches and assemblies so that they’re “locked” and no unwanted changes occur if you alter another part. For sketches, this means using constraints, and for assembly, this means using mate features.
- Specify units. This is very important; you can change units by first selecting the three dashes on the top-left corner (next to the Onshape home button). Then, click on “Workspace units” and select the unit you need.
- Use all features to your advantage. Choosing the easiest tool to use doesn’t mean it’s the most efficient. For example, if you have to make many different parts, some sort of pattern or mirror tool will speed up your process.
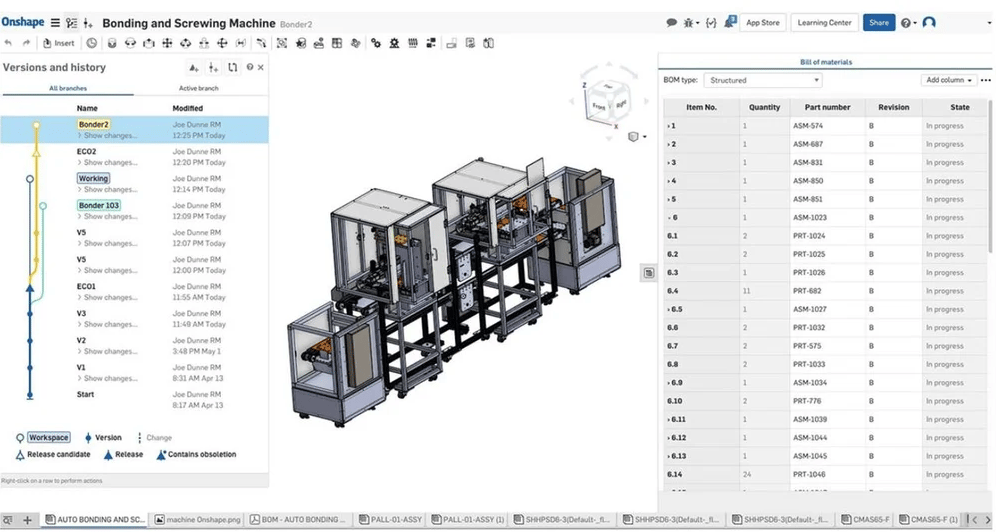
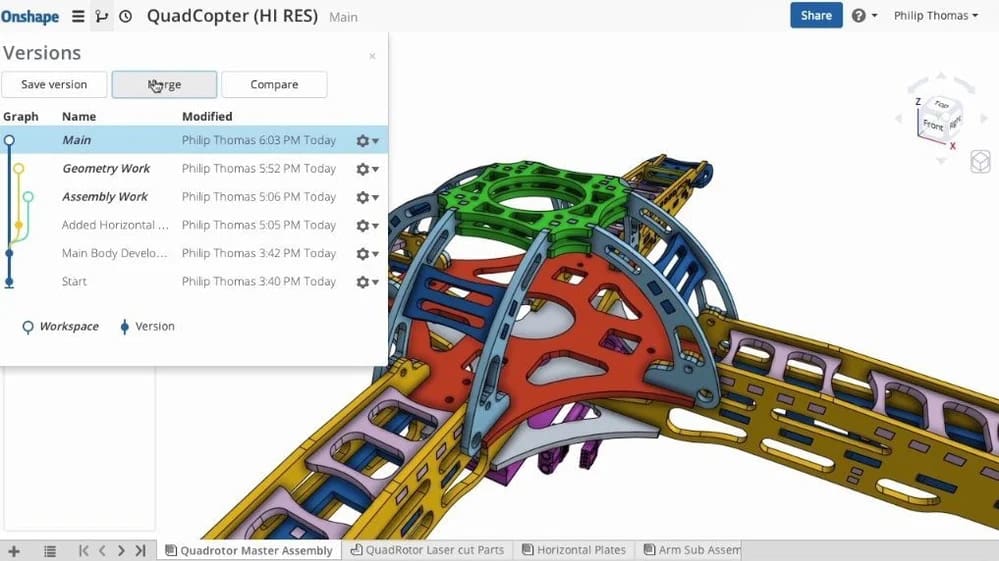
- Create versions of your project. This allows you to experiment with new tools in your project without having to worry about destroying anything. To create versions, just select the “Manage versions” tool to left of the project title and click on “Save version”. Each user can also create their own “Branches”.
User Experience
Onshape is great for people who design mechanical objects, especially engineers. Their public library of parts is especially helpful for saving time when using standard parts, such as an M3 screw.
Onshape’s cloud-based file storage and collaboration tools also allow users to share documents with co-workers and to make their own versions of a project. This makes it easy to work in real-time.
Another benefit is the Autosave system. Just like Google Docs, Onshape will automatically save your document to the cloud every time you make a change.
Onshape is also user-friendly because there’s a brief description for each tool and feature, with specifics depending on the platform you’re working on.
Overall, Onshape passes with flying colors in terms of user-friendliness and usability.
Use Cases & Applications
Onshape is a design software meant for real-world use and it has many tools and features that help make this possible. For example, Onshape’s 3D rendering allows you to see what your designs could look like when constructed or fabricated. There’s also assembly tools that allow you to see how designed mechanisms would work.
Onshape also has advanced simulation capabilities and realistic scenario tests, such as their finite element analysis simulation. This feature allows you to get feedback on how a designed part handles a certain situation or scenario. For example, you can test the strength of a part in the finite element analysis simulation using its squash scenario.
Many companies, including those in the fields of engineering, machine design, motorsport, and medical devices, use Onshape. It’s described as saving money and time, as it’s a software that helps improve the design process while maintaining a realistic environment.
Community & Company Support
There’s strong support behind Onshape software, with a majority coming from the company, but also some from its users.
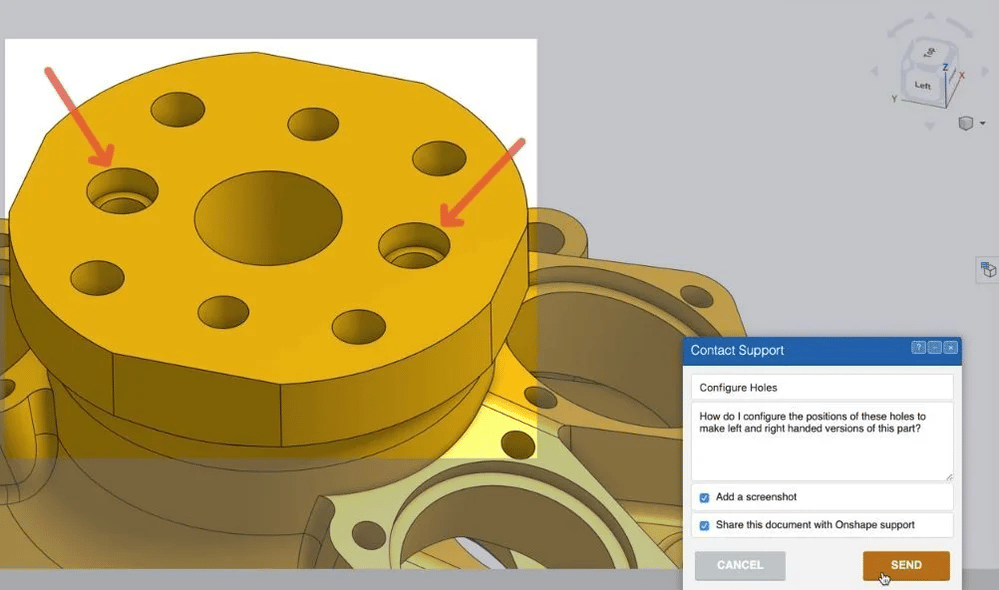
For company support, Onshape has their own blog with professionals who can help you with any questions. Answers often include screenshots along with a description to show you how to use a certain tool or feature correctly.
Many users find Onshape’s learning tutorial videos very informative. These videos cover a lot, from the basics of computer-aided design to Onshape’s most complex tools and features. Additionally, Onshape has a YouTube channel with helpful videos.
For community support, you can find tutorials on YouTube and more information on user experience on Onshape’s dedicated Reddit page.
Alternatives
If you’re interested in designing mechanical parts, just not with Onshape, we’ve got a few good alternatives for you.
SolidWorks
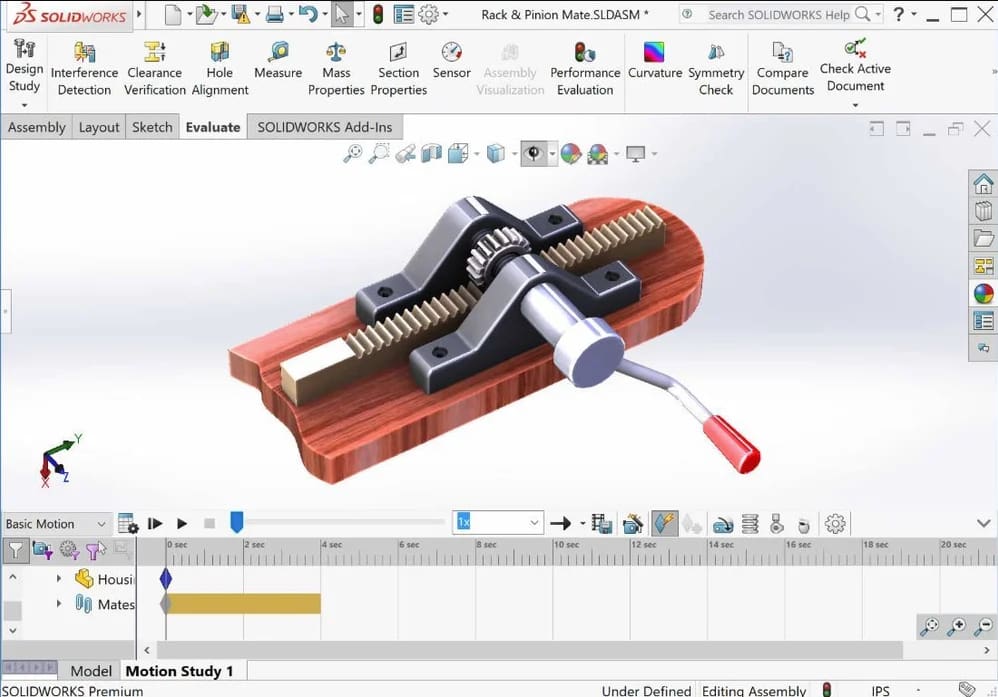
SolidWorks is a solid modeling platform that targets engineers and that’s very similar to Onshape; this might be because Onshape was born out of former SolidWorks founders.
While these two design platforms have many of the same features and are both based on parametric modeling, the main difference is that Onshape is cloud-based and has better collaboration abilities. SolidWorks isn’t completely cloud-based like Onshape, which can limit collaboration.
SolidWorks also has a lot of support online and within the company, both due to its popularity and to how long it’s been around. In terms of pricing, SolidWorks is a bit cheaper than Onshape.
- Main features: Sketch tools, part assembly, drawing, electronics, mechatronics, design analysis
- Uses: Mechanical design, modeling with collaboration
- Pricing: $1,295/year for the full version
- Support: A lot of support from the company and community

Solid Edge
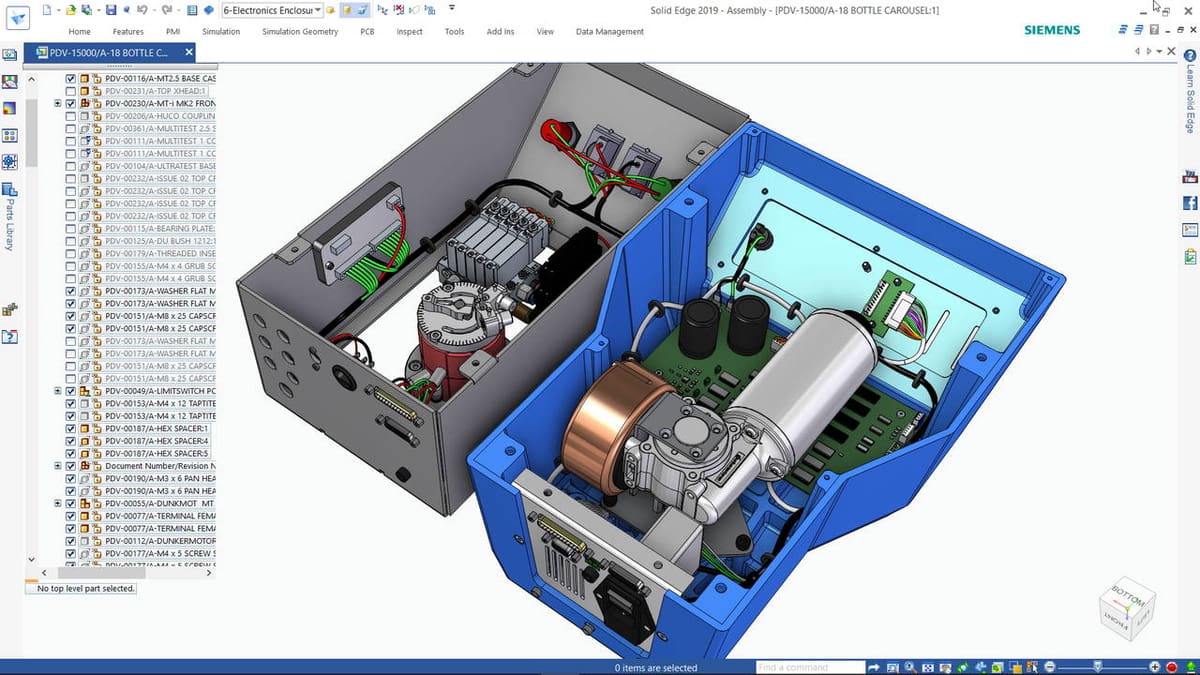
Like SolidWorks, Solid Edge has mechanical design tools and features. However, it isn’t cloud-based software and still uses a file vault.
Solid Edge is more focused on overall design, rather than specifically mechanical design. That being said, you’ll still be able to easily model mechanisms. Solid Edge also has an assembly feature as well as advanced 2D orthographical viewing for determining the functionality of a design.
This design software has some support online and in the company, but not as much as Onshape or SolidWorks because Solid Edge is less popular.
If you’re interested in this software, it’s a big upfront cost, though it’s just a one-time purchase. Depending on how long you’re planning on designing for, it might be worth it.
- Main features: Sketch tools, part assembly, 2D drawing, material selection, simulation tools
- Uses: Mechanical and overall design, modeling with collaboration
- Pricing: $3,995 for the full version
- Support: Some support from the company and community
Fusion 360
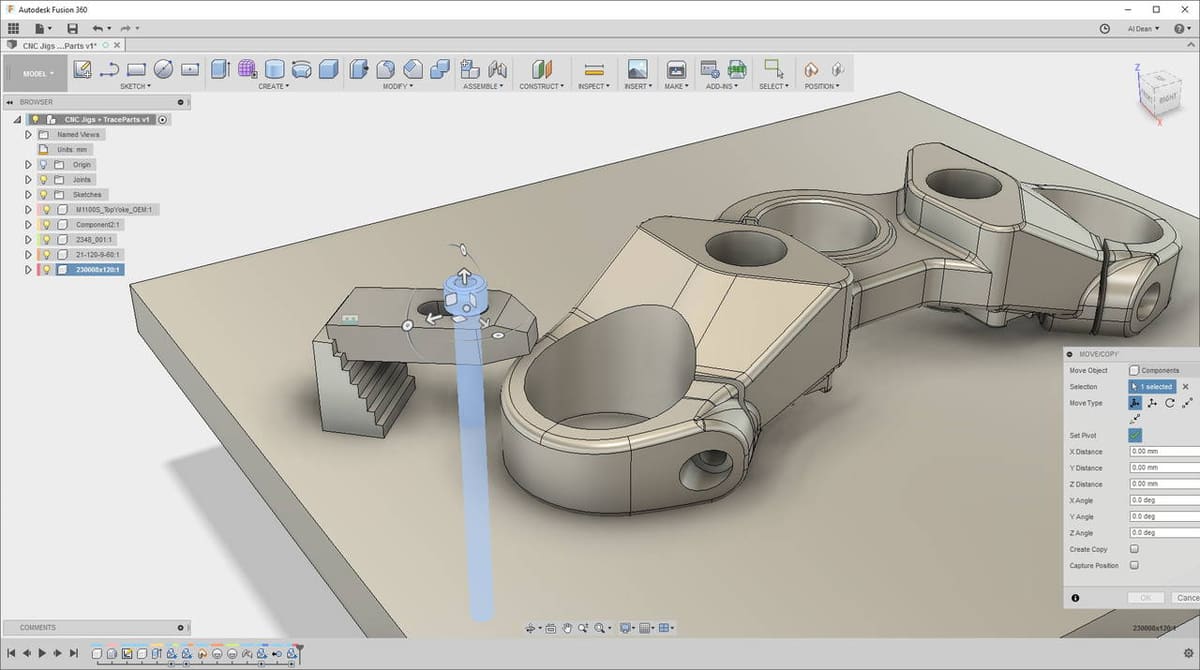
AutoDesk’s Fusion 360 is a very popular CAD software program. Fusion 360, however, isn’t intended for mechanical design, at least not in the way Onshape is.
Fusion 360, though having many useful mechanical design tools, approaches modeling in a more generic way. It’s sketch-based and uses parametric modeling, but it doesn’t have certain mechanical features, such as an integrated part assembly section. (Fusion 360 allows for part assembly, but it’s less mechanical and separate files rather than parts are used.)
Fusion 360 is more limited in its collaboration capabilities. That said, it’s also very much on the affordable side when compared to some other design software.
While this alternative isn’t the closest software substitute, if you aren’t dead set on designing mechanical objects and you’d like to save a few extra dollars, Fusion 360 is for you.
- Main features: Sketch tools, a form of part assembly, reference images, some mechanical features
- Uses: Overall design (not meant for mechanical design specifically) with no collaboration
- Pricing: $310/year for the full version
- Support: A lot of online support from the company and community

Lead image source: Onshape via YouTube
License: The text of "Onshape (CAD): All You Need to Know" by All3DP Pro is licensed under a Creative Commons Attribution 4.0 International License.