Orca Slicer: Calibration – Simply Explained

Orca Slicer is a new slicer that is gaining a lot of popularity. Learn more about Orca Slicer calibration, one of its best features!
Orca Slicer is an open-source slicer that was released only a little over a year ago, and it’s become really popular thanks to its unique features. Based on Bambu Studio, which is a fork of PrusaSlicer, Orca Slicer offers the best features of both software, together with other tools inspired by the community.
Organized cleanly, the slicer isn’t cluttered with long lists of settings. As such, it’s very beginner-friendly. Moreover, the Orca Slicer team has implemented a calibration tool that’s helpful to beginners as well as seasoned makers who want to improve their print quality.
The calibration tool helps you tweak your slicing profiles to obtain the best possible print quality based on the filament and the printer you’re using. In this article, we’ll show you how to use the tool in Orca Slicer’s latest release, V1.8.0. Before getting started, though, make sure that you’ve first done all the hardware calibrations, such as leveling the plate and setting the correct steps/mm for the motors.
Now, let’s get right into it!
Why You Should Use It
To print, you need a slicing profile, which is a list of settings that will be used as values by the software when generating the G-code for your machine. Nowadays, there are lots of premade profiles that are convenient when printing with a machine for the first time. Orca Slicer offers a pretty good range of presets, and thanks to the user community’s support, more and more profiles are being added.
Premade profiles are usually pretty good and allow you to obtain decent results, but if you’re looking for the best quality possible, you’ll need to tweak your settings. How can you do it? By using calibration tests. Those designs are specifically created to test particular features of a print and check your slicing values. Usually, you would look for those tests on 3D model repositories, but Orca Slicer makes the work easier for you by providing a number of useful tests built into the software.
Orca Slicer’s calibration tool is one of its most appreciated features. Makers have found the tests really helpful and instrumental in improving their print quality. As a reference, you can check out this post on Reddit where a user shows the differences after only two calibrations.
How to Use It
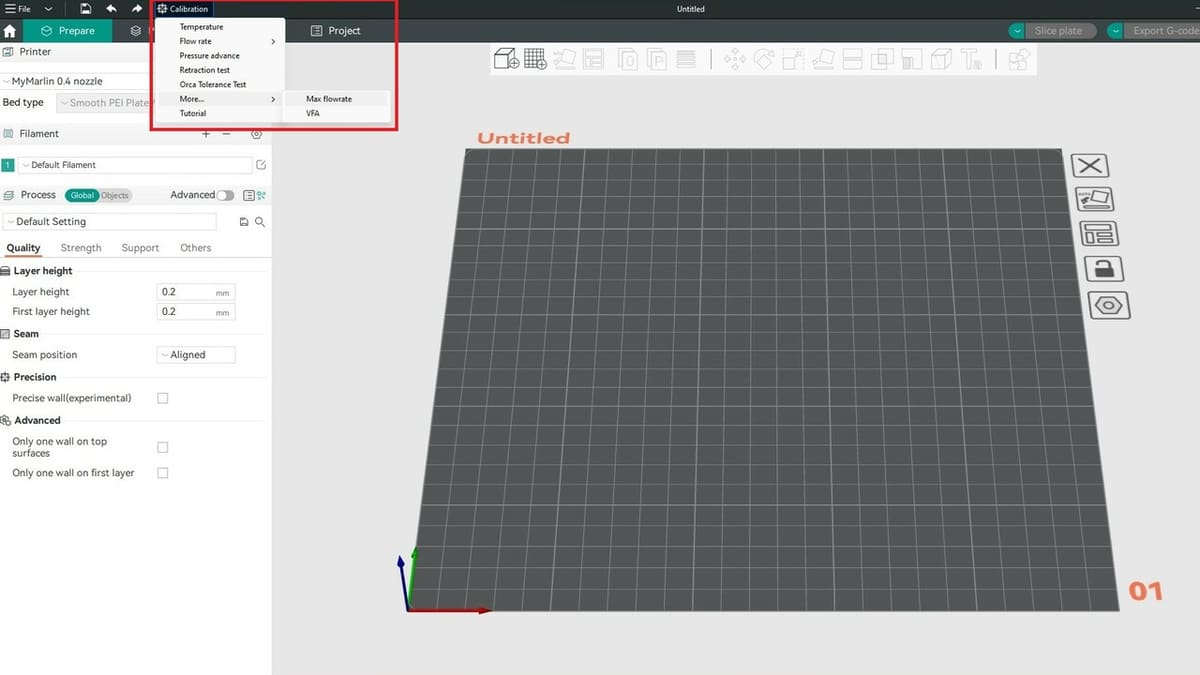
Using the calibration tool is easy. It’s located at the top of the slicer window, and you access it by clicking on “Calibration”. Once you have done this, a list of the available tests will appear, and each one is designed to calibrate different values of your profiles.
Except for Flow rate and Orca Tolerance test, clicking a test will open a panel where you can set the values for the test. Once you click on “OK”, a test model will be placed on the plate. You can then slice the test, and Orca Slicer will automatically generate the G-code with the needed settings.
The first thing you need to do is choose between the list of proposed designs. If you need to tweak your entire profile, you should start with the first test on the list and work your way down to the last.
The Tests
Let’s check out the various test options:
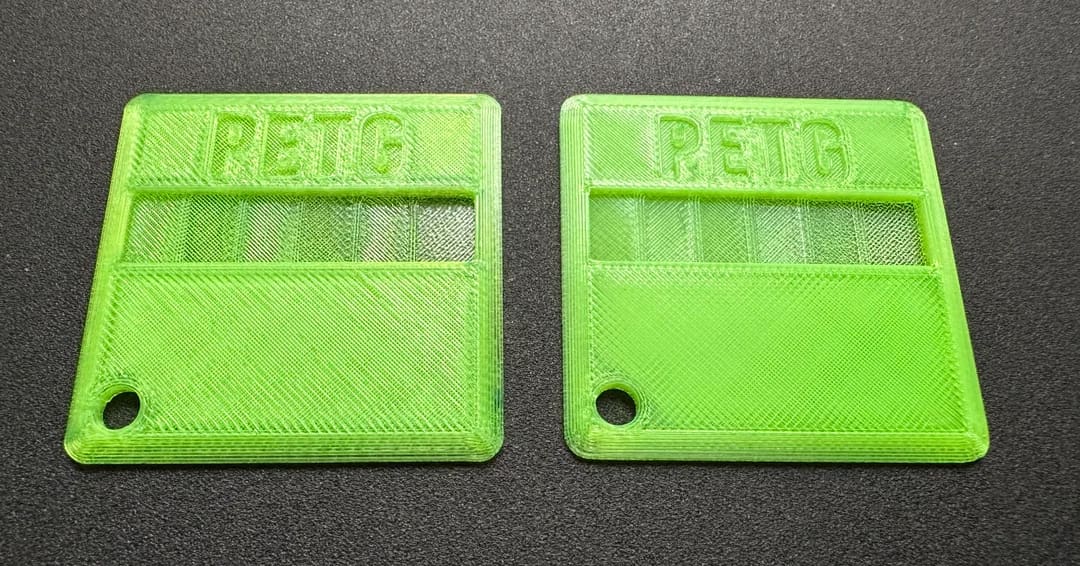
- Temperature: This test will generate the famous temperature tower, a model that’s used to print different temperatures for the desired filament. You can set the material you want to test as well as the temperature range. Once the print is done, check the stringing and layer bonding of the different blocks to find the perfect balance for the filament you’re using.
- Flow rate: This calibration is done in two passes, with the second one being used to refine the value found on the first pass. The goal is to find the rectangle with the smoothest surface.
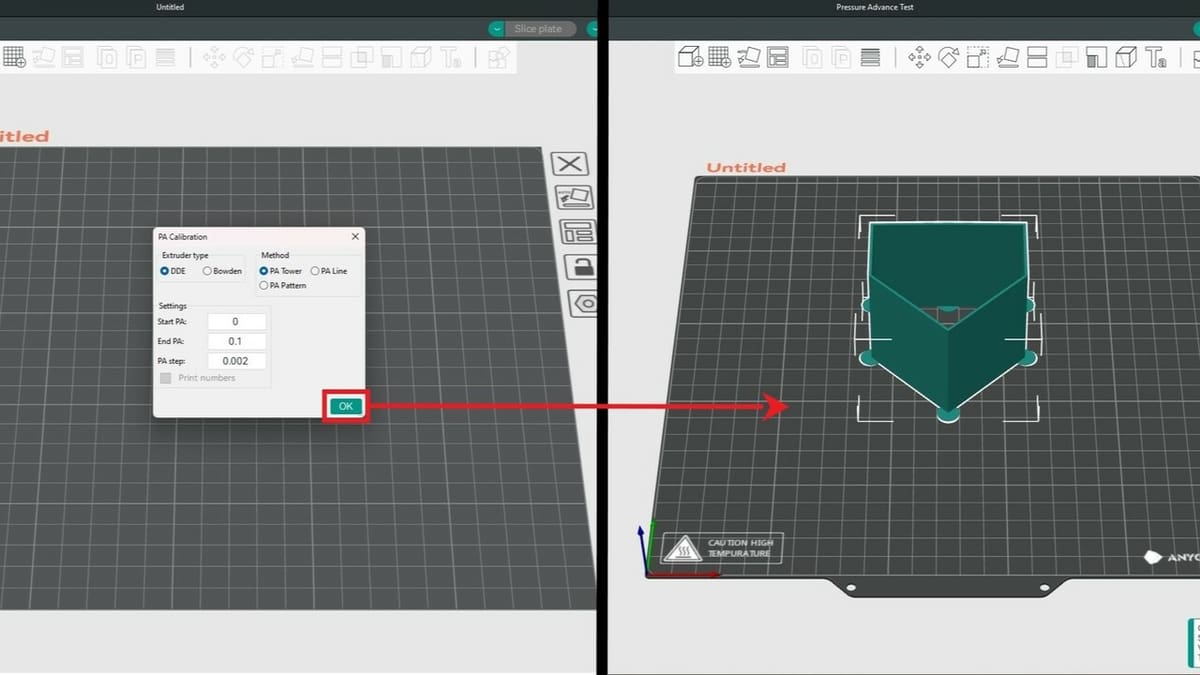
- Pressure Advance: For this test, you can choose between three models. The “PA Tower” is the most accurate method, while “PA Line” and “PA Pattern” are faster. In evaluating the test, you should find the line that has the most consistent extrusion or the cleanest corner.
- Retraction test: This is one of the fastest models to print on the list. Simply set the range of values that you want to test. You can check the suggested retraction length for your particular extruder, then test both higher and lower values.
- Orca Tolerance test: This model allows you to check your tolerance – that is, the dimensional accuracy of your machine. After the print is finished, check which holes the printed hexagon can pass through; the lowest value corresponds to your tolerance. You can use this value when designing your models to obtain the correct measurements.
- Max flowrate: This test allows you to find the maximum quantity of material that your machine can extrude. Of course, this is tailored to the specific filament you’re printing. We’ll discuss this test in more detail below.
- VFA: This stands for “Vertical Fine Artifacts”, and they are the defects that may show on your print due to motor resonances. With this test, you’ll find the maximum speed at which your printer can move without creating these artifacts.
Support
To make the calibration procedure even easier for you, the Orca Slicer team has created detailed instructions about the calibration tool, explaining all you need to know to use the tests in the software and where you can find the settings to tweak. The guide contains all you need to know to perform the tests, except for the VFA section, which is still a work in progress.
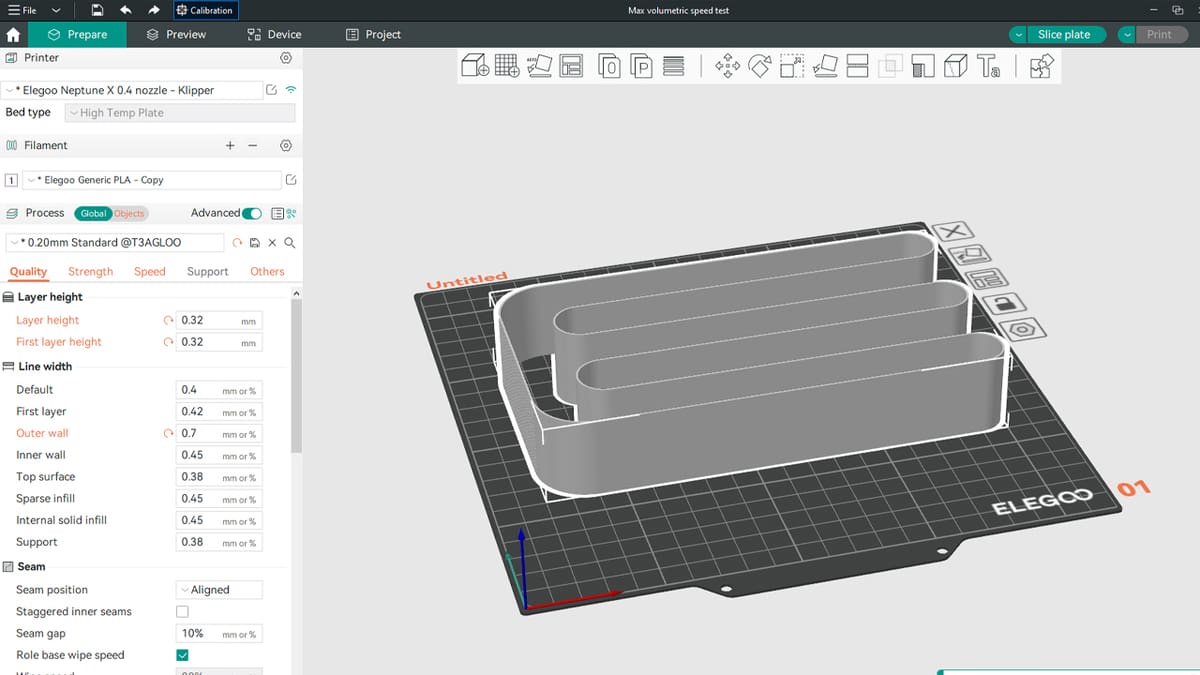
Example: Max Flowrate

Let’s use “Max flowrate” as an example to see the process of tweaking your profile with these tests:
- Click “Calibration > More > Max flowrate”. Orca Slicer will open a little window where you’ll be able to set some needed values for the test.
- Set a conservative value for the “Start volumetric speed” – the default 5 mm3/s, for example.
- Leave the default for “End volumetric speed” for the first pass. You can also leave the “Step” value as is, but if you want to save some time, you could set it to 1 mm3/s.
- Click “OK”, then wait for the software to generate the test. The design will appear on the build plate.
- Slice the part, then send the G-code to your 3D printer.
Evaluating the Test Print
After the print is finished, you can check the result. Looking at the calibration guide provided by the team, we can see what to look for and how we should tweak the values. Basically, you’ll look for the area where the print quality begins to decrease, then use a caliper to measure the height from the base of the piece. If you don’t find any defects, repeat the test with higher “Start volumetric speed” and “End volumetric speed”.
To determine the max flowrate, the guide provides a simple equation: start volumetric speed + (measured height * step) = max flowrate value. If you want a more precise value, you can repeat the test using a range near the number that you calculated as well as a step value of 0.25 mm3/s.
Updating the Profile
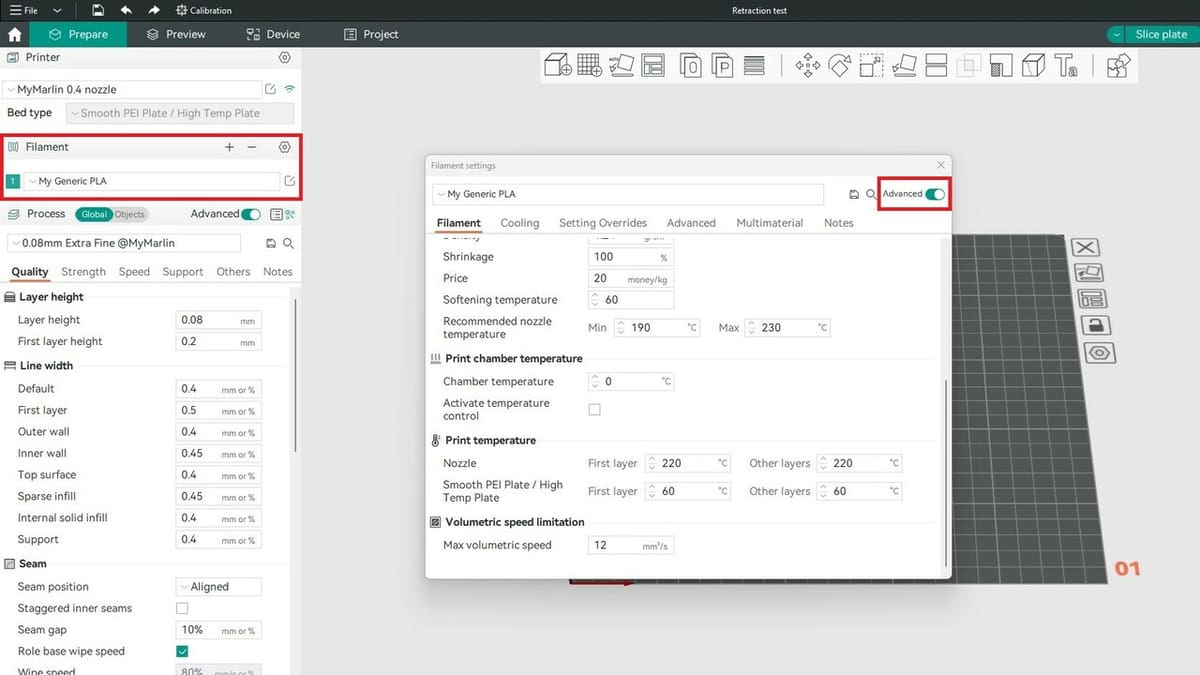
Once we have done this, we can set the new value in our profile by editing our filament settings.
- Under the “Filament” section on the slicer side panel, select or add the filament type you’re using.
- Click the edit preset icon just to the right of the filament dropdown menu.
- In the pop-up window, make sure to toggle on the advanced settings on the far right side of the window.
- Scroll down to “Volumetric speed limitation”, then enter the value you calculated above for “Max volumetric speed”.
And we’re done! It’s as simple as that.
License: The text of "Orca Slicer: Calibration – Simply Explained" by All3DP is licensed under a Creative Commons Attribution 4.0 International License.