PETG Not Sticking to Bed: How to Improve Bed Adhesion

PETG makes excellent functional prints, as long as bed adhesion is not an issue. Check out these solutions to PETG not sticking to the bed!
PETG (glycol-modified polyethylene terephthalate) is a thermoplastic commonly used in 3D printing for functional parts. It’s less brittle than PLA and is less prone to warping than ABS. This makes it excellent for compliant designs and high-stress situations.
PETG is often considered one of the easier filaments to print with. However, tuning your print settings perfectly for PETG isn’t always a walk in the park. The first layer is especially important for PETG and is more difficult to tune than for PLA.
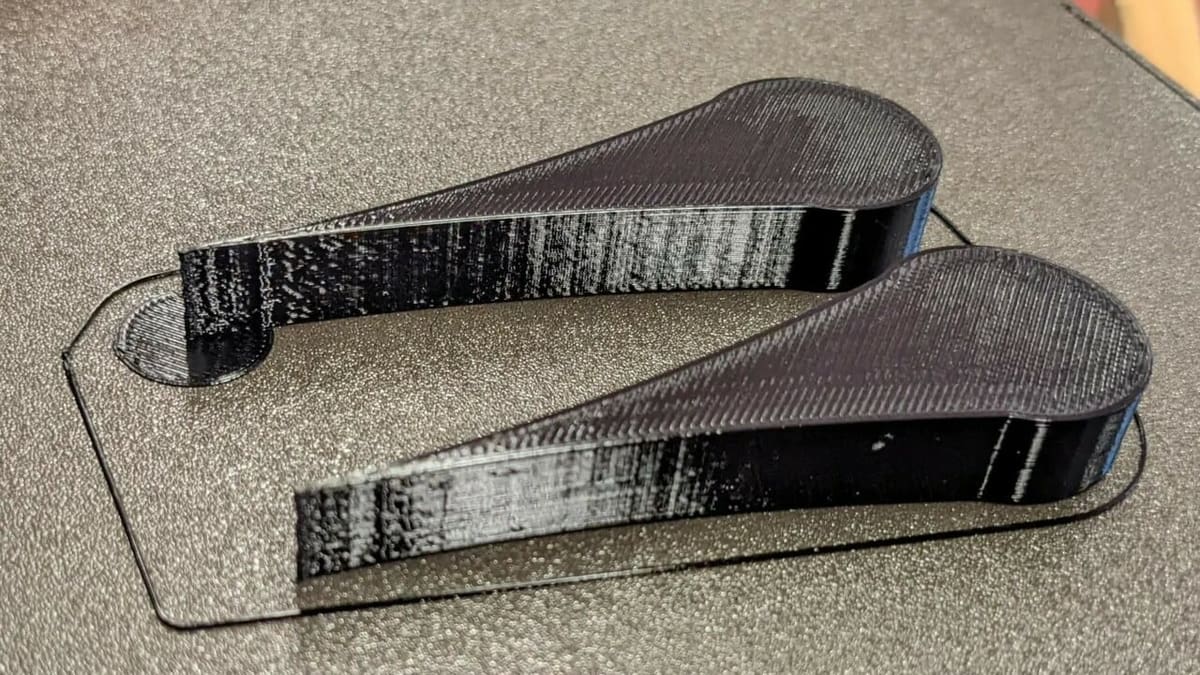
Poor bed adhesion can cause a multitude of issues with PETG. In the best-case scenario, you have minor warping or slight layer shifts. On the other end, you have prints detaching from the build surface that if left unchecked can cause your 3D printer to pool filament into a giant mess. When these issues are found, you may want to eliminate an unlevel bed or out-of-tune Z offset before you start adjusting print settings.
If you’ve eliminated those calibration issues and are still having problems with adhesion, PETG is the next suspect. Let’s get into how to tack down this temperamental filament!
Increase Temperatures
After bed leveling is dealt with, the temperature is a good factor to consider next. If your bed leveling is perfect but the temperature of your hot end is too low, PETG may not adhere. Temperature settings being too low is more likely the cause of adhesion issues rather than too high temperatures.
Hot End
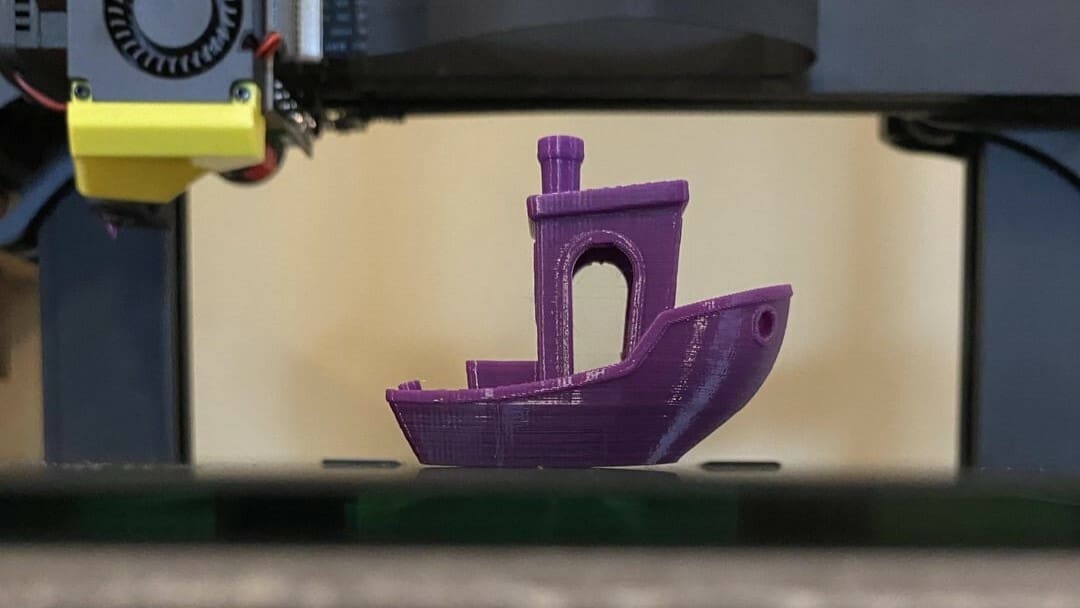
You can evaluate your hot end temperature by printing just the first layer of a print. This should be done several times starting with a temp at the lower end of the manufacturer’s recommended range (usually between 220 and 250 °C) and incrementally increasing the temperature by 2 to 5 °C. Any file would work, but an easy option is the XYZ calibration cube and stopping the print after completing the first layer.
To prevent stringing as well as warping issues, you should aim for the lowest possible temperature that works. If the temperature is too high, the extruded filament may appear wet and runny. The hot end temperature is just right when the filament sticks to the build plate and cools down by the time the next layer is applied.
The temperature required for the first layer may be much hotter than what is needed for the subsequent layers. Make sure that if you change the first layer temperature, the remaining layers are still printing at a suitable temperature, whether or not it’s the same as the first layer. So finish printing that cube!
Heated Bed
Like low hot end temperatures, low bed temperatures can also cause devastating warping. This happens when the PETG cools down too fast causing it to shrink and curl around the edges.
Unfortunately, tuning the bed temperature can be difficult. If you notice warping, try turning up the heat. The recommended bed temperature range for PETG is around 60 to 90 °C. It’s important to raise the temperature incrementally and do test prints because PETG is known to adhere too well when temperatures are high.
If you’re seeing some reduction in warping (or none at all), after temperature adjustments but the print is not yet perfect, it may be time to slow down the print speed.
Reduce Print Speed
PETG may warp when it’s not given adequate time to cool between layers. One way to prevent this is to slow down the print speed of the initial layers to give them more time to cool to the temperature of the bed.
Many slicers have a separate setting for the initial layer speed, so you may not have to sacrifice much in terms of fast printing times. PrusaSlicer does this with percentages of your normal print speed, while Cura uses defined values. Both can be changed to your needs with the ideal range being somewhere between 30 and 45% of your normal print speed.
Even with a slower print speed, you may find that parts are still cooling too fast and lifting off the bed. The parts cooling fan might be to blame. Are you noticing a pattern here? When it comes to PETG, it’s all about the cooling.
Switch Off the Fan
PETG can often benefit from little to no parts cooling fan. This again comes down to giving PETG just the right temperature so it will cool nicely for us. Using the fan on the first layers can cool them too quickly and cause warping. Disabling parts cooling outright might make for a quick fix when printing with PETG.
While some people don’t use the parts cooling fan at all for PETG, you may find yourself needing it in order to nail some sharp overhangs. Luckily, most slicers have a dedicated fan setting for the initial layers. It’s safe to totally turn off the fan at least for the initial layers, if not already done by default.
So with the hot end and bed temperatures tuned, the print speed reduced, and the parts cooling off, you have created just the right temperature to make PETG happy. Persistent warping issues after all that means it’s time to call in backup.
Choose the Right Build Surface

Sometimes, tuning settings just seems to go nowhere. Using the right surface can be the solution to many first-layer adhesion problems. Everything from using different build surfaces to pairing them with adhesives can put you on the path to good results.
Glass vs PEI
While surfaces like glass may yield good results for some makers, PEI is generally seen as the best surface to use for PETG. When heated, the textured surface of PEI grips tight to prints. When cooled, it releases the print without requiring much, if any, force. It’s important to keep up with the maintenance of the PEI sheet though, as oils from your skin or dust can worsen adhesion. Regularly wiping down the surface with isopropyl alcohol and a microfiber cloth should do the trick.
Glass build surfaces, on the other hand, are more likely to cause over-adhesion, which makes removing your print in one piece quite the challenge. (Yes, this does have to do with the thermal properties of glass compared to PEI.) Regular cleaning of glass surfaces is necessary as well.
By keeping your surface clean, you can sometimes avoid using adhesives altogether.
Adhesives
Sometimes PEI or glass just doesn’t cut it. If that is the case, you can turn to adhesives. Common solutions include blue painter’s tape, water-soluble glue sticks, or a sugar-water solution to provide a slight stick to the build plate. You could also opt for dedicated commercial products like 3D Gloop!, specifically formulated for PETG adhesion.
Similarly, sandpaper can be used to rough up the surface of the PEI or glass. This should be done at your own risk, as this will permanently scratch the finish of the PEI or glass.
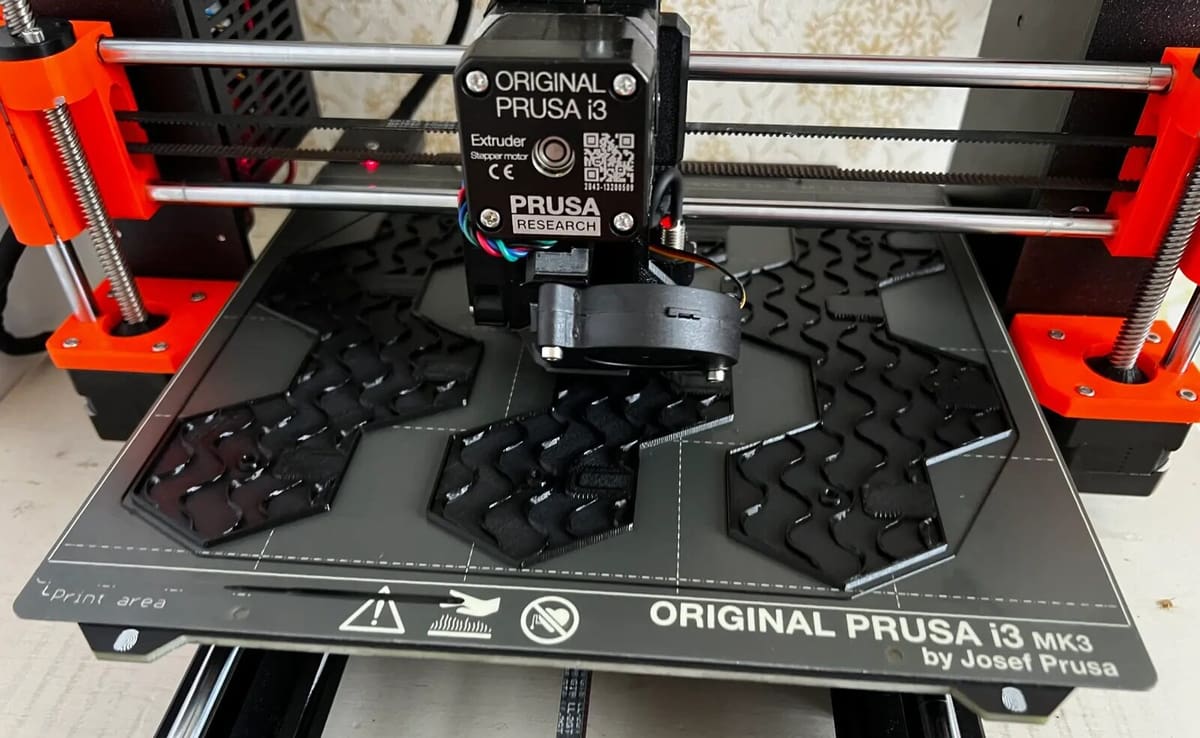
Apply a Raft or Brim
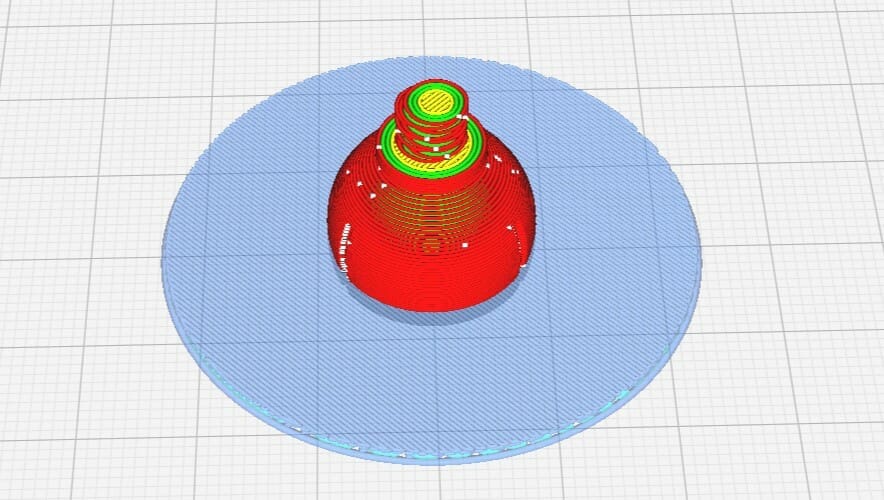
Finally, we have one of the easiest solutions for better adhesion of PETG: A raft or brim!
A brim provides lines of filament surrounding the print to increase the contact area to the build plate. A raft provides a platform that’s printed onto the build plate, and the part is printed on top of it. This also increases surface area with the build plate and allows you to easily remove the initial layers from your model.
Increasing surface area may help improve adhesion, however, it can also lead to more warping. It’s best to fix warping issues by evaluating temperature settings before you implement the use of brims or rafts.
Besides fixing bed adhesion problems, both rafts and brims provide other benefits as well. When paired with the other solutions covered in this article, a raft or a brim can be excellent for purging the nozzle as well. This can lead to a cleaner finish on your (perfectly adhered) prints!
License: The text of "PETG Not Sticking to Bed: How to Improve Bed Adhesion" by All3DP is licensed under a Creative Commons Attribution 4.0 International License.