Prusa Mini Firmware: All You Need to Know

If you want to change or update your Prusa Mini's firmware, read on to see your choices and how to install them.
Small and Mighty
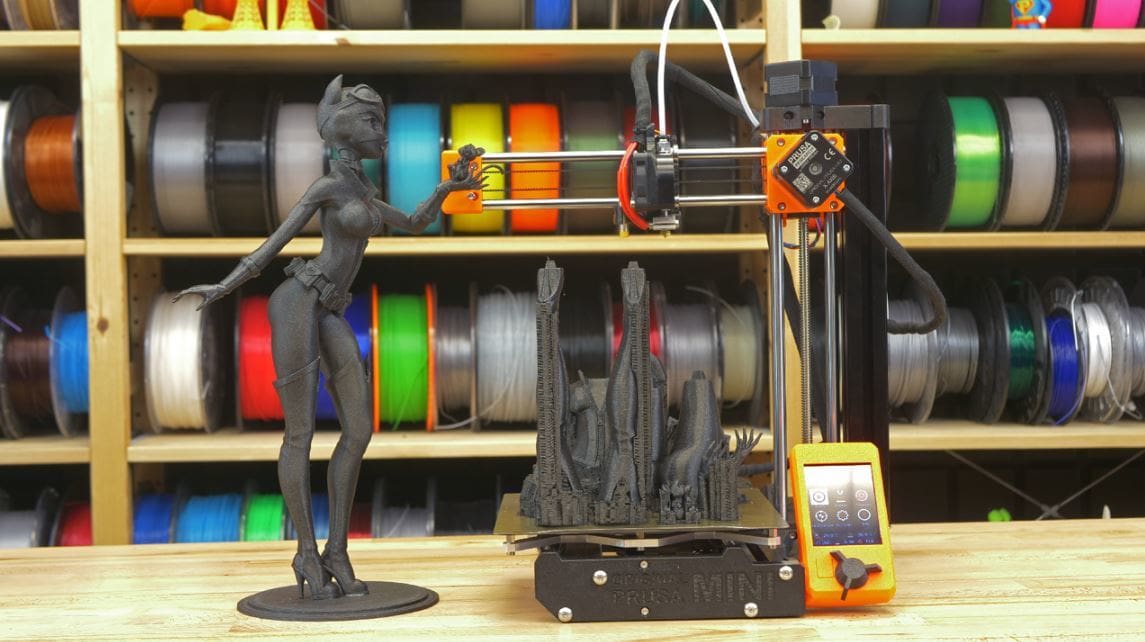
The Prusa Mini is a great 3D printer, causing a splash when it was released back in the fall of 2019. It’s unique in that it’s a more affordable option (compared to the i3 MK3S) from the line of high-quality 3D printers by the famous Josef Průša.
Before we get started, let’s go over some firmware basics and some things you should consider before swapping or upgrading your Prusa Mini’s firmware.
Firmware Basics
Firmware is the bridge between software and hardware of a machine. In the case of 3D printers, firmware uses the hardware (like motors, end stops, belts, and so on) to print the sliced file.
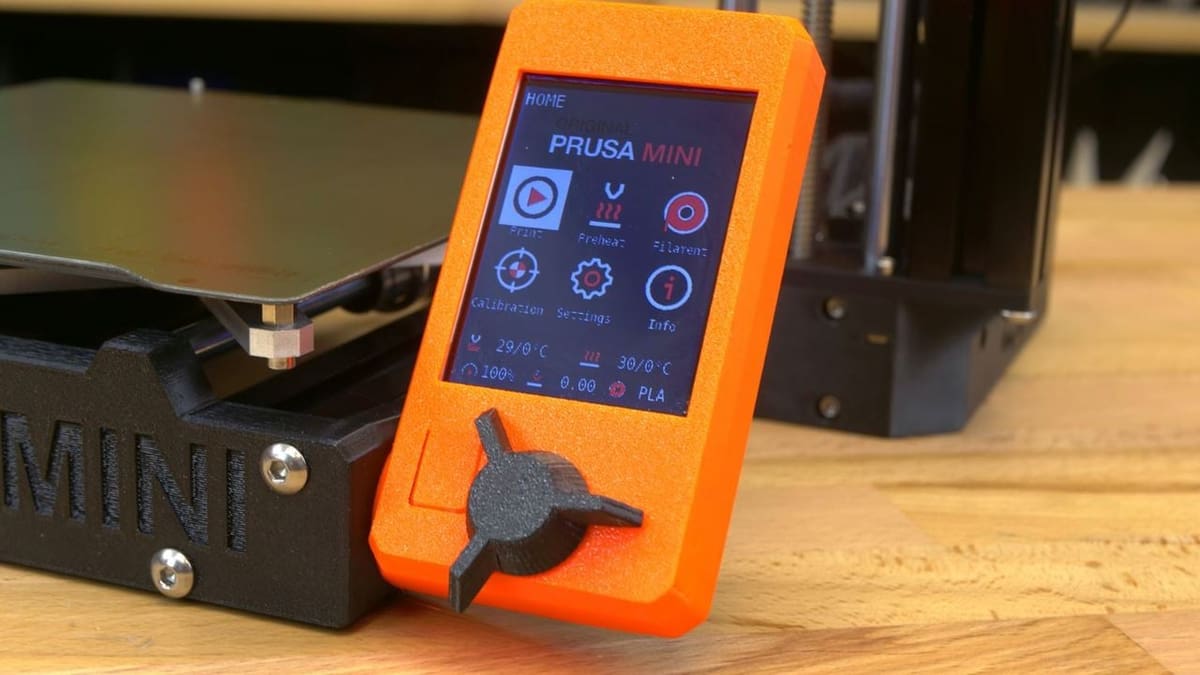
The firmware on the Prusa Mini is housed in the Mini’s mainboard, specifically in the EEPROM of the board. (EEPROM is always saved to the mainboard, regardless if it’s connected to another device or powered on.)
Prusa printers, including the Prusa Mini, run on Prusa’s own version of Marlin firmware. This variation of Marlin is great, but you might want to install another firmware because of new features or to experiment with something new.
Considerations
Whatever the reason is, you can install different firmware on to the Prusa Mini, however, you should consider a few things before you do.
The most important thing to note is that installing third-party firmware on your Prusa Mini voids the warranty on the machine. Additionally, there are no highly-developed firmware options that are compatible with the Prusa Mini, so finding an option might be difficult.
To install custom firmware on to the Prusa Mini (instructions are in the last section), it requires cutting off a segment of the mainboard to override the manual settings that prevent you from doing this. So, it’s important to be sure because there’s no turning back!
Prusa has multiple official firmware options, and in this article, we’ll be going over two of them for the Prusa Mini. We aren’t including any custom firmware alternatives because there aren’t any common or popular ones out yet. Regardless, we’ll be going over installation instructions for the official Prusa firmware as well as for custom firmware on the Prusa Mini.

Options

As we said previously, we’ll be going over two of the best official Prusa firmware options for the Prusa Mini. One is the newest firmware option (at the time of writing) and the other is the previous version.
Having new firmware can be good for getting the latest and greatest firmware technology to enhance your printer’s abilities. However, having an older version of firmware sometimes is a better option because it typically is more stable and has fewer problems. Ultimately, the decision is between newer features or more stability.
Note that Prusa comes out with frequent updates, but the same considerations of features vs. stability apply. You can find all of the changes and features in each version on Prusa’s firmware changelog as well as Prusa’s GitHub.
Option #1: Official Prusa Firmware V4.0.5
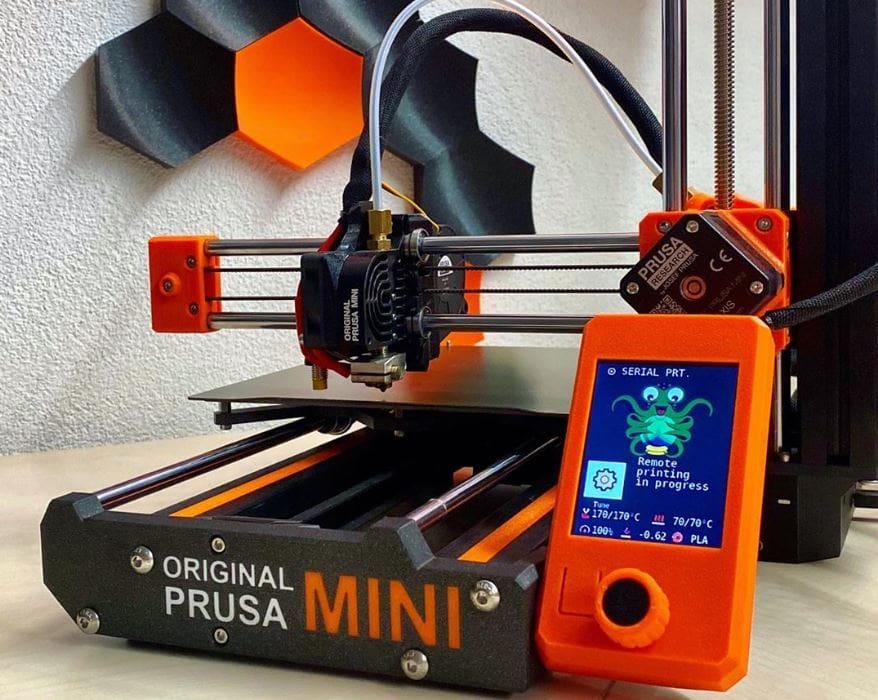
Our first option is the Prusa Mini V4.0.5 firmware. This firmware, released on April 6th in 2020, has all of the great features of the previous V4.0.4 and more. According to Prusa, the V4.0.5 has Prusa Connect Local using WebUI, and the stop print function has been fixed.
This version also has improved adjustment to mesh bed leveling. It also has improved the Z-axis self-test and fixed a problem of random screen freezes. According to the GitHub release notes, this version now allows for remote printing with OctoPrint and has revised file sorting.
This firmware is still only a couple of months old, so it might have a few errors here and there that haven’t been discovered or fixed yet. Over time, whatever errors it has will likely be fixed and V4.0.5 will become just as stable as previous versions, if not more.
Lastly, as it’s the official Prusa firmware, if you have any issues with it, you can always send them an email or message informing them of the errors, and they’ll be happy to help.
- Pros: This firmware includes great new and improved features such as an improved Z-axis self-test and Prusa Connect Local.
- Cons: Still some errors due to how new the firmware is. Stability isn’t as high as the previous version.
- Where to download: Prusa Firmware changelog
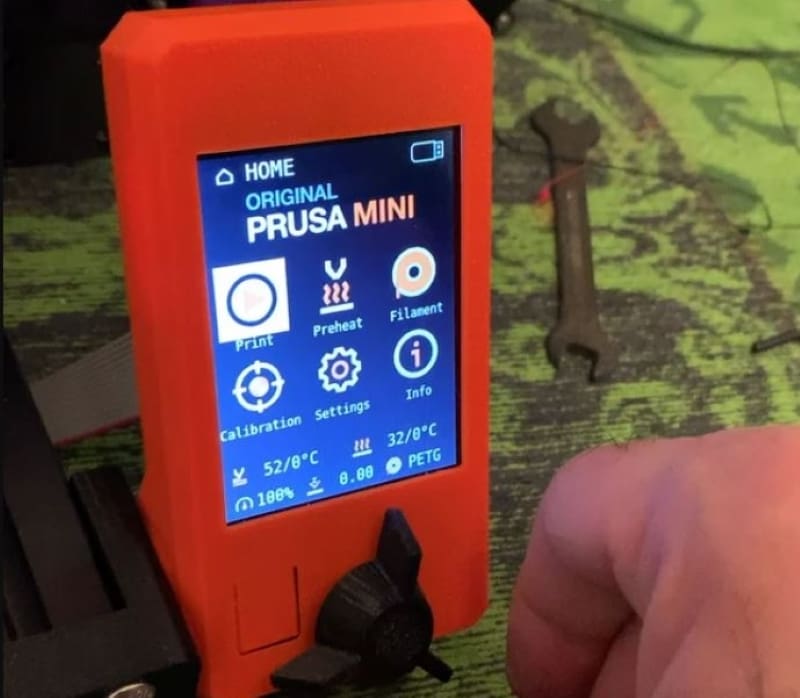
The second firmware option for the Prusa Mini is the official V4.0.4 firmware. This firmware was released back in early March of 2020 and has some improvements and new features compared to its predecessor. This firmware has improved jerk speeds and supports MK3S encoders.
It also has automatic filament sensor detection, allowing you to quickly install one. This firmware has fixed the mesh bed leveling problems found in the V4.0.3 firmware. Additionally, the loaded filament information and the M600 filament change command have improved.
While the firmware is still pretty new, it’s quite stable despite it coming out a little over one month before the newer V4.0.5 version.
The downside of this firmware option is that it doesn’t have the improved and new features that the V4.0.5 version has. This means choosing this option will cost you some new features, in exchange for a more stable firmware.
- Pros: This firmware is very stable and has some new and improved features.
- Cons: There aren’t as many new and improved features in this option as there are in the newer V4.0.5 version.
- Where to download: Prusa Firmware changelog
Installation
In this section, we’ll be going over how to install both official Prusa firmware as well as custom or third-party firmware. The methods of installing the firmware differ depending on whether or not the firmware is made by Prusa. The instructions for installing both types of firmware can also be found on Prusa’s Knowledge Base.
To start, here’s what you’ll need:
- An internet-connected and device with a USB port (computer, tablet, etc.)
- A USB drive
If you’re installing the custom firmware, you’ll also need:
- A small, thin screwdriver
Have all of these items? Great, let’s get started!
Installing Official Prusa Firmware
- Download the firmware that you’d like to install through Prusa’s website. It should be in a zip file.
- Unzip the firmware zip file on your device.
- Insert your flash drive into your computer and move the unzipped .bbf firmware file to the root directory of your flash drive.
- Turn on your Prusa Mini, and insert the flash drive into the USB port.
- Push the reset button so the printer can find the new firmware in the flash drive.
- Use the knob button on the printer’s display screen and select “FLASH”.
- Wait to see the home screen to know that the new firmware was properly installed.
Installing Custom or Third-Party Firmware
Before you follow these instructions, you should know that doing this will void your printer of the Prusa warranty, as they don’t recommend using other firmware and cutting part of the mainboard off.
- Turn off your printer and unplug it from the power outlet.
- Open up the mainboard on your Prusa Mini.
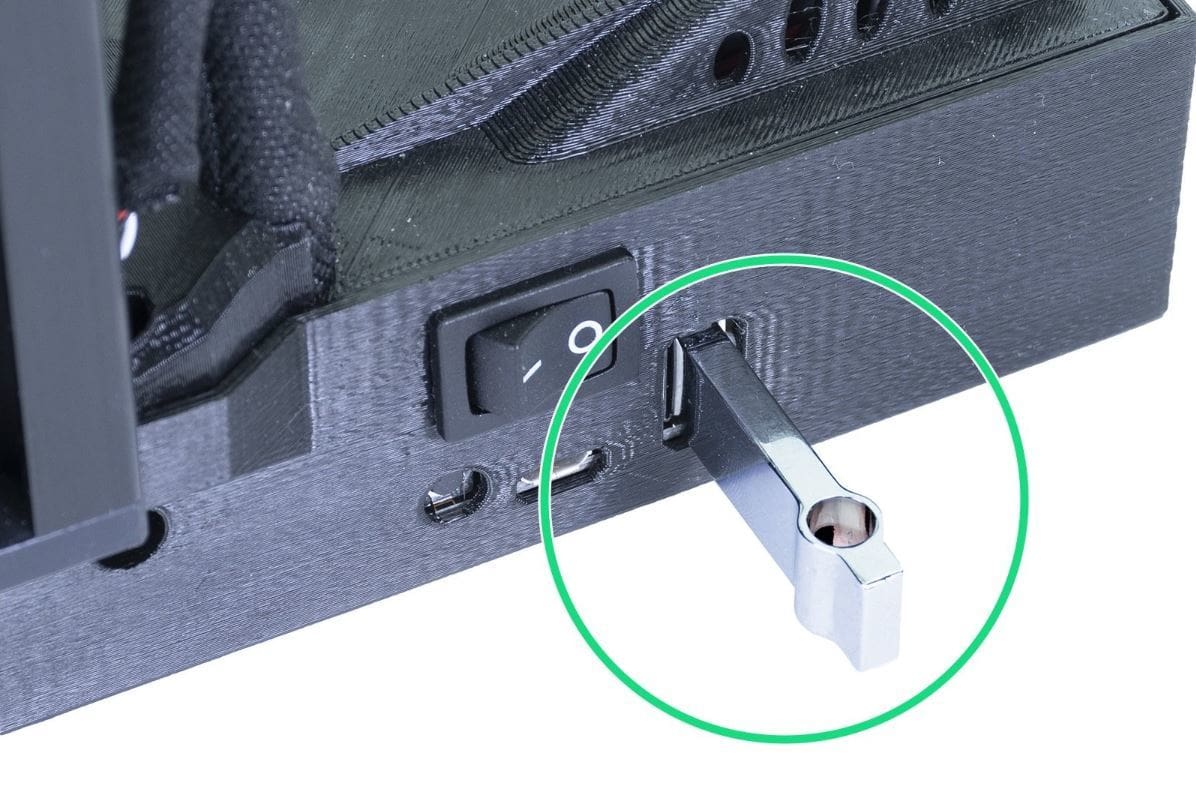
Getting closer to no turning back!
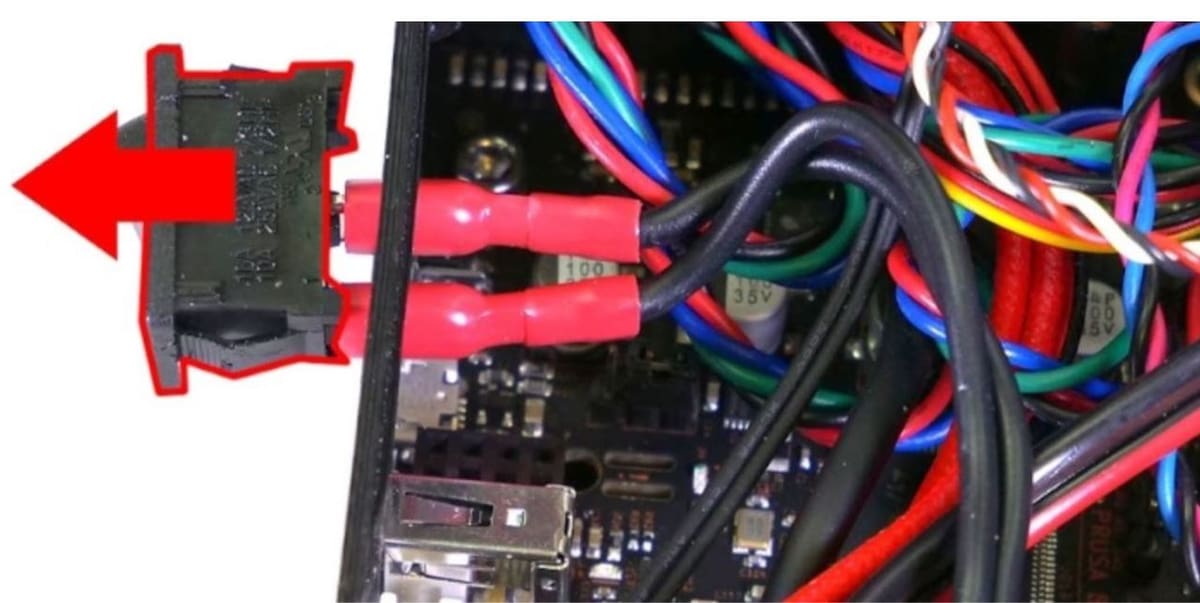
Pull out the power switch (pictured above).
Now, you’re going to go past the point of no return!
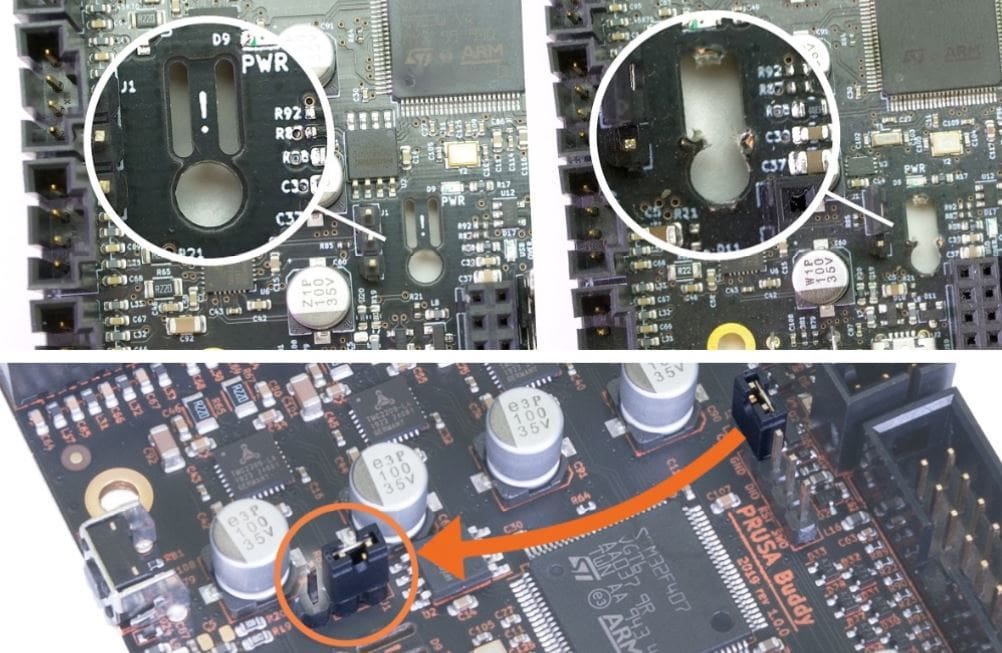
- Use the screwdriver to remove the middle part that separates the two long oval-shaped holes (pictured above).
- Look at the three pins above the hole. According to Prusa’s instructions, there should be a black jumper on the two pins that are closer to the center of the board. However, a user commented that “it’s possible that the jumper is installed on a different set of pins – in that case, move it according to the picture (above). If the jumper is missing, add it before booting.”
- Revert to the instructions to install the official Prusa firmware, but instead install third-party firmware.
After following these installation instructions, you should be ready to print with your new firmware.
Lead image source: Prusa
License: The text of "Prusa Mini Firmware: All You Need to Know" by All3DP is licensed under a Creative Commons Attribution 4.0 International License.