
How to Install OctoPrint for a Prusa 3D Printer

With OctoPrint, Prusa 3D printers can be controlled remotely. Read on to learn how to install OctoPrint for the Prusa MK3S and more!
If you’re looking for a way to work with your 3D printer remotely, OctoPrint may be the solution! An open-source system, OctoPrint is one of the most popular programs for extending 3D printer functionality. From starting and stopping prints to streaming video and changing print settings on the go, OctoPrint can do it all.
Using it with Prusa 3D printers, however, requires special consideration. For instance, Prusa offers their own image of OctoPrint called PrusaPrint, which simplifies the installation process. However, advanced users may wish to use a different type of Raspberry Pi, or they may want to create their own custom image.
In this article, we’ll look at each of the options’ requirements, certain considerations, and where you can find additional support. Read on to learn all about installing OctoPrint for Prusa 3D printers!

OctoPrint & Prusa
All versions of OctoPrint use a Raspberry Pi, an inexpensive Linux single board computer, to interface with 3D printers. For Prusa machines, the best Raspberry Pi to use will vary depending on the printer model.
For the Prusa MK3S and MK3S+, you can use PrusaPrint. PrusaPrint is a pre-configured Raspberry Pi image developed by the Prusa team. With PrusaPrint, the settings have been optimized to connect a Raspberry Pi Zero W directly to the MK3S Einsy mainboard. This removes the need to edit the image with terminal commands, greatly simplifying the process.
However, because the Raspberry Pi Zero W has less processing power than other boards, computationally intensive operations (like streaming video) do not work well and will reduce print quality, so it’s not recommended by the OctoPrint team. Of course, if you’re only planning to start and stop prints remotely, the Prusa team has verified that the Raspberry Pi Zero W works well.
For all other Prusa machines (including the Prusa Mini, Mini+, MK2.5, MK2.5S, and MK3), you’ll need to create a custom OctoPrint image. Although you can use a Raspberry Pi Zero W with these machines, OctoPrint recommends using a Raspberry Pi 3B+ or 4B for best results.
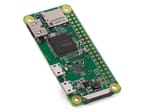
The Raspberry Pi Zero W extends the Pi Zero family and comes with added wireless LAN and Bluetooth connectivity.
PrusaPrint
If you have a Prusa MK3S or MK3S+ and are fine with the limited functionality of the Raspberry Pi Zero W, PrusaPrint is the option for you! Using a custom image from the Prusa team, you can create a connection directly between the Pi Zero W and the Prusa motherboard. Because the image is custom made for Prusa printers, you also won’t need to tinker with terminal commands. That’s handy, right?
Materials
- Raspberry Pi Zero W
- A 2×20-pin Strip Dual Male Header with 18 mm pins
- A microSD card of at least 8GB (16 GB is recommended)
- A 3D printed Raspberry Pi Zero frame
Step 1: Solder
After you’ve got your materials, you’ll need to solder a GPIO-header to the Raspberry Pi Zero W. This will allow it to connect directly to the Prusa Einsy motherboard.
When soldering, be sure to carefully read the instructions for the soldering device and use personal protective equipment. Soldering can be very hot, and you don’t want to get hurt.
To connect the Raspberry Pi to the Prusa, you’ll need to solder to the 5V, GND, TXD, RXD, and GPIO22 pins on the Pi.
Step 2: Configure the SD Card
After you’ve soldered the header to the Raspberry Pi, you’ll need to configure the SD card.
- First, download the pre-built image: PrusaPrint.
- Then, download and install Etcher utility to “flash” the image to the microSD card. Note that this will erase all information previously stored on the SD card. So, you might want to use a new SD card or move all of your old information before flashing!
- Next, reinsert the SD card and open the “boot partition”. Find the “octopi-wpa-supplicant.txt” file, and edit the appropriate rows with your wireless network information. Be sure to use a recommended text editor such as NotePad++, VSCode, Atom, or Sublime Text, as other editors (including Microsoft Word and Notepad) will corrupt the file.
- Finally, create a file called “octopi-password.txt”, type a password into the file, and save the file onto the SD card.
Step 3: Connect to the Printer
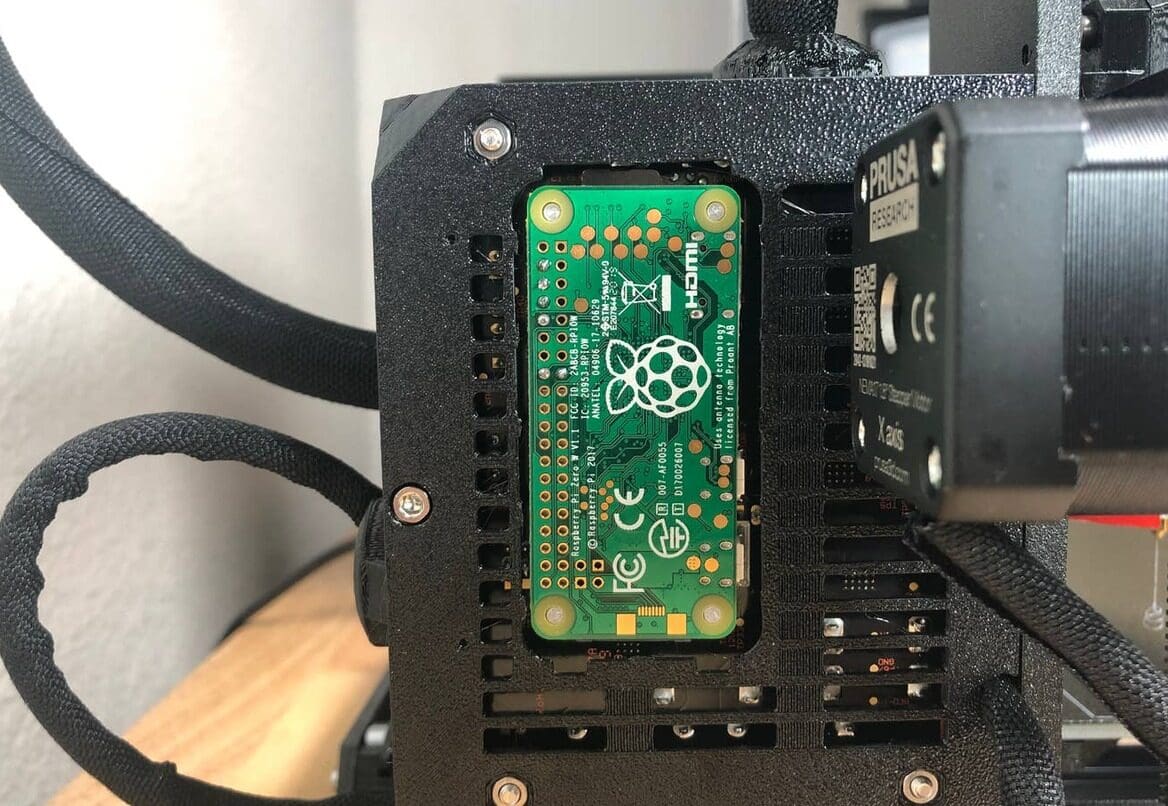
After the Raspberry Pi is configured, you’ll need to connect it to the Prusa. Before you do so, make sure that the printer is switched off. Then, cut the plastic cover of the MK3S Einsy Rambo board and slot the Raspberry Pi Zero W into the appropriate connector holes.
That’s it! OctoPrint should be ready to work with your Prusa MK3S.
If you run into any trouble or if you’d like more specifics on any of the steps in the setup process, be sure to check out Prusa3D’s official support article. Prusa’s article also contains important safety warnings, so it’s worth looking into for the best results.
Custom Image
If you don’t have a Prusa MK3S or MK3S+, or if you want to use a more powerful board than the Raspberry Pi Zero W, you’ll need to configure a custom OctoPrint image.
Materials
- Raspberry Pi: For Prusa machines, you’ll need a Raspberry Pi 3B, 3B+, or 4B on which to install the image. If you’re looking to save money, OctoPrint will also work on the Raspberry Pi A, A+, B, B+, 2B, 3A+, and Zero W. However, some functionality may be limited and print quality may be reduced. If the Raspberry Pi model doesn’t have built-in Wi-Fi, you’ll also need a Wi-Fi dongle.
- USB cable: If you have an Original Prusa i3, you’ll need a USB Type-A cable to connect to the printer. If you have an Original Prusa Mini, you’ll need a Micro-USB cable to connect the Raspberry Pi to the printer. If you’re using a Raspberry Pi Zero W, you can connect directly to the MK3S Einsy Rambo motherboard. For more detailed instructions, check out this support article.
- MicroSD card: You’ll also need a microSD card of at least 8 GB (16 GB is recommended) and a microSD card reader.
Step 1: Flash the SD Card and Connect to Wi-Fi
After you’ve decided on a board, you’ll want to download the latest OctoPrint image and flash it to the microSD card using Etcher. Be sure to use an empty SD card for this process, as flashing the image will erase all previously stored data.
Then, you’ll need to connect the Raspberry Pi to your wireless network:
- On the microSD card, locate the partition called “boot” and open it.
- Then, look for a file called “octopi-wpa-supplicant.txt ” and edit the appropriate rows with your wireless network information. As mentioned earlier, do not use Microsoft Word or Notepad. These will corrupt the file!
- Finally, uncomment the country your Raspberry Pi is in so that it knows which wireless protocol to use.
For more information on this process, check out Prusa 3D’s official support article!
Step 2: SSH into the Raspberry Pi
Next, you’ll need to insert the SD card into the Raspberry Pi, connect the Pi to the Prusa via USB, and power on the board. Then, you can SSH into the device to change the password. This process differs based on your computer’s operating system, so check out the support article for specific instructions!
After you connect to the Pi, it’s strongly recommended that you change your password. To do so, simply type sudoraspi-config into the terminal followed by the default password “raspberry”. Then, select “Change User Password” and follow the onscreen instructions.
Lastly, navigate to “Finish” and type sudo reboot to reboot the Raspberry Pi. Your board is now configured with OctoPrint!
Step 3: Launch OctoPrint
Now that OctoPrint is installed, you can go to your browser and type “octopi.local” to control your printer. Once you’re on the OctoPrint page, follow the setup wizard to create a new printer profile.
For Prusa Printers, you’ll need to configure the Form Factor, Origin, Heated Bed, Width, Depth, Height, and Custom Bounding Box parameters. For official values for these parameters, check out the Prusa website.
Step 4: Celebrate!
That’s it! Once you’ve configured your printer profile, simply click “Connect” to establish a connection between the Raspberry Pi and the Prusa. You should now be able to start, pause, and stop prints remotely, as well as change printing settings on the fly.
More Resources
This article provided a general overview of how to install OctoPrint for Prusa machines. For more detailed information on installing OctoPrint, be sure to check out Prusa3D’s knowledge base. For more details on using OctoPrint itself, check out the OctoPrint website!
If you aren’t sure which Raspberry Pi board to add to your Prusa, this discussion on the Prusa Forums takes a look at the pros and cons of different options. While more advanced users might prefer a more expensive board, many Prusa community members have had success with the cheaper Raspberry Pi Zero W.
Lastly, for more information on installing and using OctoPrint, check out our article on using OctoPrint with the Raspberry Pi. After you add OctoPrint to your 3D printer, there’s no limit to what you can accomplish!
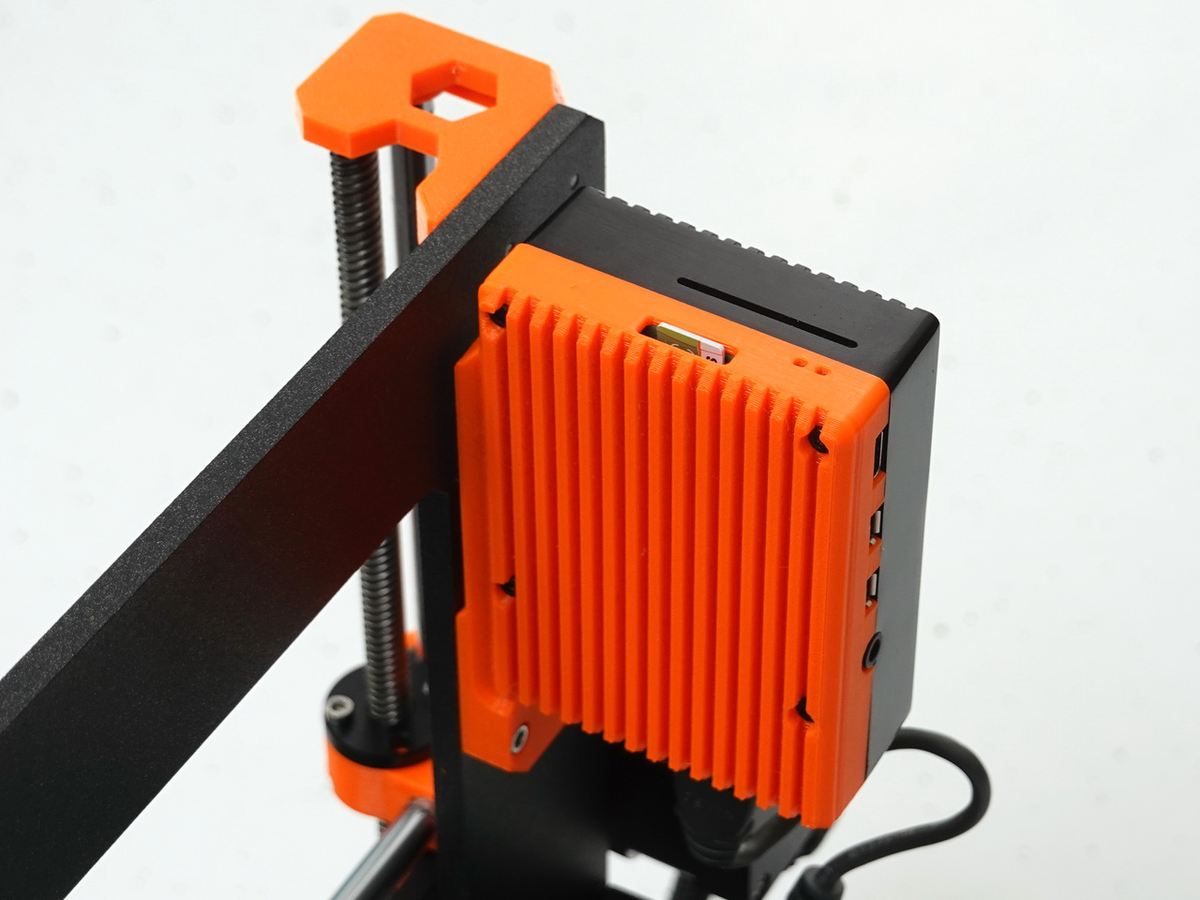
Lead image source: GiverOfPotatoes via Reddit
License: The text of "How to Install OctoPrint for a Prusa 3D Printer" by All3DP is licensed under a Creative Commons Attribution 4.0 International License.
CERTAIN CONTENT THAT APPEARS ON THIS SITE COMES FROM AMAZON. THIS CONTENT IS PROVIDED ‘AS IS’ AND IS SUBJECT TO CHANGE OR REMOVAL AT ANY TIME.