Prusa Software: 5 Must-Have Tools for Your Prusa Printers

So you've got the printer, a few tools, and some filament, but something is missing... Discover the essential Prusa software for your printer!
The software you use can make the difference between a pleasant and horrible 3D printing experience. The best software allows you to print models with tools and features that actually help improve your printing experiences.
Slicers are just the tip of the iceberg. Also included are the software tools that support your printing workflow, from the CAD software you use to design your models to remote monitoring applications that allow you to watch the magic happen from the comfort of your couch.
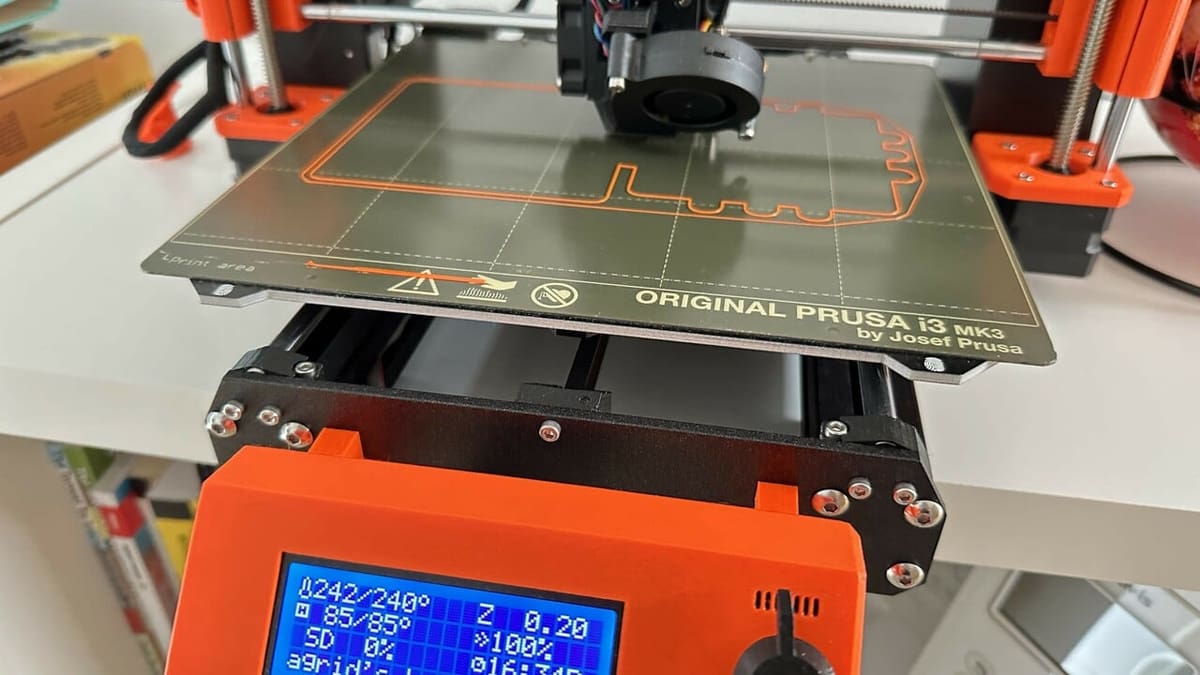
If you’ve got a Prusa printer, be it an i3 MK3S+, MK4, or Mini+, you’re probably pretty satisfied with the hardware and all of the support available – both official and from the community. However, you’re going to need a few more tools in your toolbox if you’d like to go beyond printing pre-sliced models. But which ones are right for your printer?
To help you out, we’ve rounded up several software options that we found essential to creating a full-fledged 3D printing workflow. We’ve assessed them based on availability, ease of use, and, of course, compatibility with a Prusa printer. Naturally, it was also important that the picks were equipped with great tools and features that can help you make the best of your printing experience.
Without further ado, let’s check out the list!
PrusaSlicer
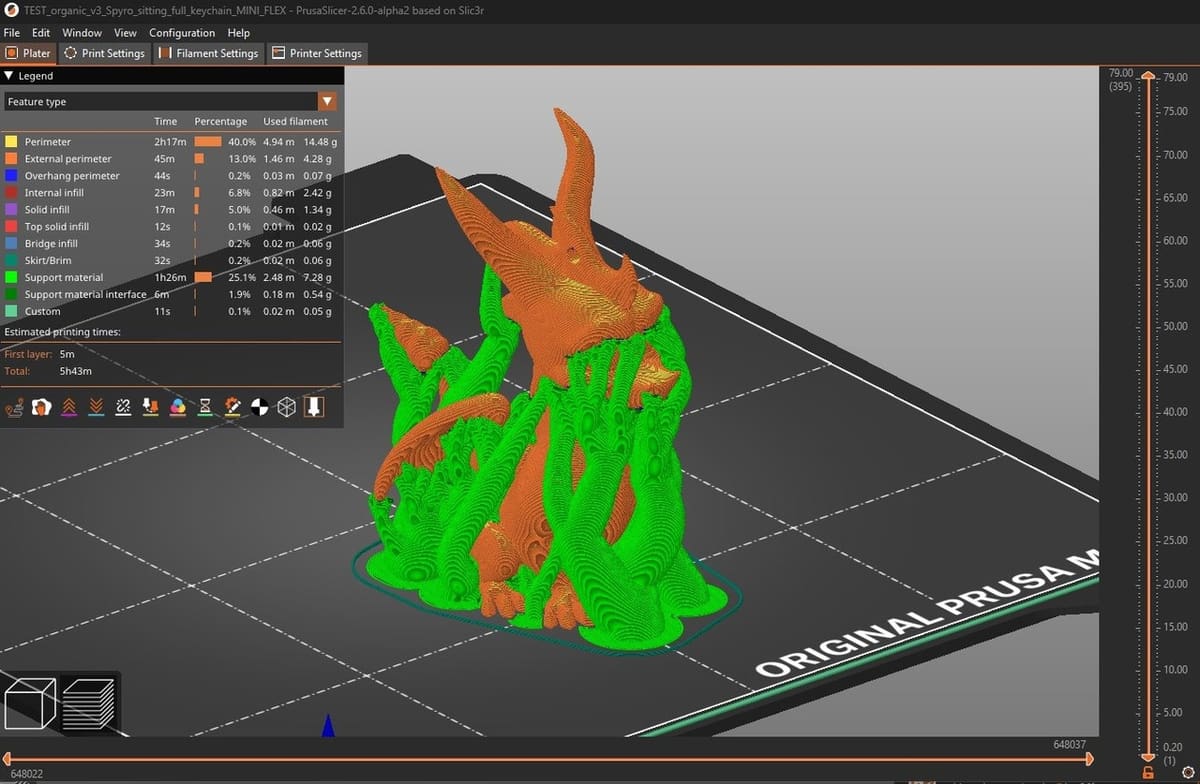
Slicers are vital to the 3D printing process. They enable you to prepare and convert your 3D file into a format that your printer can read. There are many slicers out there, but PrusaSlicer – a free and open-source from Prusa Research themselves – is a beloved option that’s guaranteed to work seamlessly with your Prusa printer.
PrusaSlicer comes loaded with all of the relevant printer profiles pre-configured. It’s a handy way to avoid spending hours trying to find the right settings. Plus, when Prusa releases a new update, they typically release slightly modified profiles, meaning that they tune printer profiles for you.
There are many nice features to this slicer beyond the Prusa ecosystem, like letting you cut up your prints if they don’t fit on the build plate, vase mode, and expert features such as variable layer heights. You even have a built-in STL repair function if your model has a broken mesh that may lead to printing difficulties. Just right-click your print, then select “Fix through the NetFabb” (a meshing service) without even leaving your slicer!
Recently, PrusaSlicer added a few new advanced features in version 2.5, including a new Arachne engine and Tree Supports. The Arachne engine changes the way toolpaths are generated, leading to significantly improved printer speeds and results. Arachne is enabled by default, so you can make use of this tool simply by using the latest version. Tree supports will also help reduce your time and material consumption by generating hollow organic-like supports to your print, instead of the traditional time-consuming grid supports you typically see.
Cura
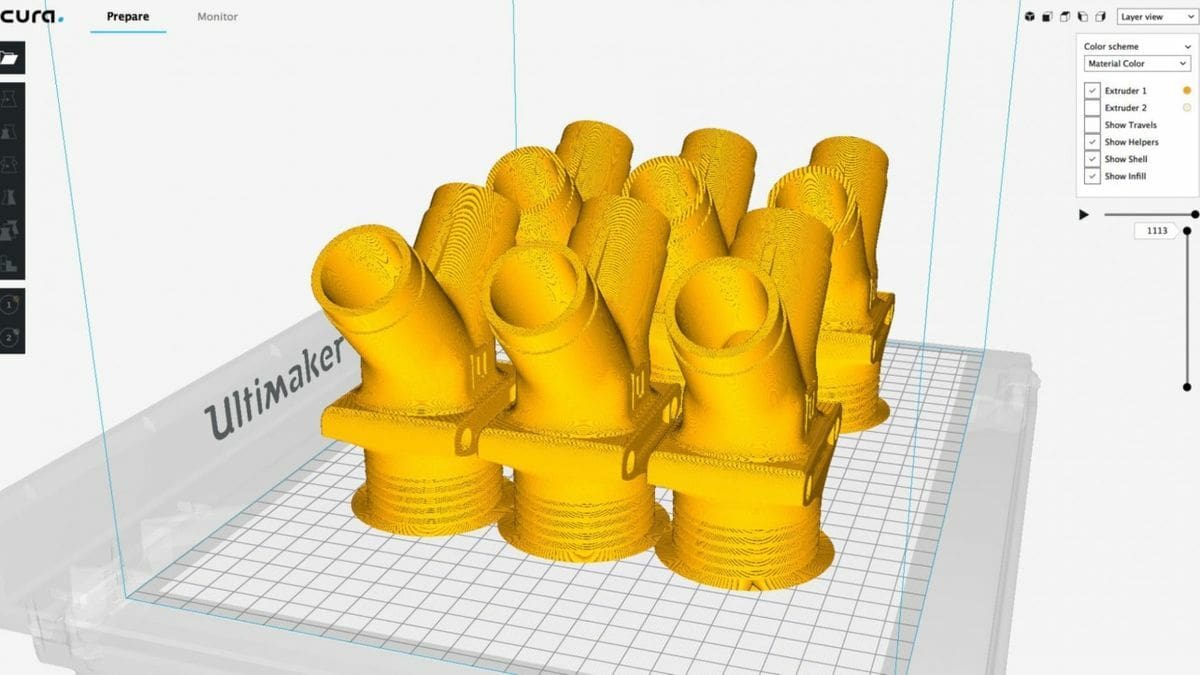
Unsurprisingly, PrusaSlicer is not the only free and open-source slicer around. Cura by UltiMaker is another popular choice for slicing your prints. In fact, it’s the most used slicer for 3D printing. While Cura doesn’t come with your Prusa printer profile already loaded, there are many pre-tuned profiles to choose from.
With Cura being the most popular 3D slicer, the amount of resources out there for those starting out or troubleshooting a problem is abundant. Need more information on infill patterns? Support settings? Retraction? It’s all out there, easy to find. It doesn’t hurt that Cura releases updates with new and interesting features regularly.
Cura also has a few advanced features that rival those of PrusaSlicer. For example, Cura also has Tree Supports, and some makers say they can better support a wider range of overhangs compared to those of PrusaSlicer. The same Arachne that’s available in Prusa Slicer is also in Cura.
At the end of the day, there’s not a huge amount of difference as to what you can achieve in Cura compared to PrusaSlicer. If you have a few other non-Prusa printers, you might want to opt for Cura, since it’s more versatile. The choice ultimately comes down to personal preference.
Tinkercad

If you’re new to 3D modeling, Tinkercad is a perfect place to start. Modeling skills often come with a very steep learning curve, but intuitive and approachable programs like TinkerCAD are great until you’re ready to go to a more advanced software package like Fusion 360. Best of all, this program is completely free and browser-based, so it can easily fit into any setup.
The idea behind Tinkercad is that you start with building simple shapes such as blocks, spheres, or polygons. You can also use standard components, such as nuts and bolts. You then drag them into an environment and edit them. You’d be surprised how complex models and projects in Tinkercad can become!
Tinkercad has a large and supportive community. Contributors regularly share different projects they’ve been working on. It can be a great resource for ideas, too! There are plenty of learning materials available from Autodesk to help you get started, and you can also check out some of our guides and tutorials.
Fusion 360
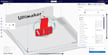
Fusion 360 is a powerful CAD tool from Autodesk aimed at both the hobbyist and professional market. Once you get past the steep learning curve, you can quickly create just about any model that you want 3D printed using this software. The adaptive design functionality is usually more than sufficient for making complex projects, especially considering the wide range of materials you can print on a Prusa printer.
Fusion 360 offers a different design approach to typical CAD software: You create all the components of an assembly in their own world, then import them into a shared space where you define their relationships. Multi-component systems is where Fusion 360 shines, allowing you to build assemblies and design separate pieces together.
This software has slowly been incorporating functionality for modeling 3D printable designs, including tools and features from the popular STL repair tool MeshMixer. When using Fusion 360 with your Prusa Printer, you can send your model directly to PrusaSlicer using the 3D Print feature. You can find this under “Tools > Make > 3D Print > Send to PrusaSlicer”.
Beyond simple modeling, Fusion 360 has a few impressive advanced features to help you become a better parametric modeler. For example, Automated Modeling is useful for simple, multi-body systems comprised of a few objects that you want to join. You can also establish regions to avoid, then Fusion 360 will use AI to identify the optimal shape in which to join two objects.
While you’ll have to purchase a subscription, it’s worth the cost if you want to immerse yourself in 3D modeling skills or are looking to start a small business.
OctoPrint
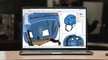
OctoPrint has been the go-to solution for remotely monitoring 3D printers for years. It’s a handy software that can run on either a Raspberry Pi or another SBC paired with a webcam or an old Android Phone.
The OctoPrint instance (hosted on a Raspberry Pi) connects to your printer via USB and allows you to upload files to print on your printer, adjust settings remotely, view your printer’s progress, and can even record time-lapses of your printing progress. These features alone can save you a fair bit of time and avoid the trouble of having to dig out SD cards, copy files onto them, and stick them in your printer.
If you want to really kick-start your remote monitoring, the OctoPrint and OctoApp pairing is a good way to go. This pairing allows you to have totally remote monitoring via your mobile device so you can monitor your 3D printer from anywhere. The best bit is that this pairing allows you to monitor your printer while still benefiting from a host of available plug-ins.
Setting up OctoPrint on a Prusa can be a bit intimidating if you’re new to the maker world, but don’t worry, there are plenty of resources out there. Between the Prusa-produced tutorial and our own guides, you’ll be printing in comfort in no time.
License: The text of "Prusa Software: 5 Must-Have Tools for Your Prusa Printers" by All3DP is licensed under a Creative Commons Attribution 4.0 International License.