
PrusaSlicer Fuzzy Skin: How to Use It

Fuzzy skin can add an interesting twist to your 3D prints. Read on to find out how to best use PrusaSlicer's fuzzy skin feature!
Fuzzy skin, ever heard of it?
This is an often overlooked feature of many modern slicers, with PrusaSlicer being no exception. However, it can actually be quite a powerful tool to provide not only a unique twist on your 3D prints, but also functional features!
Fuzzy skin began as an experimental setting in Cura, another popular and ubiquitous 3D printing slicer. Over time, it’s made its way into many other slicers, PrusaSlicer included. You’ll see further below that PrusaSlicer has also put a few additional twists on the feature, allowing for its customization.
In this article, we’ll discuss why you might want to apply fuzzy skin to your prints, as well as outline how to pull it off in PrusaSlicer. Keep in mind we’ll be checking out the latest release (version 2.9 at time of writing).
What & Why Fuzzy Skin?
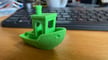
The fuzzy skin setting affects the generation of model perimeters. Specifically, it fabricates a rough texture on the surfaces of your prints.
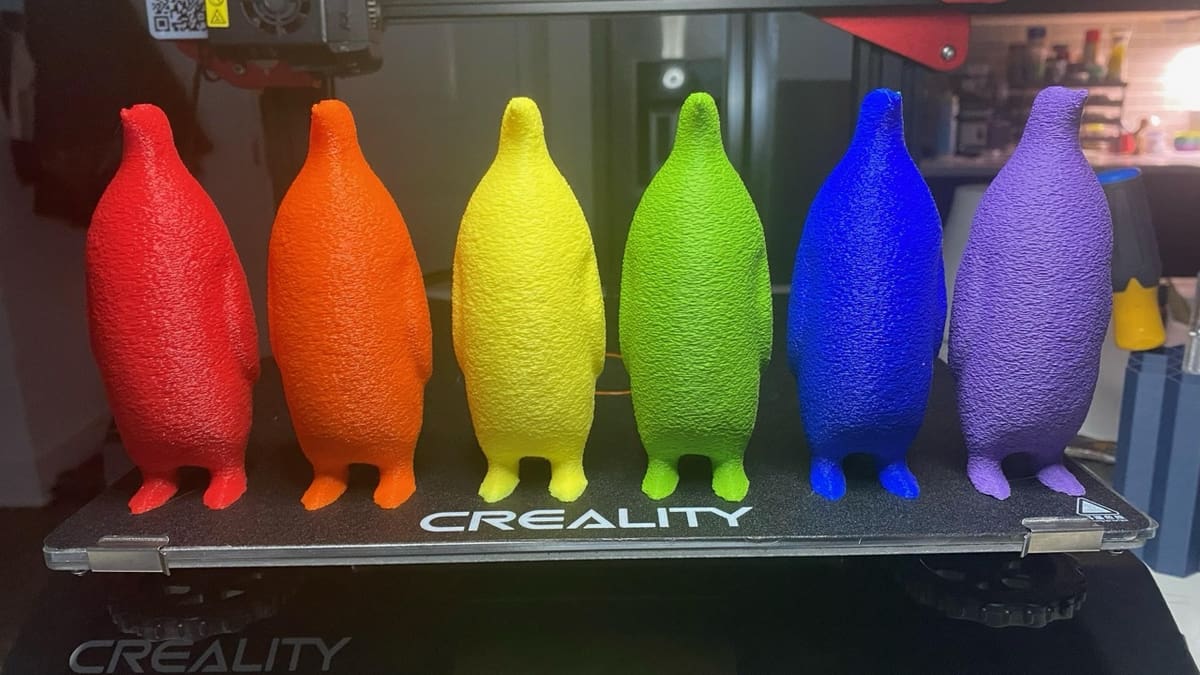
The feature may be configured to change the texture to resemble anything from a textured PEI build plate finish to a heavily textured and bumpy surface. And it’s more useful than you may think!
Fuzzy skin can be used to hide layer lines, seams, ghosting, and other imperfections on your prints. It’s often used to provide a unique and different surface texture and even increase grip on functional components. Some say that fuzzy skin looks and feels quite appealing to the touch.
However, fuzzy skin does have the downside of increasing print times, sometimes quite significantly. This is due to the way the toolhead must change its path to replicate a rough – fuzzy, if you will – texture.
How to Use It

Using fuzzy skin on your prints is as simple as enabling the relevant settings in PrusaSlicer! The feature can be found in the Print Settings tab, under “Layers and perimeters > Fuzzy skin (experimental)”.
Basic Settings
Fuzzy skin can be set to either “Outside walls” or “All walls”. “Outside walls” provides a good mix of having the external texture visible while saving on print time in areas that won’t easily be seen. However, “All walls” is more thorough and will apply fuzzy skin to internal perimeters as well, at the expense of a longer print time.
Advanced Settings
If you feel like going deeper, you can also configure “Fuzzy skin thickness” and “Fuzzy skin point distance”. Note that you’ll need to be in either Normal or Expert modes to see these settings.
“Fuzzy skin thickness” refers to the maximum amount a point on the perimeter can be displaced, either into or out of the model. “Point distance” refers to the distance on the model between the randomly chosen points. Lower values result in more variation and therefore higher print time.
Larger values for skin thickness and smaller values for point distance will result in coarser or fuzzier textures respectively, at the expense of print time. Default values are 0.3 mm for thickness and 0.8 mm for point distance, while a user suggests 0.07-mm skin thickness and 0.4-mm point distance to mimic the feel of the ubiquitous textured PEI build sheet. Of course, makers are always trying new things; some users have given significantly higher values a go, with interesting results.
Avoiding Fuzzy Skin

PrusaSlicer also lets you apply fuzzy skin to specific parts of a model. This can be useful, for example, to texture the handles of a controller while leaving other bits unchanged.
Fuzzy Skin Painting
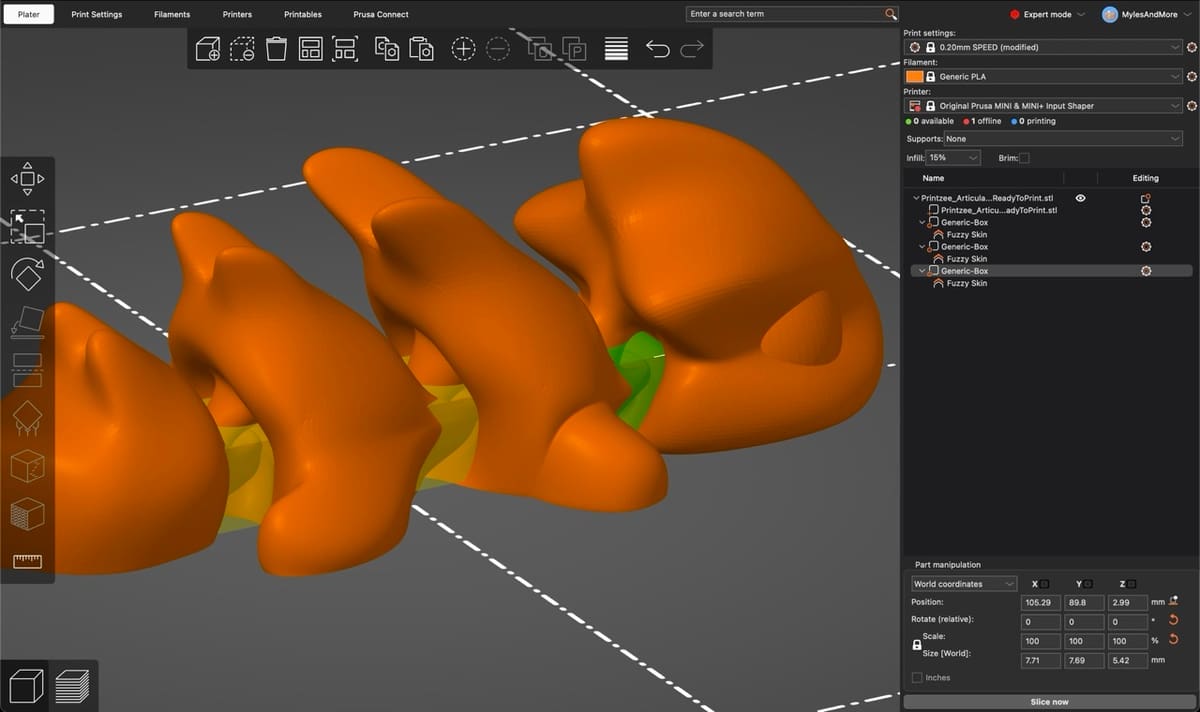
PrusaSlicer supports this through the use of fuzzy skin painting, which can be accessed in the left toolbar (see red above).
Painting on fuzzy skin is very similar to how PrusaSlicer’s paint-on supports function. Left-click to paint on fuzzy skin and right-click to remove fuzzy skin. The same brush tools and smart fill features as support painting are available here as well (orange).
Modifiers
Alternatively, PrusaSlicer’s modifiers can be used to enforce or block fuzzy skin (among other settings) in certain areas of your print.
To use them, right-click on the model and select “Add modifier”, choosing whichever shape fits your task best. PrusaSlicer’s normal Move, Scale, and Rotate tools can be used to position and size your modifier however you’d like.
To make this modifier functional, you’ll have to right-click it in the right-hand table view. From there, go to “Add settings > Fuzzy Skin”. You’ll now be able to conditionally override fuzzy skin settings discussed previously, including both basic and advanced settings.
Tips & Tricks
To get the most out of the fuzzy skin feature, try doing your own testing to see what kind of texture you like best! This model can help in your endeavors.
Additionally, fuzzy skin is great, but it has its limits. Its use should be avoided for precision-fit parts, models with fine details or existing textures built into the model, and surfaces that require smoothness for functional reasons.
It’s generally recommended to avoid placing fuzzy skin near holes and other small internal features, as it could distort these functional components and can hinder their functionality. Instead, try using the aforementioned blockers or painting to bar fuzzy skin from taking over these sensitive areas, but do keep in mind that painting may be the more laborious option, especially for larger models.
License: The text of "PrusaSlicer Fuzzy Skin: How to Use It" by All3DP is licensed under a Creative Commons Attribution 4.0 International License.