PrusaSlicer Retraction Settings: All You Need to Know

PrusaSlicer offers a long list of useful settings. Discover how to use PrusaSlicer retraction settings to reduce stringing on your 3D prints!
PrusaSlicer is undoubtedly one of the most popular slicers for FDM 3D printers, offering many advanced settings that put it ahead of the competition. One especially well-developed part of PrusaSlicer is its retraction settings.
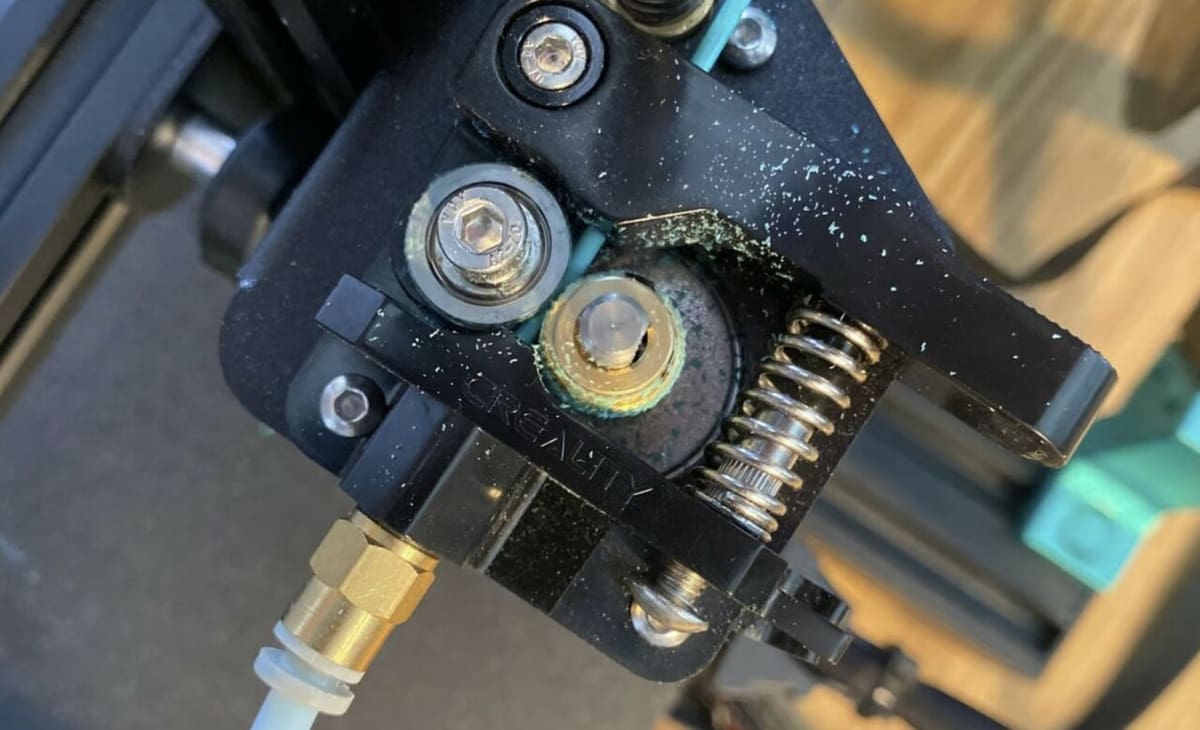
Retraction settings are the parameters related to retraction moves, where the extruder pulls back filament from the hot end during travel moves to relieve built-up pressure. We’ll go over more about the benefits of retraction later, but it’s key to reducing stringing and over-extrusion on your 3D prints.
With so many retraction settings, PrusaSlicer gives you all the tools you need to eliminate stringing, once and for all. You just have to use them right!
In this article, we’ll go over the different PrusaSlicer retraction settings and how you can use them effectively. We’ll also cover why you should use retraction in the first place as well as other settings on the platform that you can use to further improve the quality of your 3D prints. Let’s get started!
Why Use Retraction

As mentioned previously, retraction refers to a specific printer movement, where the extruder pulls filament back from the hot end during travel moves. This is done to reduce pressure in the hot end, which is built up during the printing process and causes excess plastic to flow out of the nozzle during travel moves.
It’s worth noting that retraction moves typically only occur right before a travel move, where the printhead is moving between two disconnected points. At the end of the travel move, retraction is followed by a detraction, where filament is pushed back into the hot end so that it flows properly and your print doesn’t under-extrude.
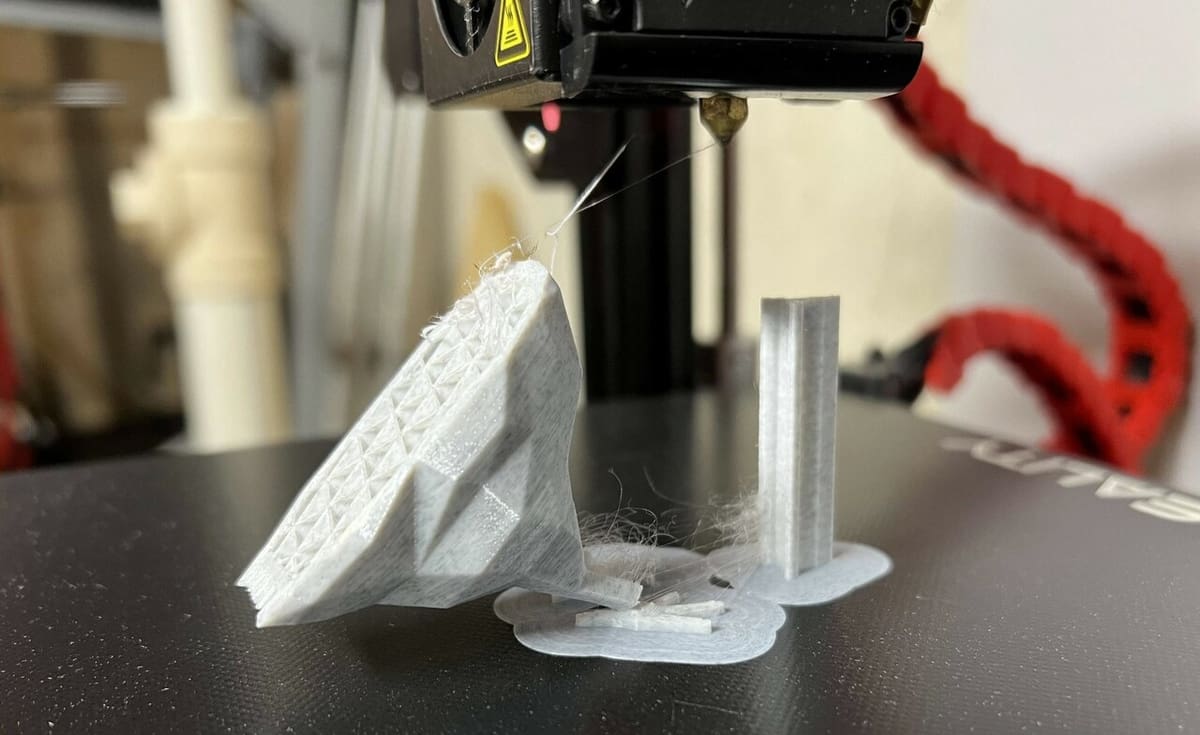
Retraction is extremely important to the quality of a 3D print because, without it, the hot end would continuously build up pressure, resulting in stringing and over-extrusion. However, it’s also important to avoid setting your retraction settings too high, or else the extruder will pull the filament back too far (or too frequently), leading to under-extrusion on your prints and gaps in the layers.
There are also instances where retraction shouldn’t be used at all, mainly when printing flexible filament materials, like TPU. That’s because these flexible filaments are elastic, and retraction moves are likely to affect the filament’s diameter and shrink it, leading to filament jams and other extrusion issues. However, for all other materials like PLA, ABS, and PETG, it’s generally a good idea to activate retraction in your slicer.
The Settings
PrusaSlicer contains many useful settings related to retraction that you can use to fine-tune the quality of your 3D prints and put an end to stringing. In the sections below, we’ve gone over the most important PrusaSlicer retraction settings and how to use them.
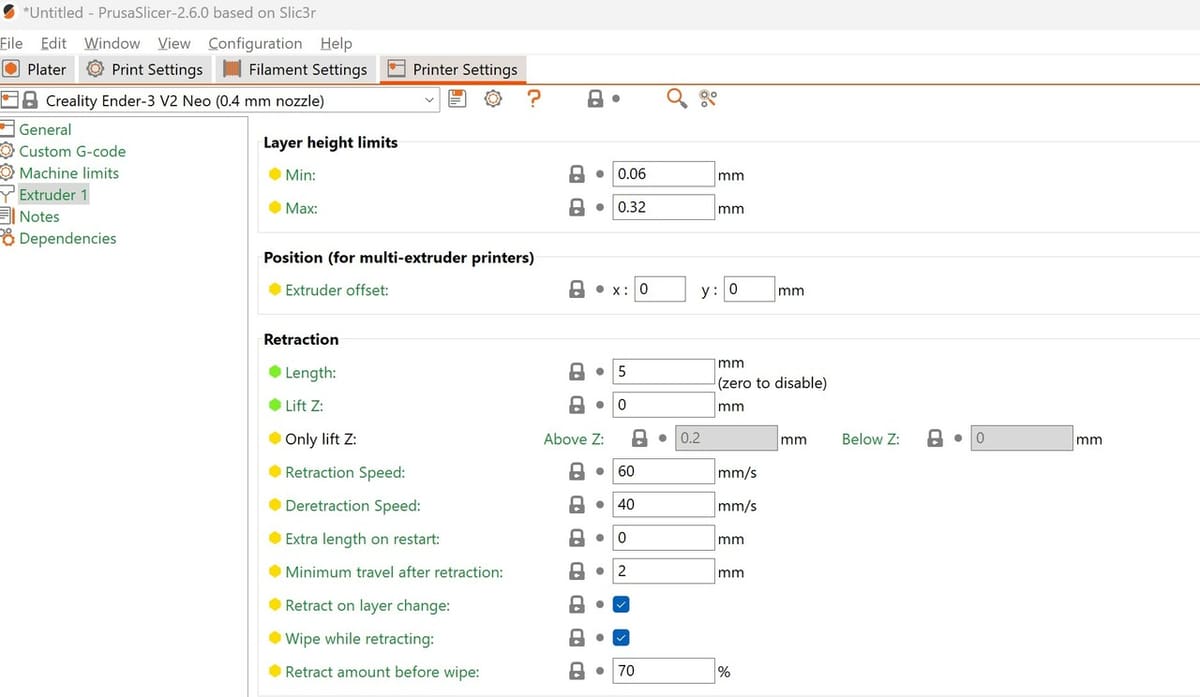
You can find these settings in the latest version of PrusaSlicer (2.6.0) by going to “Printer Settings”, choosing the “Extruder 1” menu, and looking under the “Retraction” section. Alternatively, you can adjust the retraction settings in the “Filament Overrides” menu on PrusaSlicer. However, you should only do this when you need to make temporary changes to your slicer profile, as these are overrides and not the base settings.
Also, make sure you set your PrusaSlicer software to “Expert” mode to see all of the available retraction settings. You can do this by clicking the red “Expert” button in the top right corner of the settings menu.
Length
Retraction length is one of the two main retraction settings, and it can be found on almost any slicer, including PrusaSlicer. Measured in millimeters, this setting controls the length of filament that’s pulled back during every retraction move.
In general, higher retraction length values are better for preventing stringing because the more filament you pull back, the less pressure builds up in the hot end. However, it’s important not to use an excessive retraction length because this can cause filament grinding. You can check out our guide on filament grinding to learn more about this issue.
On another note, the best retraction length for your 3D printer depends on your extruder configuration, and the default PrusaSlicer value for this setting varies based on your selected printer. Bowden extruder setups typically work best with a retraction length of around 4-5 mm, while printers with direct extruders will produce better results with a smaller retraction length of around 0.5-2 mm. This difference is due to the extra space in the PTFE tube used in Bowden extruder setups.
No matter the configuration of your printer’s extruder, you’ll probably have to end up tuning the retraction length value to achieve the highest-quality prints. It’s best to adjust the retraction length setting in increments of 0.5 mm for printers with Bowden extruders and 0.2 mm for those with direct extruders.
Speed
Retraction speed is the second major retraction setting, and as you might have guessed, it controls the extruder’s speed during retraction moves. Just like with retraction distance, generally, the higher the retraction speed, the lower the chances of stringing on a print. However, at the same time, if retraction moves occur too fast, the filament might be damaged by the extruder’s gears, so it’s important to not set this value too high.
On a different note, while some users have reported using slightly slower speeds for direct extruder configurations, the retraction speed setting doesn’t vary much between Bowden and direct extruder setups. Furthermore, PrusaSlicer’s recommended default retraction speed of 60 mm/s should work fine regardless of what type of printer you have.
However, if you still notice stringing on your prints when using this speed, you can try increasing the setting in increments of 5 mm/s. Conversely, if a retraction speed of 60 mm/s is causing filament grinding issues, you should decrease the setting in steps of 5 mm/s.
It’s worth noting that, unlike many other slicer programs, PrusaSlicer features both a retraction speed and a detraction speed setting. As we mentioned above, the detraction speed setting controls how fast the filament is pushed back into the hot end after it’s been retracted.
While the detraction speed won’t be as useful for eliminating stringing as the regular retraction speed setting, it’s still nice to have this extra bit of control over the printing process. The default value for PrusaSlicer’s detraction speed setting is 40 mm/s, and we suggest keeping it this way unless you want to cut down print time. If this is the case, make sure to adjust in small increments, like 5 mm/s, and stop increasing the speed when you notice stringing on prints.
Lift Z
Next, Lift Z is an adjustable setting in PrusaSlicer that doesn’t directly affect the printer’s retraction process but can help reduce stringing. The Lift Z setting brings the printhead up along the Z-axis briefly after the beginning of every retraction move. (Note that this setting is called Z Hop in Cura).
The Lift Z feature helps prevent stringing on prints by giving the nozzle some additional space, which diffuses the built-up pressure in the hot end and stops excess plastic from polluting the side of a print. Additionally, the Lift Z setting is known to help prevent nozzle collisions, where the nozzle accidentally knocks over features of a model during the printing process.
It’s also worth noting that this slicer setting is in millimeters, so the larger the Lift Z value, the further the nozzle will lift when a retraction move is triggered. By default, the Lift Z setting is turned off (0), and it can be left this way if you never run into stringing or nozzle collisions. However, if you want to activate the setting to combat these issues, you should start with 0.2 mm, then increase it to 0.25 or 0.3 mm if this isn’t enough clearance for the nozzle.
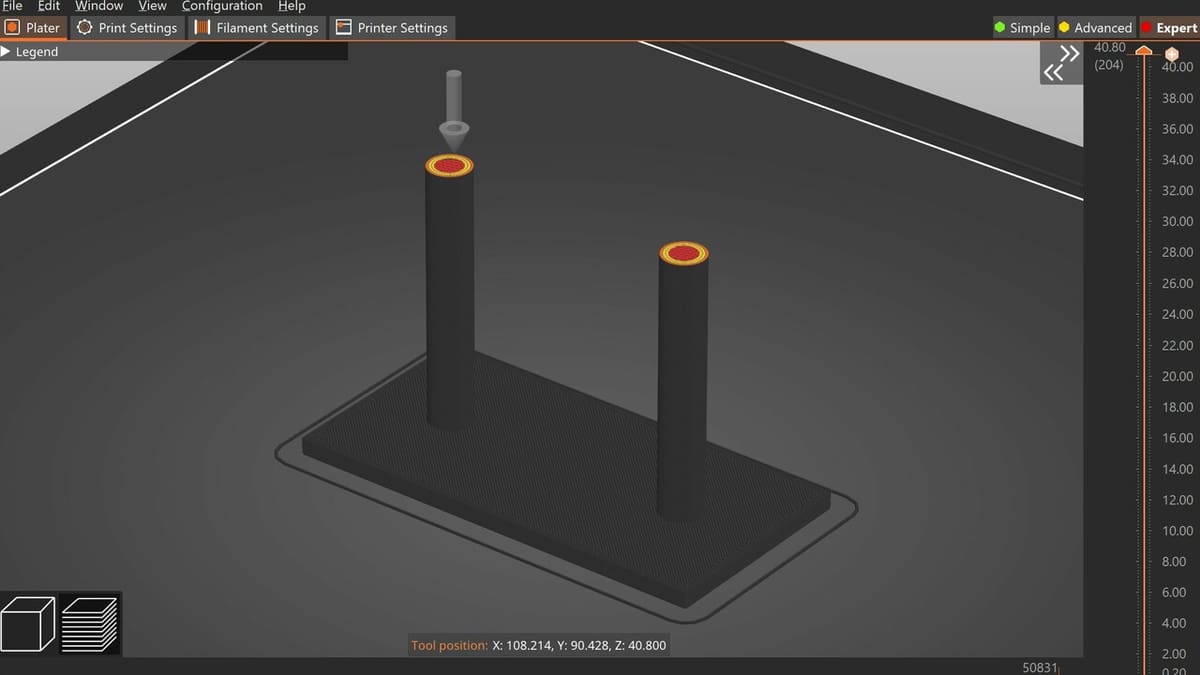
Minimum Travel After Retraction
The Minimum Travel After Retraction setting is another useful, yet rather wordy, setting in PrusaSlicer. (Try saying this five times fast!) This setting, which can also be found in Cura, controls the minimum horizontal distance the nozzle must travel before the printer can make another retraction move.
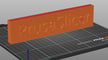
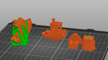
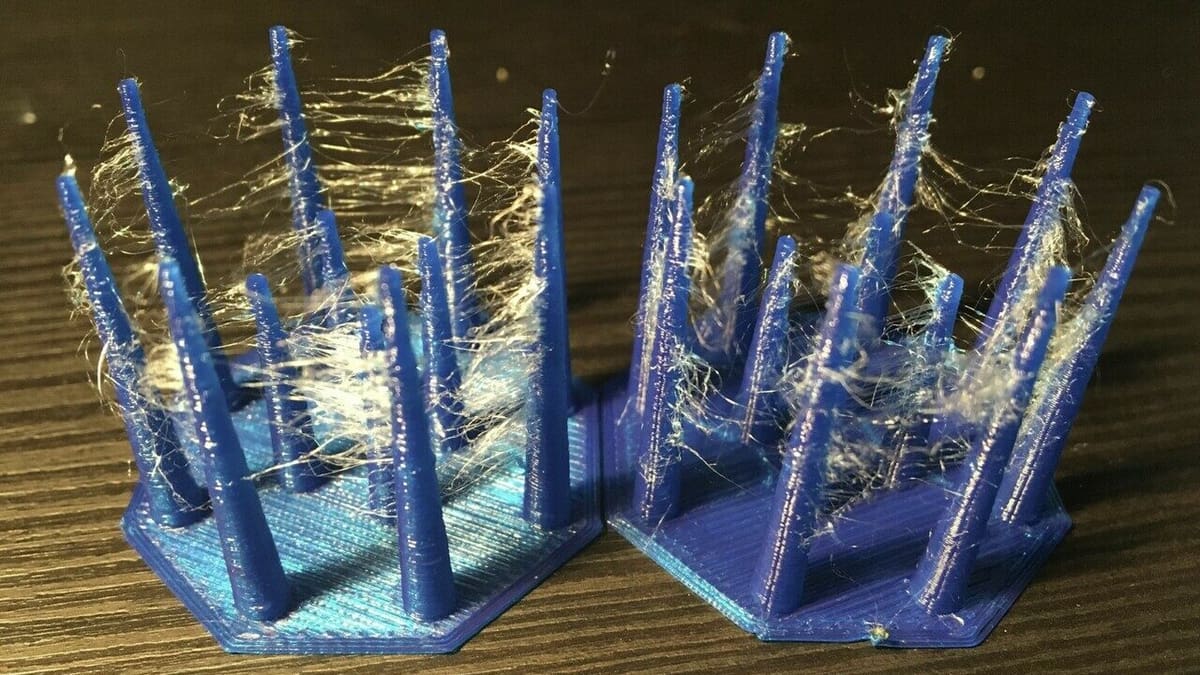
While retraction moves can help stop stringing on prints, too many retraction moves in too little time can cause a hot end jam and stop all filament extrusion. The Minimum Travel After Retraction setting is specifically meant to stop this from happening, and it’s an especially useful setting when printing miniatures. That’s because these types of models, as seen in the image above, contain a lot of small details that are very close together.
The PrusaSlicer default value for this setting is 2 mm, and we recommend keeping it at this value. However, if you’re slicing a model with a lot of separated features (where a retraction move would occur) that are very close together, consider lowering the value to 1 mm to ensure a successful print.
Related Settings
In addition to the settings in PrusaSlicer that we’ve discussed, there are a few other related settings that might be helpful. Here’s a brief explanation of these settings:
- Retract on Layer Change: When turned on, this setting ensures your printer makes a retraction move after every completed layer of your print. We suggest leaving this setting turned on because stringing is common during layer changes, as the starting point for a layer is typically not the ending point of the previous layer.
- Wipe While Retracting: Another activatable slicer feature, the Wipe While Retracting setting is a way to further prevent stringing on prints. When turned on, the nozzle will quickly move back and forth (a “wipe”) after a retraction move to ensure no excess melted filament sticks to the side of the nozzle. We suggest leaving this setting activated.
- Avoid Crossing Perimeters: This next setting can be found in the “Layers and Perimeters” menu, and activating it will adjust how the outer layers of the print are laid out to prevent any oozing filament from being visible from the outside of the model. Unfortunately, turning this setting on will increase the overall print time, so we only suggest doing so if you’re experiencing issues with oozing filament.
- Only Retract When Crossing Perimeters: This setting can be found at the bottom of the “Infill” settings menu, under the “Advanced” section. Turning this setting on will disable retraction when the printhead is traveling between the model’s perimeters, which helps save time because any oozing or stringing that occurs won’t be visible from the outside of the model. We suggest leaving this setting turned off, but activating the feature for any models that you want to print quickly.
- Sequential Printing: Sequential printing means printing one model after another, and you can turn this special mode on in PrusaSlicer by going to the “Print Settings” tab, heading to the “Output Options”, and activating the “Complete Individual Objects” setting. Doing so will open up the two Extruder Clearance settings below, where you can input your machine’s printhead dimensions to ensure the printhead doesn’t knock a model over after it’s completed.
- Nozzle Temperature: Last, but certainly not least, the nozzle temperature is one of the most important 3D printer settings. This setting heavily impacts your printer’s filament extrusion, and a higher nozzle temperature will allow more filament to flow, so consider lowering it if you’re having issues with over-extrusion or stringing.
License: The text of "PrusaSlicer Retraction Settings: All You Need to Know" by All3DP is licensed under a Creative Commons Attribution 4.0 International License.