A 3D printer’s control board (also known as a motherboard) is the “brain” of the printer. It controls the hardware, such as fans, stepper motors, drivers, heaters, and thermistors, using instructions interpreted from G-code by firmware. A 3D printer control board is specifically designed for that purpose and, while there are options like PandaPi to run a 3D printer with a different board, most users choose to stick with a dedicated board.
Raspberry Pis are small, inexpensive single-board computers (SBC) that can be used for many things, unlike a 3D printer control board. Some Pi uses include web servers, audio players, game console emulators, and even laptops (although it would only be useful for non-demanding tasks such as web browsing).
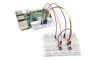
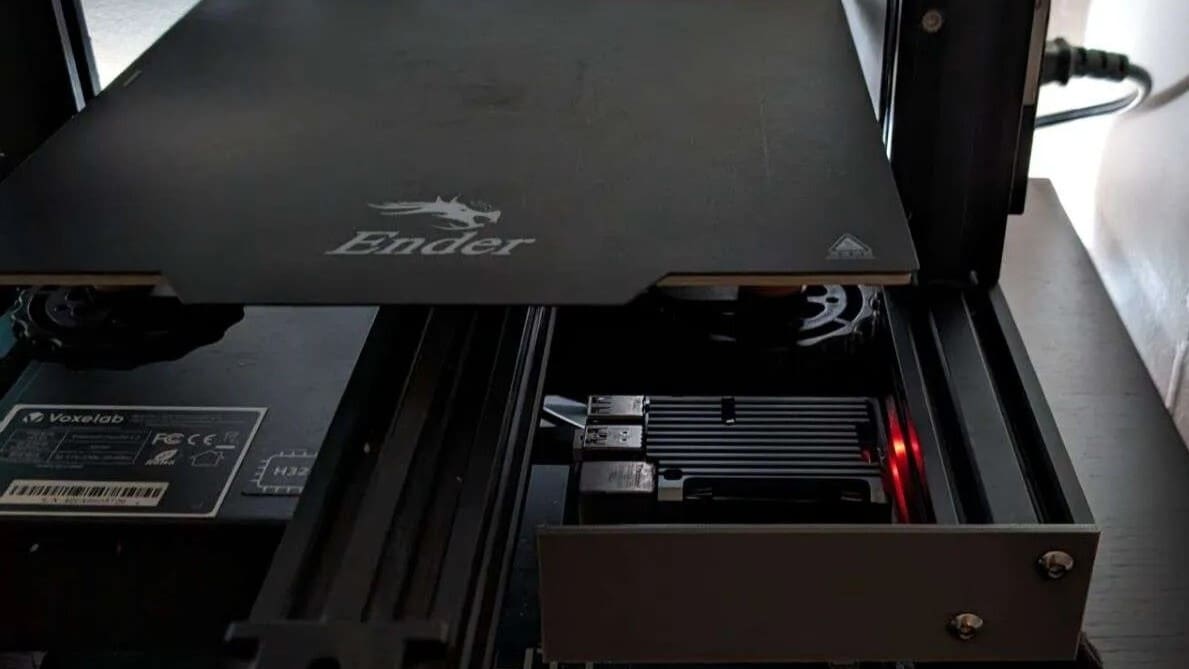
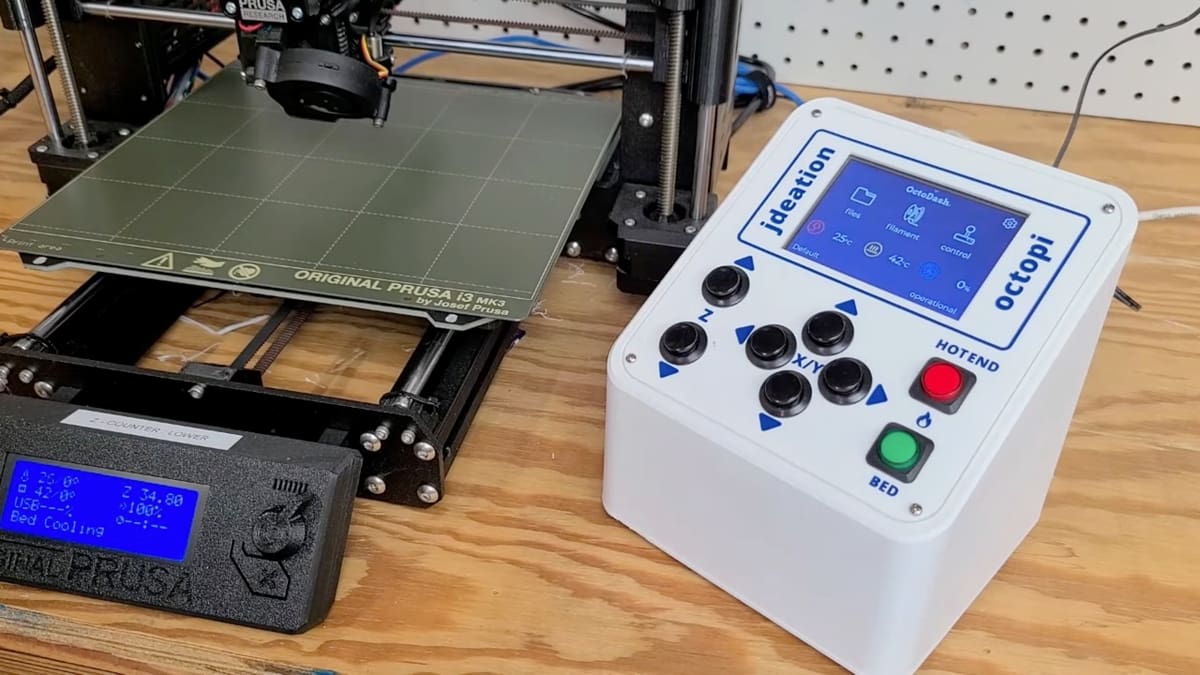
One common use for a Raspberry Pi in 3D printing is as an additional board to run software such as OctoPrint. OctoPrint has many benefits, including being able to remotely control and monitor your printer. If you don’t already have it, the download and a setup guide can be found on the OctoPrint website.
In this article, we’ll go over the software and hardware requirements to run OctoPrint on a Raspberry Pi, and give a general overview of the setup process. But first, let’s look at the advantages of combining the utility of OctoPrint with the power of a Pi.
Why OctoPrint
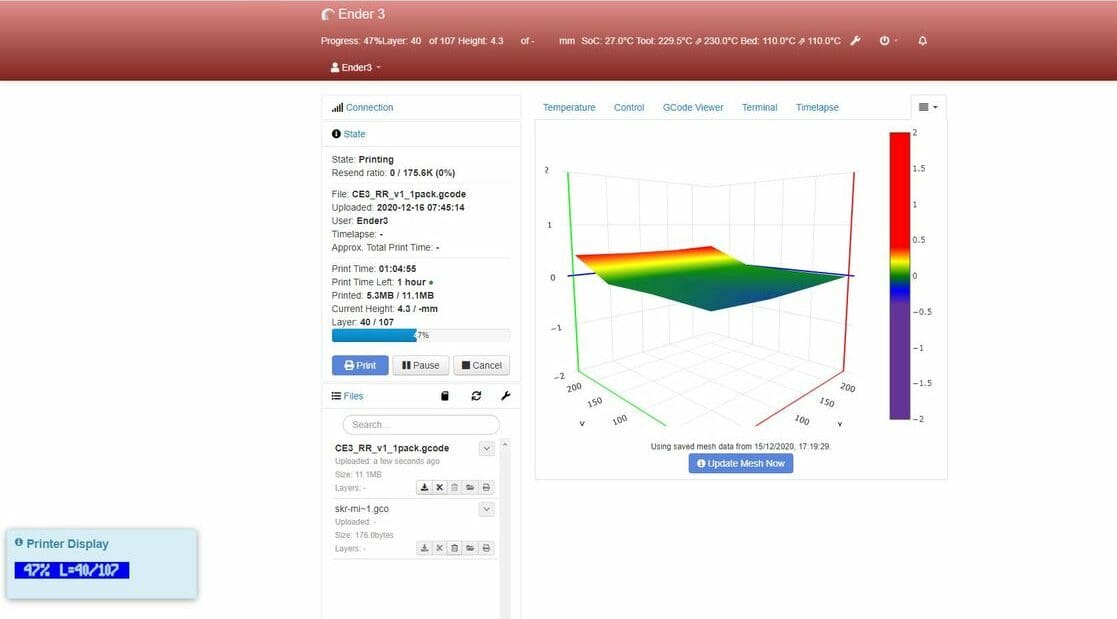
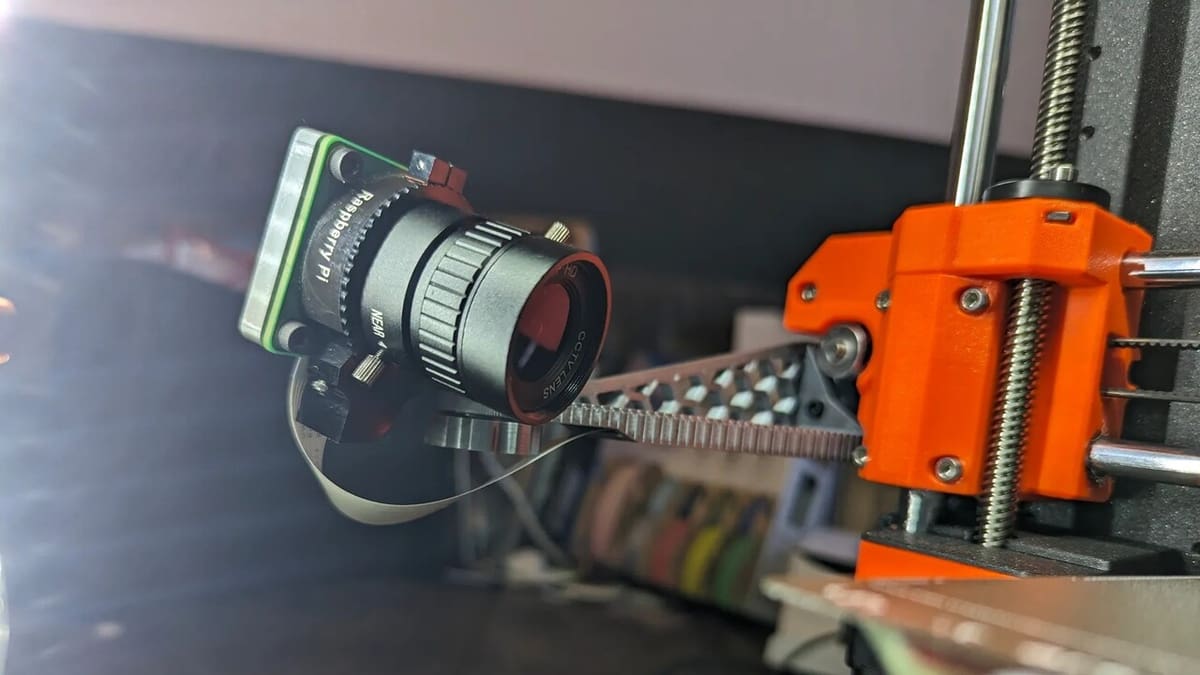
Perhaps the best reason to use OctoPrint is the ability to monitor your print in real time; you can connect a webcam and enable live streaming of the print as it happens. By default, streaming and control are only available on the local network, but a simple plug-in enables you to view the stream and control your printer from anywhere in the world! You can also analyze the G-code and follow the approximate printhead location as the part is created. (Of course, this is the part where we have to say it’s not recommended to leave your printer running unattended.)
Another good reason to use OctoPrint is the ease with which files can be sent to your printer (or printers) from the computer running your slicing software. For example, Cura has an option to connect directly and print with one click. However, if you don’t have OctoPrint integration, the G-code can be loaded into OctoPrint via a web browser.
Plug-Ins
OctoPrint can add even more advantages through additional plug-ins. One of these plug-ins is Obico (formerly The Spaghetti Detective), which is also an app. This plug-in uses a camera to watch over your print, and uses AI to check if the print starts to fail. It can be configured to pause the print or simply notify the user if problems arise.
If the printer has auto-bed leveling set up, the Bed Level Visualizer plug-in can be used to get the bed as close to perfectly level as possible. This plug-in probes the bed and creates a 3D representation of it, which can then be used to get the bed even flatter.
There are heaps of plug-in options that will upgrade your printing experience, so it’s worth exploring the plug-in manager in the OctoPrint settings (or go to the OctoPrint plug-in repository site) to see what else is possible.
What You'll Need
For setting up OctoPrint, we are going to need the following hardware:
Hardware
According to OctoPrint, you’re better off using a Raspberry Pi Zero 2, 3B, 3B+, or 4B. If you’re using an older model, there’s a heightened risk of print artifacts and you’ll experience longer loading times, especially if you’re planning to run additional plug-ins or a webcam.
In addition to your Pi of choice, you’ll need a USB cable to connect the board to the printer, a MicroSD card (at least an 8 GB or even more, if you plan on recording time-lapses), and a 5-V power supply or buck converter to power the Pi from your printer directly. Here are some tips:
- USB cable: We recommend that you cover the 5V pin on the USB cable with a piece of tape to prevent the Raspberry Pi from supplying power to the printer’s control board. This simple hack can help prevent issues like undervoltage warnings and unstable Wi-Fi, which is especially common on the Ender 3 Pro with the 8-bit board.
- 5-V power supply: It might be tempting to get a commonly available (cheaper) phone charger, but they often cannot supply enough current to power Raspberry Pis. It’s best to use a quality power adapter that is rated for at least 3A – the official adapter from Raspberry Pi Foundation is a good choice. In addition to that, make sure to pair it with an equally good USB cable to ensure adequate power supply.
- Buck converter: Get a buck converter rated for 3A at least, and use it to step down the 24V of your printer (or 12V if you have an old one) to a safe 5V for powering the Raspberry Pi.
Now, let’s take a look at the software side of OctoPrint.
Software
The easiest way to flash OctoPrint on your Raspberry Pi is to use the official Raspberry Pi Imager, which already lists the OctoPi image under 3D printing. All you have to do is plug a memory card into your computer, open Raspberry Pi Imager, select OctoPi, and let it do the rest of the work.
Or, if you want to download the image and flash it yourself, you can also use balenaEtcher. In this case, you’ll want to download the image of OctoPi first and then use balenaEtcher to burn that image on the memory card for your Raspberry Pi.
Once you’ve flashed OctoPi on the memory card, all you have to do is plug it into the Raspberry Pi and boot it up. OctoPrint should start right away.
Set Up
The basic steps to set up OctoPrint on a Raspberry Pi are below. For a more detailed guide, see our article OctoPrint Setup: How to Install OctoPi on a Raspberry Pi.
- Download the firmware and software tools from their respective websites.
- Write the firmware onto the SD card.
- (This step can be skipped if you’ll be using a network cable.) Complete the Wi-Fi setup. Enter the network SSID and password in the “octopi-wpa-supplicant.txt” file on the SD card. Note that Notepad++ should be used for Windows and Atom or Visual Studio Code should be used for both Windows and Mac.
- Insert the MicroSD into the Pi.
- Boot (apply power to) the Pi.
- Log in to the Pi via SSH.
- Set up a username and password.
- Connect to the printer.
- Log in via a web browser.
- Upload your model, and print!
Alternatives
There are several generations of Raspberry Pi, with the hardware having been upgraded with each subsequent release, culminating in the powerful Raspberry Pi 5. The Pi 5 isn’t (officially) supported by OctoPrint yet. However, if you really want to (unofficially) use it, this thread might be of help.
There are other SBCs that have similar capabilities, such as the Orange Pi Pc Plus, Banana Pi M3, Rock Pi 4, Asus Tinker Board, and Jetson Nano, to name just a few.
There’s also a range of alternatives to OctoPrint that could be worth looking into. Some of these software options can be run on a Raspberry Pi, however, some cannot, thus a double check will be required when purchasing hardware.
Additionally, there are many operating system (OS) options available for a Raspberry Pi, with the most popular option being Raspberry Pi OS (formerly known as Raspbian). Note that the downloaded operating system is referred to as an image.
Although most users run OctoPrint on their Raspberry Pi, it can be run anywhere as long as Python 2.7 or 3.7+ can be installed – whether it’s Linux, MacOS, or Windows.
So, if you have a spare desktop computer or laptop lying around, you can even connect it to your printer and run OctoPrint on it. Just make sure to disable automatic updates and sleep mode. We don’t recommend using your primary computer for OctoPrint, as running other programs could intervene with the setup.
Community Support
With the addition of a Raspberry Pi, it becomes much easier to monitor your printer’s progress as well as transfer files and even create a time-lapse of a print. There are also many plug-ins that can add functionality, depending on your requirements. Overall, this is a worthwhile upgrade to your 3D printing setup.
Although there are other hardware and software options available, the combination of OctoPrint and a Raspberry Pi is very commonly used. This is an advantage because if you have any problems, there is likely someone out there who has already experienced and solved the same issue.
More detailed guides to getting OctoPrint configured and set up can easily be found online, and the OctoPrint online community is a very helpful resource. In addition, some helpful guides are suggested below:
- Chris’s Basement: An easy-to-follow video guide to setting up OctoPrint on a Raspberry Pi using PuTTY software.
- Raspberry Pi Blog: A comprehensive written guide on how to set up OctoPrint on a Raspberry Pi, including screenshots.
- Teaching Tech: Another helpful video guide that explains how to set up Octolapse, a way to capture time-lapses where the print appears to rise up out of the bed.
License: The text of "Raspberry Pi as a 3D Printer Controller: How to Set It Up" by All3DP is licensed under a Creative Commons Attribution 4.0 International License.