
How to Create a Raspberry Pi 4 NAS Drive

If you're interested in data privacy, learn how to use your 3D printer and a Raspberry Pi 4 for a NAS (network-attached storage) setup!
What's a NAS?

Network-attached storage (NAS) is a method of sharing files with computers on your internal home network or externally through the internet.
For a long while, NAS setups were far too complex or cost-prohibitive for the average computer to handle. More recently, cheap storage prices, more powerful consumer networking equipment, and better user interfaces have enabled consumers to build their own home data storage solutions. Most people tend to go for one of the NAS offerings from a well-established brand like Synology, Western Digital, or QNAP, whose products typically support multiple storage drives (for RAID, more on that later) and network interfaces.
For those willing to leverage some of their 3D printing and IT skills, you can jury-rig your own NAS setup at home using a single-board computer (we’ll be using a Raspberry Pi 4) and a hard disk. The goal of this article will be to guide you through the process of selecting a case for your NAS, the software choices, as well as where you can find some support to help you along the way. Let’s get started!
Why Build a NAS?
There are a number of good reasons to consider building your own network-attached storage device.
First and foremost, it’s a fun 3D printing project that can leverage multiple aspects of the design process. It can be an excuse to learn more about Linux, its setup, and how to maintain it. At the same time, you may want to move some of your data off the cloud and gain some privacy from third-party companies. A project like this can also help you increase your digital mobility so that you can access all of the files you need from a remote location.
An important note: One thing that this project can’t do for you is replace the need to follow good file backup procedures! Not even the most high-end consumer NAS setups with multiple storage drives can save your files in the event of a disaster or data security emergency.
Now that we know why, let’s take a look at what we need to get started!
What You'll Need

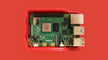
While there’s a whole world of single-board computers (SBC) options that you can choose for your NAS project, we’re using the Raspberry Pi 4. In addition to its popularity and good documentation, it uses less power in comparison to an x86/64 SBC. As a bonus for this specific project, the Raspberry Pi Foundation offers better software support in comparison to some other SBC brands.
On top of the Pi 4, you should have an 8-GB microSD card to install the OS and the main software (the choices of which we’ll cover below). Additionally, you should have some type of hard disk drive, solid-state drive, or high-endurance USB drives to store your NAS files. This will ensure that you don’t over-stress the microSD card with too many reads and writes, which can lead to a premature drive failure.
In summary, you’ll need the following:
- A Raspberry Pi 4
- An 8-GB microSD
- Storage: Hard disk drive or USB drive
Case Selection
Part of the appeal behind this project is that you can use it to improve your 3D design skills by creating a custom Pi case.
Alternatively, you can rely on the great 3D printing community to get a ready-made design. Sites like Cults, MyMiniFactory, and Thingiverse have a large variety to choose from by using search terms like “Pi NAS” or “network-attached storage.” The list below is by no means an exhaustive or ranked list, they’re just a starting point.
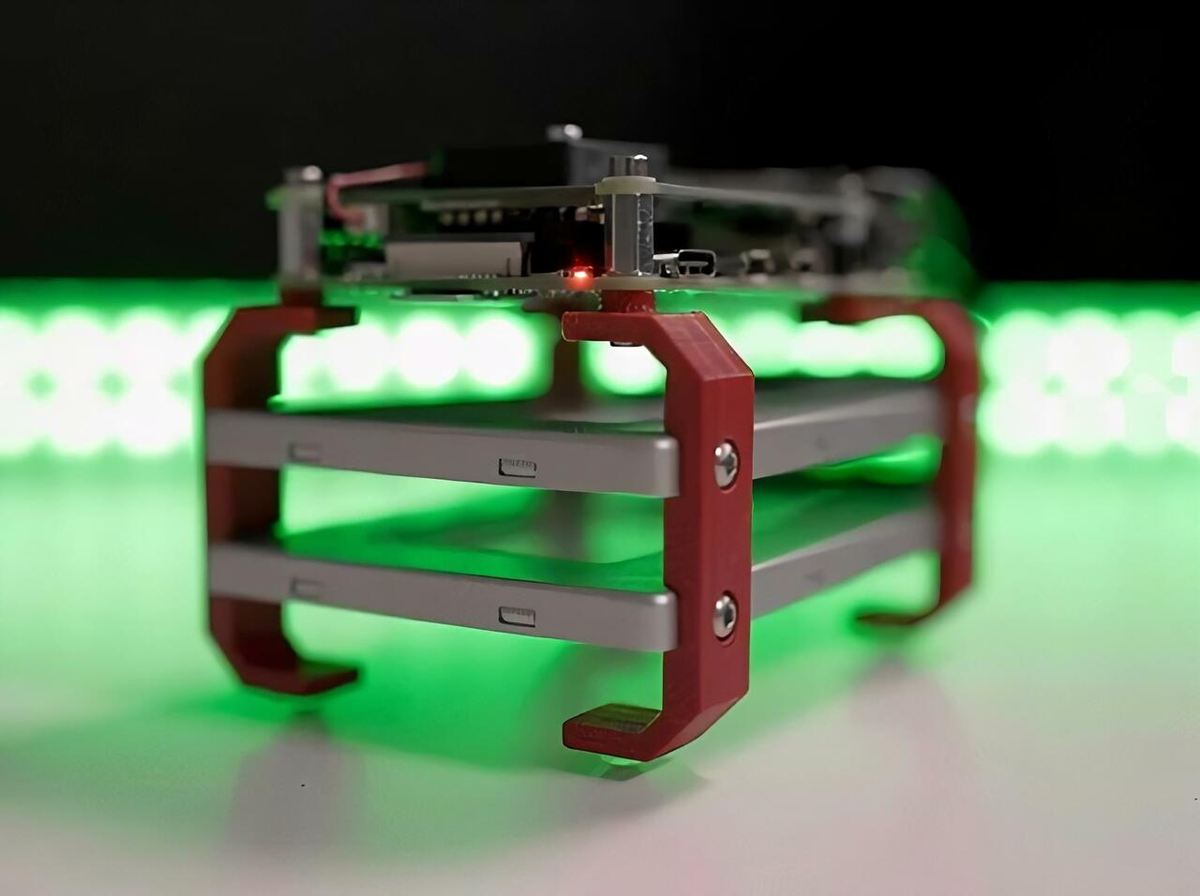
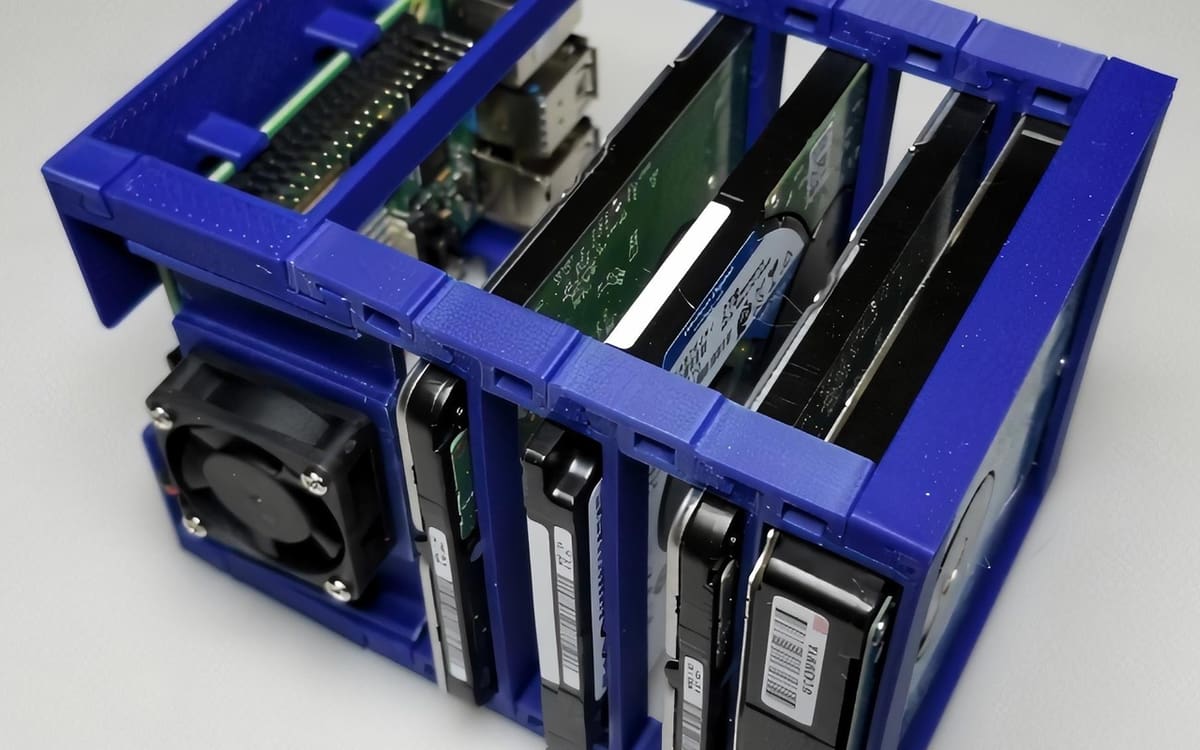
- Open-air for Pi and external storage: This model is less of a case and more of an open concept rack that can hold your Raspberry Pi 4 and two 2.5″ or 3.5″ storage drives. While this minimalist design offers no built-in cooling or cable management features, it should be quick to print and require just a little filament.
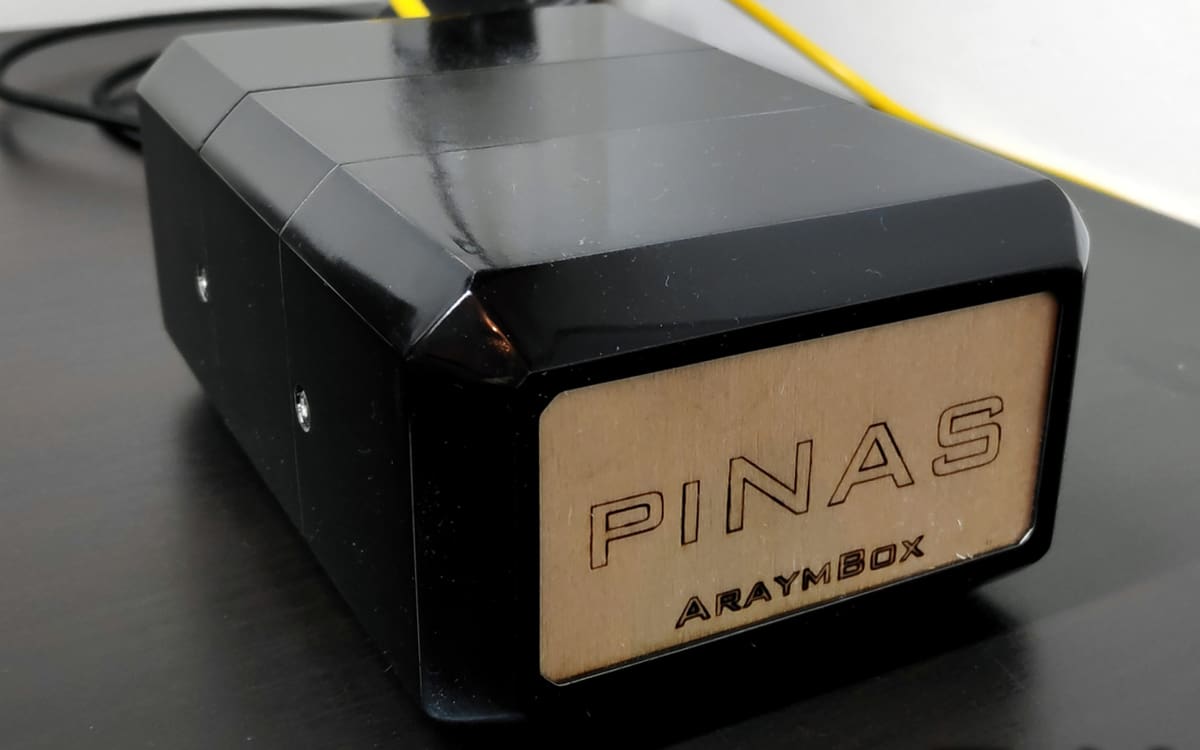
- PiNAS: While this case is specifically made for the Pi 2 and 3, with some small tweaks you can get it to work for the 4. The reason why you might want to put in the extra effort is that it’s a visually clean case, has good cable management, and supports 2.5″ or 3.5″ storage drives. Note that it doesn’t, unfortunately, include active cooling. You can find the main instructions on Instructables and the model files on Thingiverse. Just be aware that this case does require soldering knowledge and some extra materials for the best outcome.
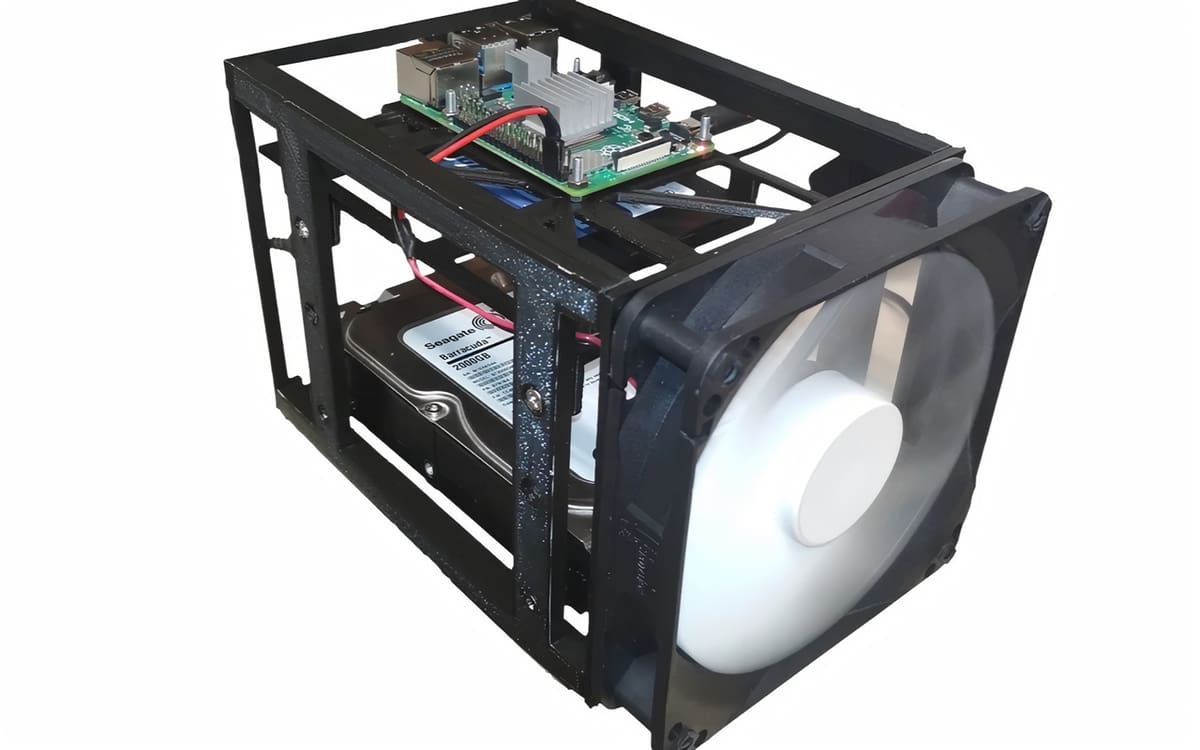
- Skeleton: As the second open-air case on the list, this “skeleton” design offers active cooling with an off-the-shelf 120-mm PC case fan. With some soldering or crimping knowledge, it can draw power from the Pi’s GPIO pins. Like the other open-air case on this list, it supports two 2.5″ or 3.5″ storage drives with minimal cable management.
- Active cooling: Another good case design to consider, this enclosure has decent cable management, support for multiple storage drives, and a straightforward setup. Similar to the other active cooling setups, you’ll need to utilize either soldering or crimping skills to connect the case fan.
Now that you’re all set with a case, or at least have some ideas of what’s out there, we’ll move on to your software options.
Software Setup Option 1: Raspbian with SFTP

Starting off with one of the more difficult methods, using Raspbian Lite (or your preferred distribution of choice) and SFTP can run your DIY NAS setup. This method has very few bells and whistles but is tried and tested and should be accessible on any computer.
Setting up your SFTP server on the Pi 4 requires that you first flash Raspbian Lite onto your microSD card. We’re opting to use Raspbian Lite since it trims out much of the unnecessary parts of Raspberian but still can do what you’ll need. You can flash Raspbian Lite using the Raspberry Pi imager. (Raspbian Lite is under “Raspbian (other)”.)
Once flashed, be sure to enable SSH so that you can connect to your Pi remotely via SFTP and the default credentials. You can then mount your chosen external storage device and start saving files to your Pi!
Software Setup Option 2: OpenMediaVault
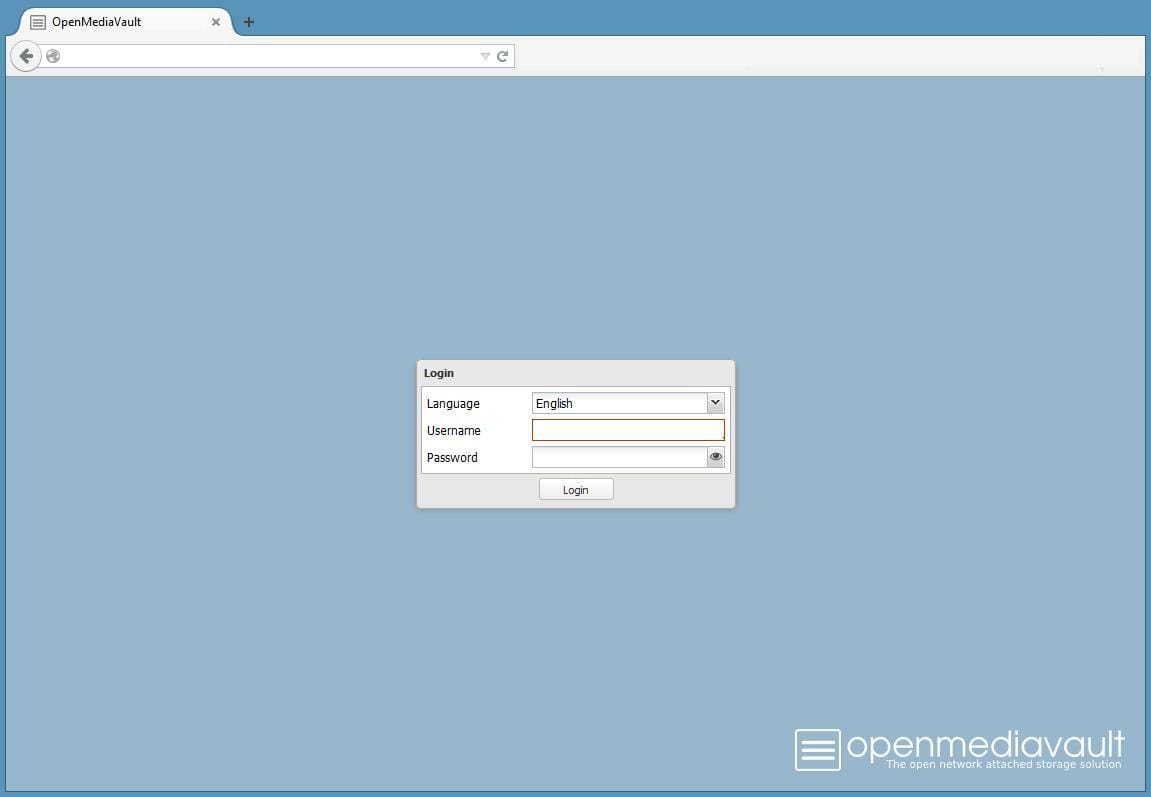
OpenMediaVault is a Linux distribution that’s specifically designed to simplify the process of sharing files on any type of NAS setup. While there doesn’t seem to be a pre-baked ISO image that you can flash onto your Pi’s microSD card, the appeal of a graphical user interface to manage different file sharing methods (such as SFTP, NFS, RSYNC, and BitTorrent) is worth the effort.
Similar to the SFTP server setup, you’ll first flash Raspbian Lite to your microSD card. Next, you need to clone the OpenMediaVault GitHub project and install it. If you’re not sure how to do this, the instructions on PiMyLifeUp can walk you through the process step by step. Last, make sure you check out the OpenMediaVault user guide to learn more about its configuration options.
Software Setup Option 3: Nextcloud
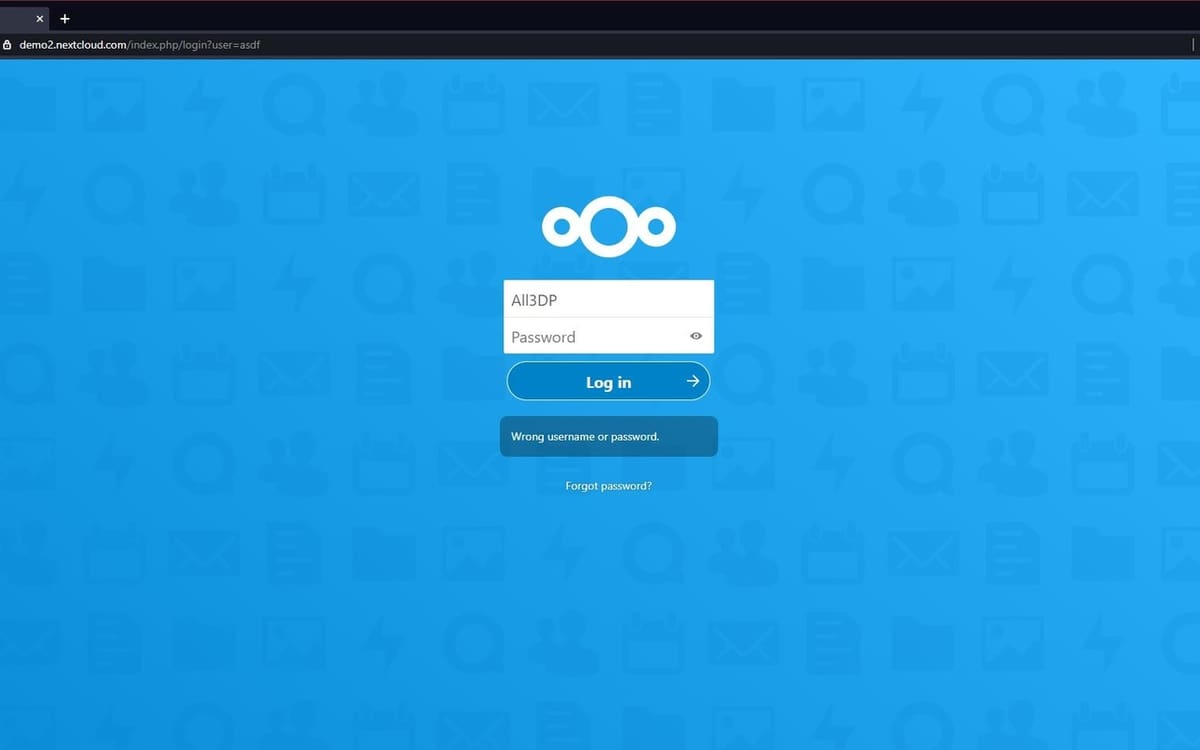
Another good software option is Nextcloud, which is an alternative home cloud file solution. Aside from file sharing, Nextcloud has apps for multiple users to edit documents together, manage projects in a Kanban board, and more.
The Nextcloud installation process has been made very simple by the NextCloudPi team, who produced an image for flashing onto a microSD Card with a web-based installation tool that’ll take you through the remainder of the configuration. Alternatively, you can opt to install Raspbian or another Linux distribution and manually install Nextcloud using the official Nextcloud setup guide.
Bonus: RAID with Mdadm
While not as fast as a dedicated RAID device, it’s possible to create a software or virtual RAID array using the Mdadm Linux utility.
In order to configure your virtual RAID array, be sure to check out this video tutorial using Raspbian and the Pi Compute Module 4 (the instructions will work for a Pi 4 just fine) or sections 3.3-3.5 in this blog post about Raspberry Pi 4 and NAS.
Just keep in mind that having a RAID array is not a replacement for backing up your files.
Troubleshooting & Support

The very nature of this type of project means that you should be fairly comfortable using Linux and have experience with text-based terminal interfaces. With that being said, if you do run into issues, there are quite a few good user groups and areas to turn to.
For more general Linux issues, check out the Raspbian documentation site or the Pi user forums. Alternatively, if you opted to install Nextcloud, you can take a look at the NextCloudPi support forum, which is also support for other versions of containerized Nextcloud projects. Last, YouTube has quite a few tutorials that are worth searching for in case you get stuck (just double-check the date so you’re getting the most up-to-date set of instructions).
Next Steps

With your NAS built and software configured, it’s very important to consider the security of your data and if you want to expose your Pi to the internet (and not just your home network). Both PiMyLifeUp and Alex Ellis’ blog are great places to get started and learn more about good security practices.
Security aside, if you aren’t taxing the Pi 4 too heavily, you can look into using your NAS for other types of software projects like hosting your own web-based music server, running OctoPrint, automating your home, and much more!
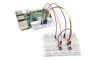
Lead image source: codeman via Thingiverse
License: The text of "How to Create a Raspberry Pi 4 NAS Drive" by All3DP is licensed under a Creative Commons Attribution 4.0 International License.
CERTAIN CONTENT THAT APPEARS ON THIS SITE COMES FROM AMAZON. THIS CONTENT IS PROVIDED ‘AS IS’ AND IS SUBJECT TO CHANGE OR REMOVAL AT ANY TIME.