How to Install Kodi on a Raspberry Pi 4 – Simply Explained

Combine Kodi and a Raspberry Pi to create a media player! Read on to learn how you can install Kodi on a Raspberry Pi 4 and get started.
A Media Match
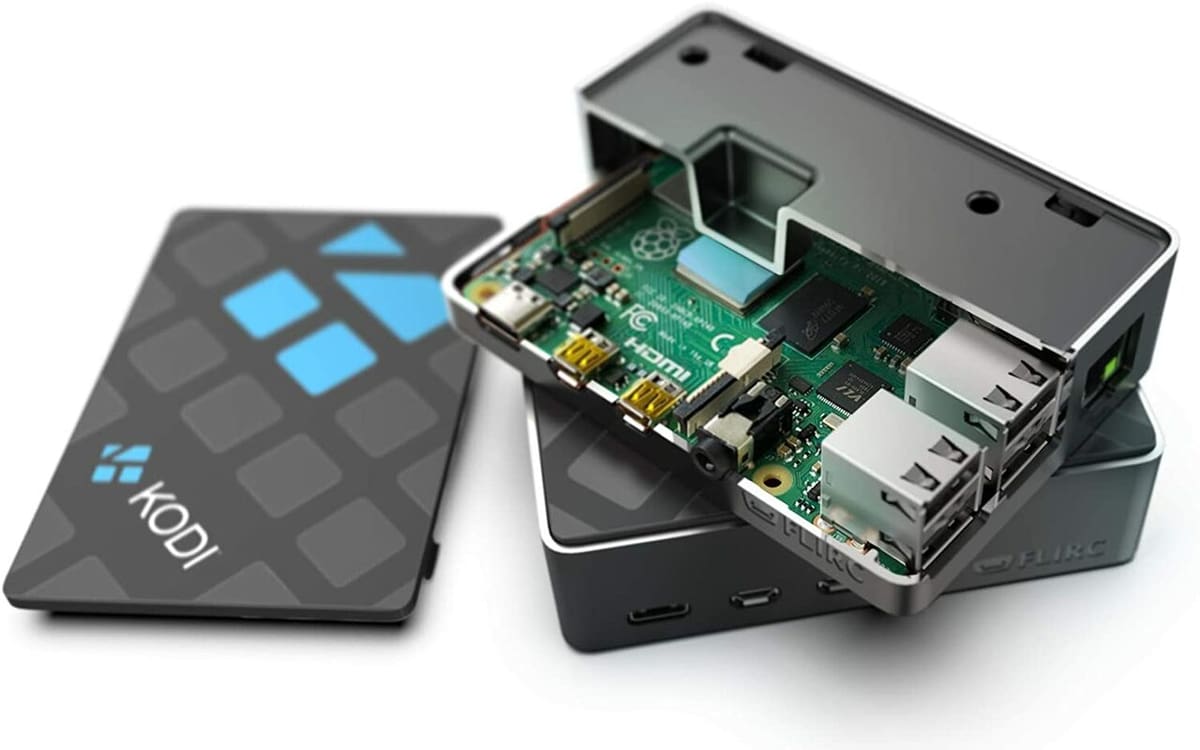
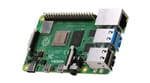
The Raspberry Pi 4 is one of the best single-board computers (SBCs) out there, if not the best. The updated specs and a solid configuration make it very versatile. You can do so many things with the Pi 4, from running a NAS drive, to using it to control your 3D printer via OctoPrint, to replacing an Android TV box. One such use, which we’ll be discussing today, is turning it into a media player device.
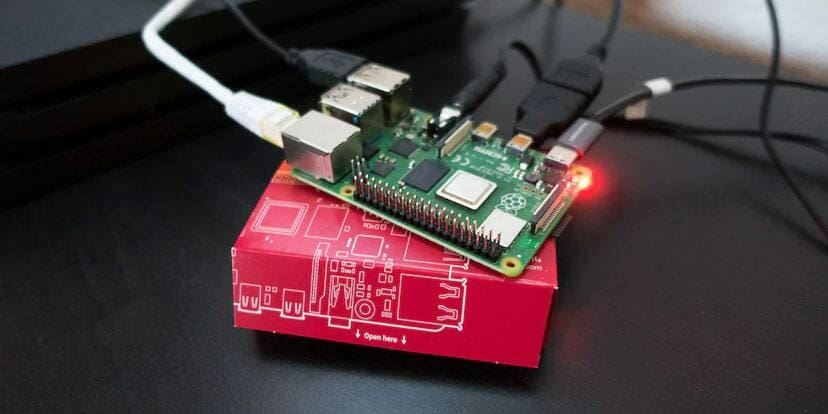
To start, the Pi 4 is already equipped with the hardware needed to run as a media player. The software is where the Kodi media player steps in. Kodi is a powerful, free, open-source program with the ability to stream 4K at 60 fps (frames per second)! Together with the Pi 4, this combination delivers an experience that rivals (and for many, beats) the traditional smart TV. Plus, it’ll be possible for a much lower cost.
Today we’ll be looking into how you can use the Raspberry Pi 4 as a media-playing device with the aid of Kodi. Let’s get started with installing Kodi on the Pi 4 and then have a brief look into some of its features. We’ll also get you going with what else you might want to install. Let’s get started!
Kodi and LibreELEC
Kodi is simply media player software. So, for it to run on the Raspberry Pi 4, you need an operating system (OS). The official Kodi website lists three options:
All these OSs run Kodi well, so it’s tough to say that one is better than the other. Additionally, since each was built for different purposes, they cater to a different use case scenario. You should definitely check out this Reddit thread and Electromaker’s guide that explains the details of each of these operating systems.
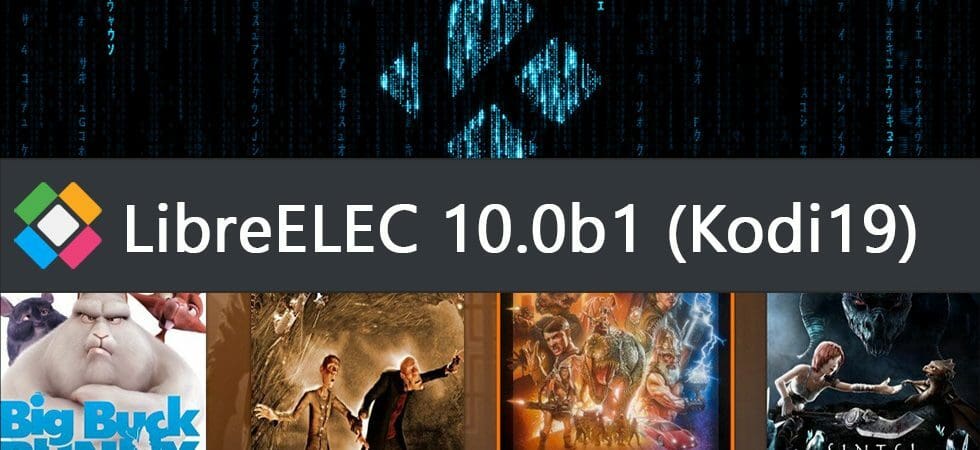
However, to keep the installation streamlined, we’ll use LibreELEC as seems to be the best choice out there for running Kodi on the Raspberry Pi 4. It’s a “Just Enough OS” (JeOS) that does exactly and only what’s needed. It’s optimized to run on low-end hardware, and given the specifications of the Raspberry Pi 4, you should have no problems with it. Let’s do it!
What You'll Need
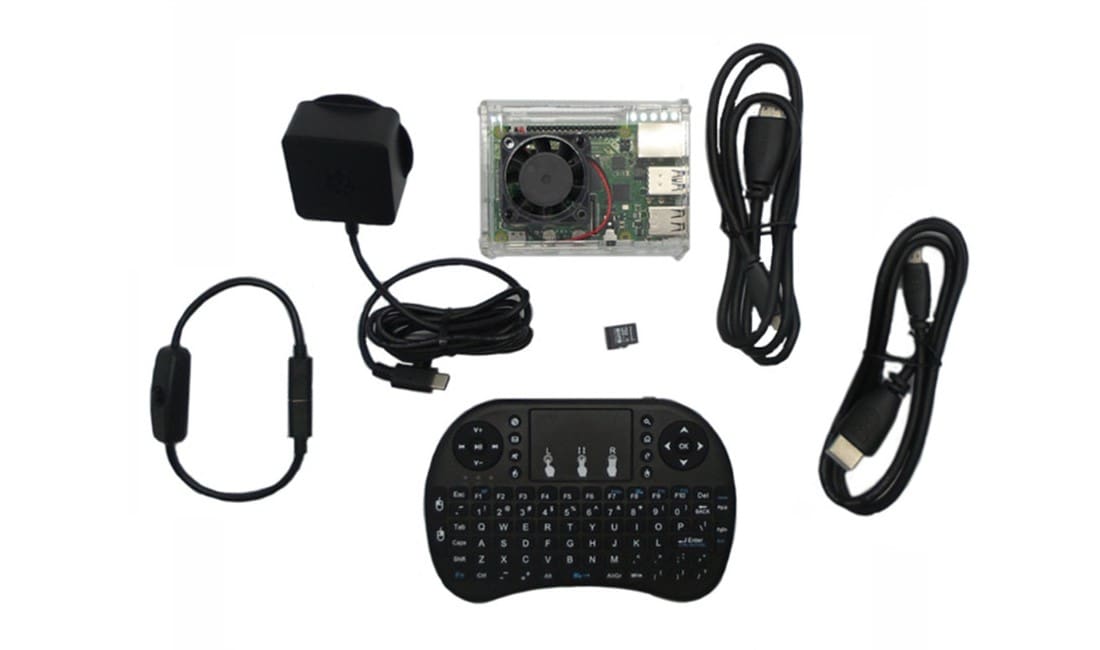
To install Kodi media player on a Raspberry Pi 4, you’ll need the following:
- A stable internet connection
- A Raspberry Pi 4
- A Raspberry Pi 4 case
- A microSD card (at least 16 GB)
- A computer with an SD card reader
- A keyboard and a mouse for the Raspberry Pi
- A display and a Micro-HDMI to HDMI cable to connect it to the Raspberry Pi
- A remote control to interact with your TV (optional)
Once you have all these, you can get started installing Kodi on your Raspberry Pi 4.
Step-by-Step Overview
The installation of the LibreELEC is as easy as it gets. Once you have all the things mentioned above, the actual installation shouldn’t take more than an hour. Here’s an overview of the steps:
- Make sure that your internet connection is stable with good bandwidth.
- Download the LibreELEC USB-SD Creator from their website for your particular OS.
- Download the build of Kodi for the Pi 4 from the LibreELEC website.
- Flash the build of Kodi 18.9 to the SD card using the LibreELEC USB-SD Creator.
- Insert the microSD card into the Pi 4 and boot up the Pi. It should boot straight into Kodi’s setup wizard.
- Set your host name and connect the Pi 4 to your preferred Wi-Fi network.
- Then enable both the SSH and Samba share options. These allow file sharing over the network.
That’s it!
There’s a great guide by Media Experience that goes into a lot of detail about installation, including considering different scenarios. If you’re a more visual person, Howchoo’s video on YouTube takes a slightly different approach.
What's Next
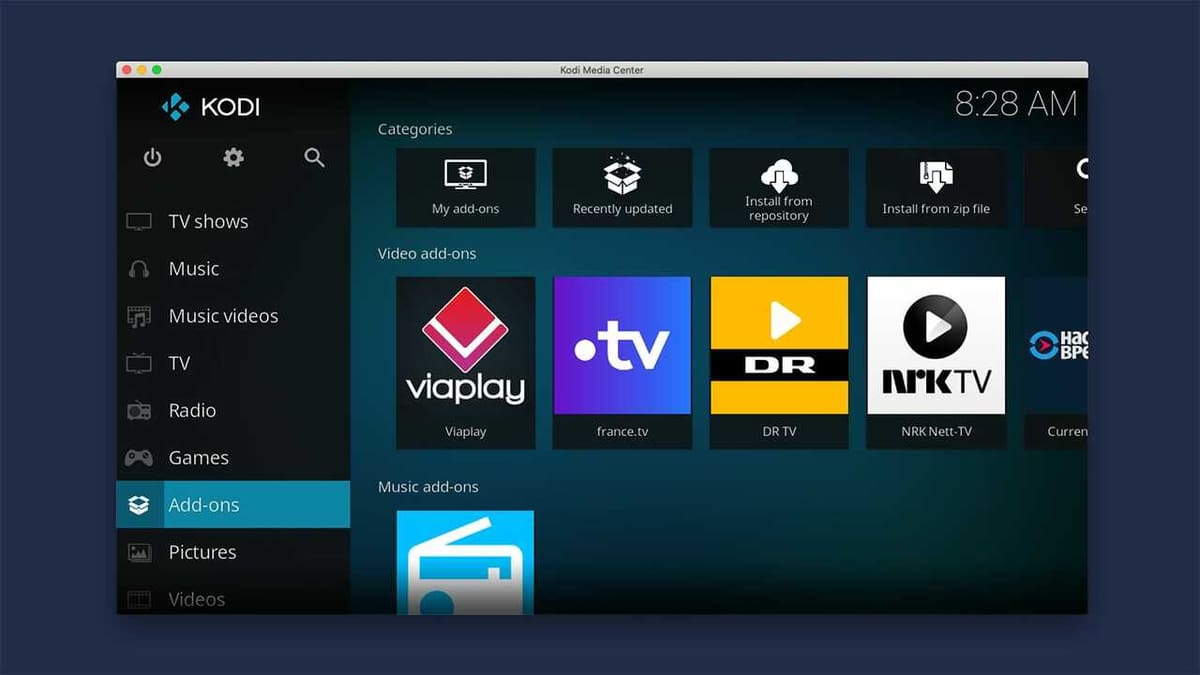
Once you’ve finished installing Kodi on the Pi 4, this is when the real fun begins. The benefit of using Kodi is the ability to install some of the many add-ons that are available for it.
Because it’s impossible to mention all of them, we’ll look at a few you might want to get right away:
- CuriosityStream lets you access your CuriosityStream account through the Kodi player. You can then watch all the documentaries from the service directly on your TV.
- NASA allows you to access official content, including over 1,800 videos and 4 live streams. It’s a great way to look at space from the comfort of your home.
- Google Drive gives you a direct view of your Drive’s content on your TV. Access all your videos and music through this add-on.
- YouTube is likely to be on every list that includes a video streaming device. This add-on enables you to play YouTube content directly on your Kodi.
- SoundCloud music streaming is a great option for you to listen to some podcasts or music through your TV’s audio system.
These are just some of the must-haves for your system. There are plenty of others that can make your Kodi system even better.
Tips & Tricks
There are a few tips and tricks that you should know before you get fully started with Kodi.
- Profiles: You can set up custom profiles for each user. So, if multiple people are going to be using the device, each person can have their own set of preferences.
- Skins: If you’re someone who likes to customize things, the skin option in Kodi allows you to do so. You can choose any look you like from the many skins available.
- Custom add-on: In system settings, you can enable the “Install from Unknown Sources” option so you can install both add-ons that come with Kodi and third-party alternatives, usually via a ZIP file.
These are just the tip of the iceberg; the things you can do with Kodi are far beyond this article. Check out this tips and tricks video by The5thAvenueProject on YouTube to learn more about what’s possible.
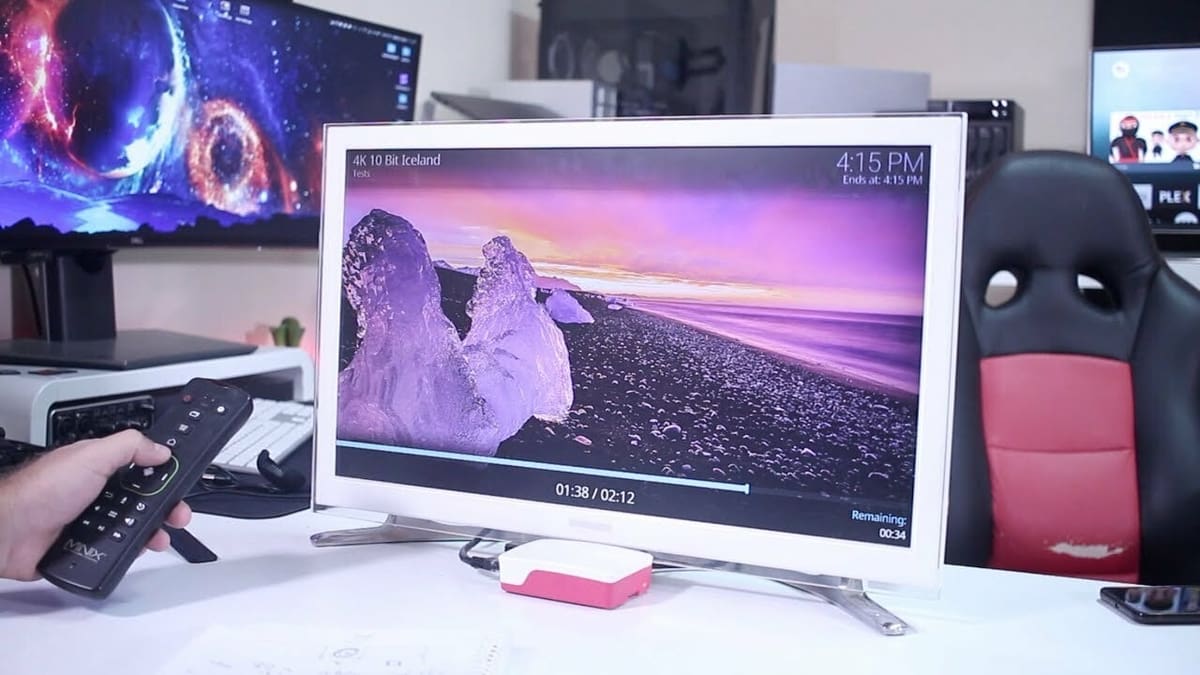
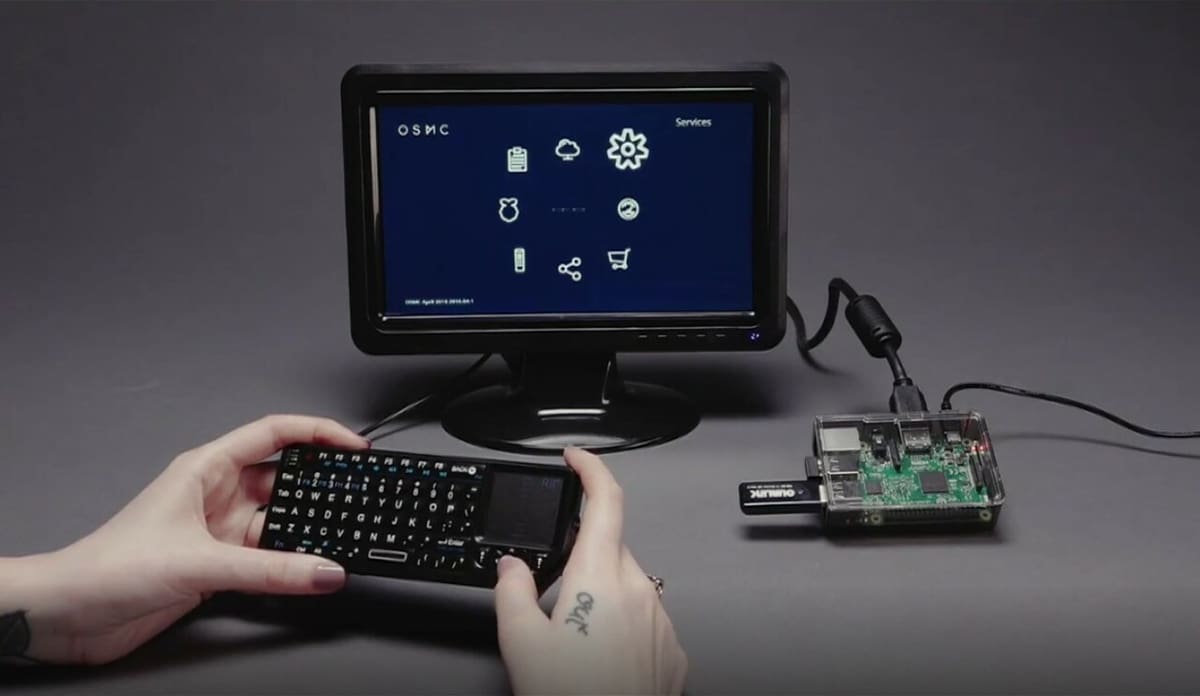
Lead image source: Roberto Jorge via YouTube
License: The text of "How to Install Kodi on a Raspberry Pi 4 – Simply Explained" by All3DP is licensed under a Creative Commons Attribution 4.0 International License.
CERTAIN CONTENT THAT APPEARS ON THIS SITE COMES FROM AMAZON. THIS CONTENT IS PROVIDED ‘AS IS’ AND IS SUBJECT TO CHANGE OR REMOVAL AT ANY TIME.