Top Raspberry Pi Lego / Build HAT Projects

Lego bricks brought to life with Raspberry Pi. Let's take a look at some of the best Lego projects made with Build HAT and BrickPi.
The Raspberry Pi is a computer on a single board that serves as the core of numerous ideas and projects. You can build, play, automate, and more with a Pi, and to bring your concepts to reality, you can even build projects using Lego.
Many people remember building entire worlds out of Lego, from childhood right through to today, but Lego has come a long way from just being building bricks. Lego Spike kits and sets have made it possible to build programmable robots. Lego also produces numerous electronic components, such as motors and sensors, that are compatible with these sets. You can open up a whole new world of creative builds by powering your Lego creations with a Raspberry Pi, bringing new functionality and features to the table.
In this article, we’ll go over our top picks of Raspberry Pi Lego and Build HAT projects, but first, let’s set a few things straight.
Wonder of HATs
HATs are a plug-and-play add-on for increasing your Raspberry Pi’s capabilities. “HAT” is an abbreviation for “hardware attached on top” because they usually sit right on top, connecting to the Raspberry Pi’s general-purpose input-output (GPIO) pins. There are several HATs, each with its unique features. In particular, there are two prominent Lego-compatible HATs: the Build HAT and the BrickPi HAT.
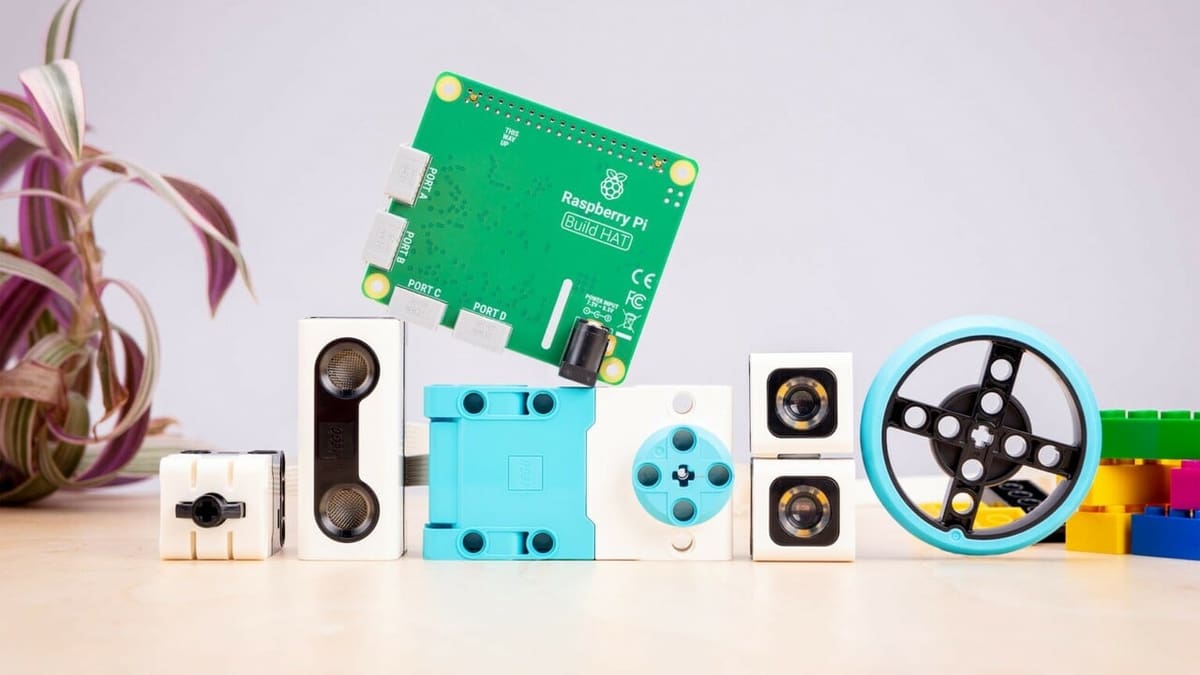
The Build HAT was made with the combined efforts of Raspberry Pi and Lego, and it’s compatible with the motors and sensors from the Lego Spike and Technic kits. Another HAT, the BrickPi, is made by Dexter Industries. This add-on is compatible with all Lego Mindstorms NXT and EV3 sensors and motors.
The Raspberry Pi website has tutorials and projects to get you started with the Build HAT. These include projects such as a remote-controlled car, a data dashboard to visually represent data, and a robot face. Similarly, Dexter Industries has a great list of projects that can be done using the BrickPi and its successor, the BrickPi3. These projects include a balance bot, a book reader, and a Rubik’s cube solver.
Let’s have a look at some of our favorite Raspberry Pi Lego projects.

Pong with Lego Controllers
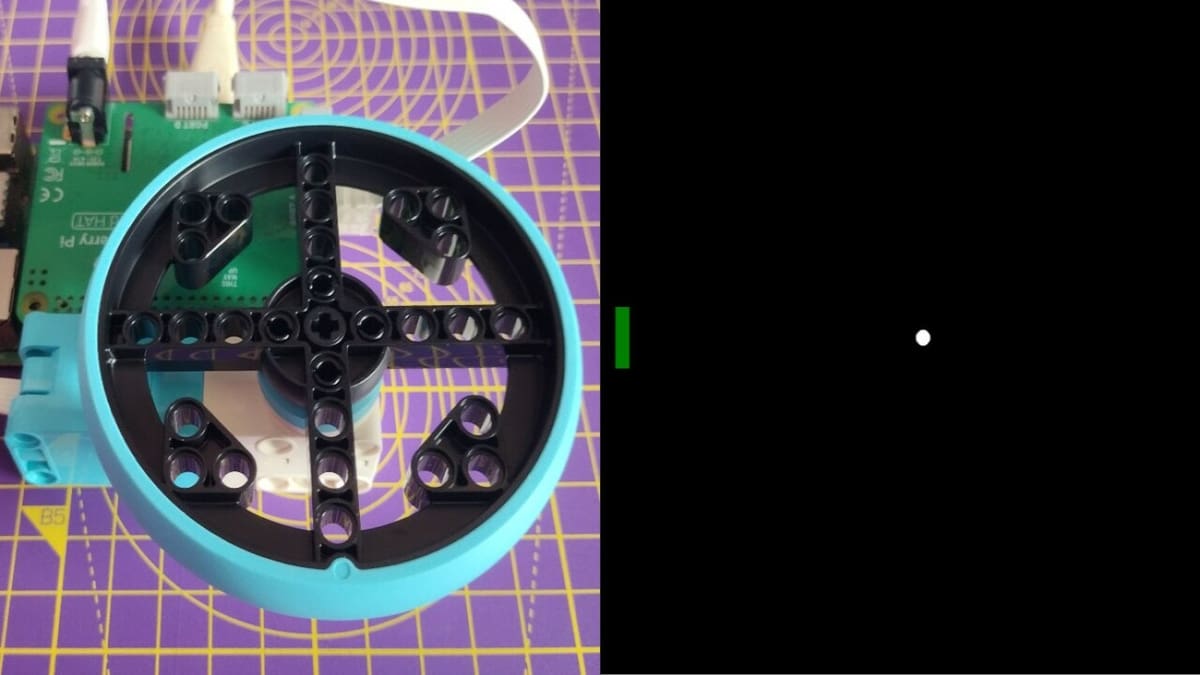
The project is a simple two-player 2D arcade game called Pong. The entire game setup is built with a Raspberry Pi Build HAT, Lego Technic motor encoders, and wheels that connect to a monitor. Players knock the digital ball back and forth with paddles placed on either side of the screen.
The project explains how to configure and react to the motor encoders, which serve as controllers. Also included are instructions on how to make your Pong screen, as well as features such as the ball and paddles. The scores of each player are displayed on the screen. There are also tips on how to improve your project further, including several games that can be created using Lego Technic motors as controllers.
- Key components: Raspberry Pi (most mainboard models), Build HAT, Lego Technic motor
- Difficulty: Easy
- Project page: Raspberry Pi Projects
Robot Arm
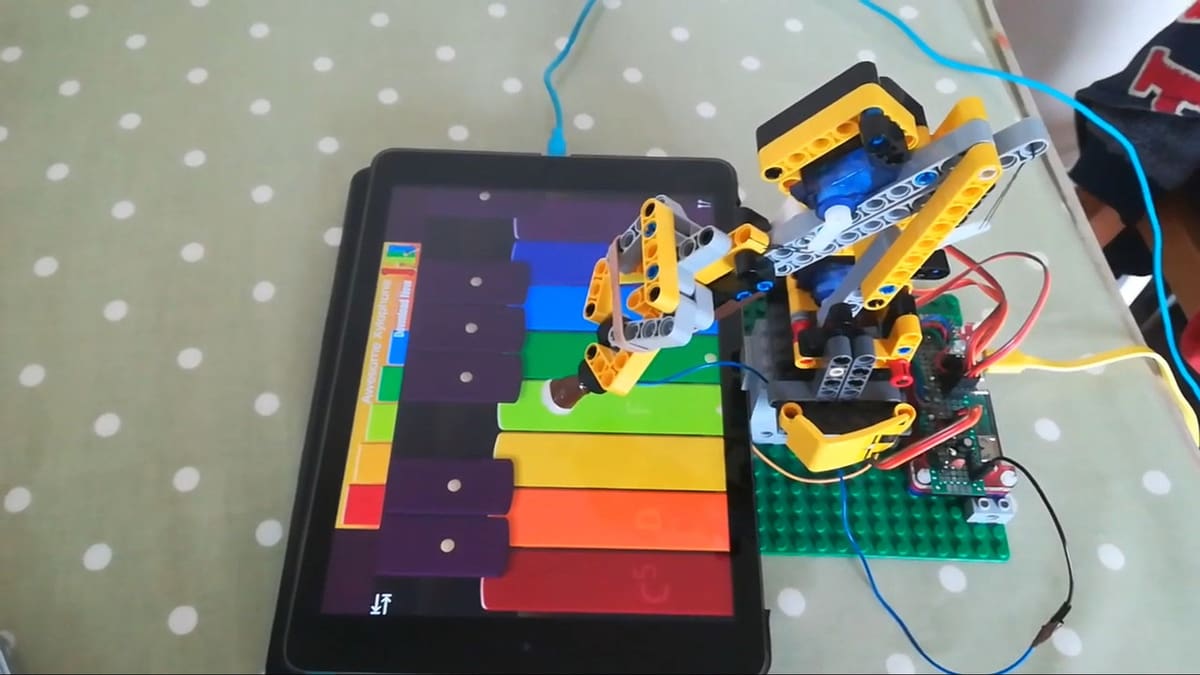
Using the Raspberry Pi Zero, a robot arm with three degrees of freedom is capable of picking up and placing objects. Chris Ward, a software developer who builds and programs various Lego robots controlled by Raspberry Pis, created this project. There are many possibilities for what this Lego robot can do, such as playing the xylophone on an iPad app.
Despite its limited carrying capabilities, this is a fun and educational robot arm project. The base, two joints, and the gripper are the four primary moving components of the arm. These components are built using parts readily available in the Lego Technic set. You can control the arm with simple commands via a keyboard. These commands can also be saved and replayed to perform repetitive actions.
- Key components: Raspberry Pi Zero, servos, Lego Technic parts
- Difficulty: Intermediate
- Project page: Chris Ward
Data Plotter
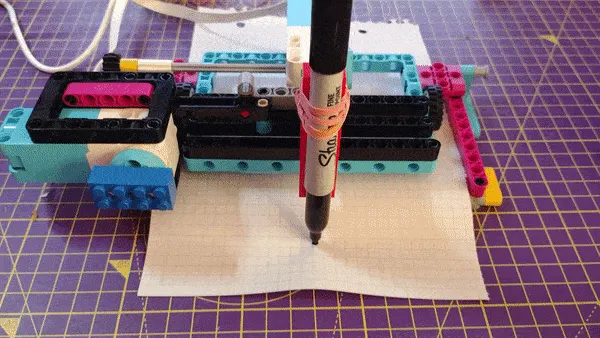
Build a data plotter out of Build HAT and Lego pieces. You can plot almost any temporal data using this project, which will help you visualize and analyze the information. The project is made by Raspberry Pi using Lego Technic and Spike components.
One motor feeds the paper into this gadget, while another motor moves the pen perpendicular to the paper – the pen moves in response to changing data. You can add sensors to provide local real-time data to the plotter. With the tutorial provided, you can get started by plotting the temperature of the CPU on the Raspberry Pi. All you have to do is install the “vcgencmd” library without any need for external sensors.
- Key components: Raspberry Pi (most mainboard models), Build HAT, Lego Technic motors
- Difficulty: Intermediate
- Project page: Raspberry Pi Projects
Microscope
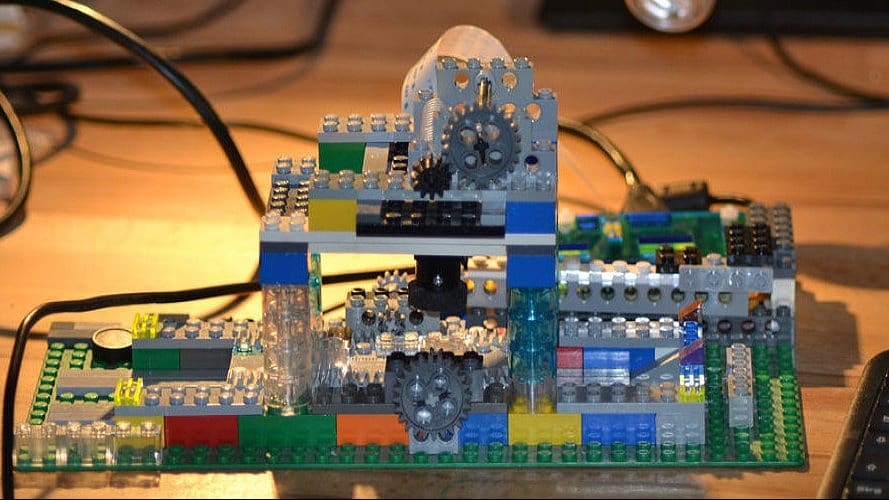
This project uses a Raspberry Pi and a PiCam with an adjustable lens to create a basic and inexpensive microscope. The creator of this project is a scientist by the username of Dr. H. Many of us might have Lego parts stored in some corner of the house from some old build or set, and Dr. H had an idea to prototype a microscope using such Lego parts quickly.
The main Lego parts are the toothed Lego Technic racks, gear wheels, and worm gear. Insects, flowers, coins, and fossil teeth are just a few subjects you can examine under a microscope.
- Key components: Raspberry Pi (most mainboard models), Raspberry Pi adjustable-focus camera, Lego Technic parts
- Difficulty: Intermediate
- Project page: Dr H via Instructables
Robot Face
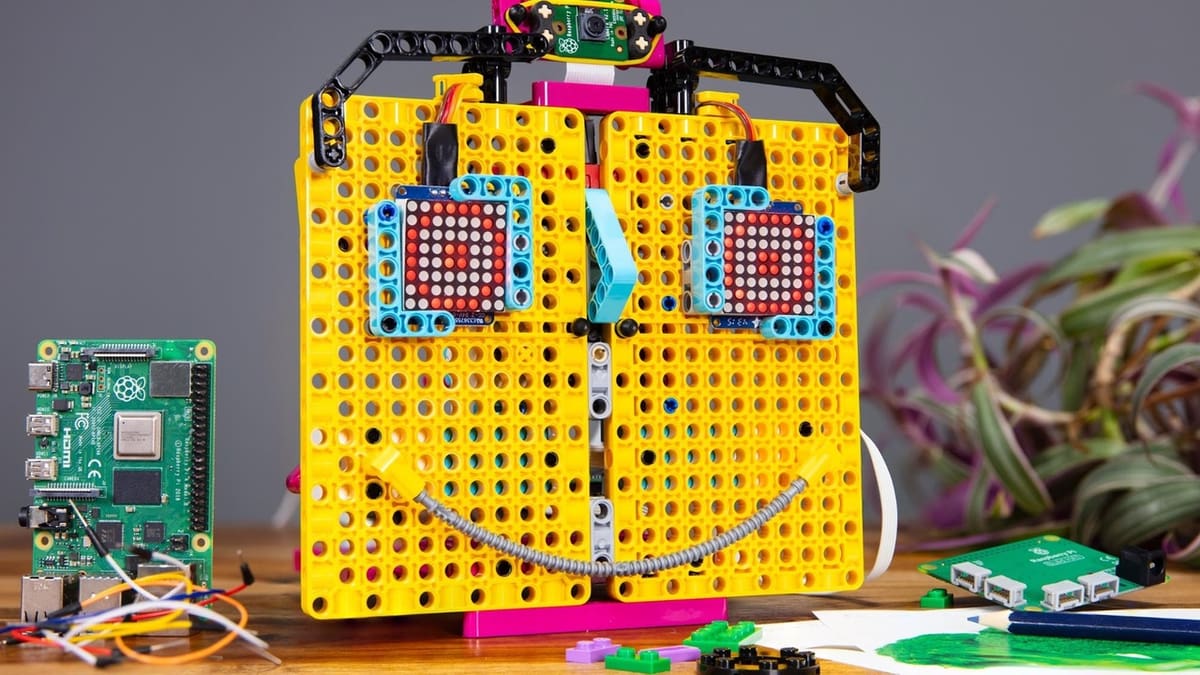
This brightly colored, expressive robot face identifies and corresponds to many situations. If the robot isn’t happy with what you’re showing, it will express its displeasure. The robot recognizes its surroundings by using machine learning.
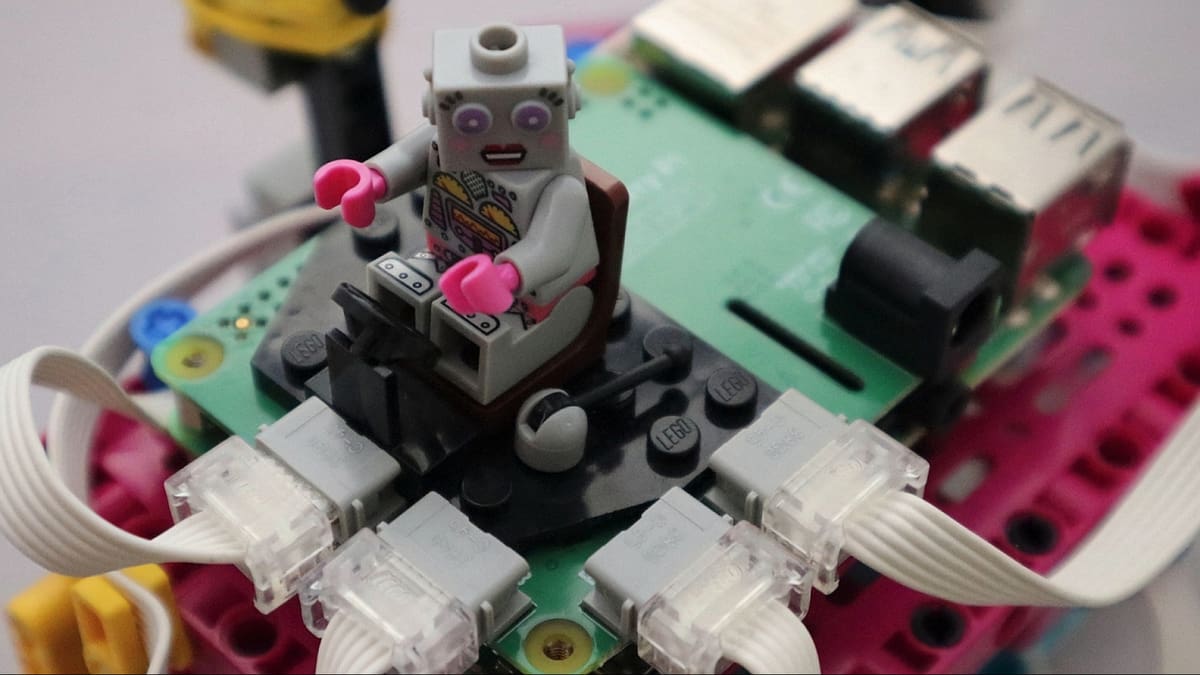
This project is made by Raspberry Pi using Build HAT and Lego parts from the Technic and Spike kits. The robot’s face is animated via motors in the mouth and eyebrows, and by LED matrices for the eyes. The face is initially designed to display four expressions: neutral, happy, angry, and sad. You can further develop the project to show more expressions and add more situations for your robot can recognize.
- Key components: Raspberry Pi (most mainboard models), Build HAT, Raspberry Pi camera module, Lego Technic motors, Adafruit LED matrices
- Difficulty: Expert
- Project page: Raspberry Pi Projects
Bookreader
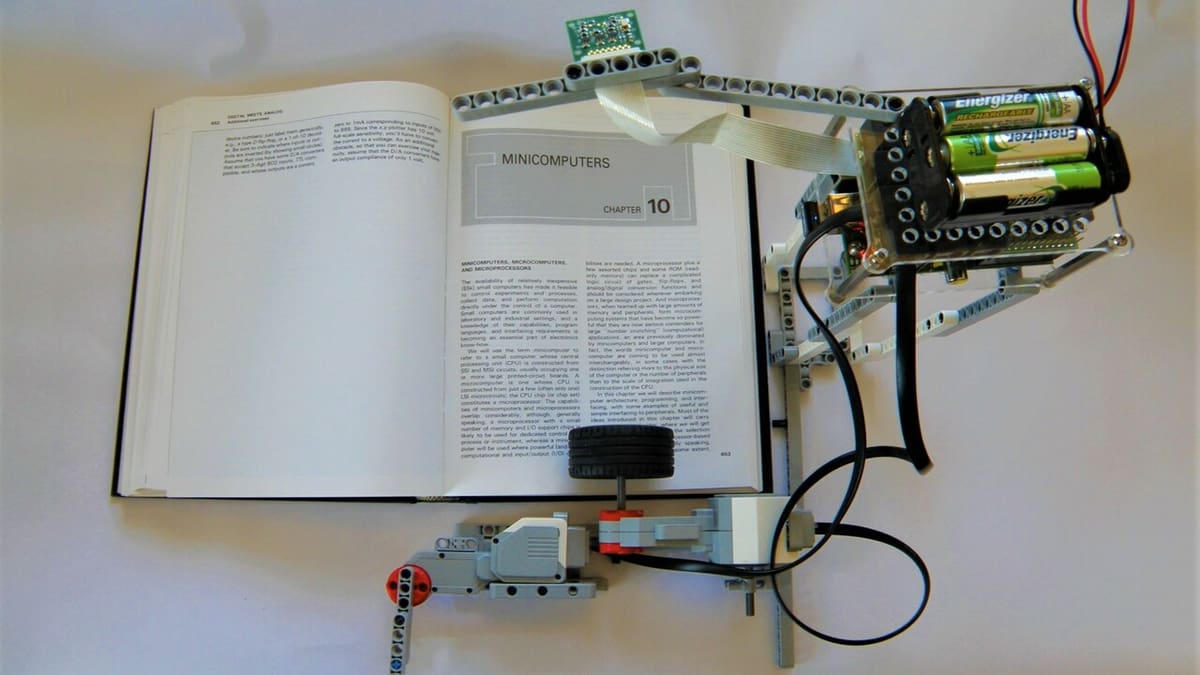
Bookreader is a project that reads books aloud, whether physical copies or eBooks. Dexter Industries built it with a BrickPi, Lego Mindstorm motors, and other Lego pieces. You can also copy the text to a digital document in any desired format. The BrickPi Bookreader 2 is the second iteration of the device for storing and reading pages from Kindle books.
The setup captures an image using a Raspberry Pi camera mounted above the page. With paper books, the challenge was turning the pages, and the project solves this difficulty by utilizing a Lego wheel, a motorized arm, and EV3 motors. The text can be converted to speech and played over speakers using images taken from the pages. With this, you have you can create your very own audiobook system.
- Key components: Raspberry Pi (most mainboard models), BrickPi, Raspberry Pi camera, Lego Mindstorms NXT motor
- Difficulty: Intermediate
- Project page: Dexter Industries
Remote Controlled Car
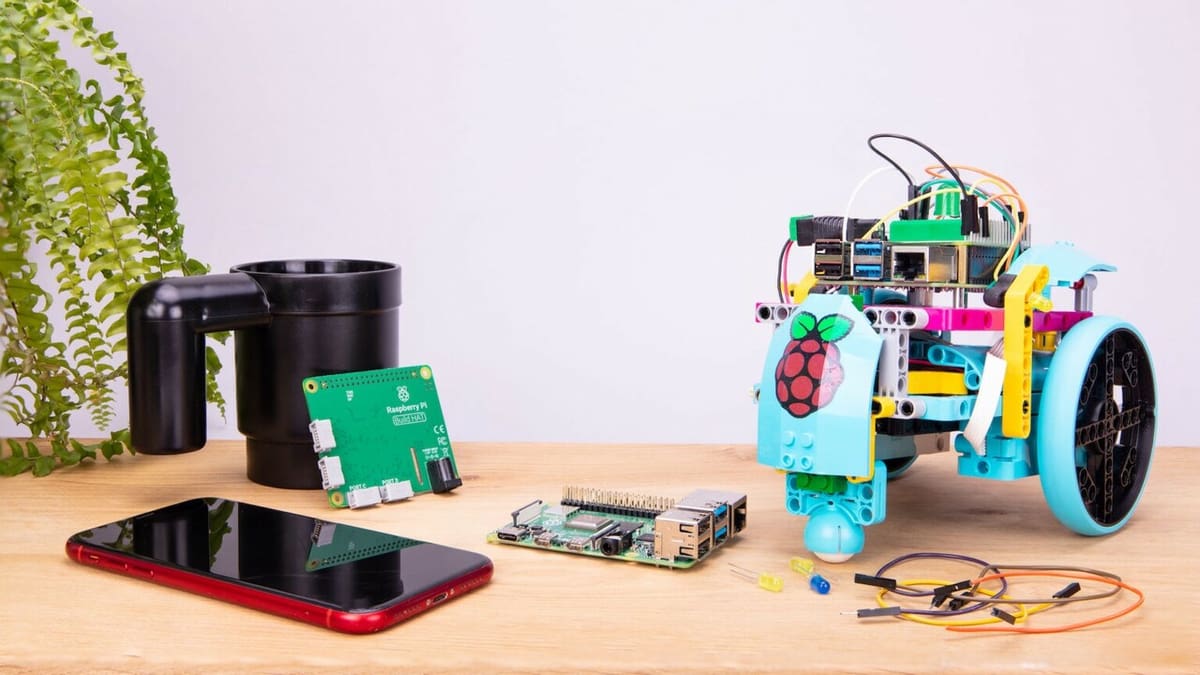
This car is made using the Raspberry Pi Build HAT, Lego Technic motors, and parts from the Lego Spike kit. The vehicle uses a differential drive, which allows you to drive the two wheels independently. There’s a caster wheel in the front to balance this two-wheeled car, and you can substitute two front wheels for the caster wheel if you wish.
Using an Android device, you have to connect to the Raspberry Pi via Bluetooth. An Android app and library called Blue Dot controls the car. You can add LEDs to the back of your vehicle to indicate whether it’s moving left or right. These can also act as brake lights when the car stops. With your imagination, you can add more features and functionalities to mimic an actual vehicle.
- Key components: Raspberry Pi (most mainboard models), Build HAT, Lego Technic motors, Android device
- Difficulty: Easy
- Project page: Raspberry Pi Projects
Brickuber
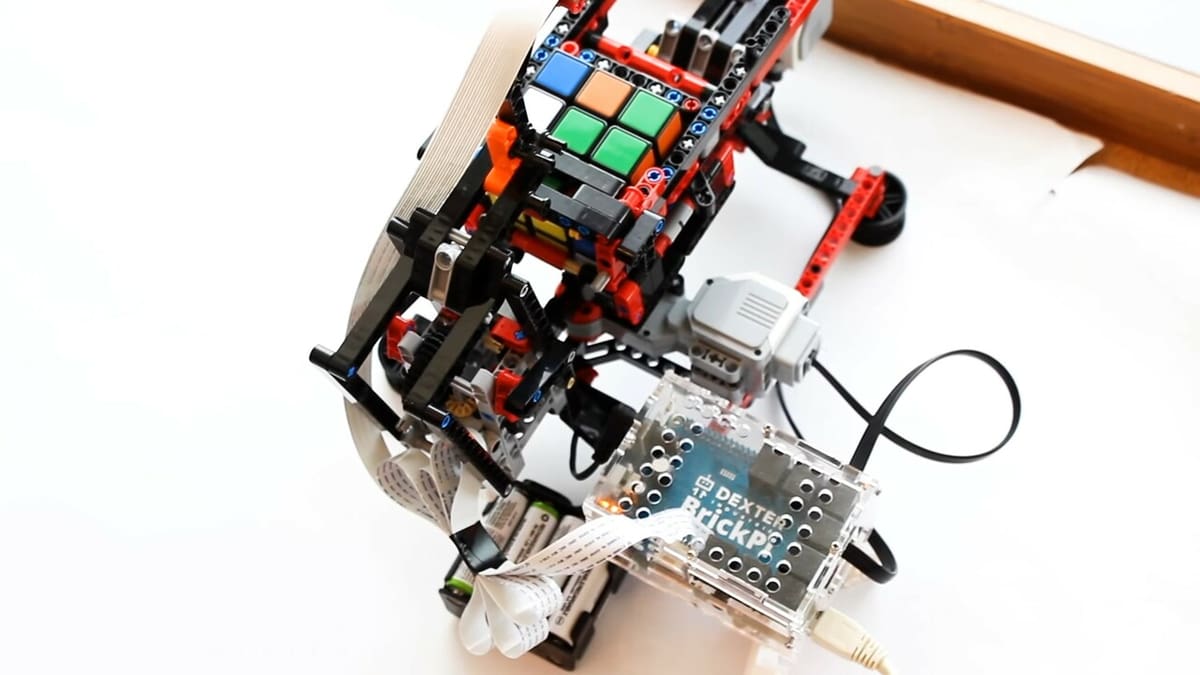
If you’ve ever watched a Rubik’s cube solving machine video, you know how entertaining they can be. Dexter Industries created this Lego Rubik’s cube-solving robot with a BrickPi3 and a Lego Mindstorm’s EV3 kit. The MindCub3r inspired Brickuber’s design.
The Raspberry Pi camera module mounts to an arm specifically designed to house the camera. Using the “kociembe” Python library, this camera reads the colors on the cube faces and determines movements to solve the cube. The motors connected from the BrickPi3 to the shuffler and the cradle move the cube as required. You’ll have a fully solved Rubik’s cube in a matter of minutes. Jumble up the faces of the cube and watch the Brickuber solve it all over again.
- Key components: Raspberry Pi (most mainboard models), BrickPi3, Raspberry Pi camera, Rubik’s cube
- Difficulty: Expert
- Project page: Dexter Industries
License: The text of "Top Raspberry Pi Lego / Build HAT Projects" by All3DP is licensed under a Creative Commons Attribution 4.0 International License.