Twister OS: Can You Run MacOS on a Raspberry Pi 4?

It's a twister, but not a tongue twister! Find out more about Twister OS and how it brings together Raspberry Pi and MacOS.
Wouldn’t it be nice to run MacOS on open-source hardware for free?
The Raspberry Pi Foundation was created with the idea of encouraging people of all ages and experience levels to learn, teach, and experiment with technology for an accessible price.
This spirit of experimentation and creativity means it’s not surprising that users wonder if it’s possible to run popular operating systems (OSs) like MacOS on an affordable board like a Raspberry Pi 4, rather than the proprietary hardware that usually comes with it.
The idea of iRaspbian was born…
The Rise & Fall of iRaspbian
Raspberry Pis are no exception to the rule that the operating systems we can run depend on what the hardware in question can support. There’s a multitude of alternative OSs that are specifically made to run on Raspberry Pi computers, including Windows 11 ARM, FydeOS, and specific-use options like OctoPrint, Repetier Server, Librelec, OSMC, and more.
It’s fair to say that most Raspberry Pi users stick to running Raspberry Pi OS (formerly known as Raspbian) because it comes pre-loaded with great tools for programming and for general use. But with MacOS being built on a Unix derivative, it invites the attempt to try running it on a Raspberry Pi for fun.
In early 2020, iRaspbian gained some attention online for promising the slick MacOS experience on a Raspberry Pi 4. The program offered the same icons and wallpaper as MacOS Catalina and ran smoothly, according to reports. Even though it looked just like MacOS, it was at its core just Raspberry Pi OS dressed up to look like a Mac.
Good attention to detail and the name “iRaspbian” were clearly enough to spark a legal threat from Apple, and the project died soon after launch. But the desire to emulate the Mac experience on a Raspberry Pi is still alive and strong.
Can You Actually Run MacOS on a Raspberry Pi?

As proved by the downfall of iRaspbian, MacOS is a closed-source system, as opposed to open-source OSs like Debian, Ubuntu, FreeBSD, and so on. It’s therefore proprietary software with strict licensing conditions.
While the hardware requirements for MacOS have changed over time, the new Apple processors are 64-bit and ARM-based, as is the Raspberry Pi 4. Therefore, technically, it might be possible to run MacOS on a Raspberry Pi, if somebody created a user-friendly way to do so. But legally, you absolutely can’t do this, as Raspberry Pi hardware is not supported by Apple.
But don’t worry. If you can’t make it, fake it with Twister OS.
Introducing Twister OS
Twister OS is, simply speaking, a Raspberry Pi OS-based platform that provides different graphic user interfaces based on popular versions of Windows and MacOS, without pretending to actually run MacOS or Windows. The main purpose is mostly the fun factor, as it gives the impression of running those operating systems on a Raspberry Pi.
If you have a penchant for long-lost Windows glory or prefer the sleek look of MacOS, but you want the convenience and low price point of a Pi, Twister OS is for you.
Basic Requirements
Until recently, installing Twister OS was a slightly protracted affair, because there was no readymade ISO file to download. It entailed having to install Raspbian first on your Raspberry Pi, before then downloading and unpacking the Twister OS files, and finally integrating them.
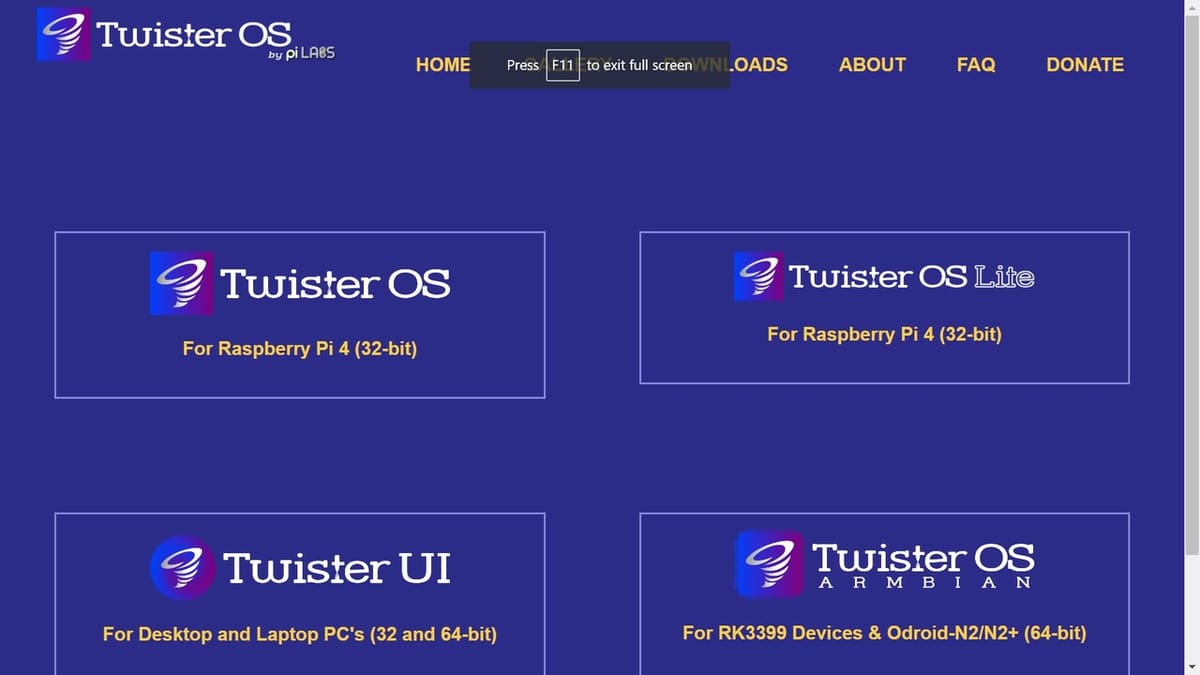
If that sounds like too much, fear not. The team behind Twister OS has made our lives so much more pleasant by providing an Optical Disc Image ISO file in the XZ graphical archive format on their website, just waiting for you to download it.
Before jumping right into the simple installation process, here’s what you’ll need to set it up:
- Raspberry Pi 3B+ or higher (Raspberry Pi 4 is recommended)
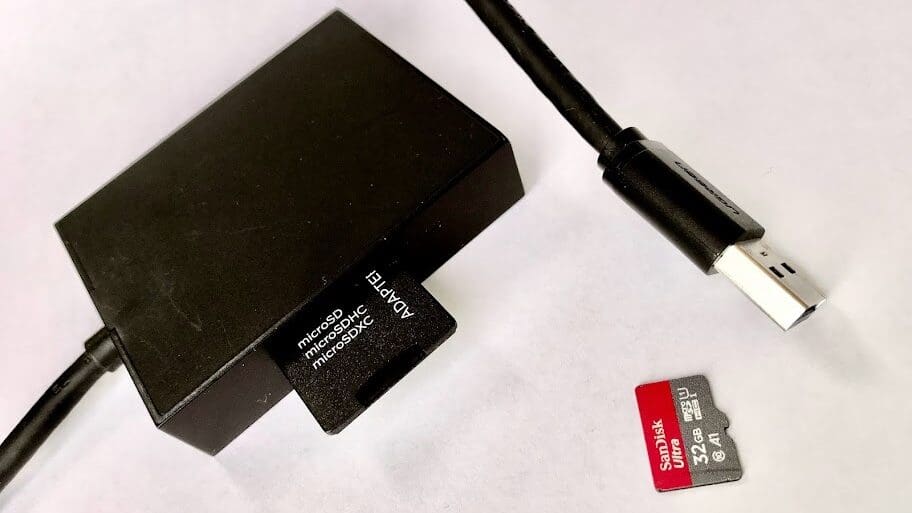
- MicroSD card
- Keyboard, monitor, and mouse
- Additional computer with SD card reader
- BalenaEtcher or similar SD card flashing program
- 7-Zip or similar file archiving software
How to Set It Up
Before flashing the ISO image to the MicroSD card, we need to download the compressed archive and extract it to create the ISO image for further use.
To do this, navigate to the Twister OS download page and download the archive file of your choice.
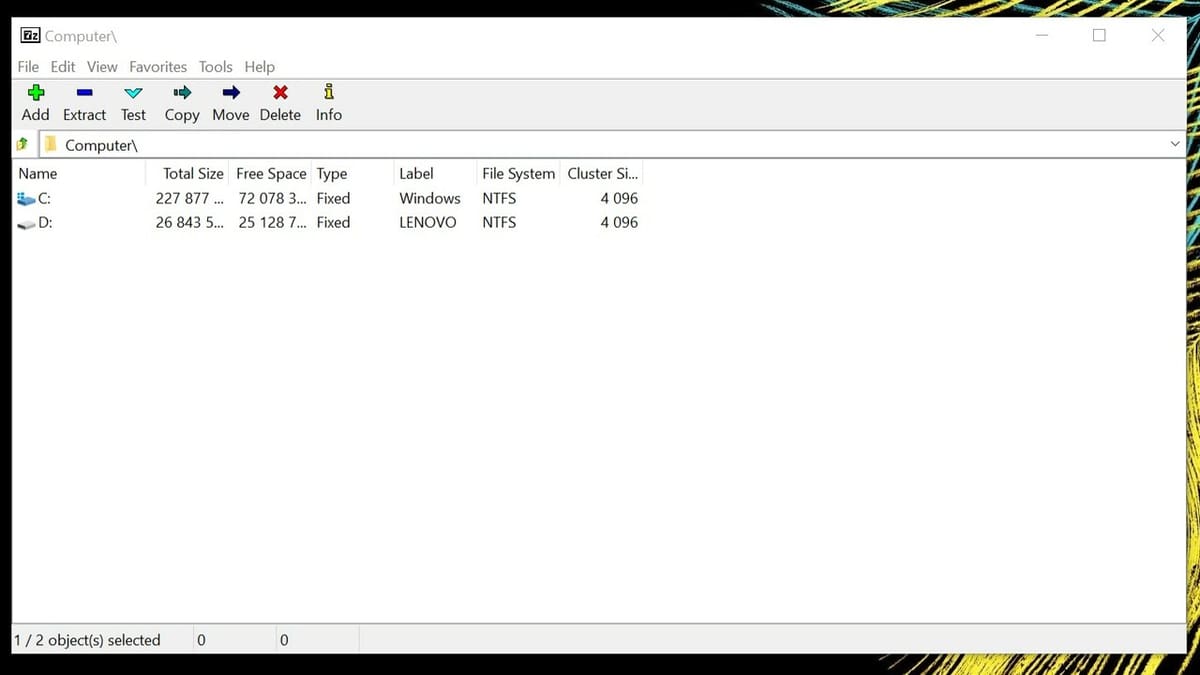
Now that we have the image archive, let’s extract it. The process to do this depends on the computer you’re using.
For Windows: Open the XZ file with 7-Zip or equivalent and click extract. That’s it!
For Mac: Navigate to the location of your download and right-click on it, then select the Archive Utility App to open it.
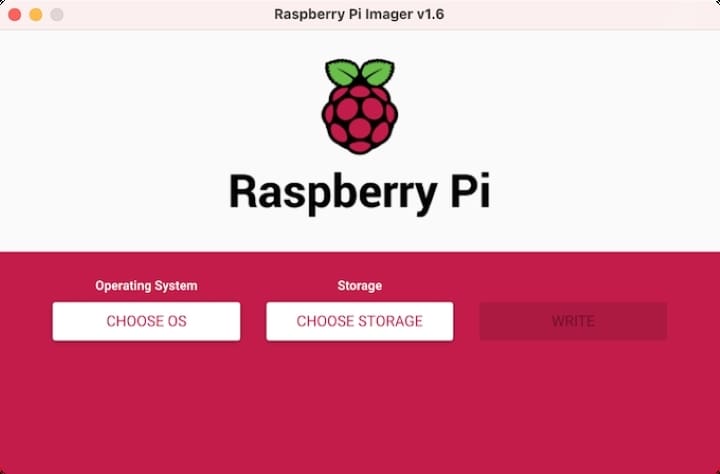
Once you’ve decompressed the XZ image file archive, it’s time to flash the MicroSD card. We’ve briefly outlined the process here, but if you need a more in-depth explanation, check out our guide on how to back up your Raspberry Pi.
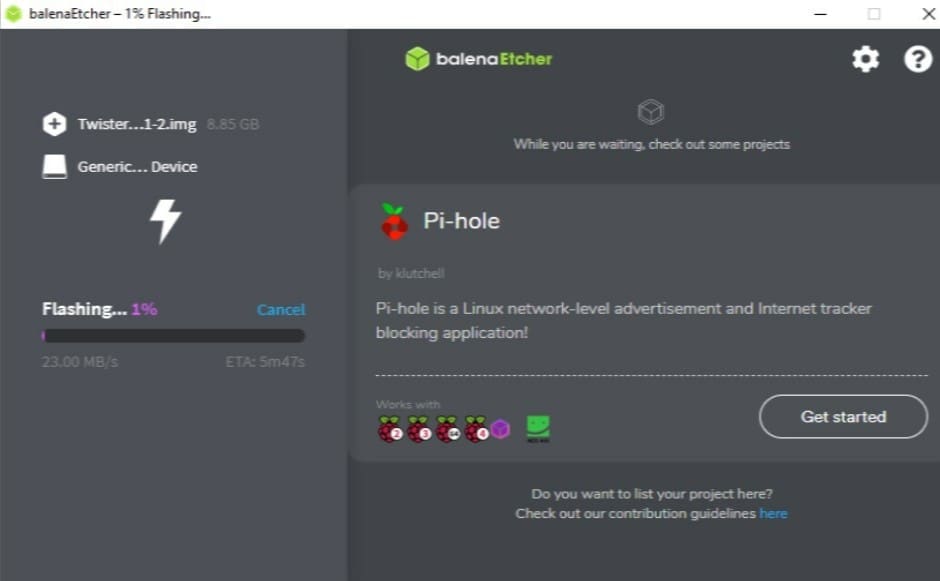
We used BalenaEtcher to flash the MicroSD card, but there are plenty of similar programs.
- Insert the MicroSD card into the computer to which you downloaded Twister OS.
- Open BalenaEtcher and navigate to the ISO image you’ve just created.
- Click “Select Image > Select Drive > Flash”.
Before removing the MicroSD card from your reader, make sure to properly eject it to avoid any damage to the contents.
Now that you have a MicroSD card ready to use for our Raspberry Pi, you can begin the actual installation of Twister OS.
- Connect your monitor, keyboard, and mouse to your Raspberry Pi.
- Insert the MicroSD card you’ve just flashed.
- Power-up your Raspberry Pi.
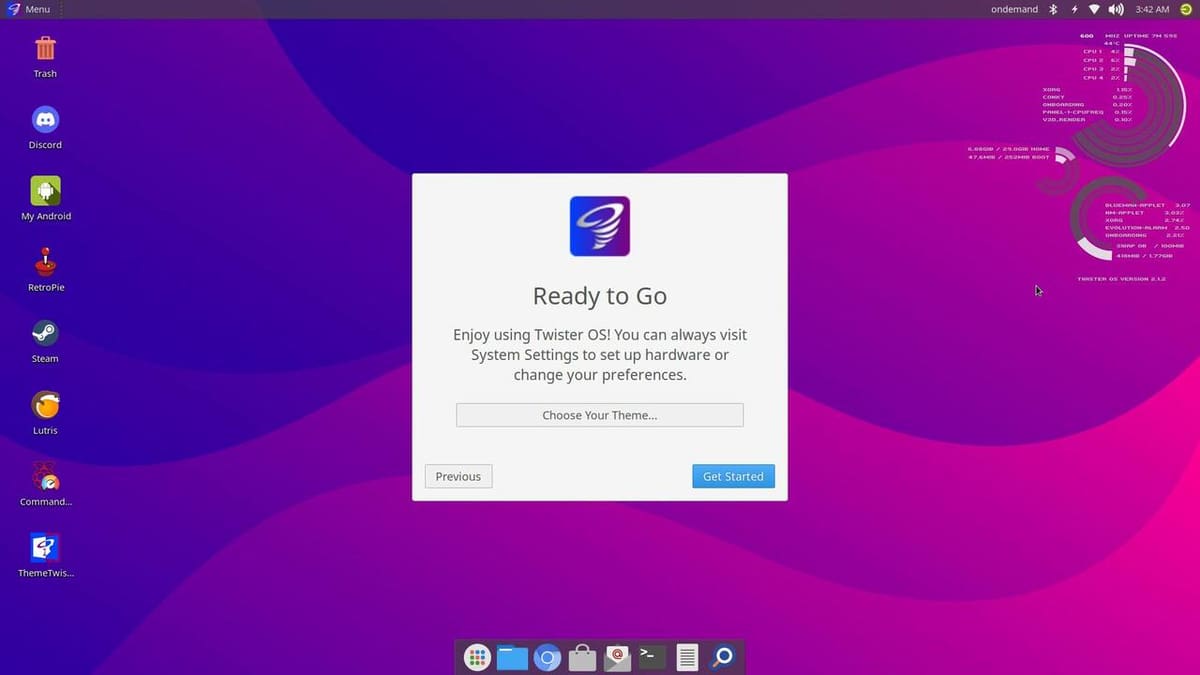
It should now boot up and lead you through the final installation.
Congratulations, you’ve successfully installed Twister OS!
Impressions
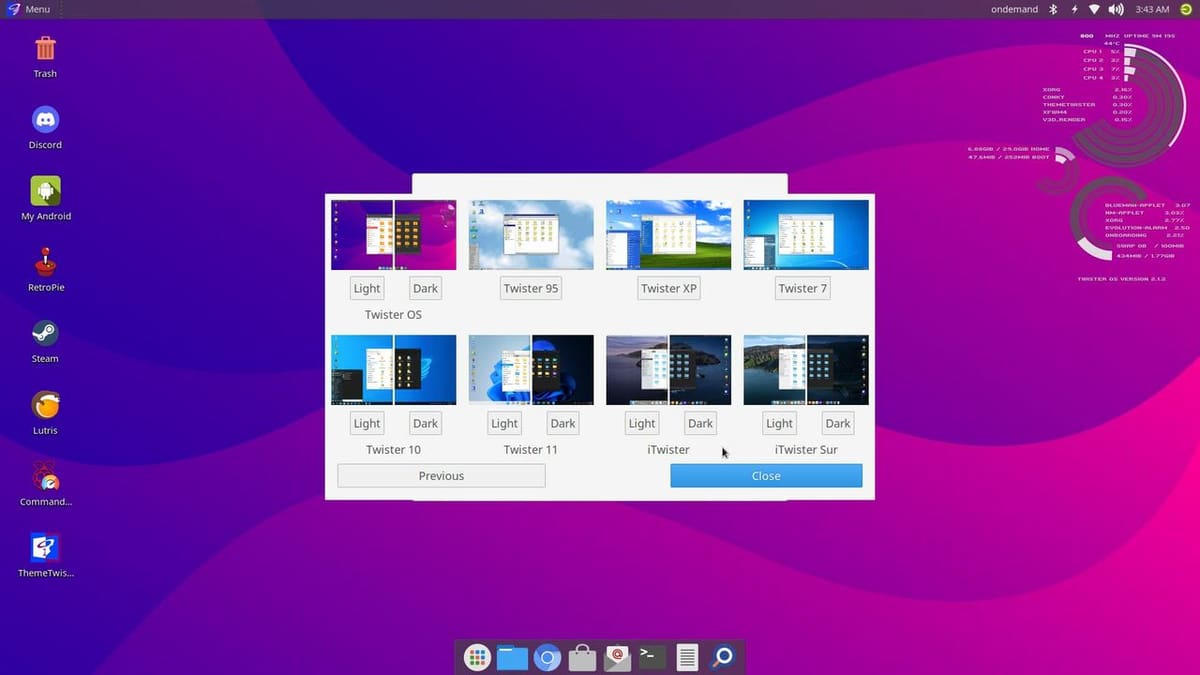
By clicking on the Themes App on the Twister OS desktop, you can switch between different themes. To loop back to the question of running MacOS on a Raspberry Pi, let’s start by taking a look at the MacOS theme on Twister OS.
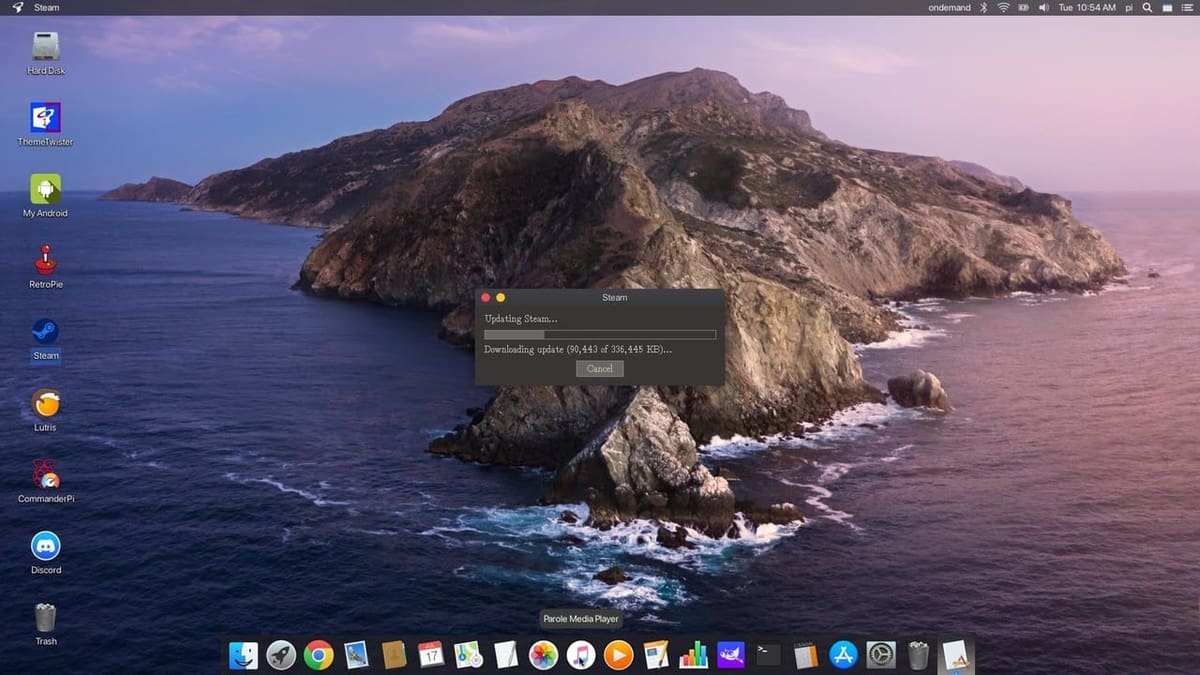
MacOS
The MacOS theme offers the look of MacOS, complete with wallpaper and icons. It’s all nicely designed and gives the feeling of using a Mac.
However, it very quickly becomes apparent that it’s not really MacOS, as the icons are for the default Raspberry Pi OS programs. But it’s as close as you can legally get to running MacOS on a Pi, so we’ll take it!
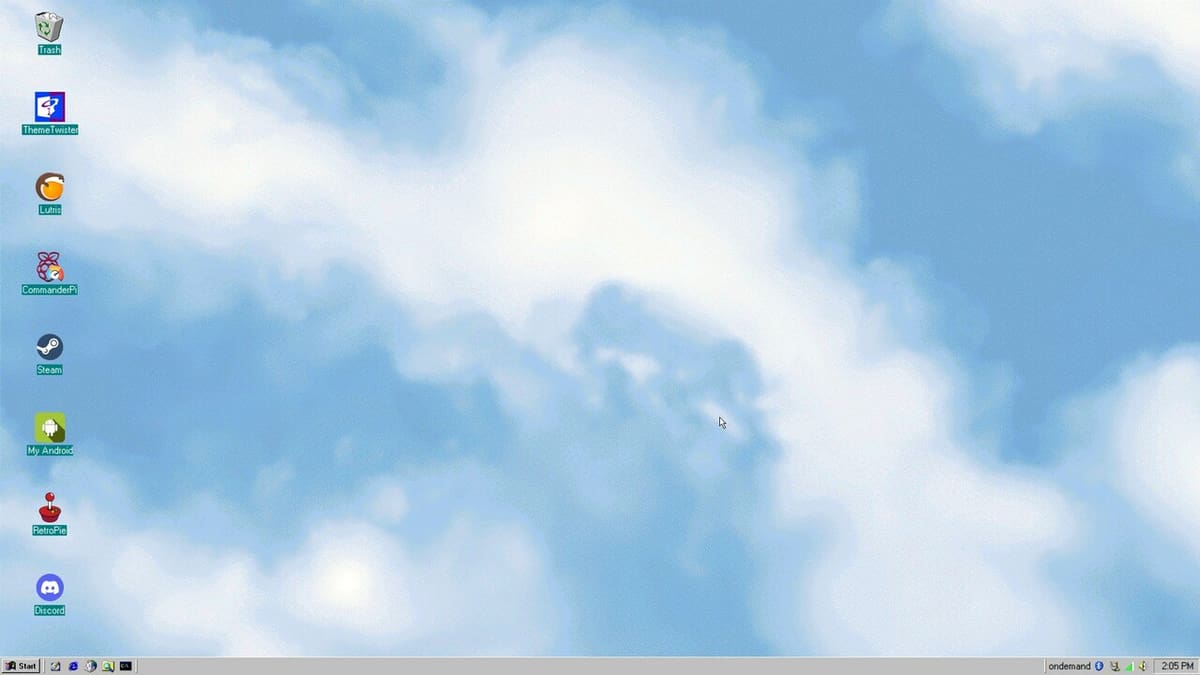
Windows
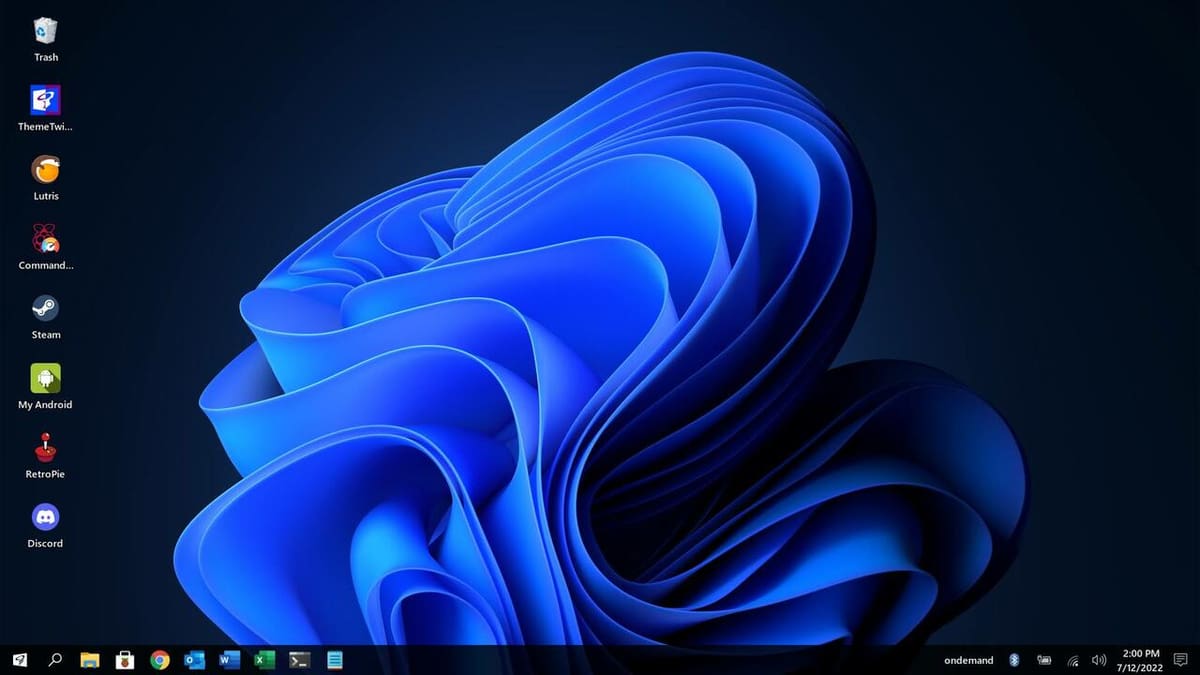
Similar to the MacOS theme, the Windows themes are done with nice attention to detail. The icons feel correct and the illusion is perfected with the expected sounds when we start the Windows theme.
Again, all the Raspberry Pi OS programs are hidden behind the Microsoft-inspired icons. Everything works as it should, and when running on a Raspberry Pi 4, it’s an overall smooth experience.
Twister OS
The Twister desktop will be familiar to Raspberry Pi OS users and doesn’t hold any surprises.
Upgrading your Pi’s OS to Twister OS is a nice project that provides a lot of fun to people wanting to enjoy a familiar MacOS or Windows look. If you need more guidance, the Twister OS FAQs offer helpful advice on how to install and upgrade various aspects of Twister OS.
And to round off the MacOS emulation experience, why not 3D print a Mac-inspired Raspberry Pi housing?
License: The text of "Twister OS: Can You Run MacOS on a Raspberry Pi 4?" by All3DP is licensed under a Creative Commons Attribution 4.0 International License.